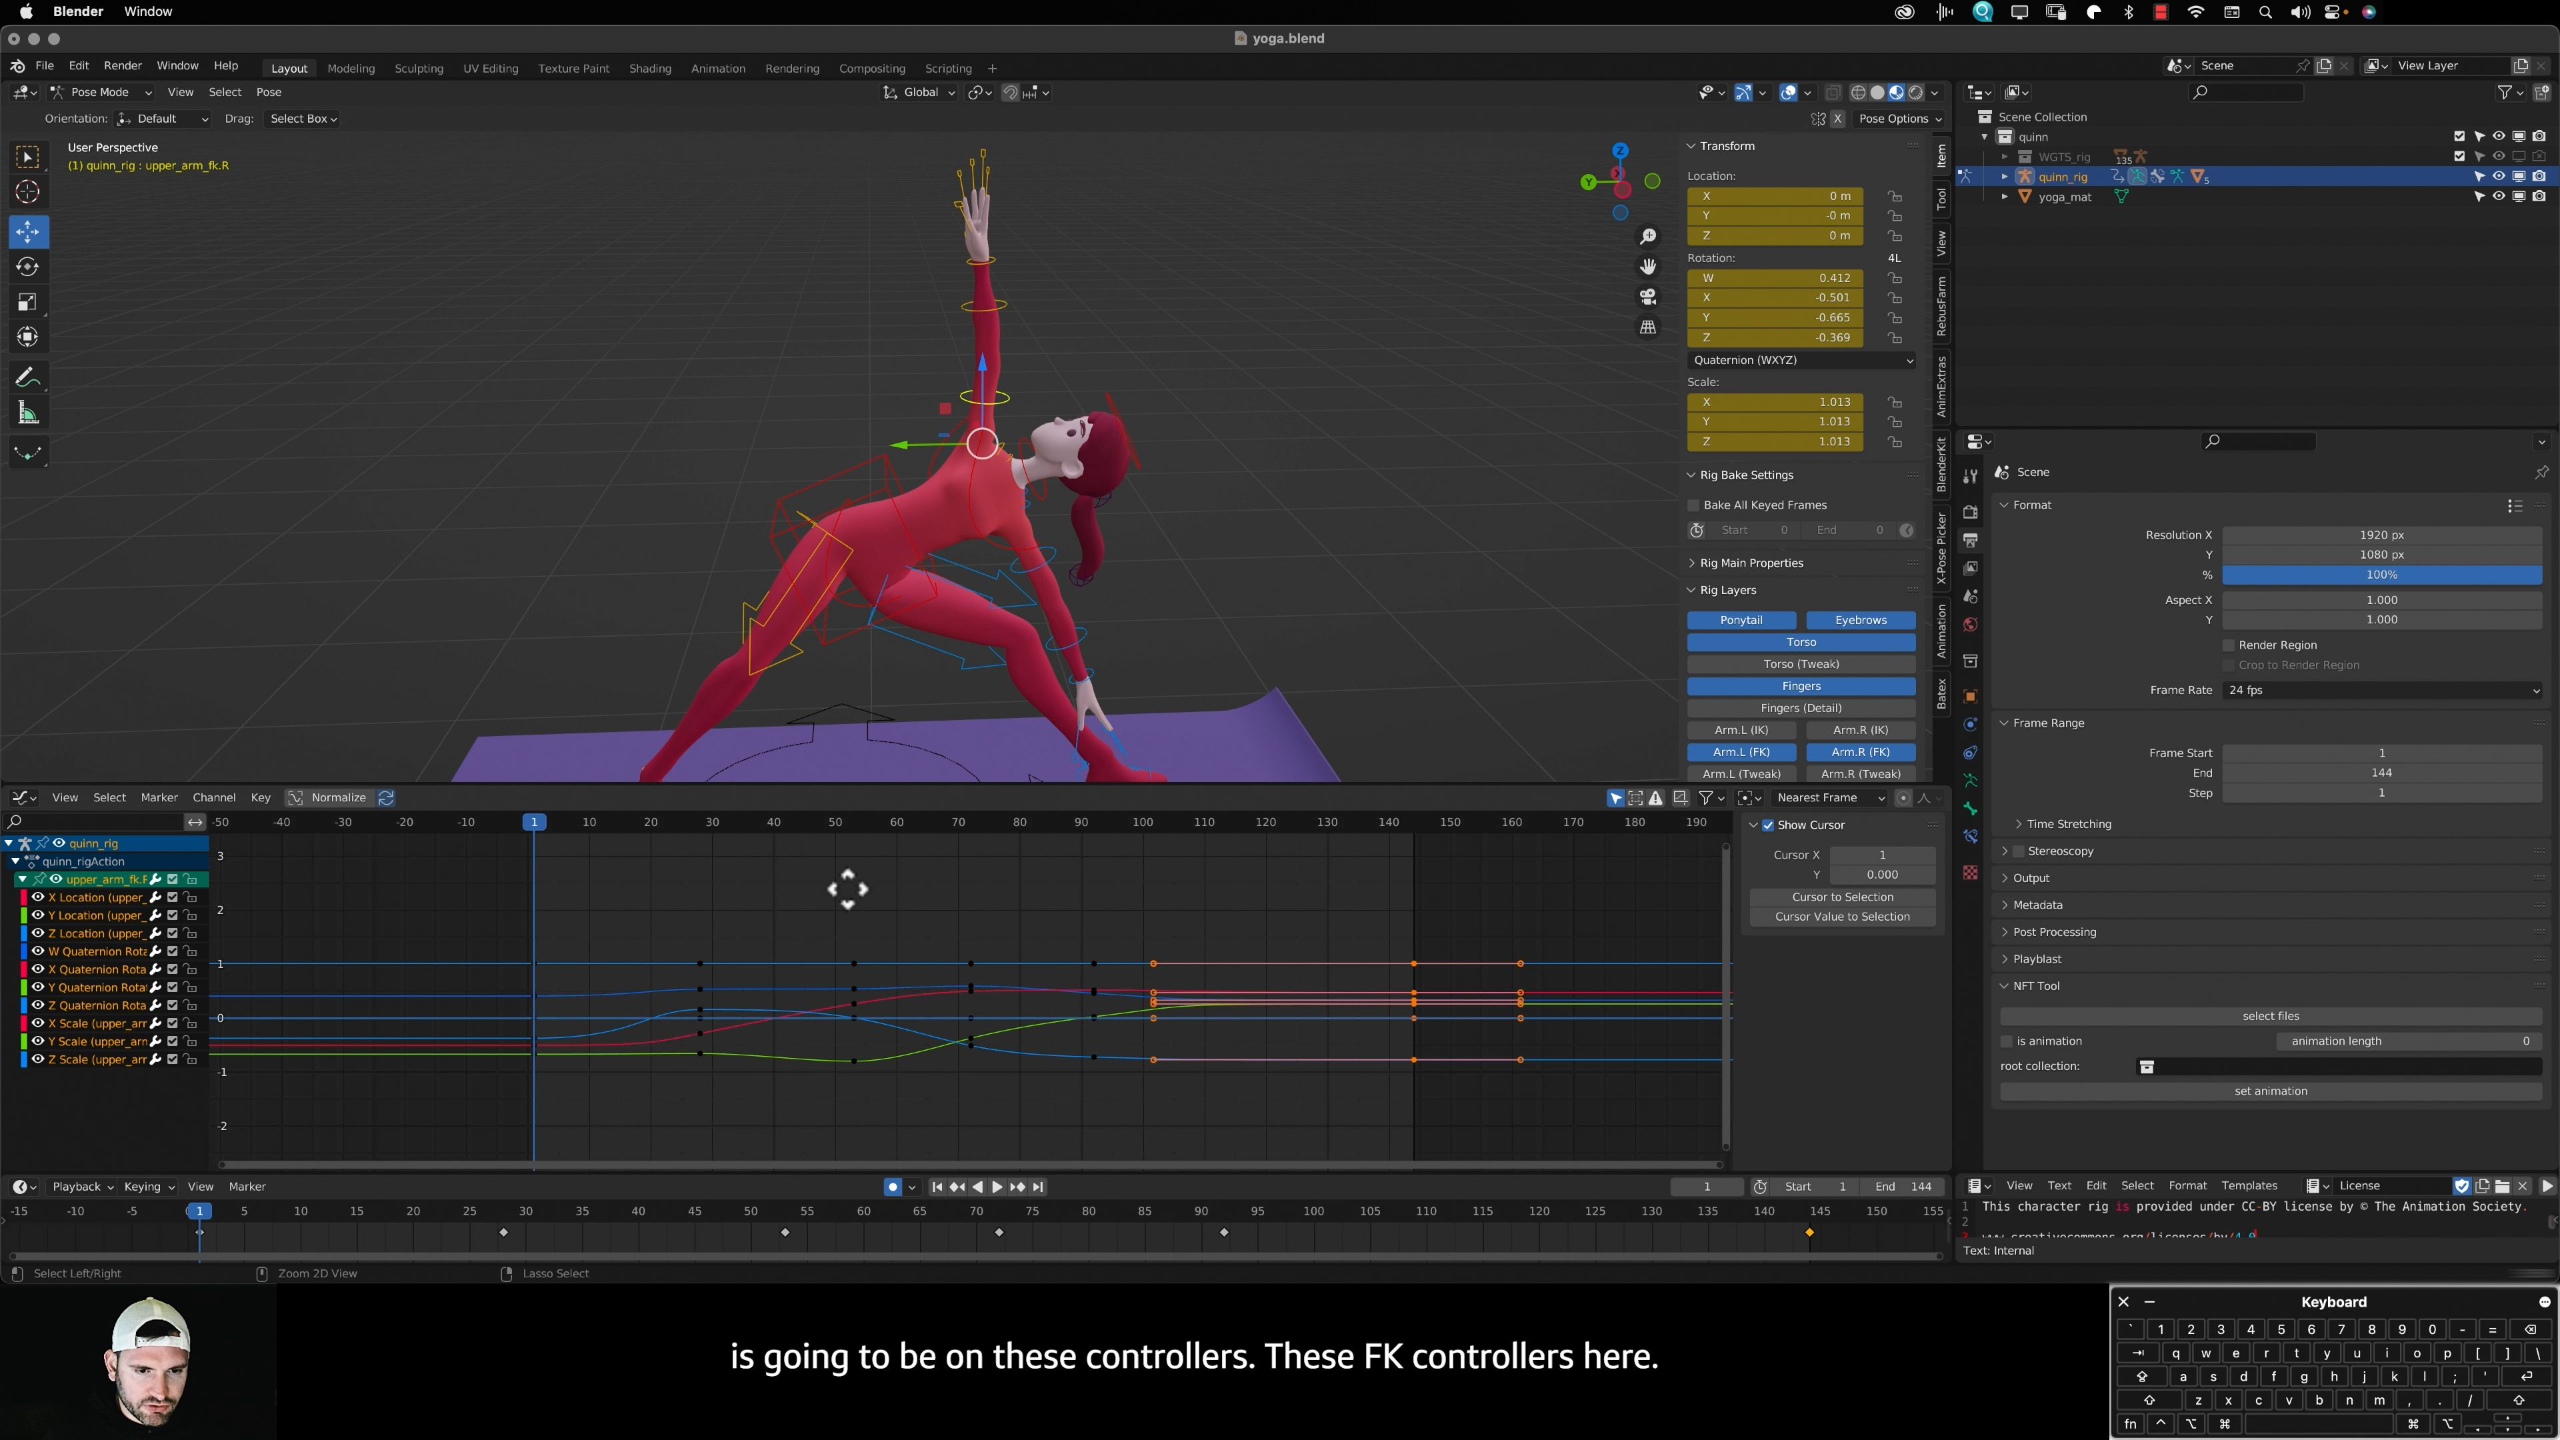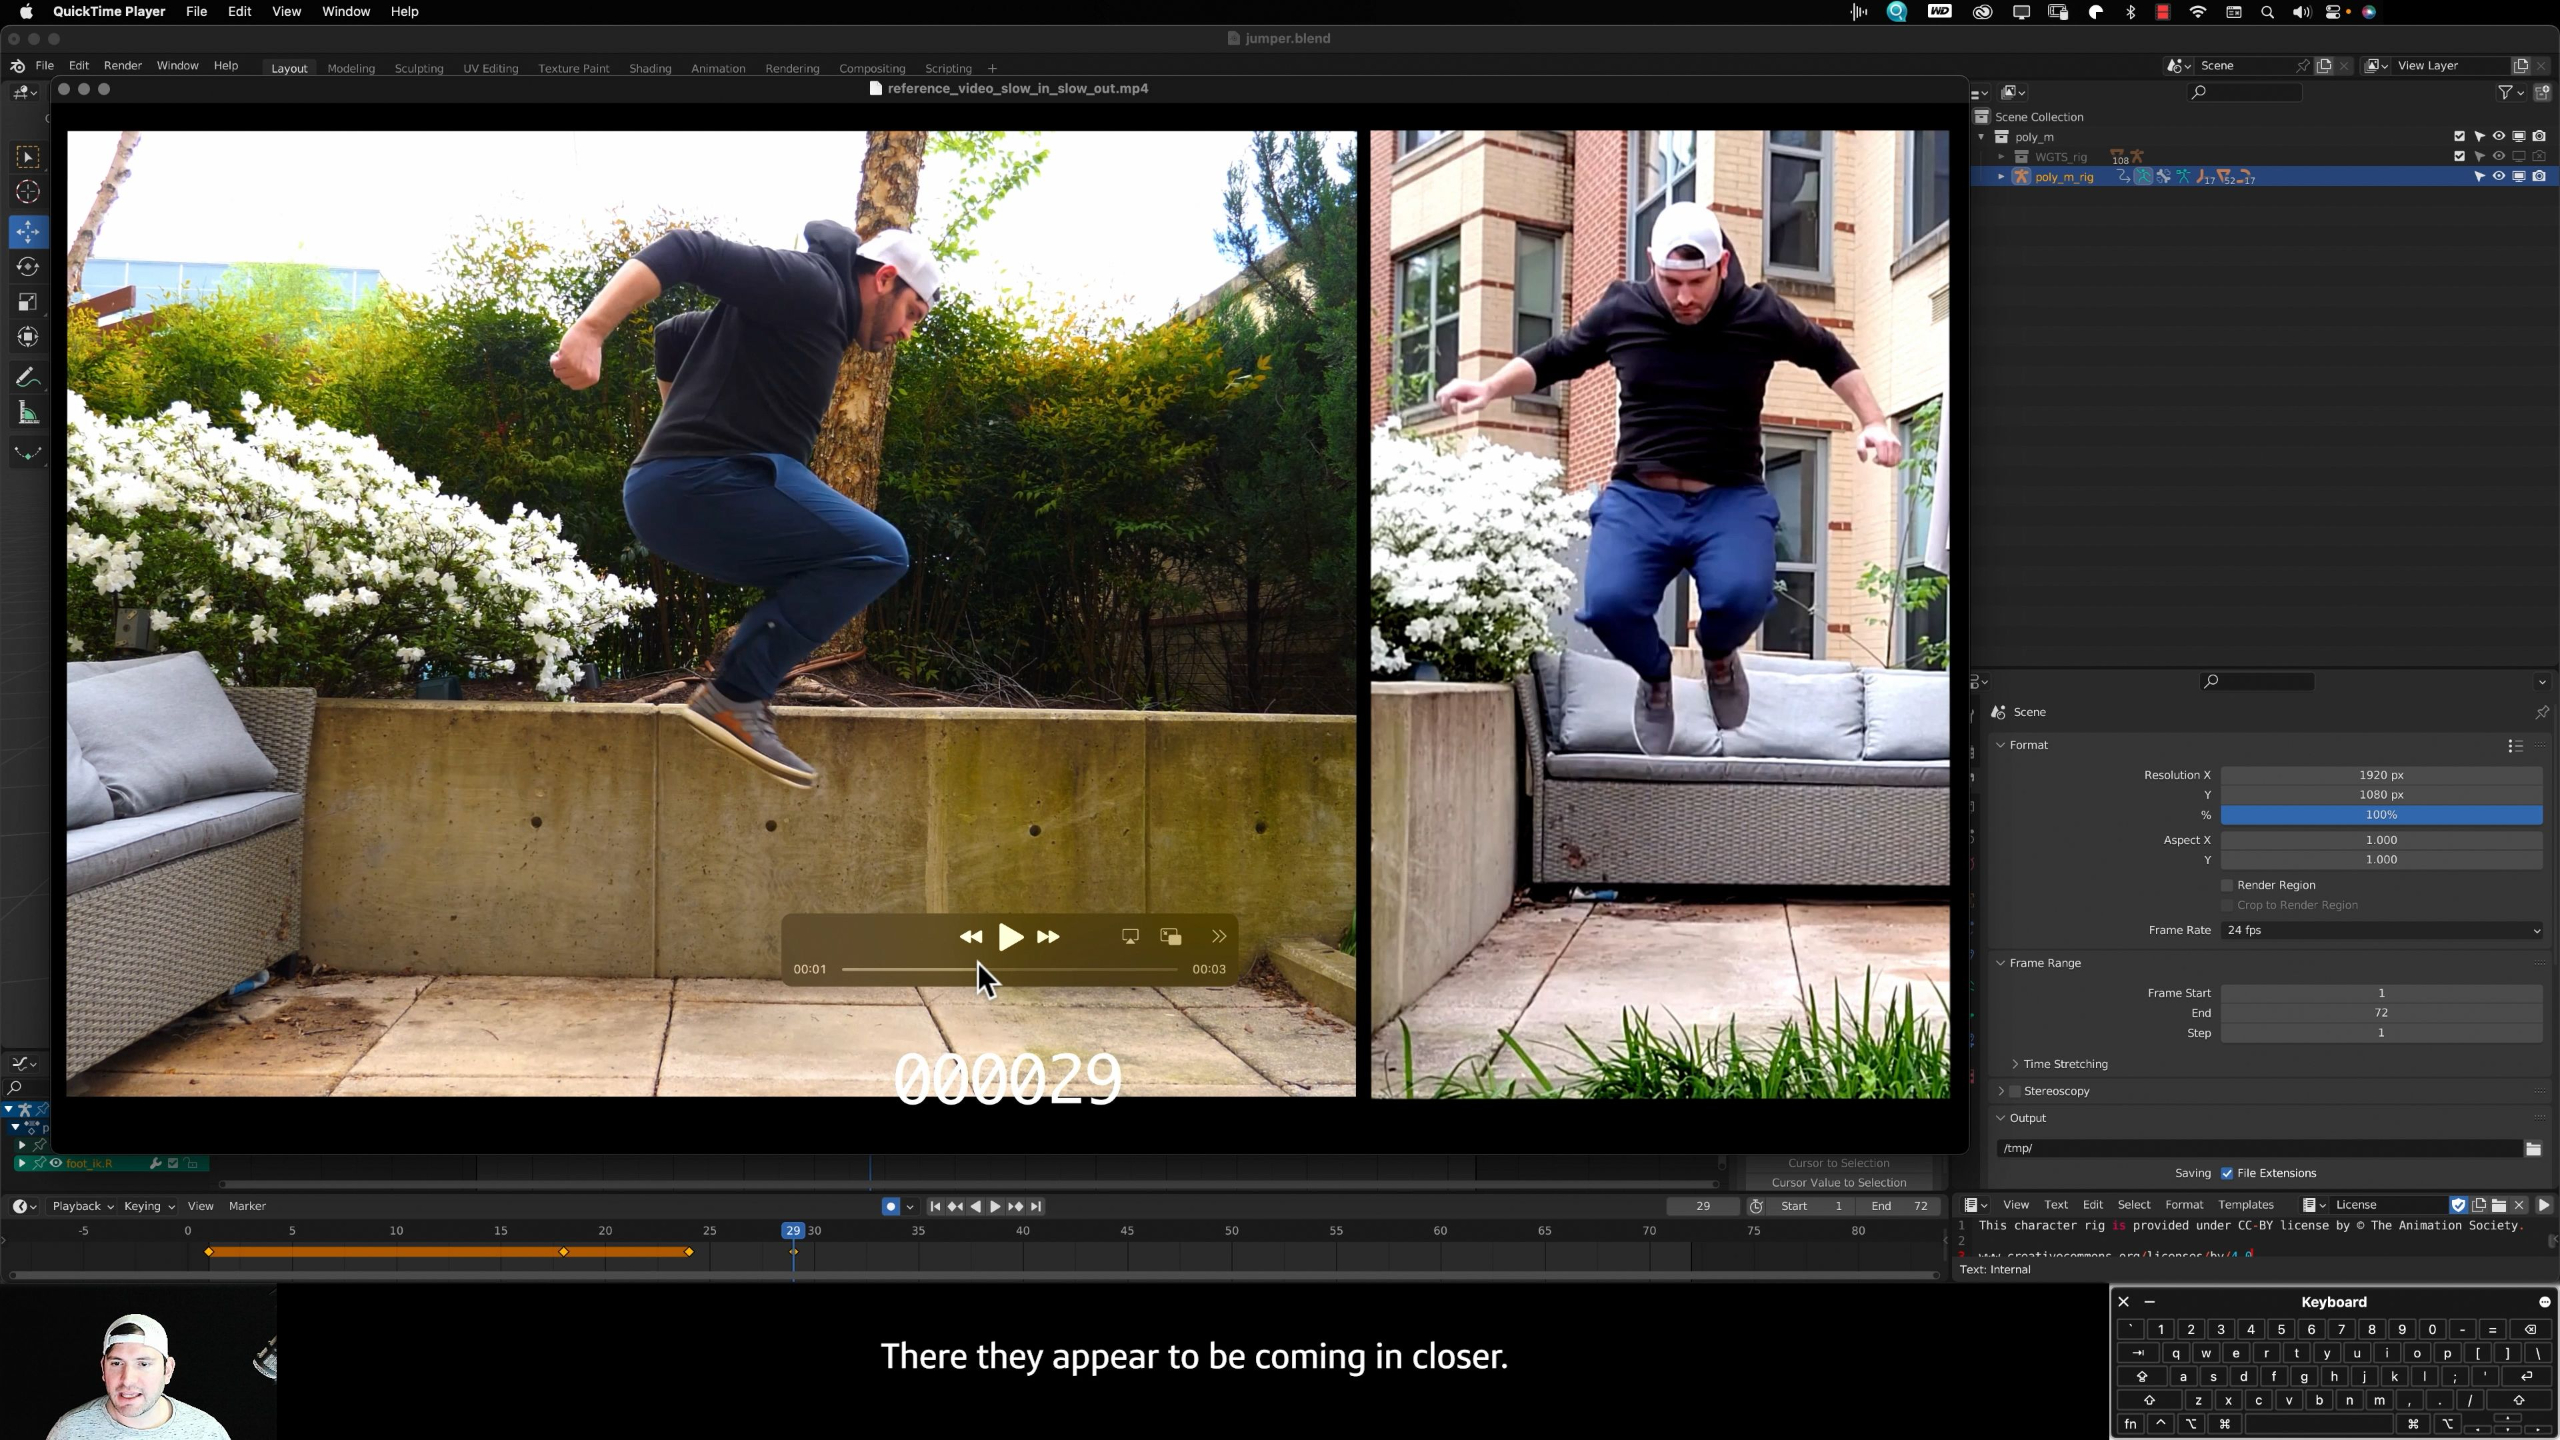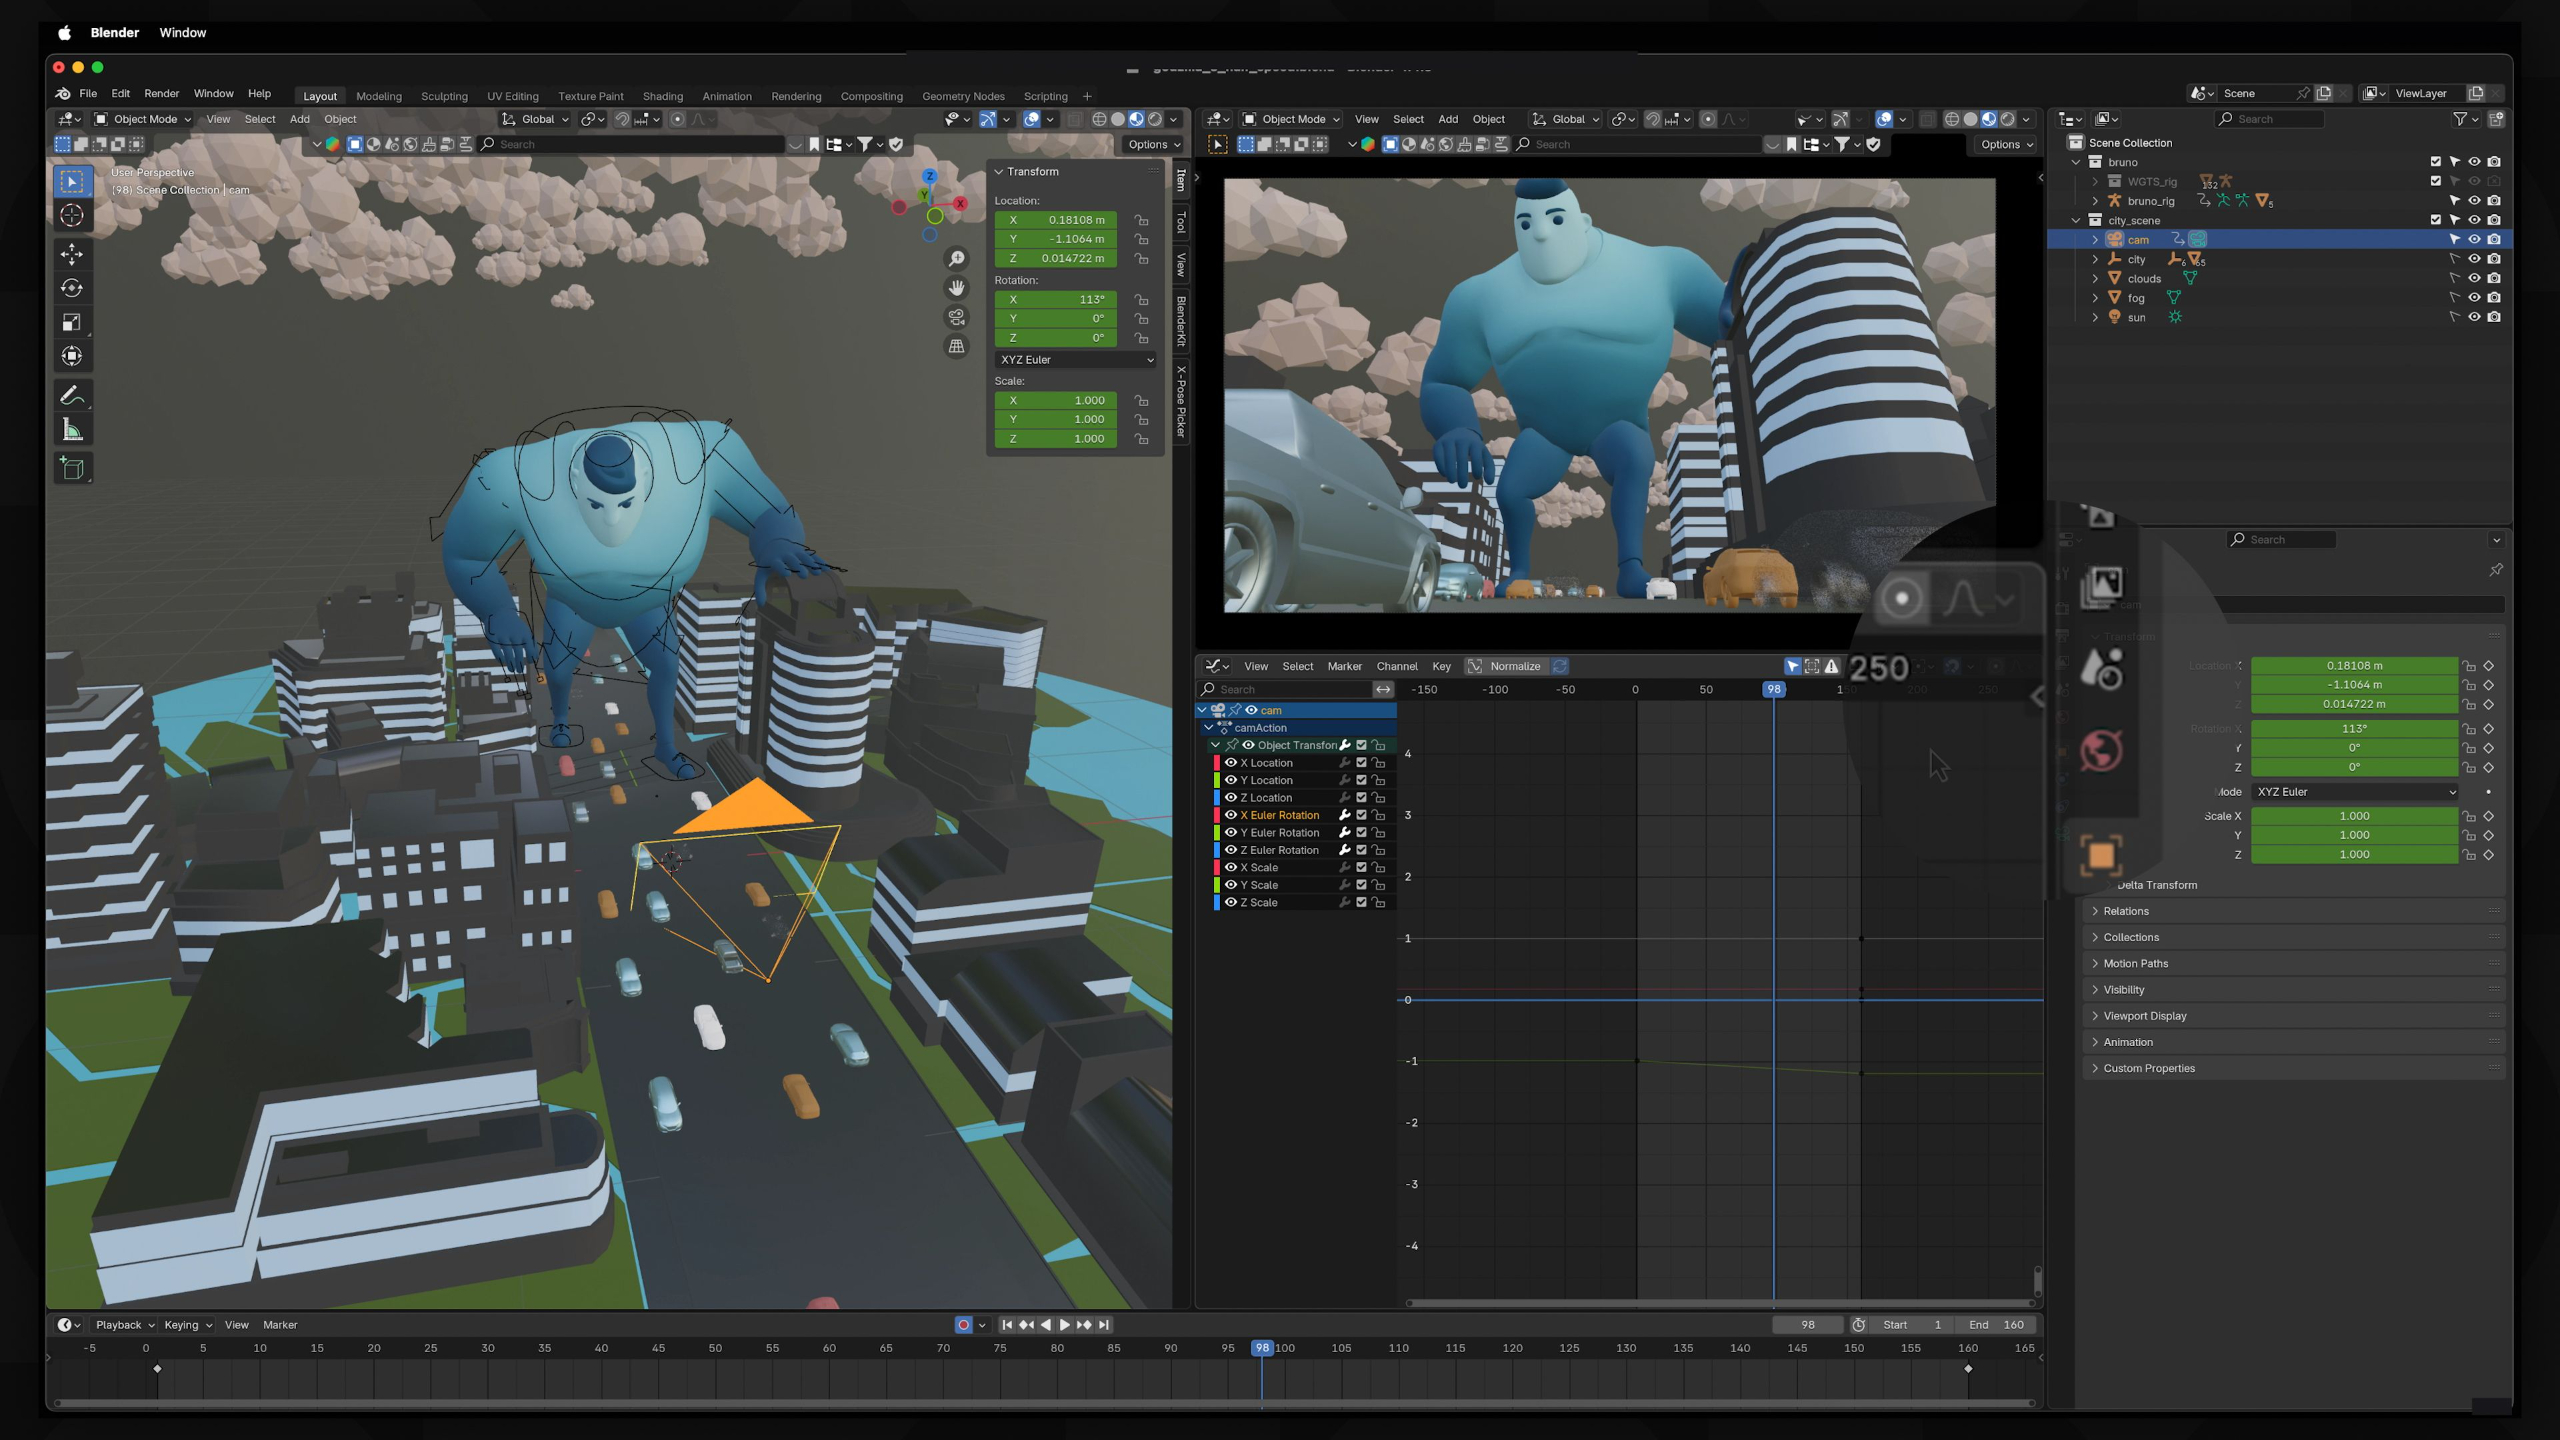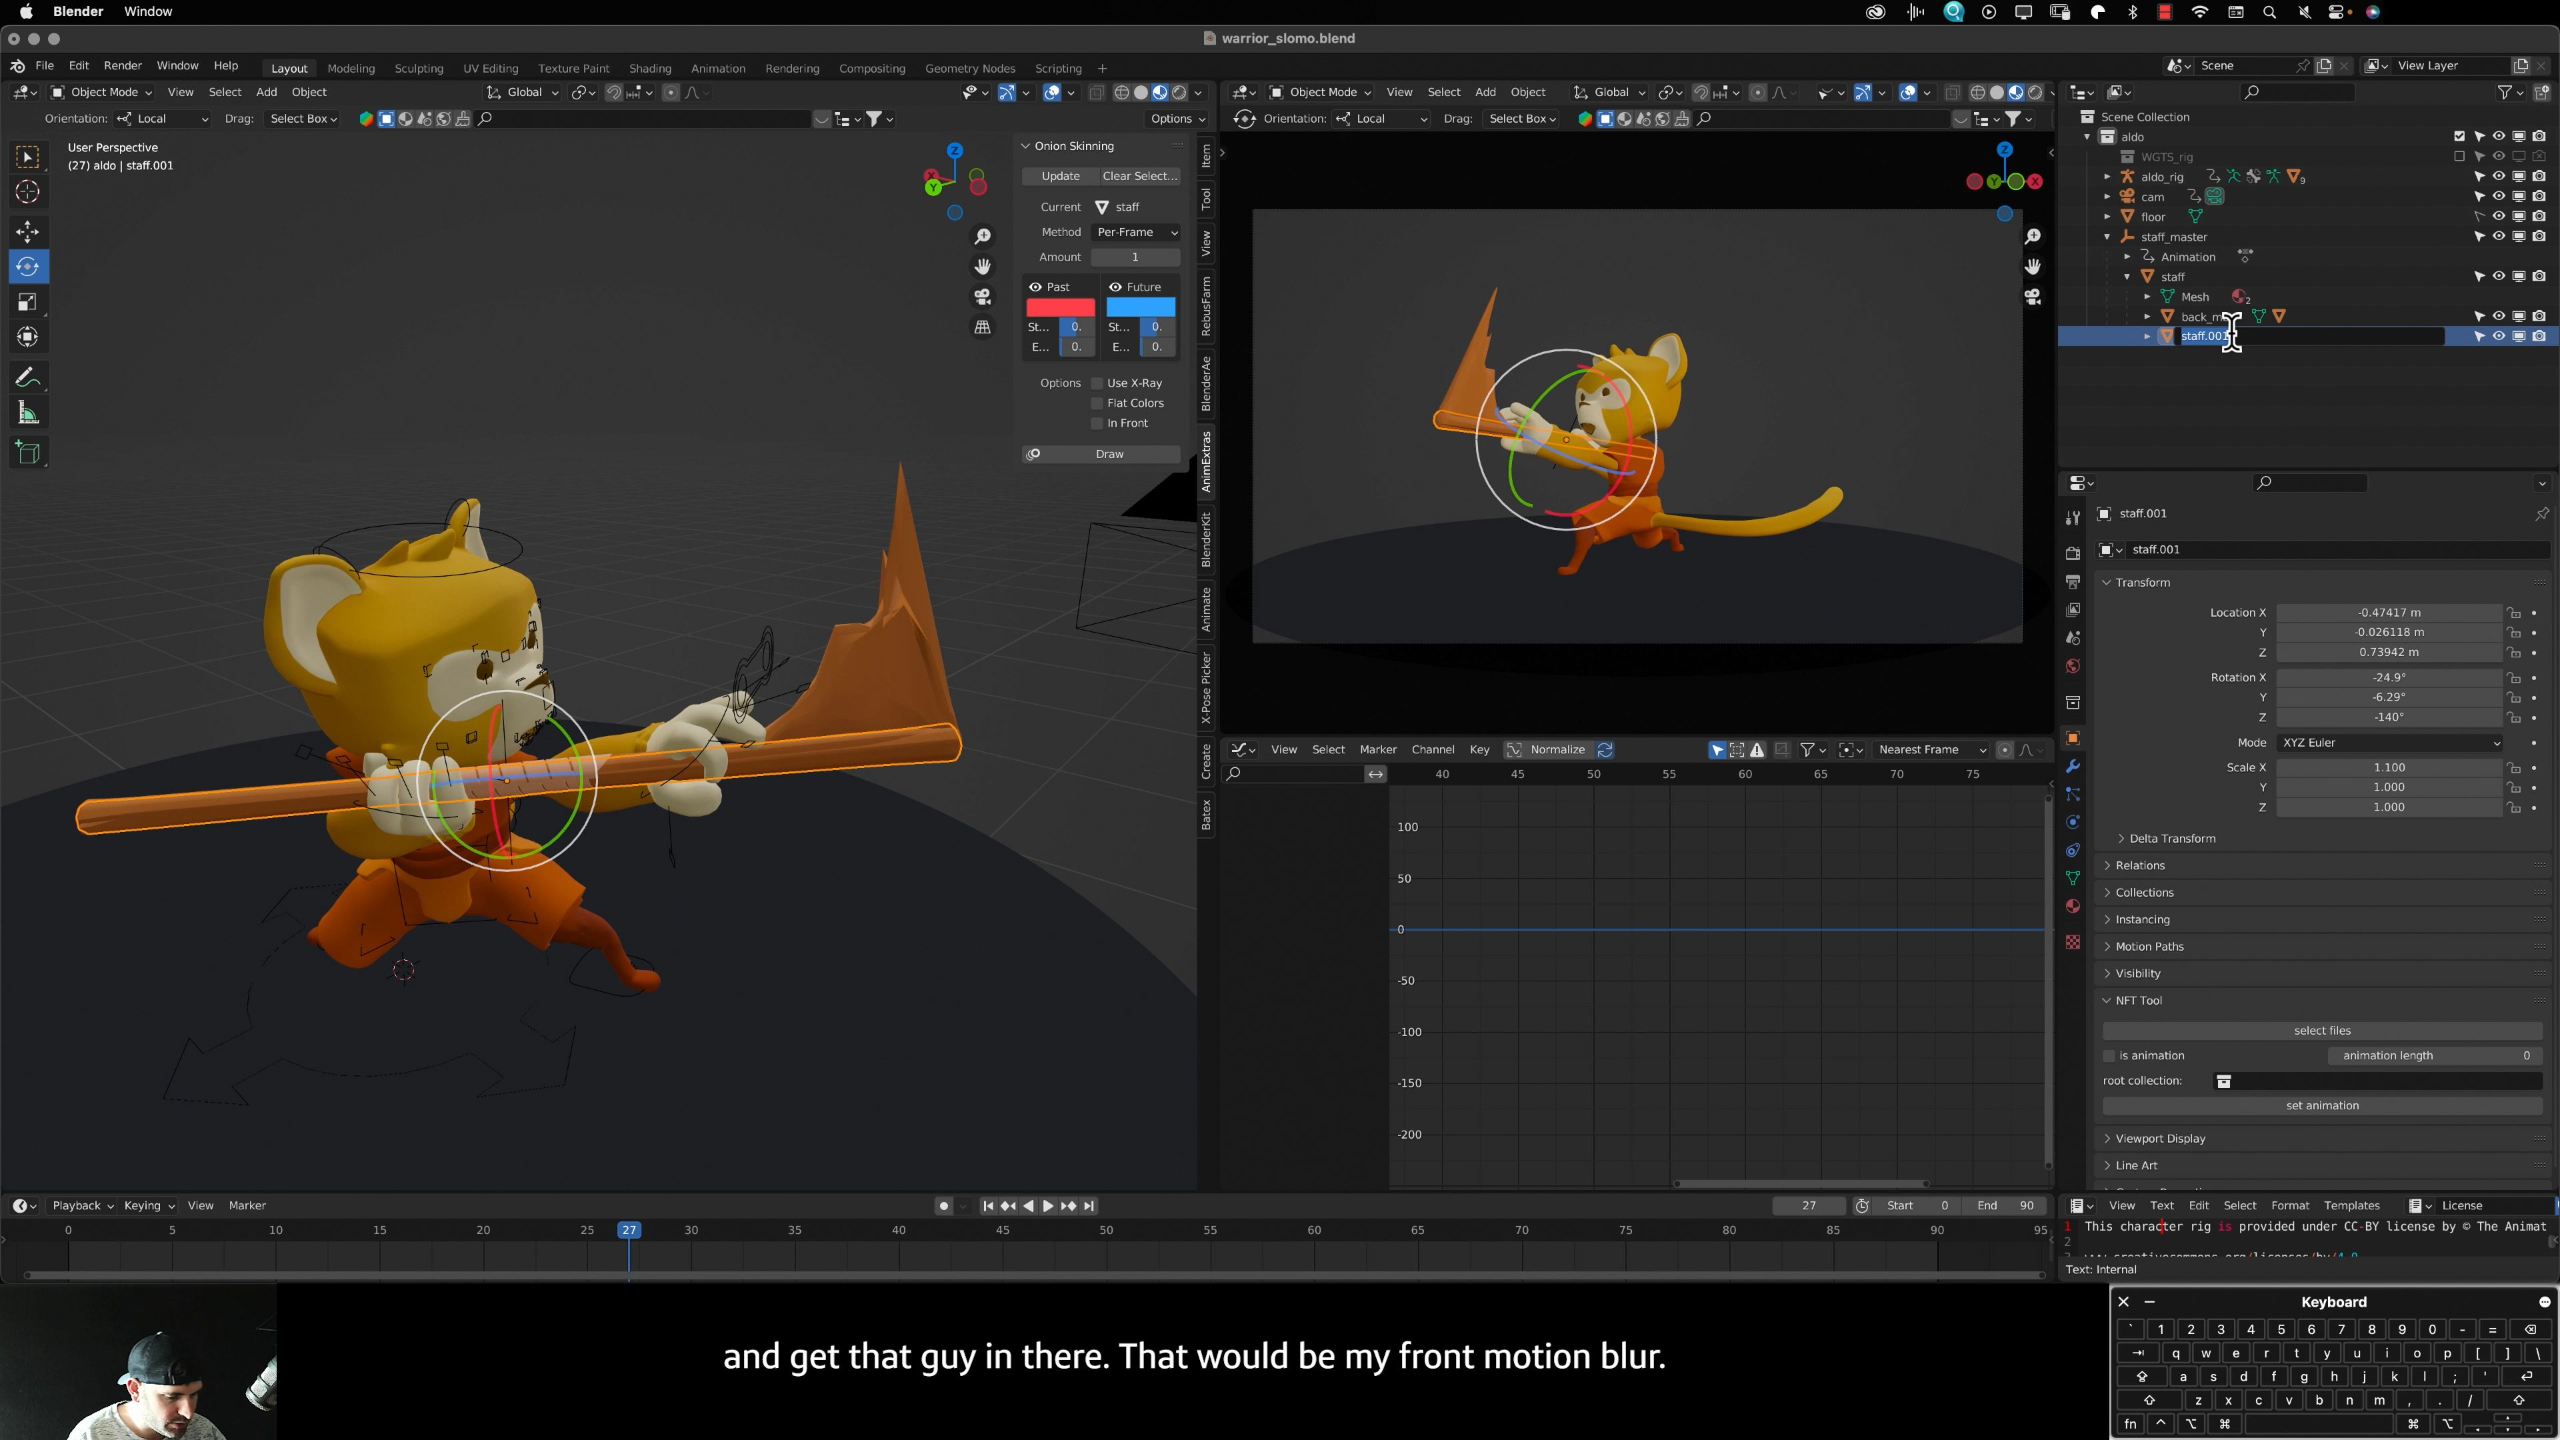
Freelancer
Below lists out all modules and lessons included within this curriculum.
Lessons are in video format with downloadable project files.
Jump to Module: Industry > Fundamentals > 2D Animation > 3D Animation > Motion GFX > Demo Reel > Freelancer Toolkit
_____
Lesson Block 1:
Fundamentals
This series of lessons covers foundational principles that bolster your skills when it comes time to actually create something.
We cover animation history over the last 100 years, design & composition, anatomy, cinematography, storyboarding and more!
These skills are what separates the novices from the artists who thrive in the industry.
Lessons available for:

Lesson 1: The Important Stuff
This lesson introduces the Fundamentals of Animation & Design module, where students begin learning the timeless principles that shape strong animation and motion graphics work. Students will get a practical overview of the essential skills ahead, including storyboarding, styleframes, characters, design, color, composition, motion, rigs, expression, and style, without unnecessary filler.
Lesson 6: Depth, Space & Perspective
This lesson introduces depth, space, and perspective, showing students how to create the illusion of 3D form and distance even when working on a 2D surface. Students will learn practical techniques like overlapping, placement, size, detail, color, movement, and 1, 2, and 3-point perspective to build stronger animated scenes and compositions.
Lesson 2: The History of Animation I: Origins & Innovations
This lesson explores the earliest origins of animation, from shadow puppetry and optical toys to the first projection devices, film cameras, stop-motion experiments, and hand-drawn animated films. Students will see how persistence of vision, early inventors, and pioneering artists like Émile Reynaud, the Lumière brothers, Georges Méliès, J. Stuart Blackton, and Émile Cohl helped shape animation into the art form we know today.
Lesson 7: Anatomy & Biomechanics
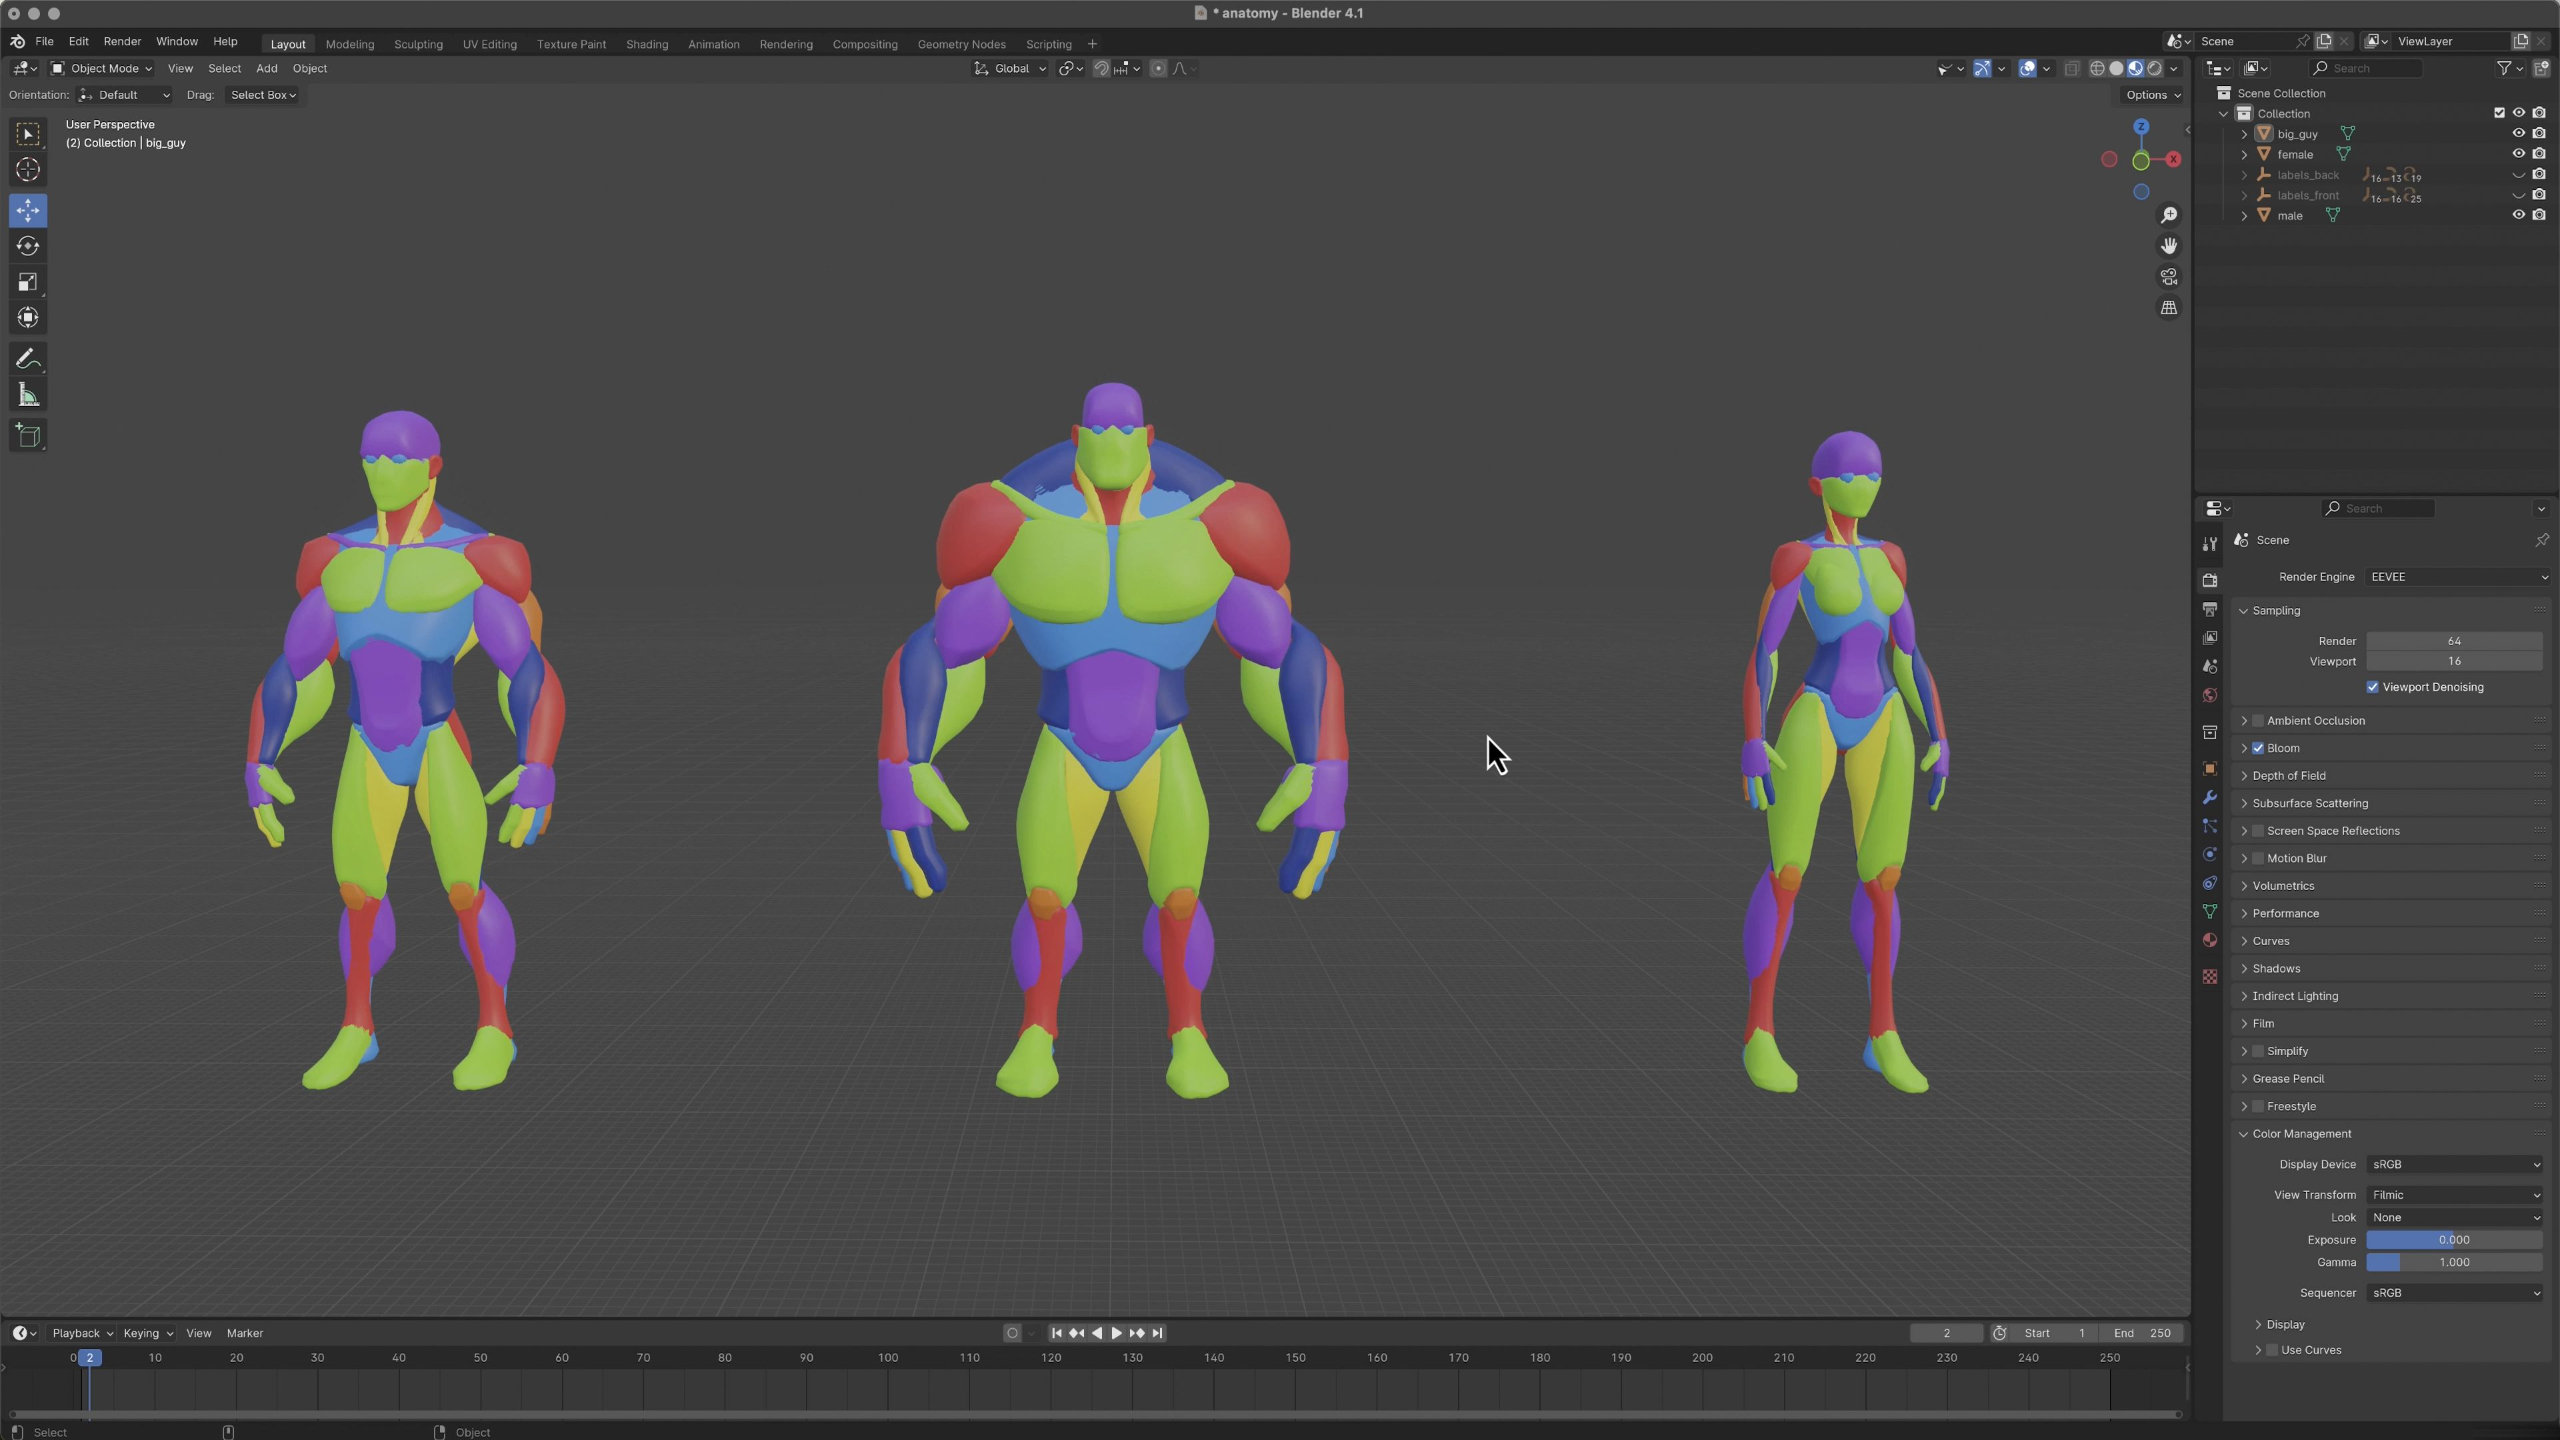
This lesson introduces anatomy and biomechanics, showing students how bones, joints, muscles, fat, facial structures, and body proportions influence the way characters move. Students will learn how understanding human, animal, bird, and creature structure helps animators create motion that feels believable, expressive, and physically grounded.
Lesson 2: The History of Animation II: An Era of Invention & Imagination
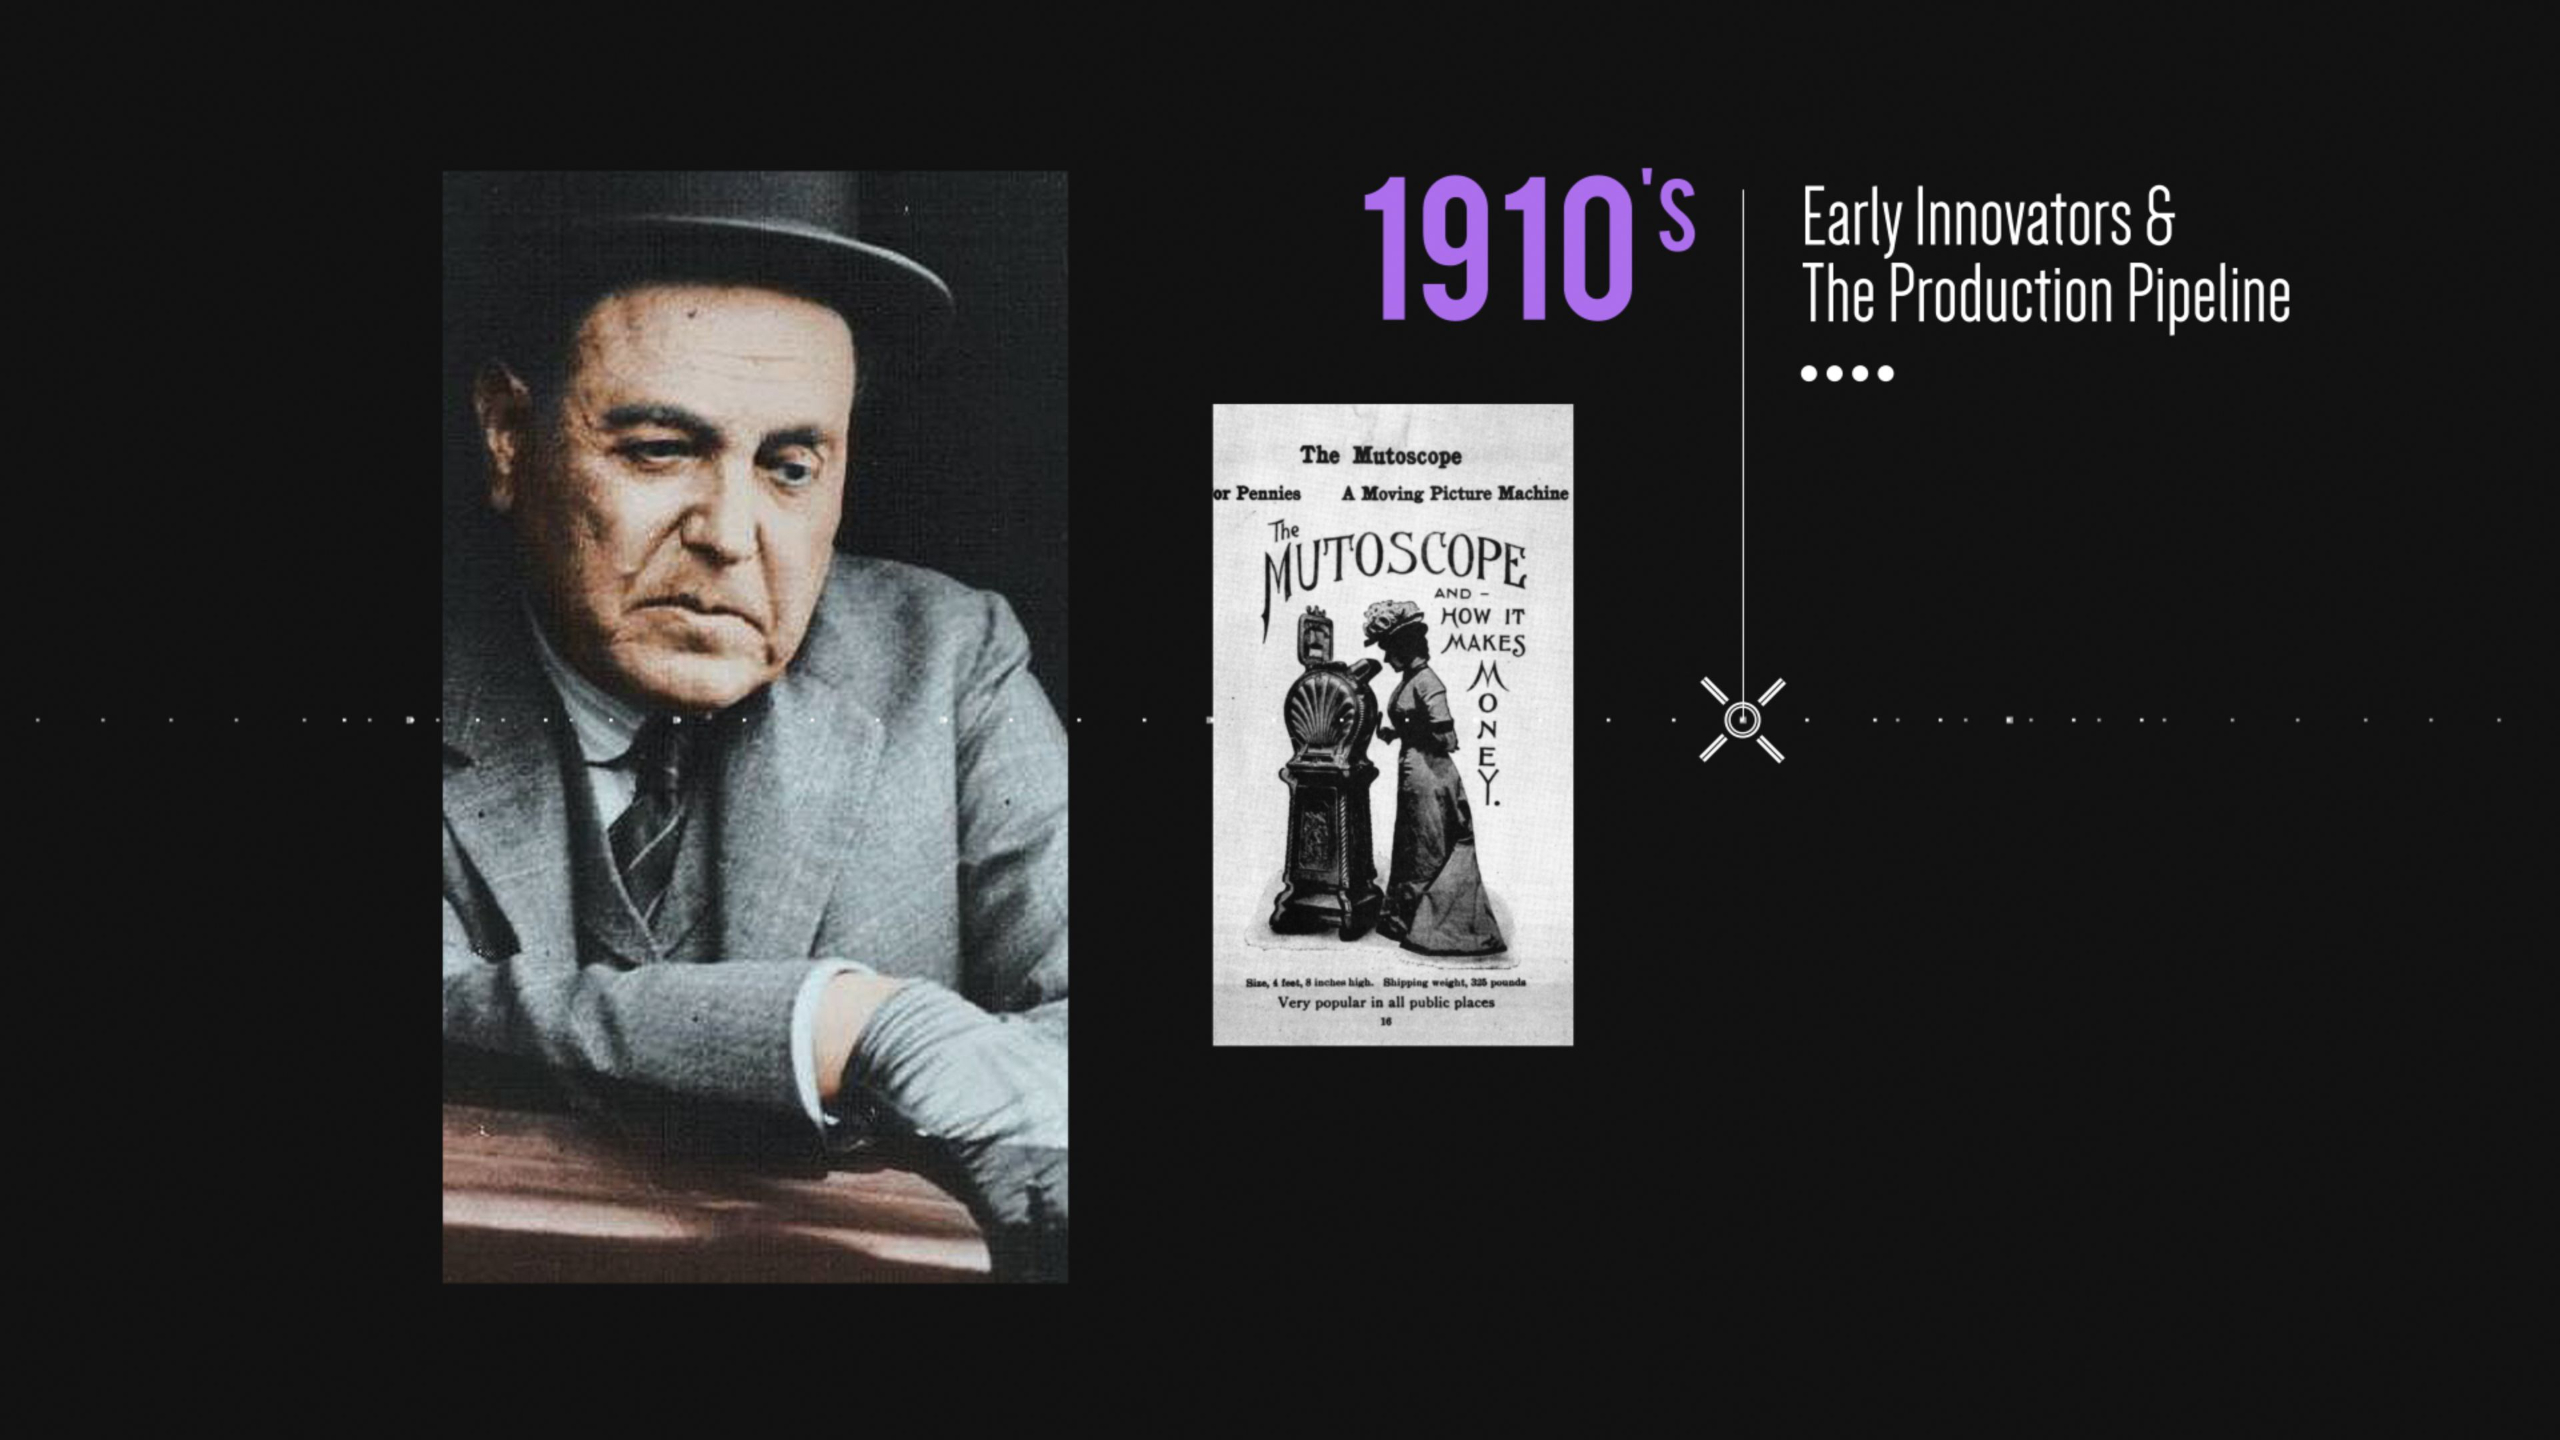
This lesson continues the history of animation by walking students through the major inventions, artists, studios, technologies, and cultural shifts that shaped the medium from the 1910s through the modern era. Students will see how animation evolved from early shorts and studio pipelines into television, anime, CGI, video games, streaming, and today’s global animation industry.
Lesson 8: Essential Physics
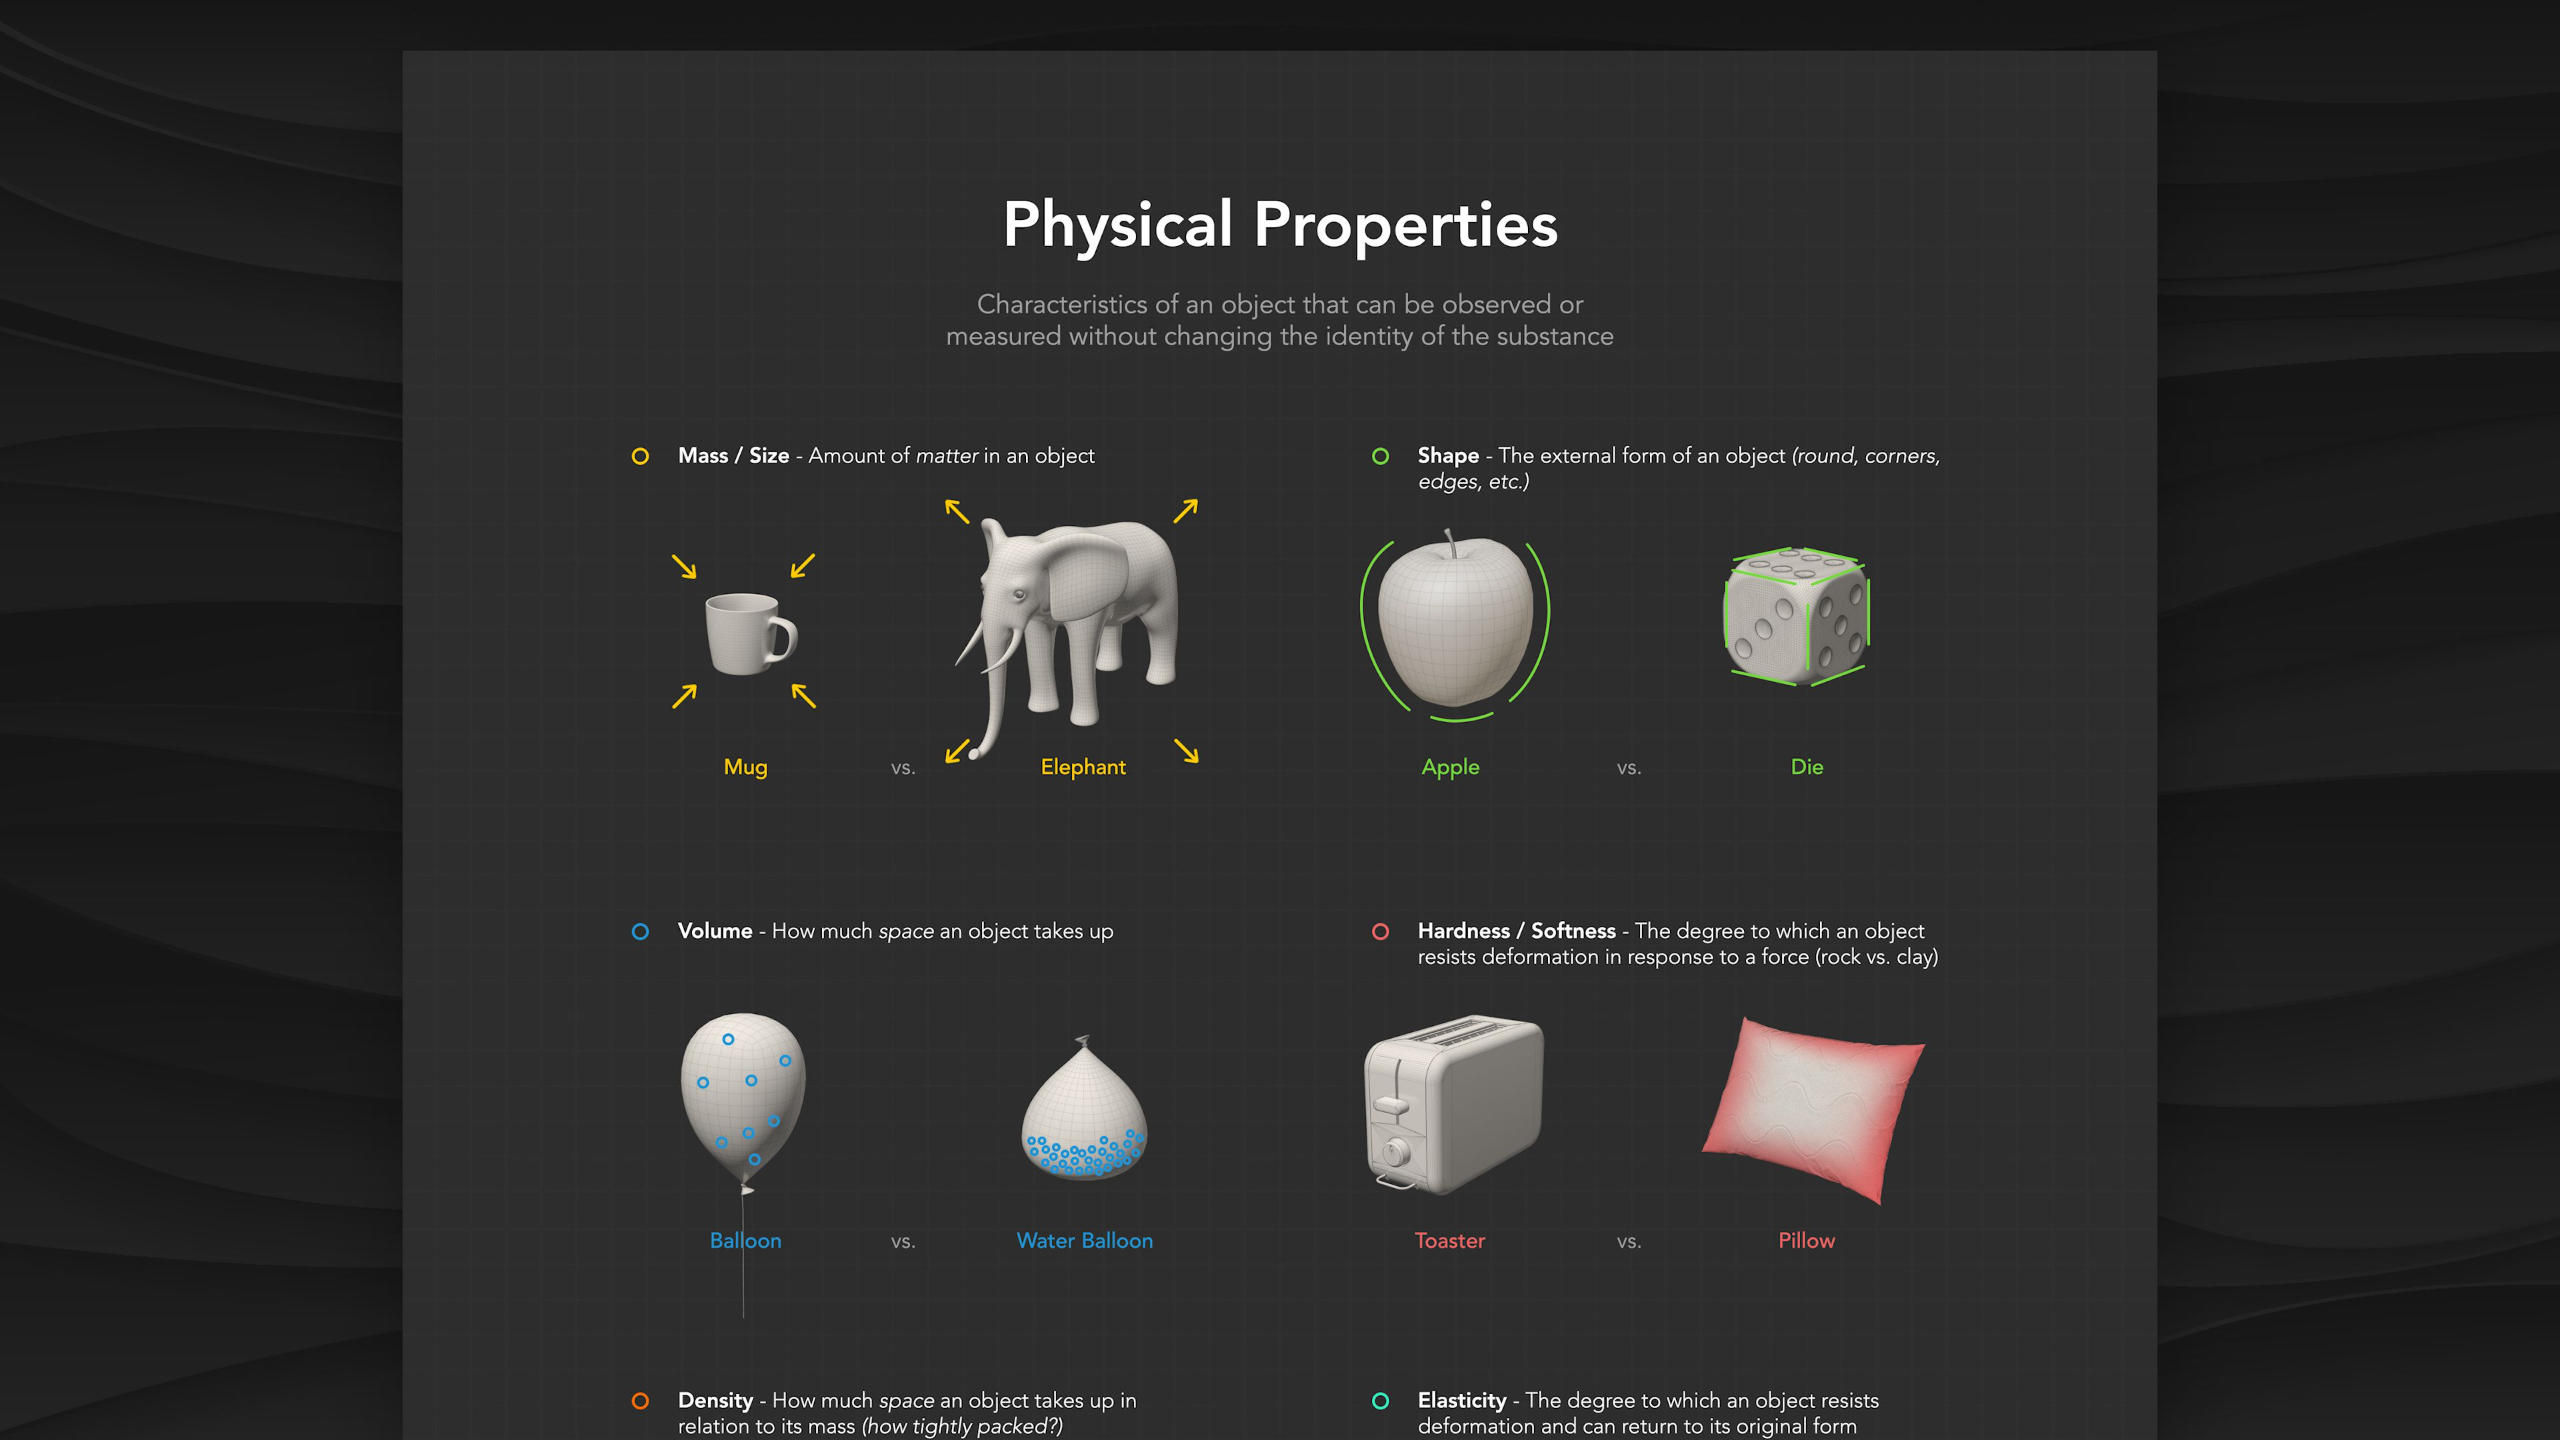
This lesson introduces the essential physics behind animation, helping students understand how timing, spacing, scale, gravity, inertia, momentum, force, center of gravity, and action-reaction shape believable movement. Students will learn how these real-world principles inform animation decisions while still leaving room to exaggerate, stylize, and make motion feel more appealing.
Lesson 2: The History of Animation III: A Future Untold
This lesson looks ahead at the future of animation, exploring how emerging technologies like AI, real-time rendering, virtual production, VR, AR, mixed reality, and mobile experiences may reshape the industry. Students will learn why animation remains a powerful and lasting form of communication, while seeing how adaptability, taste, and creative judgment will become even more important as tools and markets continue to evolve.
Lesson 9: 12 Principles of Animation
This lesson introduces Disney’s 12 Principles of Animation, showing students the timeless techniques behind believable, expressive, and appealing movement. Students will explore concepts like squash and stretch, anticipation, staging, timing, arcs, follow-through, exaggeration, solid drawing, and appeal so they can build a stronger foundation for both 2D and 3D animation.
Lesson 3: Design, Philosophy & Composition I
This lesson introduces the core differences between art and design, then teaches students how design principles like alignment, repetition, contrast, hierarchy, negative space, balance, proportion, emphasis, and the rule of thirds improve animation and motion graphics work. Students will learn how these principles help create clearer, more polished compositions that guide the viewer’s eye and make creative choices feel intentional.
Lesson 10: Camera Operator
This lesson introduces camera fundamentals for animators, showing how real-world camera features, lenses, shot sizes, framing, angles, movement, focus, and film equipment translate into virtual camera work. Students will learn how to use the camera as a storytelling tool to guide the audience’s eye, create stronger compositions, and make animated scenes feel more cinematic.
Lesson 3: Design, Philosophy & Composition II
This lesson introduces Gestalt Theory, showing students how the mind naturally groups, simplifies, connects, and organizes visual information. Students will explore principles like similarity, closure, continuity, proximity, figure and ground, focal point, parallelism, common fate, and past experience so they can make stronger design and composition choices in their animation work.
Lesson 11: Language & Content
This optional lesson introduces the role of writing in animation, from developing original ideas and scripts to interpreting client briefs, white papers, and story materials. Students can explore the Creative Writing Concepts guide to better understand how written content becomes storyboards, scripts, and clearer creative direction for animated projects.
Lesson 4: Color Theory I Foundations
This lesson introduces the foundations of color theory, helping students understand how the human eye sees color, how light and pigment behave differently, and why RGB, CMYK, and other color models matter in digital animation. Students will explore color wheels, hue, saturation, value, color schemes, and common color controls so they can make stronger creative choices in animation, design, and compositing.
Lesson 12: Storyboard Ideation
This lesson introduces storyboarding as a core pre-visualization tool for planning animated, live-action, commercial, interactive, and game-based content. Students will learn how storyboards, thumbnail sketches, and animatics help organize ideas, define shots, communicate with clients or teams, and test the flow of a story before production begins.
Lesson 4: Color Theory I Application
This lesson teaches students how to apply color theory in real creative work, from understanding the emotional psychology of color to building color schemes for animation, film, marketing, and brand design. Students will explore color scripts, film stills, logo palettes, and branding style guides so they can use color more intentionally to guide emotion, attention, and storytelling.
Lesson 13: Styleframing & Moodboards
This lesson introduces styleframes and mood boards as key pre-production tools for exploring the look, tone, and creative direction of an animated project before production begins. Students will learn how to develop visual options, gather inspiration, present ideas clearly, and make sure their chosen style is both creatively exciting and realistic to animate.
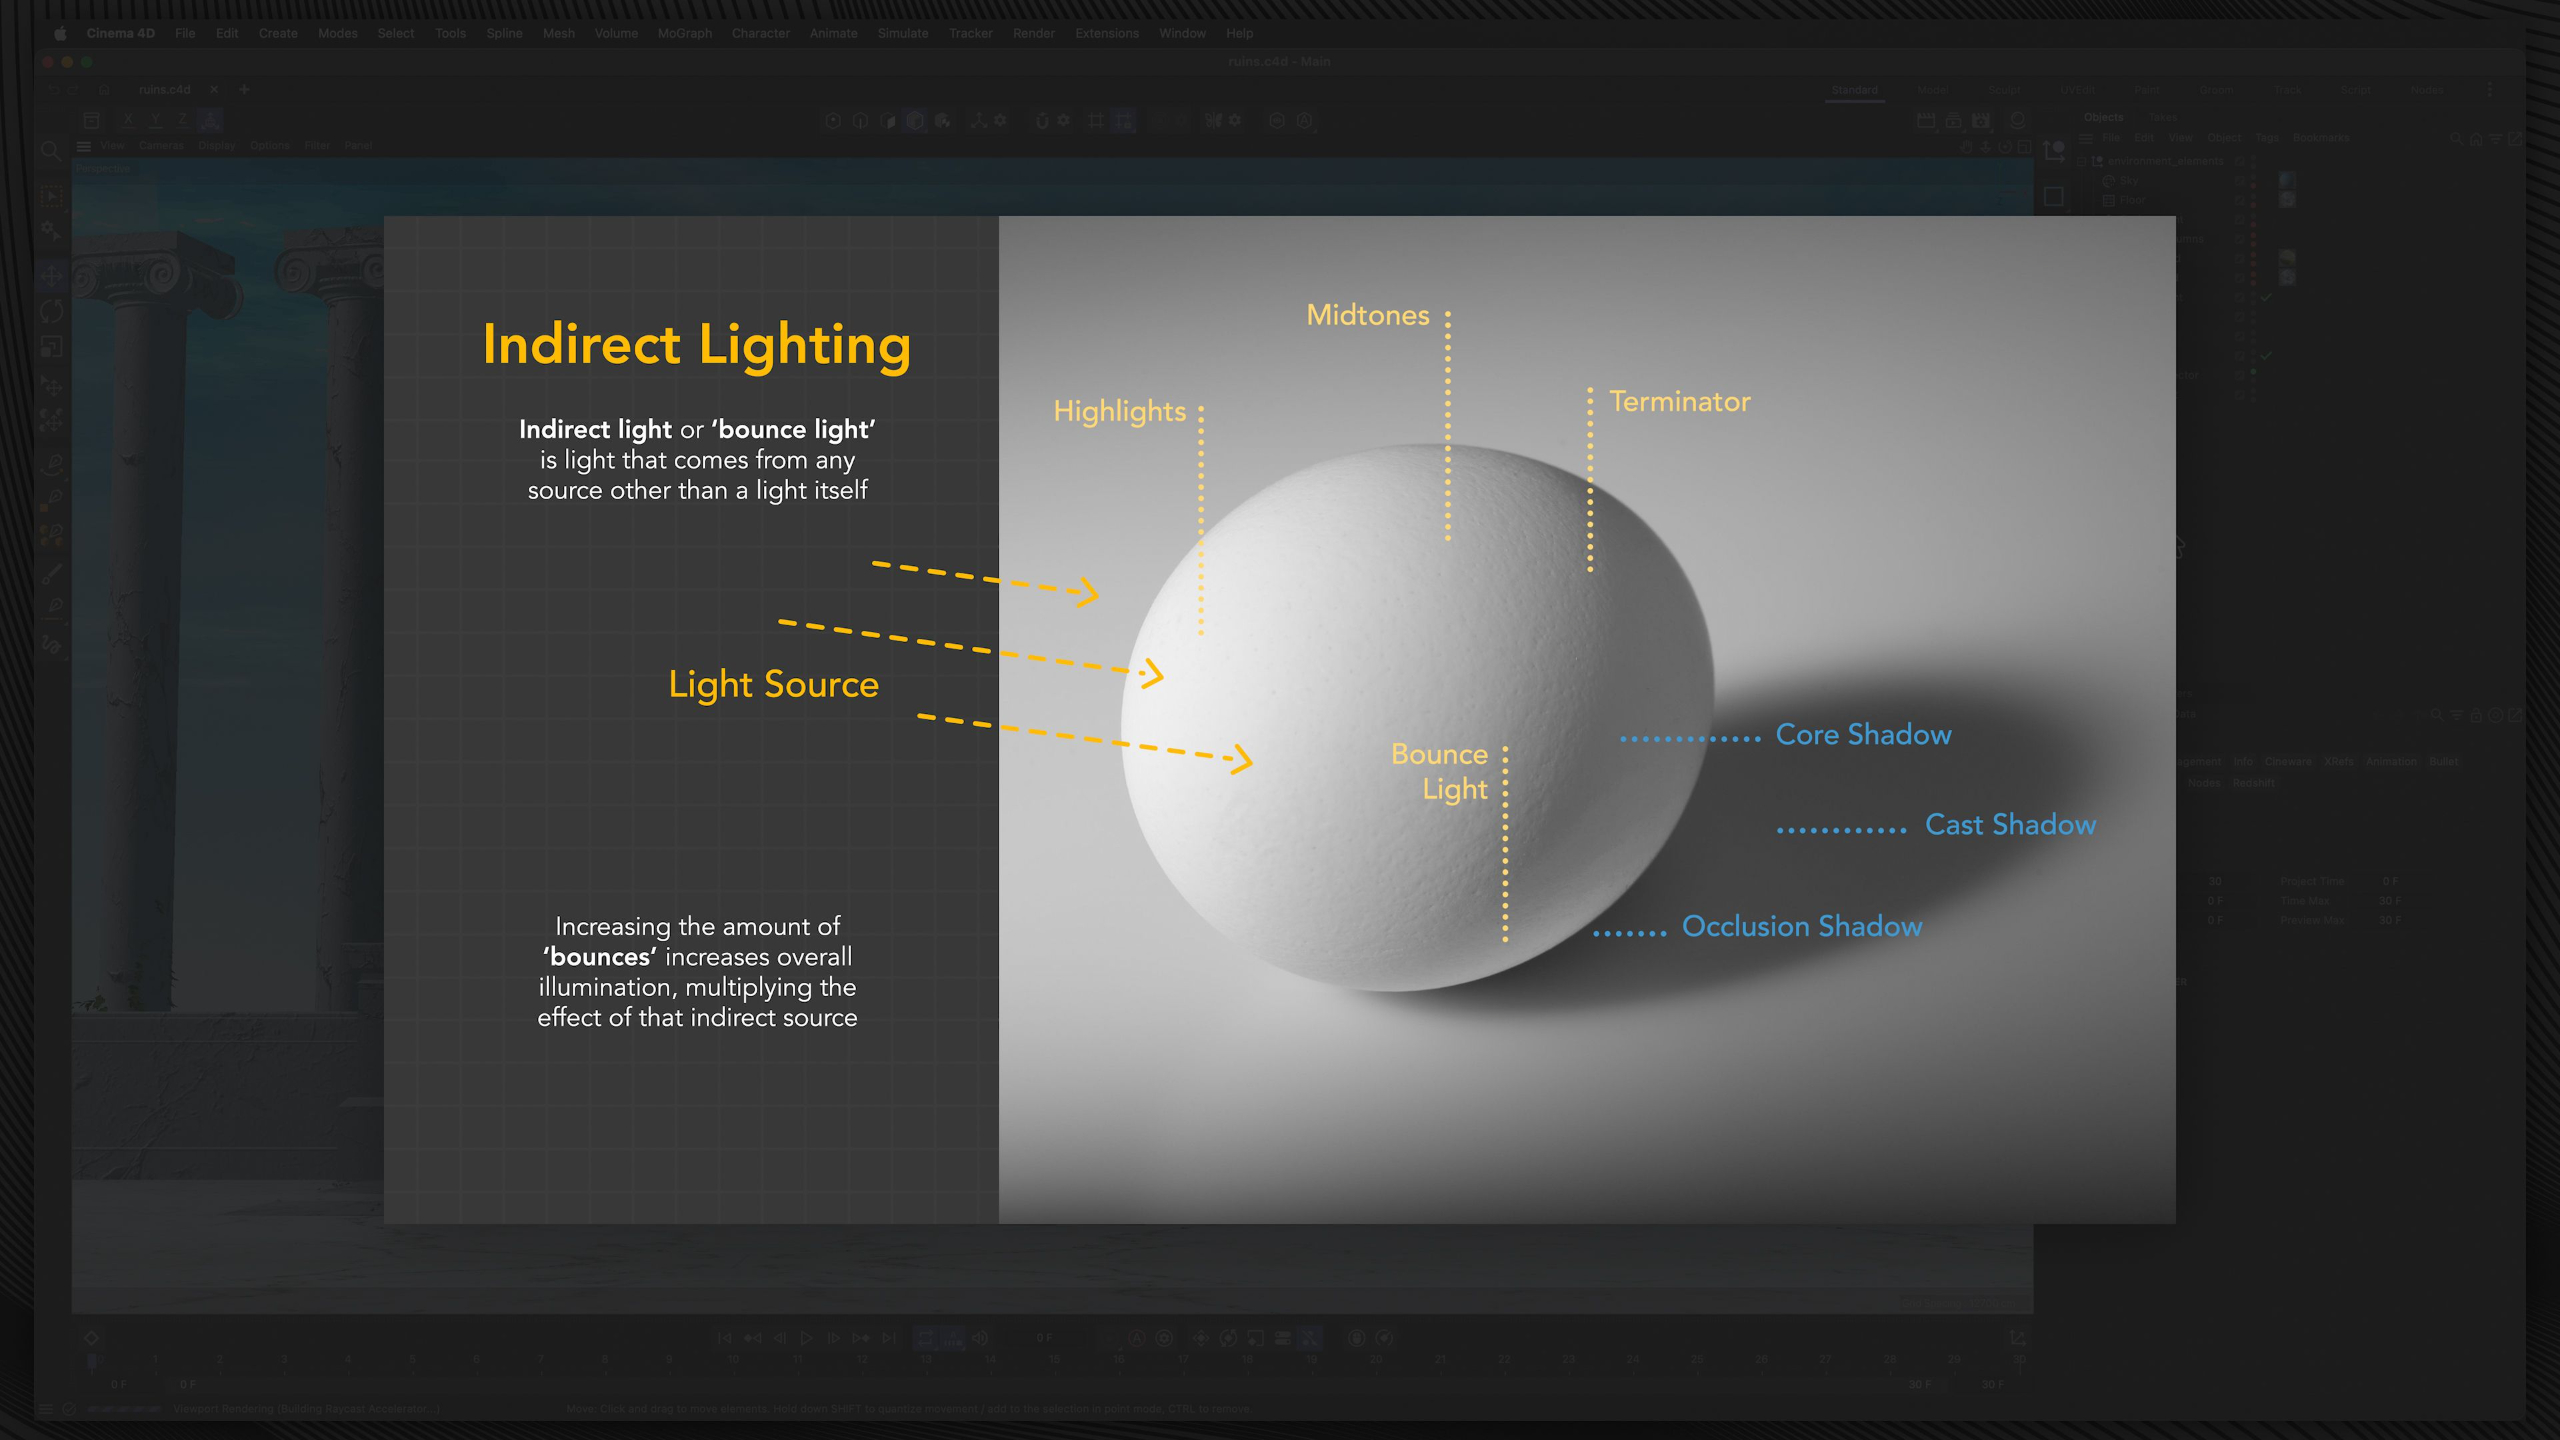
Lesson 5: Lighting For Motion I
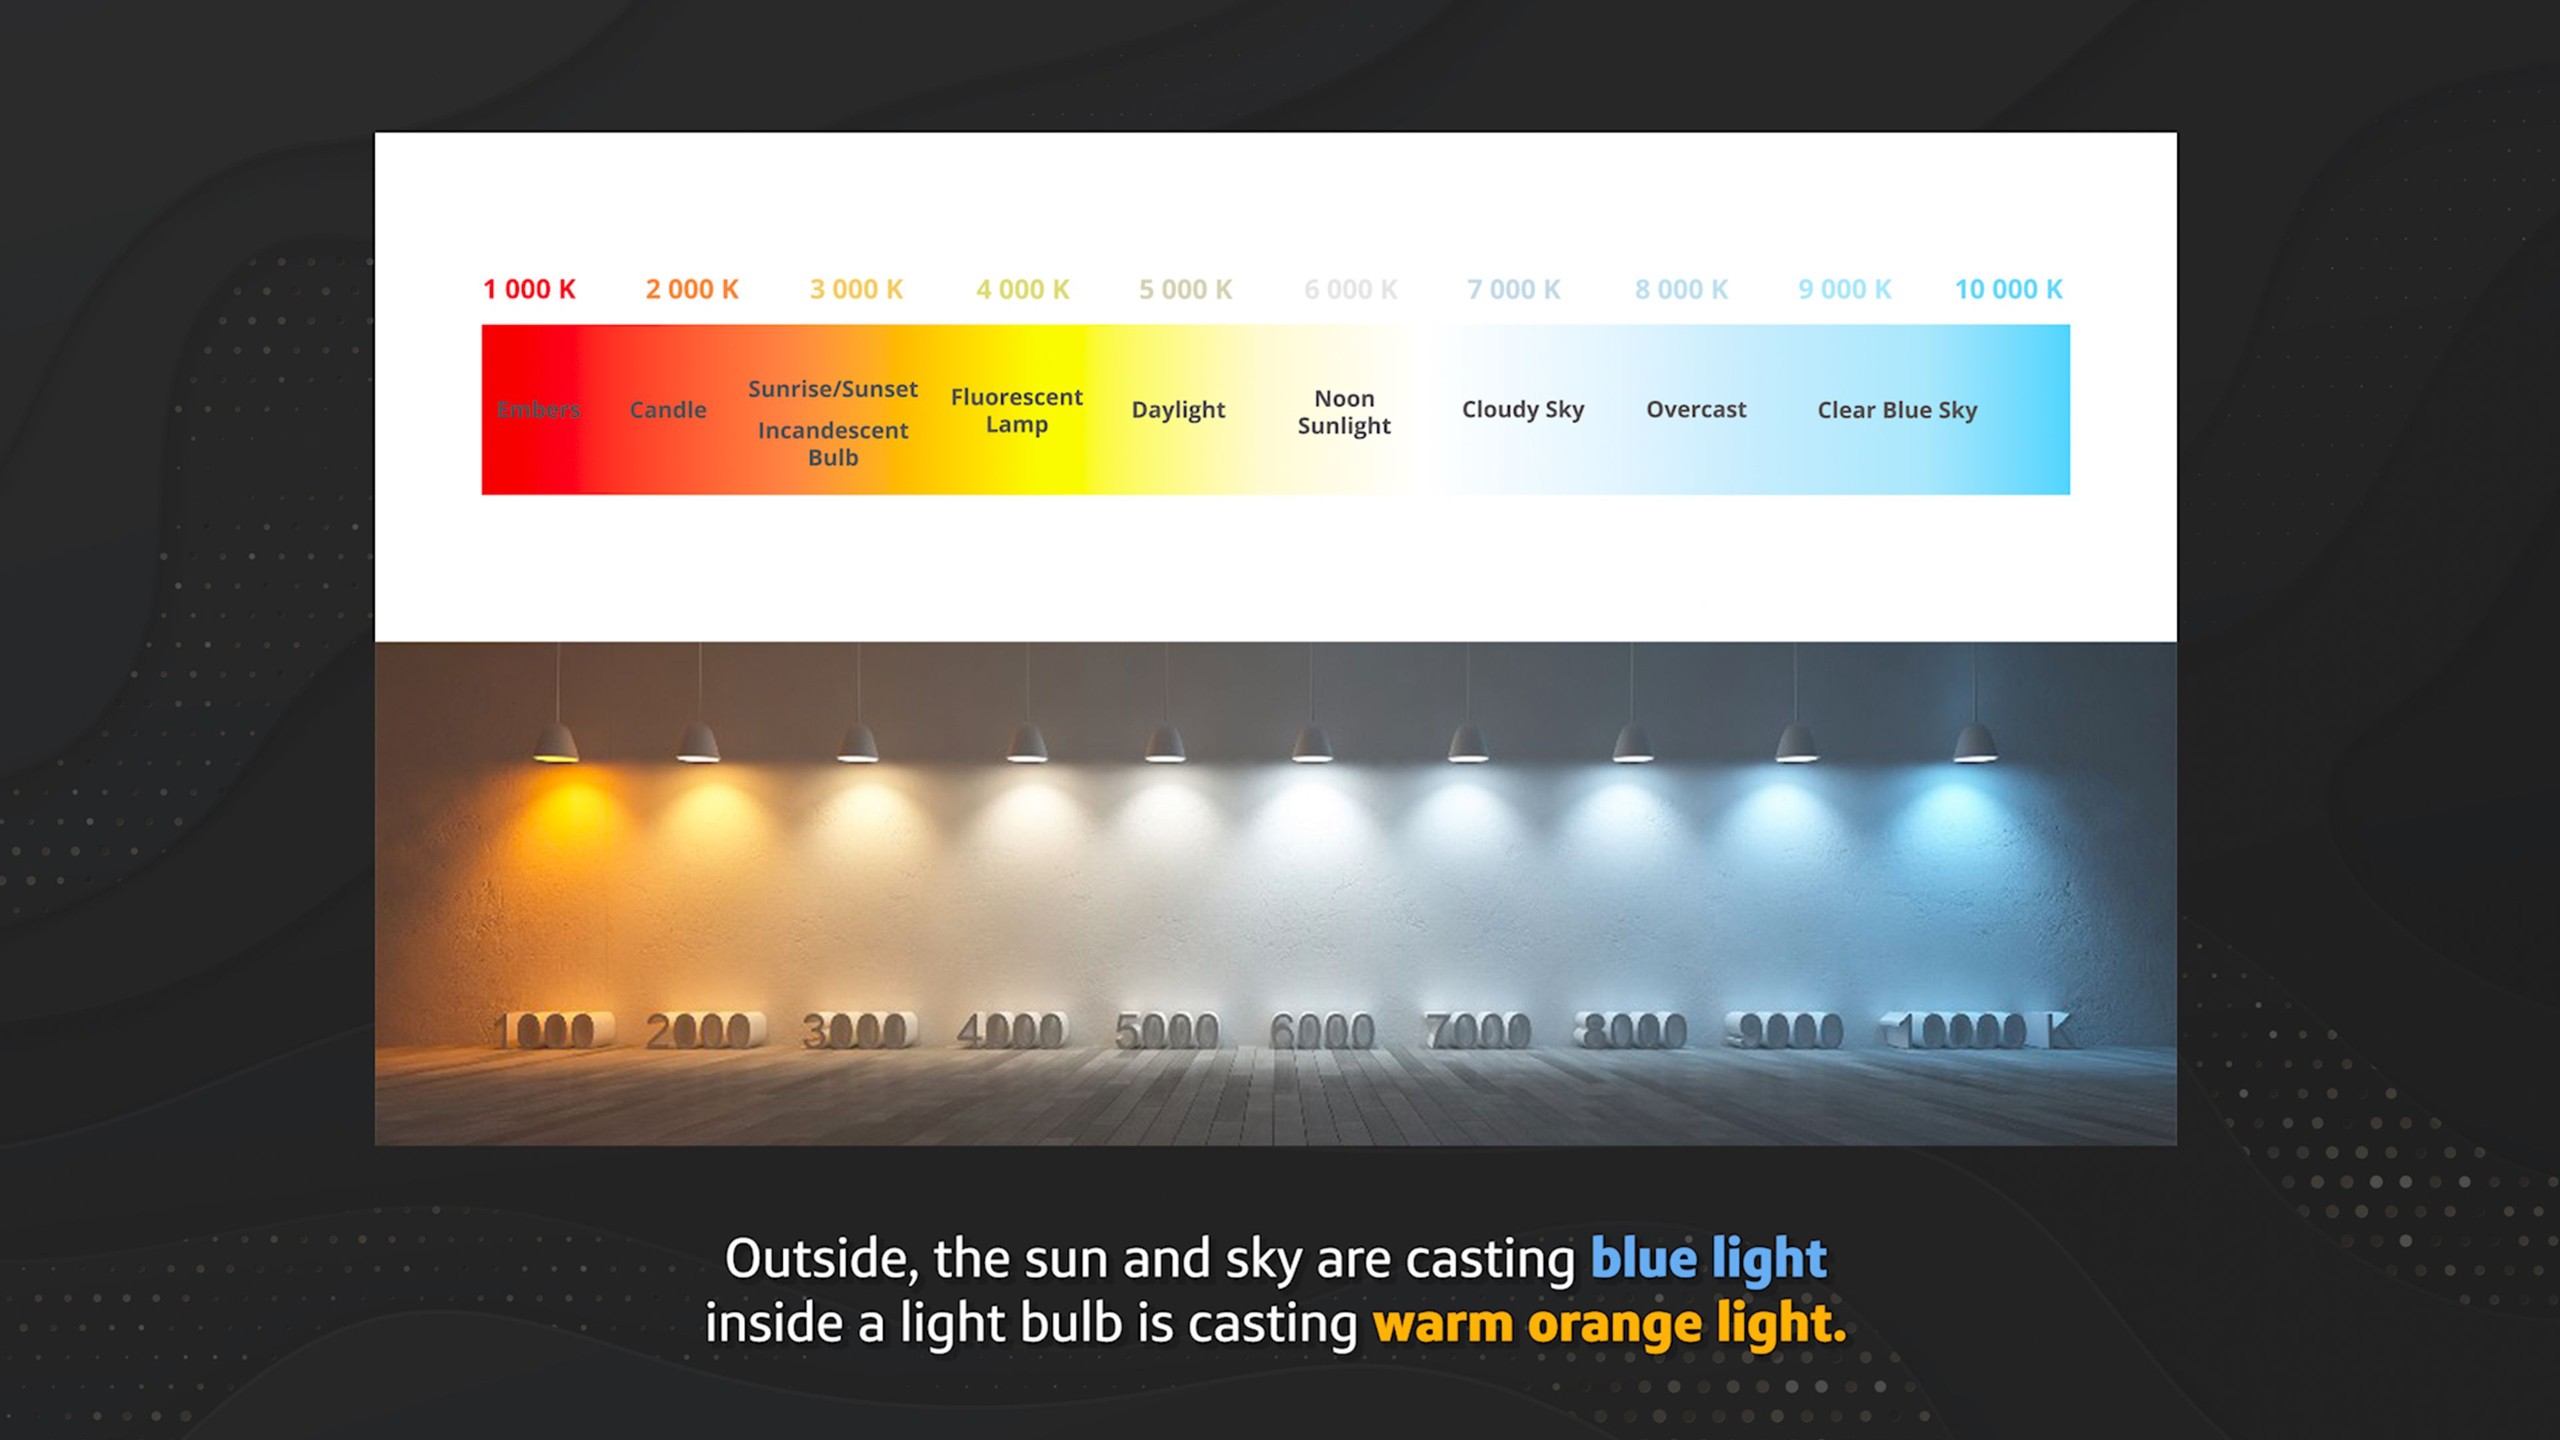
This lesson introduces the fundamentals of lighting, helping students understand how light sources, color temperature, reflection, shadows, and different lighting systems affect both 2D and 3D animation. Students will learn how light behaves in a scene so they can better understand mood, form, realism, and communication across the animation pipeline.
Lesson 14: Communication & Decorum
This lesson focuses on the soft skills that help animators build successful careers, including communication, emotional intelligence, professionalism, feedback, networking, self-awareness, and conflict management. Students will learn why strong relationships, a healthy mindset, and respectful collaboration can be just as important as technical skill in the animation industry.
Lesson 5: Lighting For Motion II
This lesson builds on lighting fundamentals by showing students how natural, practical, and studio lights are used to shape mood, guide the viewer’s eye, establish setting, create depth, and support storytelling in animation. Students will also learn key lighting roles like key, fill, rim, bounce, kicker, and top lights so they can better understand how animated scenes are lit in both 2D and 3D workflows.
Lesson 15: Creative Expression & Style
This lesson wraps up the fundamentals module by helping students study creative expression and style across motion graphics, 2D animation, and 3D animation. Students will analyze professional examples to understand how different artists use motion, timing, camera work, transitions, design, and technique to create distinctive visual styles.
Lesson 1: The Important Stuff
This lesson introduces the Fundamentals of Animation & Design module, where students begin learning the timeless principles that shape strong animation and motion graphics work. Students will get a practical overview of the essential skills ahead, including storyboarding, styleframes, characters, design, color, composition, motion, rigs, expression, and style, without unnecessary filler.
Lesson 2: The History of Animation I: Origins & Innovations
This lesson explores the earliest origins of animation, from shadow puppetry and optical toys to the first projection devices, film cameras, stop-motion experiments, and hand-drawn animated films. Students will see how persistence of vision, early inventors, and pioneering artists like Émile Reynaud, the Lumière brothers, Georges Méliès, J. Stuart Blackton, and Émile Cohl helped shape animation into the art form we know today.
Lesson 2: The History of Animation II: An Era of Invention & Imagination
This lesson continues the history of animation by walking students through the major inventions, artists, studios, technologies, and cultural shifts that shaped the medium from the 1910s through the modern era. Students will see how animation evolved from early shorts and studio pipelines into television, anime, CGI, video games, streaming, and today’s global animation industry.
Lesson 2: The History of Animation III: A Future Untold
This lesson looks ahead at the future of animation, exploring how emerging technologies like AI, real-time rendering, virtual production, VR, AR, mixed reality, and mobile experiences may reshape the industry. Students will learn why animation remains a powerful and lasting form of communication, while seeing how adaptability, taste, and creative judgment will become even more important as tools and markets continue to evolve.
Lesson 3: Design, Philosophy & Composition I
This lesson introduces the core differences between art and design, then teaches students how design principles like alignment, repetition, contrast, hierarchy, negative space, balance, proportion, emphasis, and the rule of thirds improve animation and motion graphics work. Students will learn how these principles help create clearer, more polished compositions that guide the viewer’s eye and make creative choices feel intentional.
Lesson 3: Design, Philosophy & Composition II
This lesson introduces Gestalt Theory, showing students how the mind naturally groups, simplifies, connects, and organizes visual information. Students will explore principles like similarity, closure, continuity, proximity, figure and ground, focal point, parallelism, common fate, and past experience so they can make stronger design and composition choices in their animation work.
Lesson 4: Color Theory I Foundations
This lesson introduces the foundations of color theory, helping students understand how the human eye sees color, how light and pigment behave differently, and why RGB, CMYK, and other color models matter in digital animation. Students will explore color wheels, hue, saturation, value, color schemes, and common color controls so they can make stronger creative choices in animation, design, and compositing.
Lesson 4: Color Theory I Application
This lesson teaches students how to apply color theory in real creative work, from understanding the emotional psychology of color to building color schemes for animation, film, marketing, and brand design. Students will explore color scripts, film stills, logo palettes, and branding style guides so they can use color more intentionally to guide emotion, attention, and storytelling.
Lesson 5: Lighting For Motion I
This lesson introduces the fundamentals of lighting, helping students understand how light sources, color temperature, reflection, shadows, and different lighting systems affect both 2D and 3D animation. Students will learn how light behaves in a scene so they can better understand mood, form, realism, and communication across the animation pipeline.
Lesson 5: Lighting For Motion II
This lesson builds on lighting fundamentals by showing students how natural, practical, and studio lights are used to shape mood, guide the viewer’s eye, establish setting, create depth, and support storytelling in animation. Students will also learn key lighting roles like key, fill, rim, bounce, kicker, and top lights so they can better understand how animated scenes are lit in both 2D and 3D workflows.
Lesson 6: Depth, Space & Perspective
This lesson introduces depth, space, and perspective, showing students how to create the illusion of 3D form and distance even when working on a 2D surface. Students will learn practical techniques like overlapping, placement, size, detail, color, movement, and 1, 2, and 3-point perspective to build stronger animated scenes and compositions.
Lesson 7: Anatomy & Biomechanics
This lesson introduces anatomy and biomechanics, showing students how bones, joints, muscles, fat, facial structures, and body proportions influence the way characters move. Students will learn how understanding human, animal, bird, and creature structure helps animators create motion that feels believable, expressive, and physically grounded.
Lesson 8: Essential Physics
This lesson introduces the essential physics behind animation, helping students understand how timing, spacing, scale, gravity, inertia, momentum, force, center of gravity, and action-reaction shape believable movement. Students will learn how these real-world principles inform animation decisions while still leaving room to exaggerate, stylize, and make motion feel more appealing.
Lesson 9: 12 Principles of Animation
This lesson introduces Disney’s 12 Principles of Animation, showing students the timeless techniques behind believable, expressive, and appealing movement. Students will explore concepts like squash and stretch, anticipation, staging, timing, arcs, follow-through, exaggeration, solid drawing, and appeal so they can build a stronger foundation for both 2D and 3D animation.
Lesson 10: Camera Operator
This lesson introduces camera fundamentals for animators, showing how real-world camera features, lenses, shot sizes, framing, angles, movement, focus, and film equipment translate into virtual camera work. Students will learn how to use the camera as a storytelling tool to guide the audience’s eye, create stronger compositions, and make animated scenes feel more cinematic.
Lesson 11: Language & Content
This optional lesson introduces the role of writing in animation, from developing original ideas and scripts to interpreting client briefs, white papers, and story materials. Students can explore the Creative Writing Concepts guide to better understand how written content becomes storyboards, scripts, and clearer creative direction for animated projects.
Lesson 12: Storyboard Ideation
This lesson introduces storyboarding as a core pre-visualization tool for planning animated, live-action, commercial, interactive, and game-based content. Students will learn how storyboards, thumbnail sketches, and animatics help organize ideas, define shots, communicate with clients or teams, and test the flow of a story before production begins.
Lesson 13: Styleframing & Moodboards
This lesson introduces styleframes and mood boards as key pre-production tools for exploring the look, tone, and creative direction of an animated project before production begins. Students will learn how to develop visual options, gather inspiration, present ideas clearly, and make sure their chosen style is both creatively exciting and realistic to animate.
Lesson 14: Communication & Decorum
This lesson focuses on the soft skills that help animators build successful careers, including communication, emotional intelligence, professionalism, feedback, networking, self-awareness, and conflict management. Students will learn why strong relationships, a healthy mindset, and respectful collaboration can be just as important as technical skill in the animation industry.
Lesson 15: Creative Expression & Style
This lesson wraps up the fundamentals module by helping students study creative expression and style across motion graphics, 2D animation, and 3D animation. Students will analyze professional examples to understand how different artists use motion, timing, camera work, transitions, design, and technique to create distinctive visual styles.
Module 1: Overview
This first module summarizes up everything you will be learning within the 2D Animation Curriculum.
Covering what is and is not included if you are enrolled in one of our tailored Journeys, as well as details around what you will be learning at each skill level, the assignments ahead, and expected outcomes for your portfolio.
Module 2: Intro to After Effects (Level I)
Estimated completion time: 6-8 weeks
This module introduces Adobe After Effects as a powerful compositing and animation tool across film, television, gaming, marketing, and social media.
We explore how to combine visual elements, effects, and animation into cohesive scenes while emphasizing accessibility and seamless integration with other Adobe software.
We focuses on teaching students a practical 2.5D Animation Pipeline that blends storytelling, character animation, and motion graphics. Students are encouraged to develop both creative and technical skills while learning industry workflows, hardware considerations, and the importance of repetition and experimentation in mastering animation.
Lesson 1: After Effects Overview
This lesson goes over what you will be learning in the Intro to After Effects module and introduces Adobe After Effects as a powerful compositing and animation tool used to combine visuals, create effects, and build 2.5D animated projects. It also explains how students will use After Effects to animate characters, move graphics through 3D space, format projects for different platforms, and build a practical animation pipeline through repetition and experimentation.
Lesson 10: Keyframes
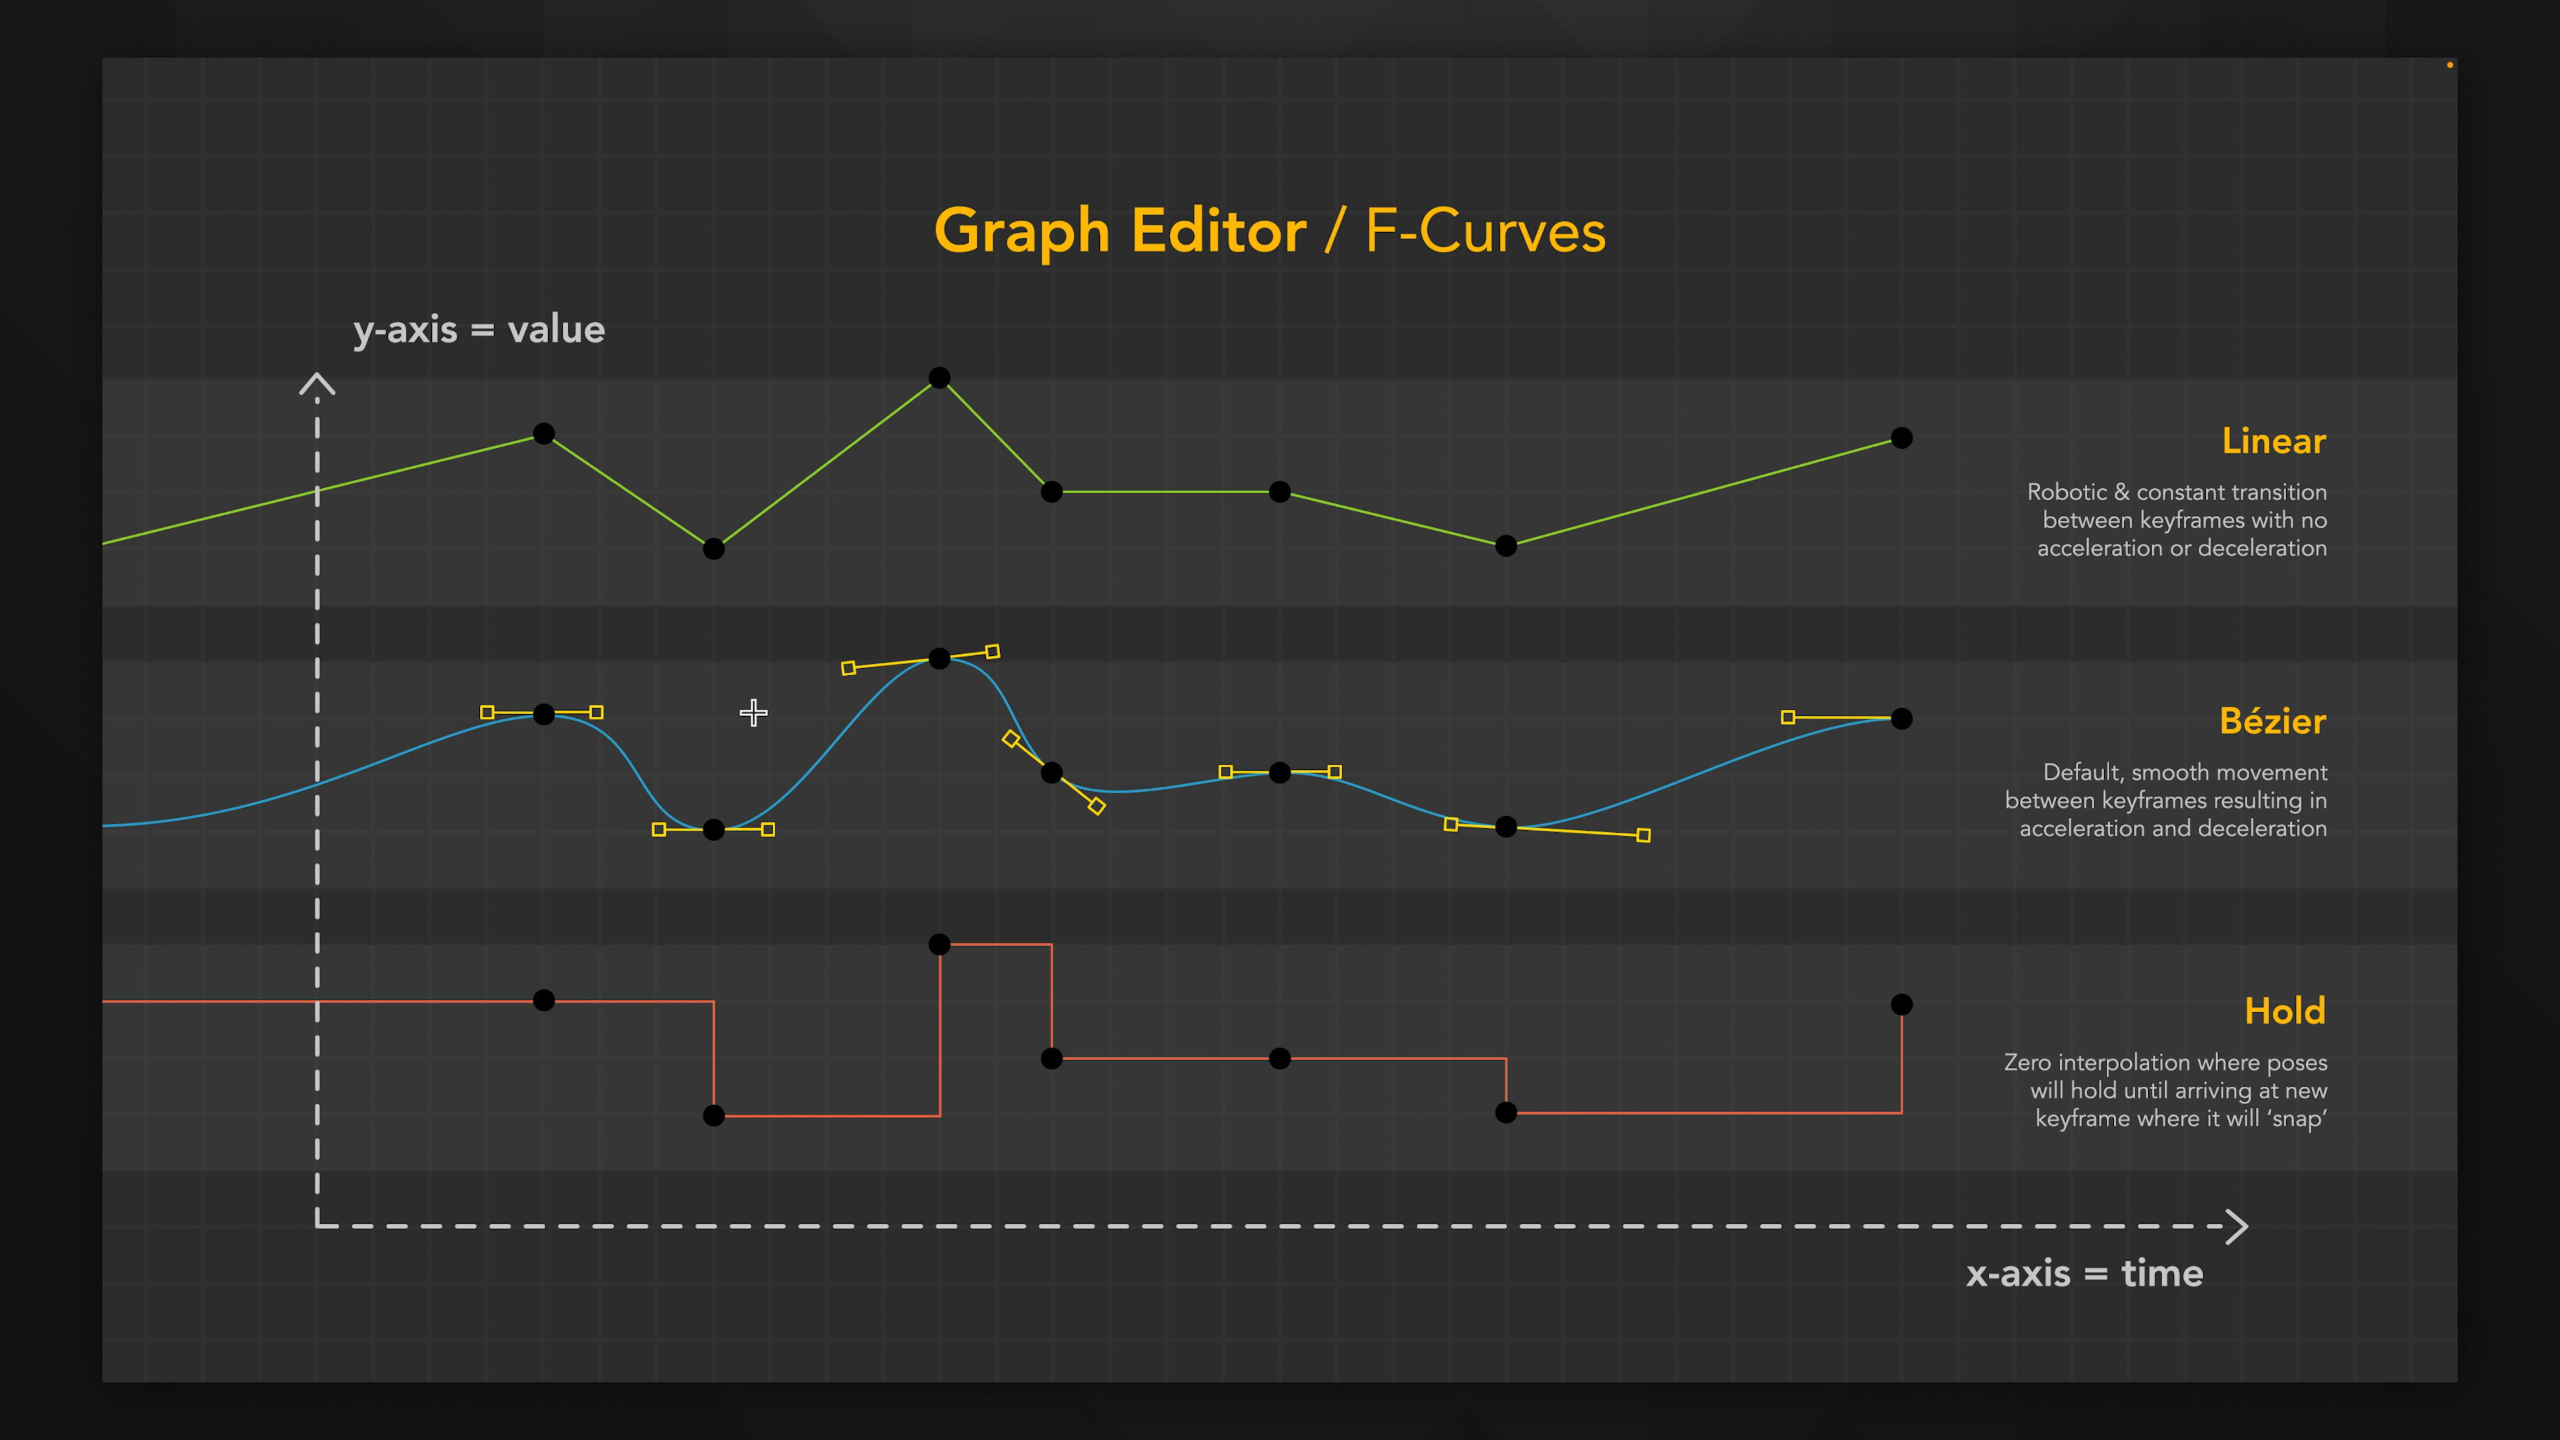
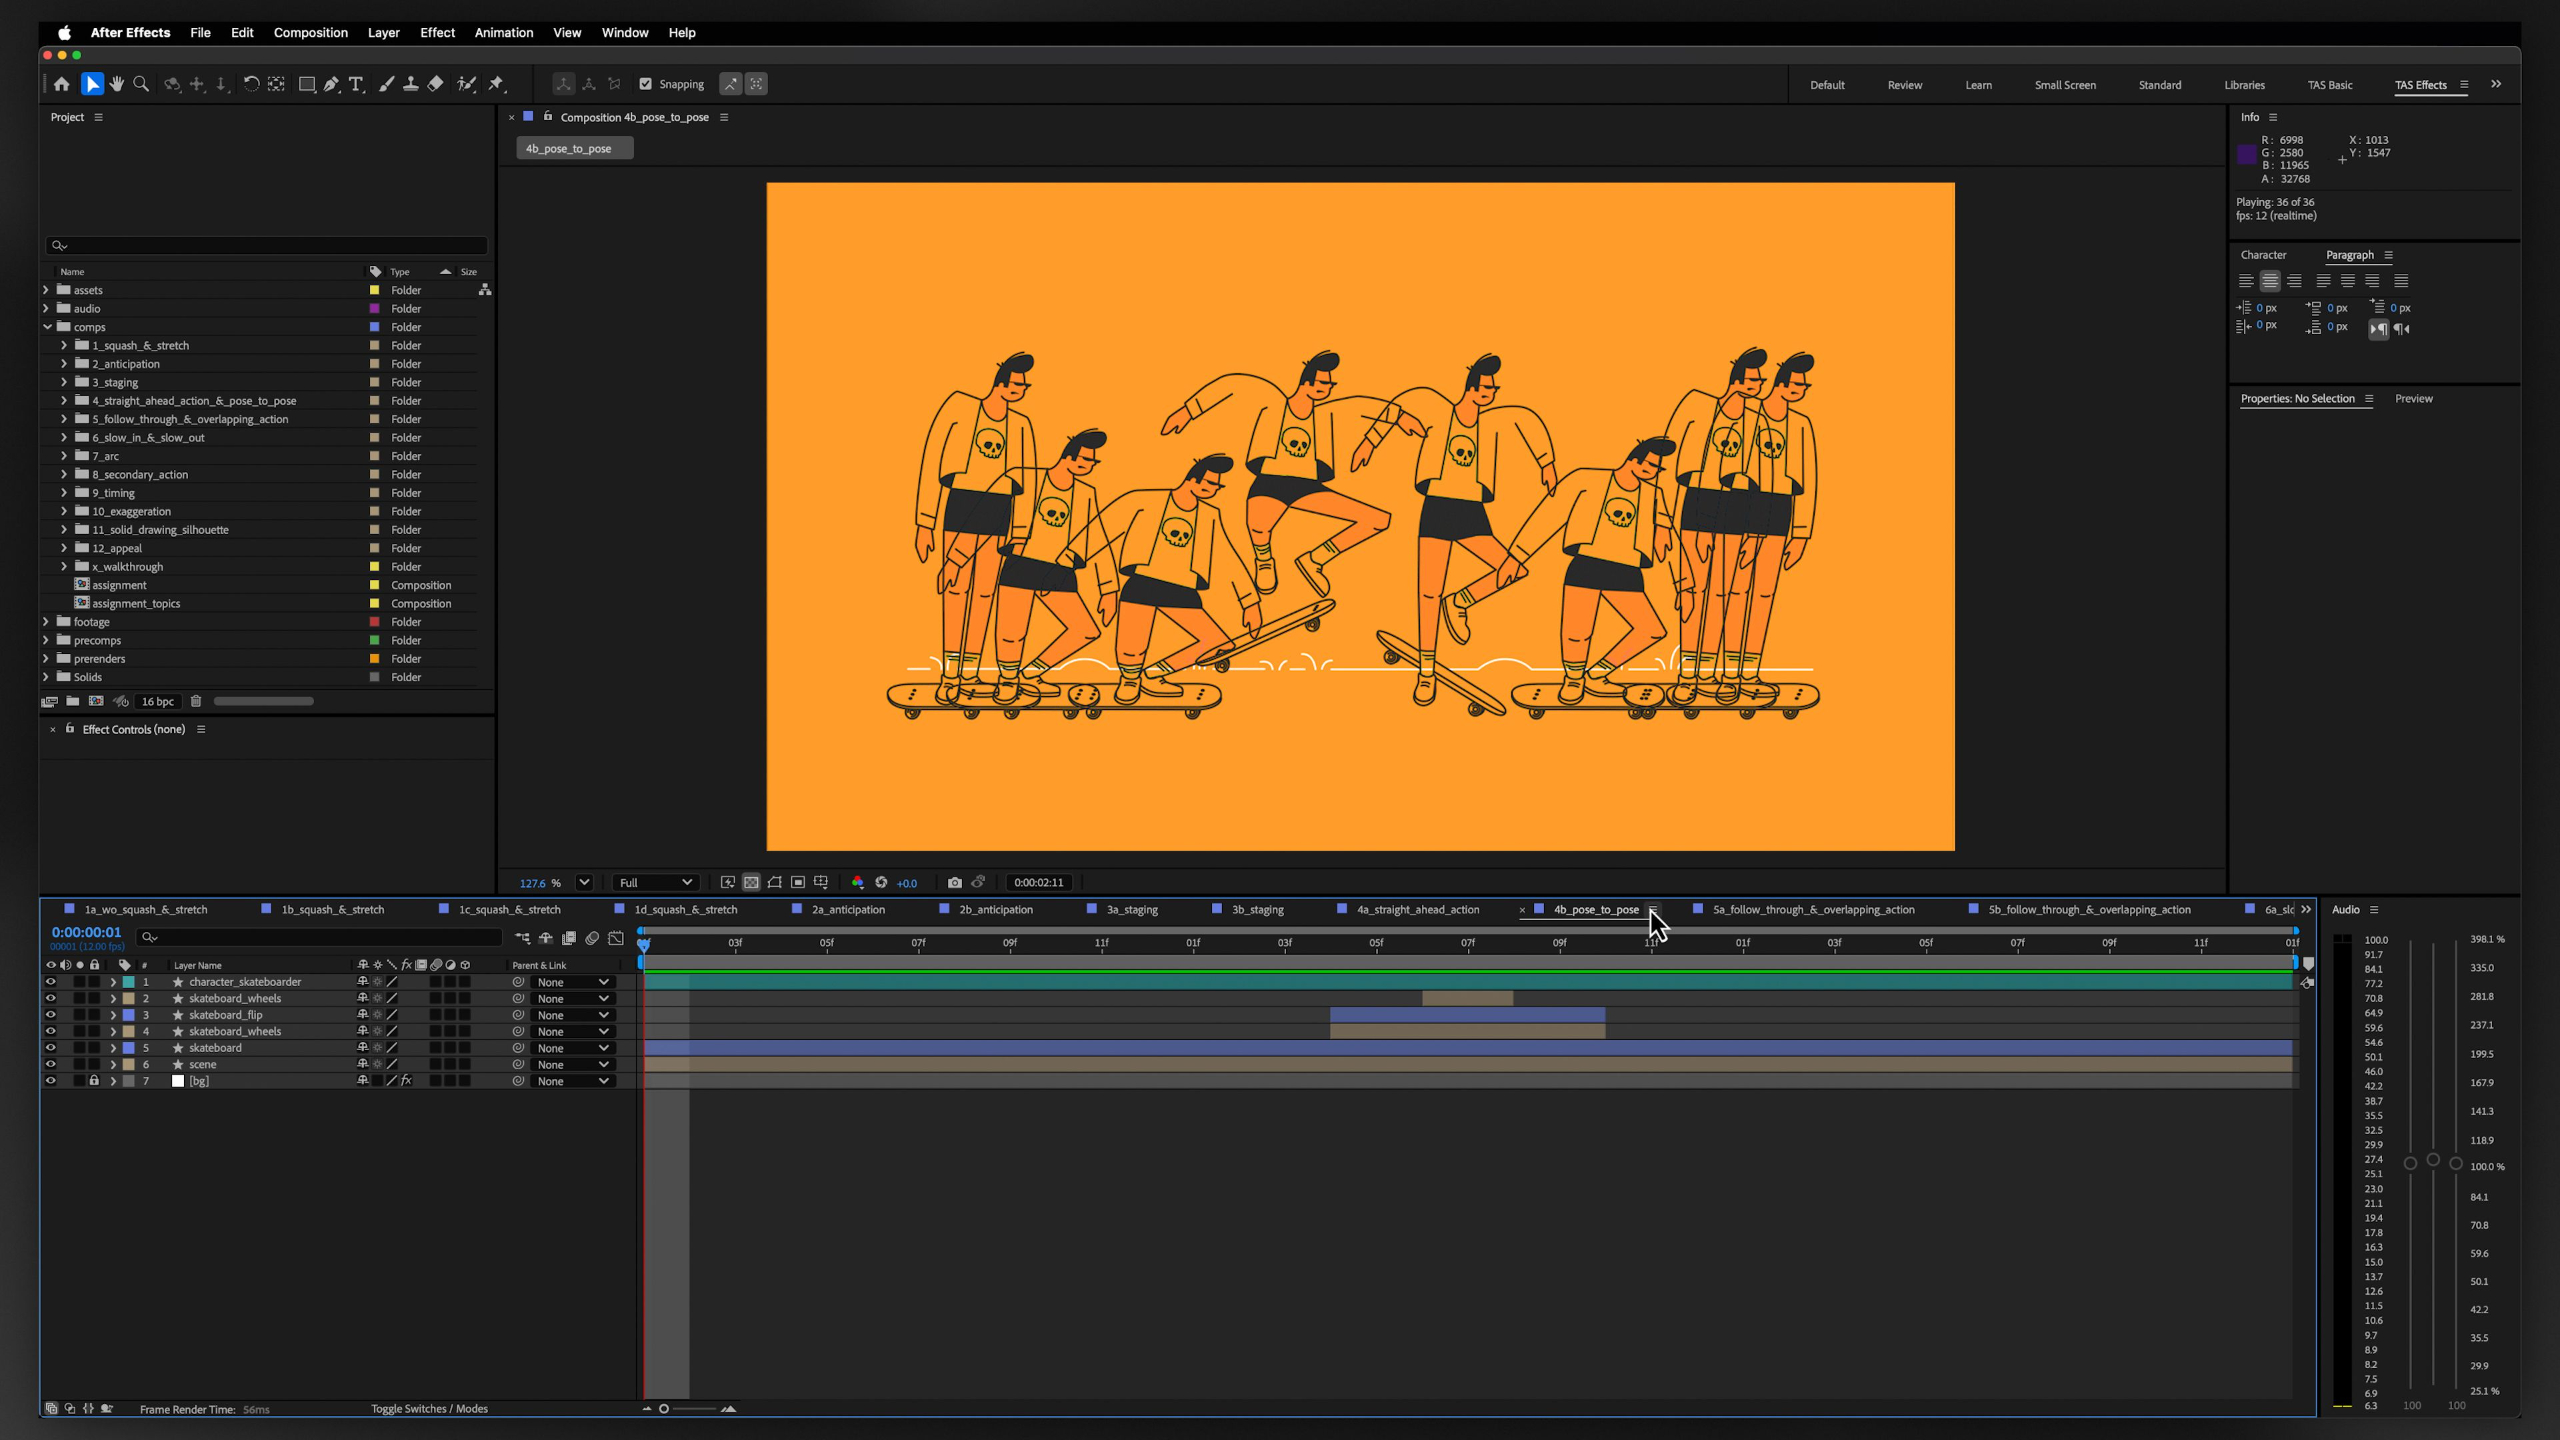
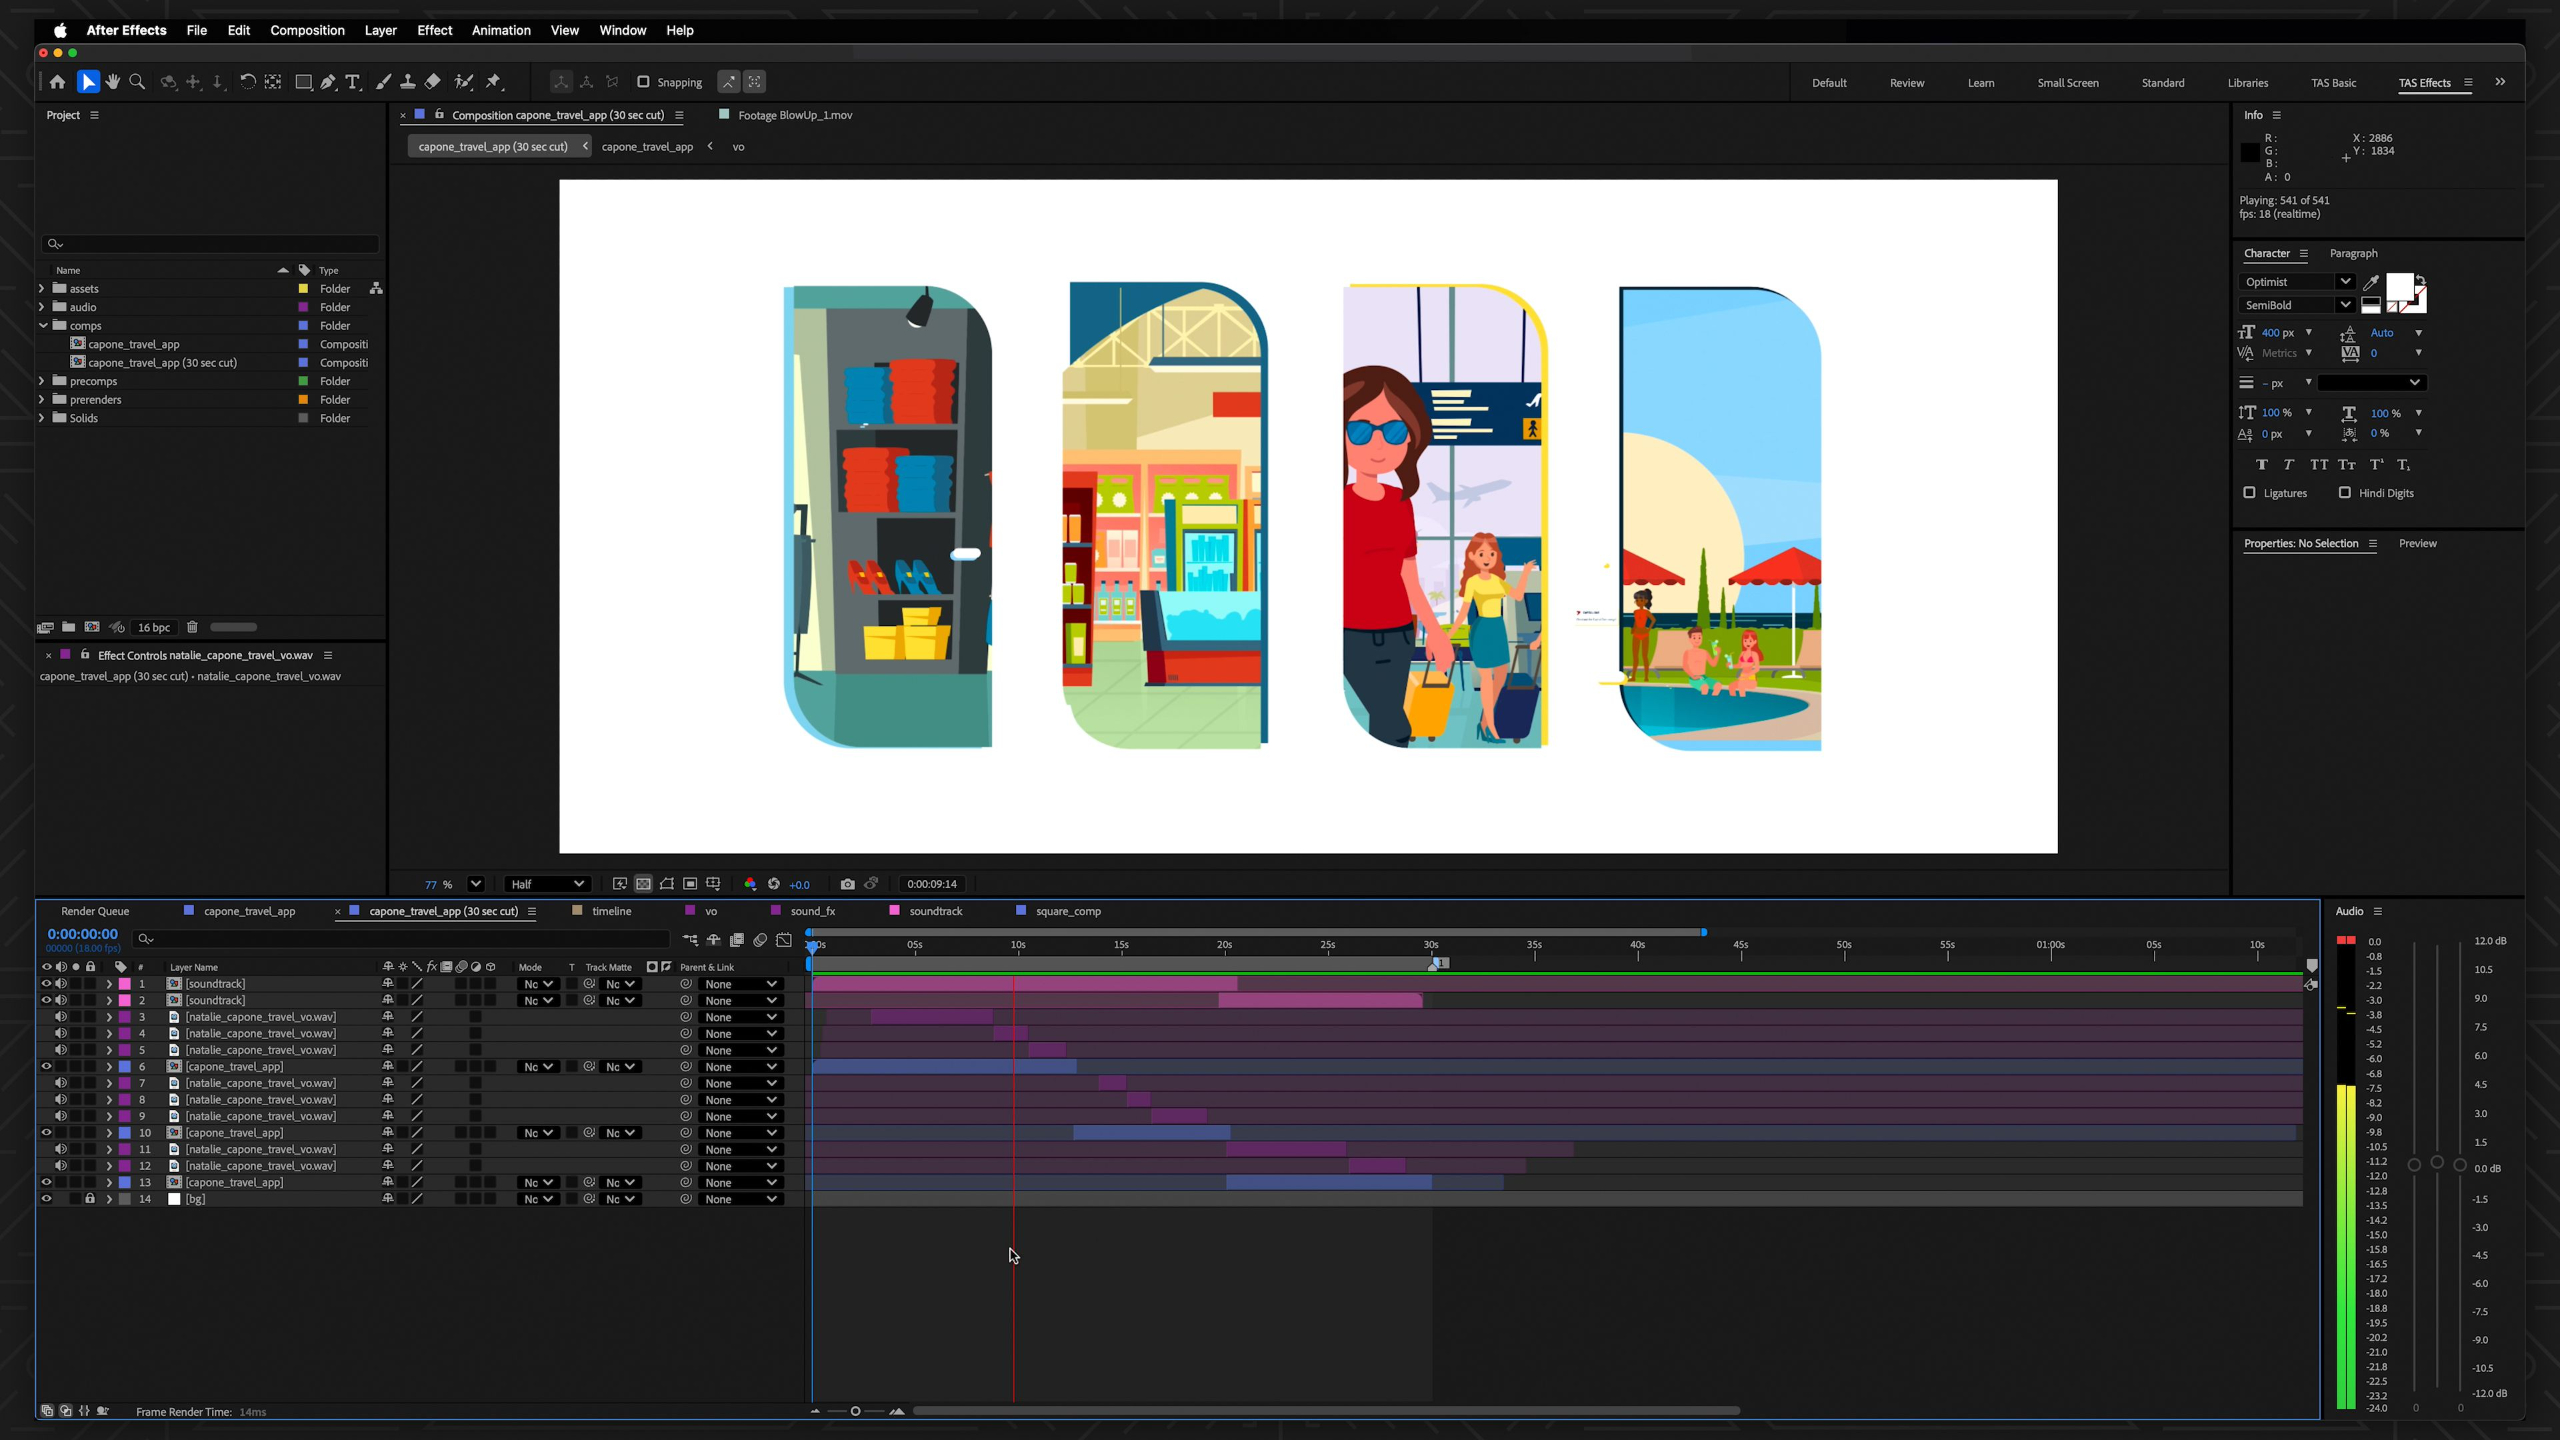
This lesson introduces keyframes as the main way to create movement and change over time in After Effects. Students learn how different keyframe types—linear, bezier, easy ease, and hold—affect motion, timing, and interpolation so their animations feel more polished and believable.
Lesson 2: Interface & Settings
This lesson walks students through the After Effects interface, showing how the main panels, workspaces, menus, and preferences are organized. It also helps beginners get comfortable with important settings like auto-save, memory, cache, previews, labels, and performance so they can work faster and avoid common workflow issues later.
Lesson 11: Text
This lesson walks students through the fundamentals of working with text in After Effects, including creating text layers, choosing fonts, adjusting color, spacing, stroke, alignment, and paragraph settings. It also introduces a few practical text workflow tips, like installing fonts, converting Photoshop text into editable After Effects text, and using the Character and Paragraph panels more confidently.
Lesson 3: Project Panel
This lesson shows students how to use the Project Panel as the main place for importing, organizing, and managing media in After Effects. It also covers key project settings, file types, footage interpretation, proxies, and workflow tools that help keep bigger animation projects organized and running smoothly.
Lesson 12: Cameras & 3D Space
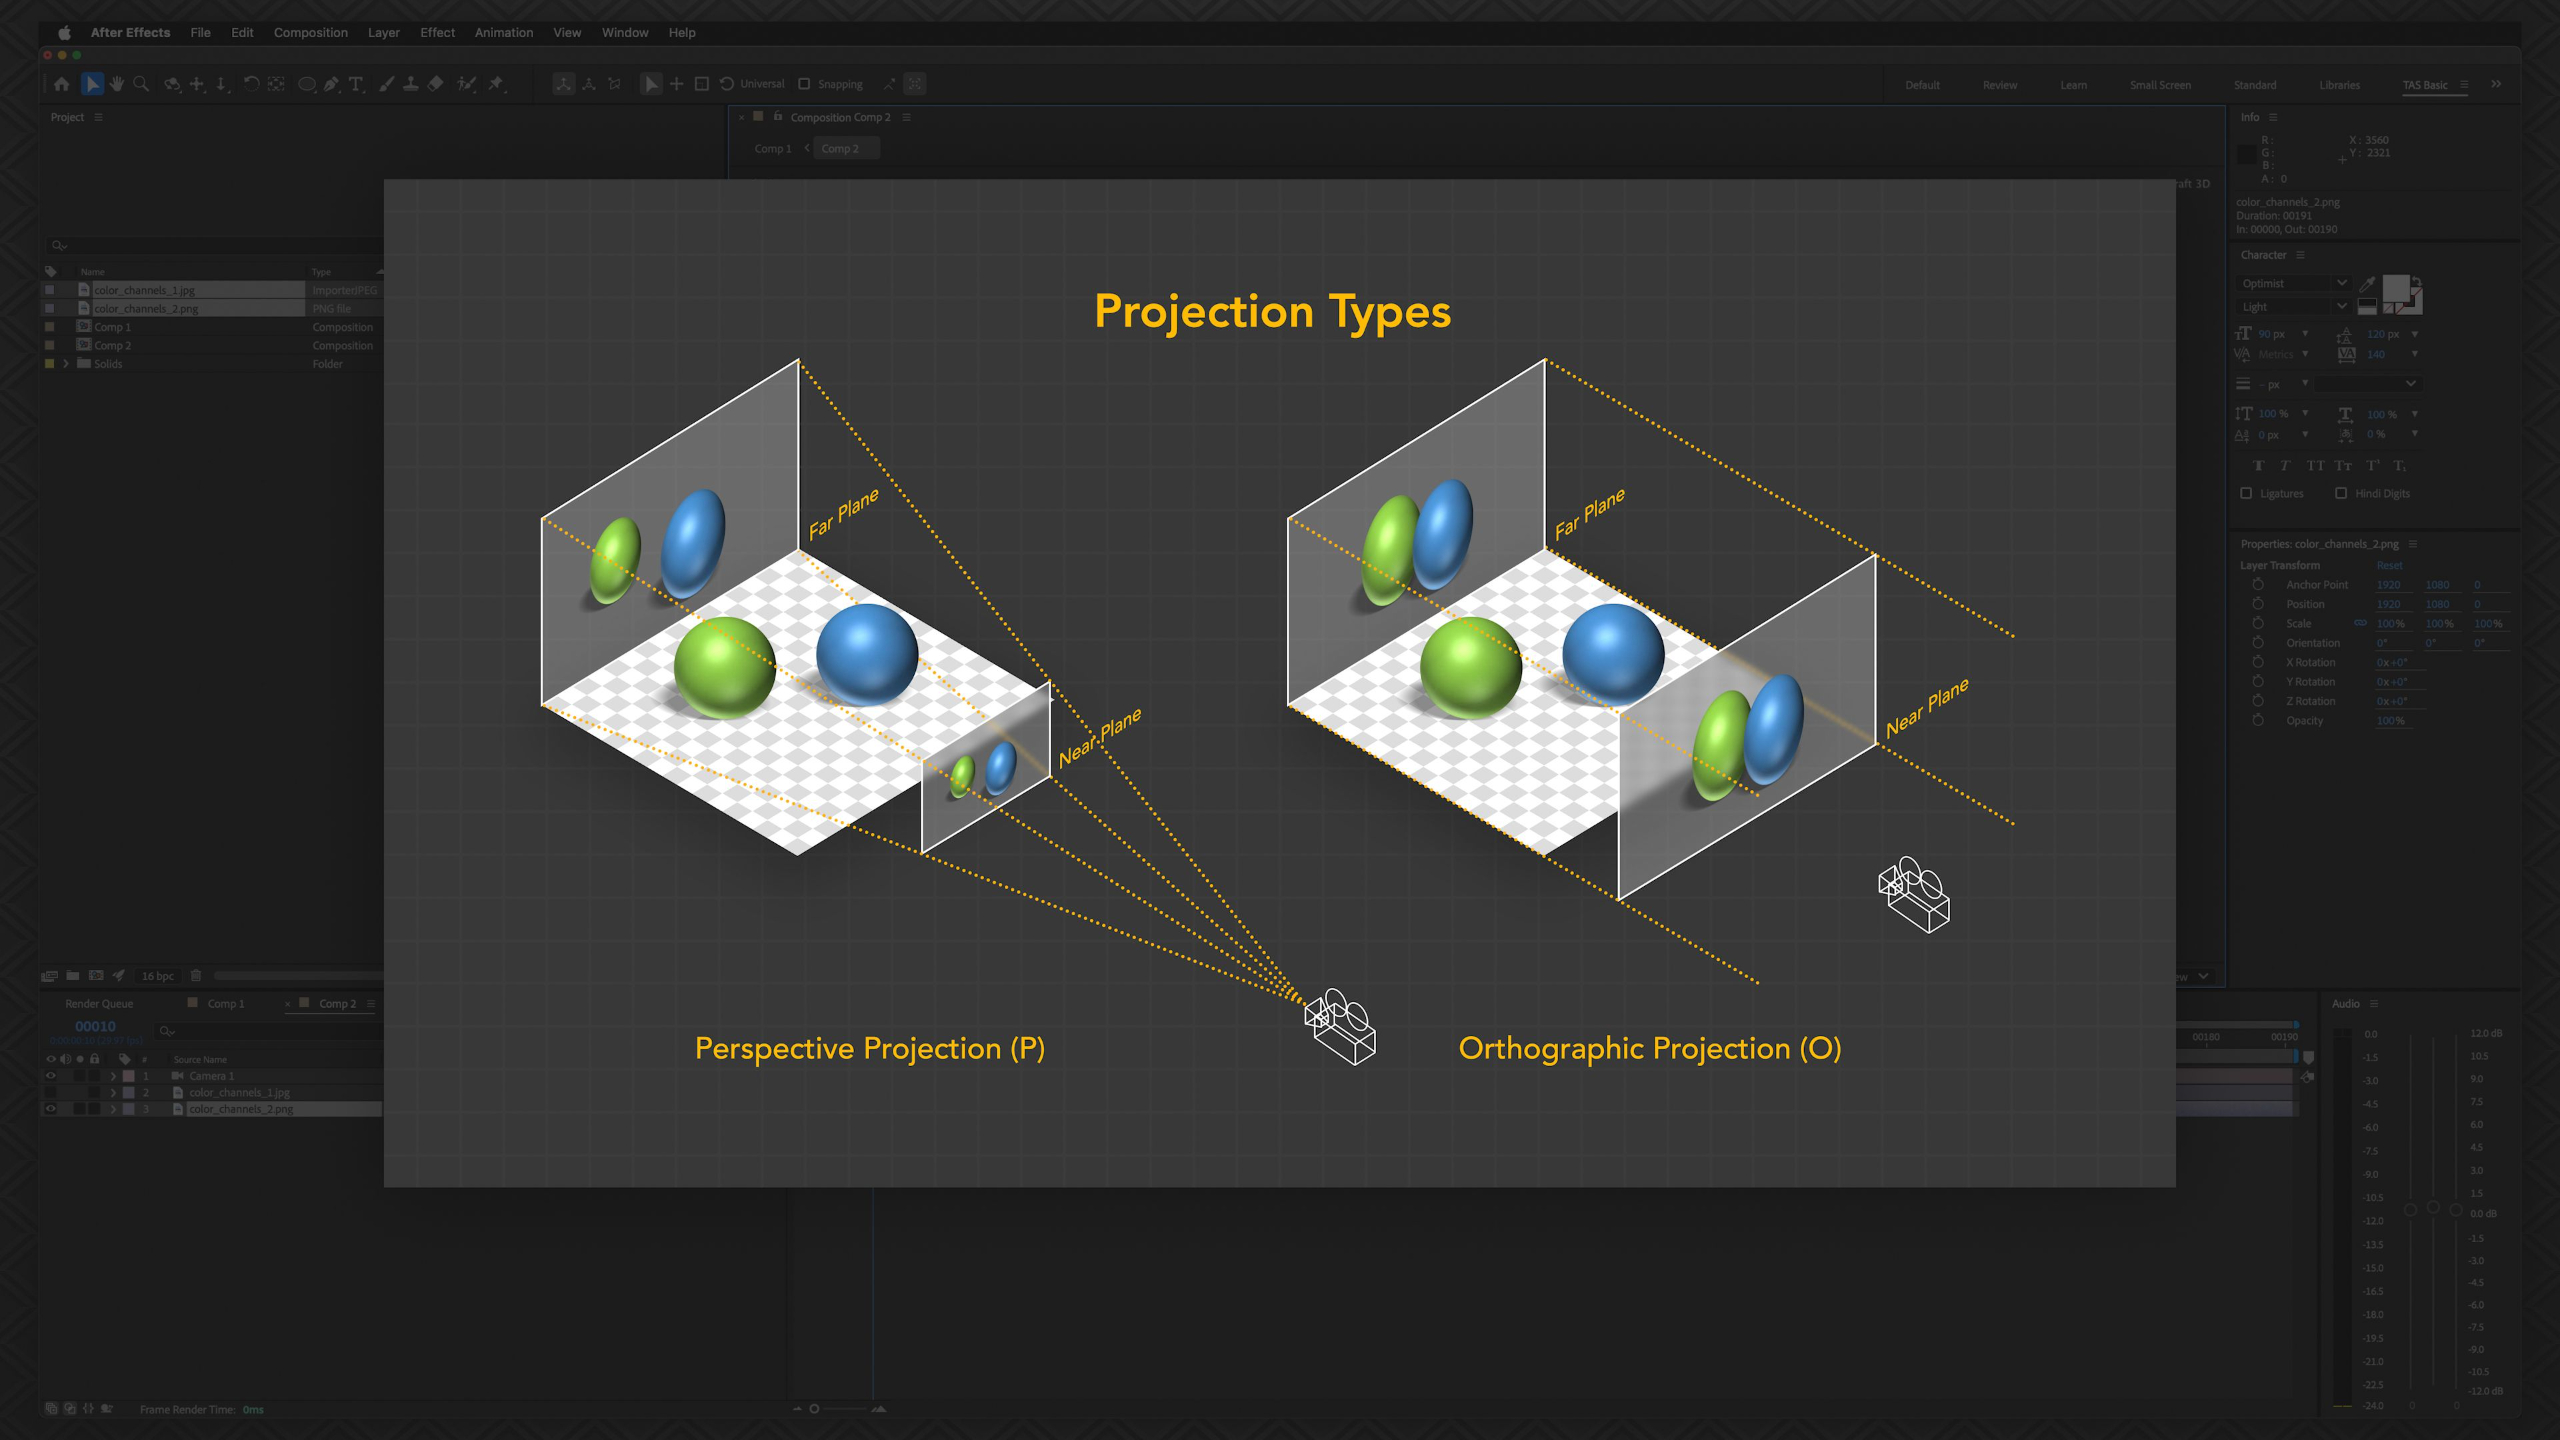
This lesson introduces cameras in After Effects and shows how they can add cinematography, depth, focus, and movement through 3D space. Students learn the basics of one-node and two-node cameras, depth of field, camera tools, motion blur, auto-orient, and simple expression-based camera movement.
Lesson 4: Compositions
This lesson explains how compositions work as the main workspace where students combine media, set frame size, duration, frame rate, resolution, and 3D rendering options. It also walks through the Composition Panel tools so students can navigate, preview, align, crop, compare, and manage their scenes more confidently.
Lesson 13: Lights & Materials
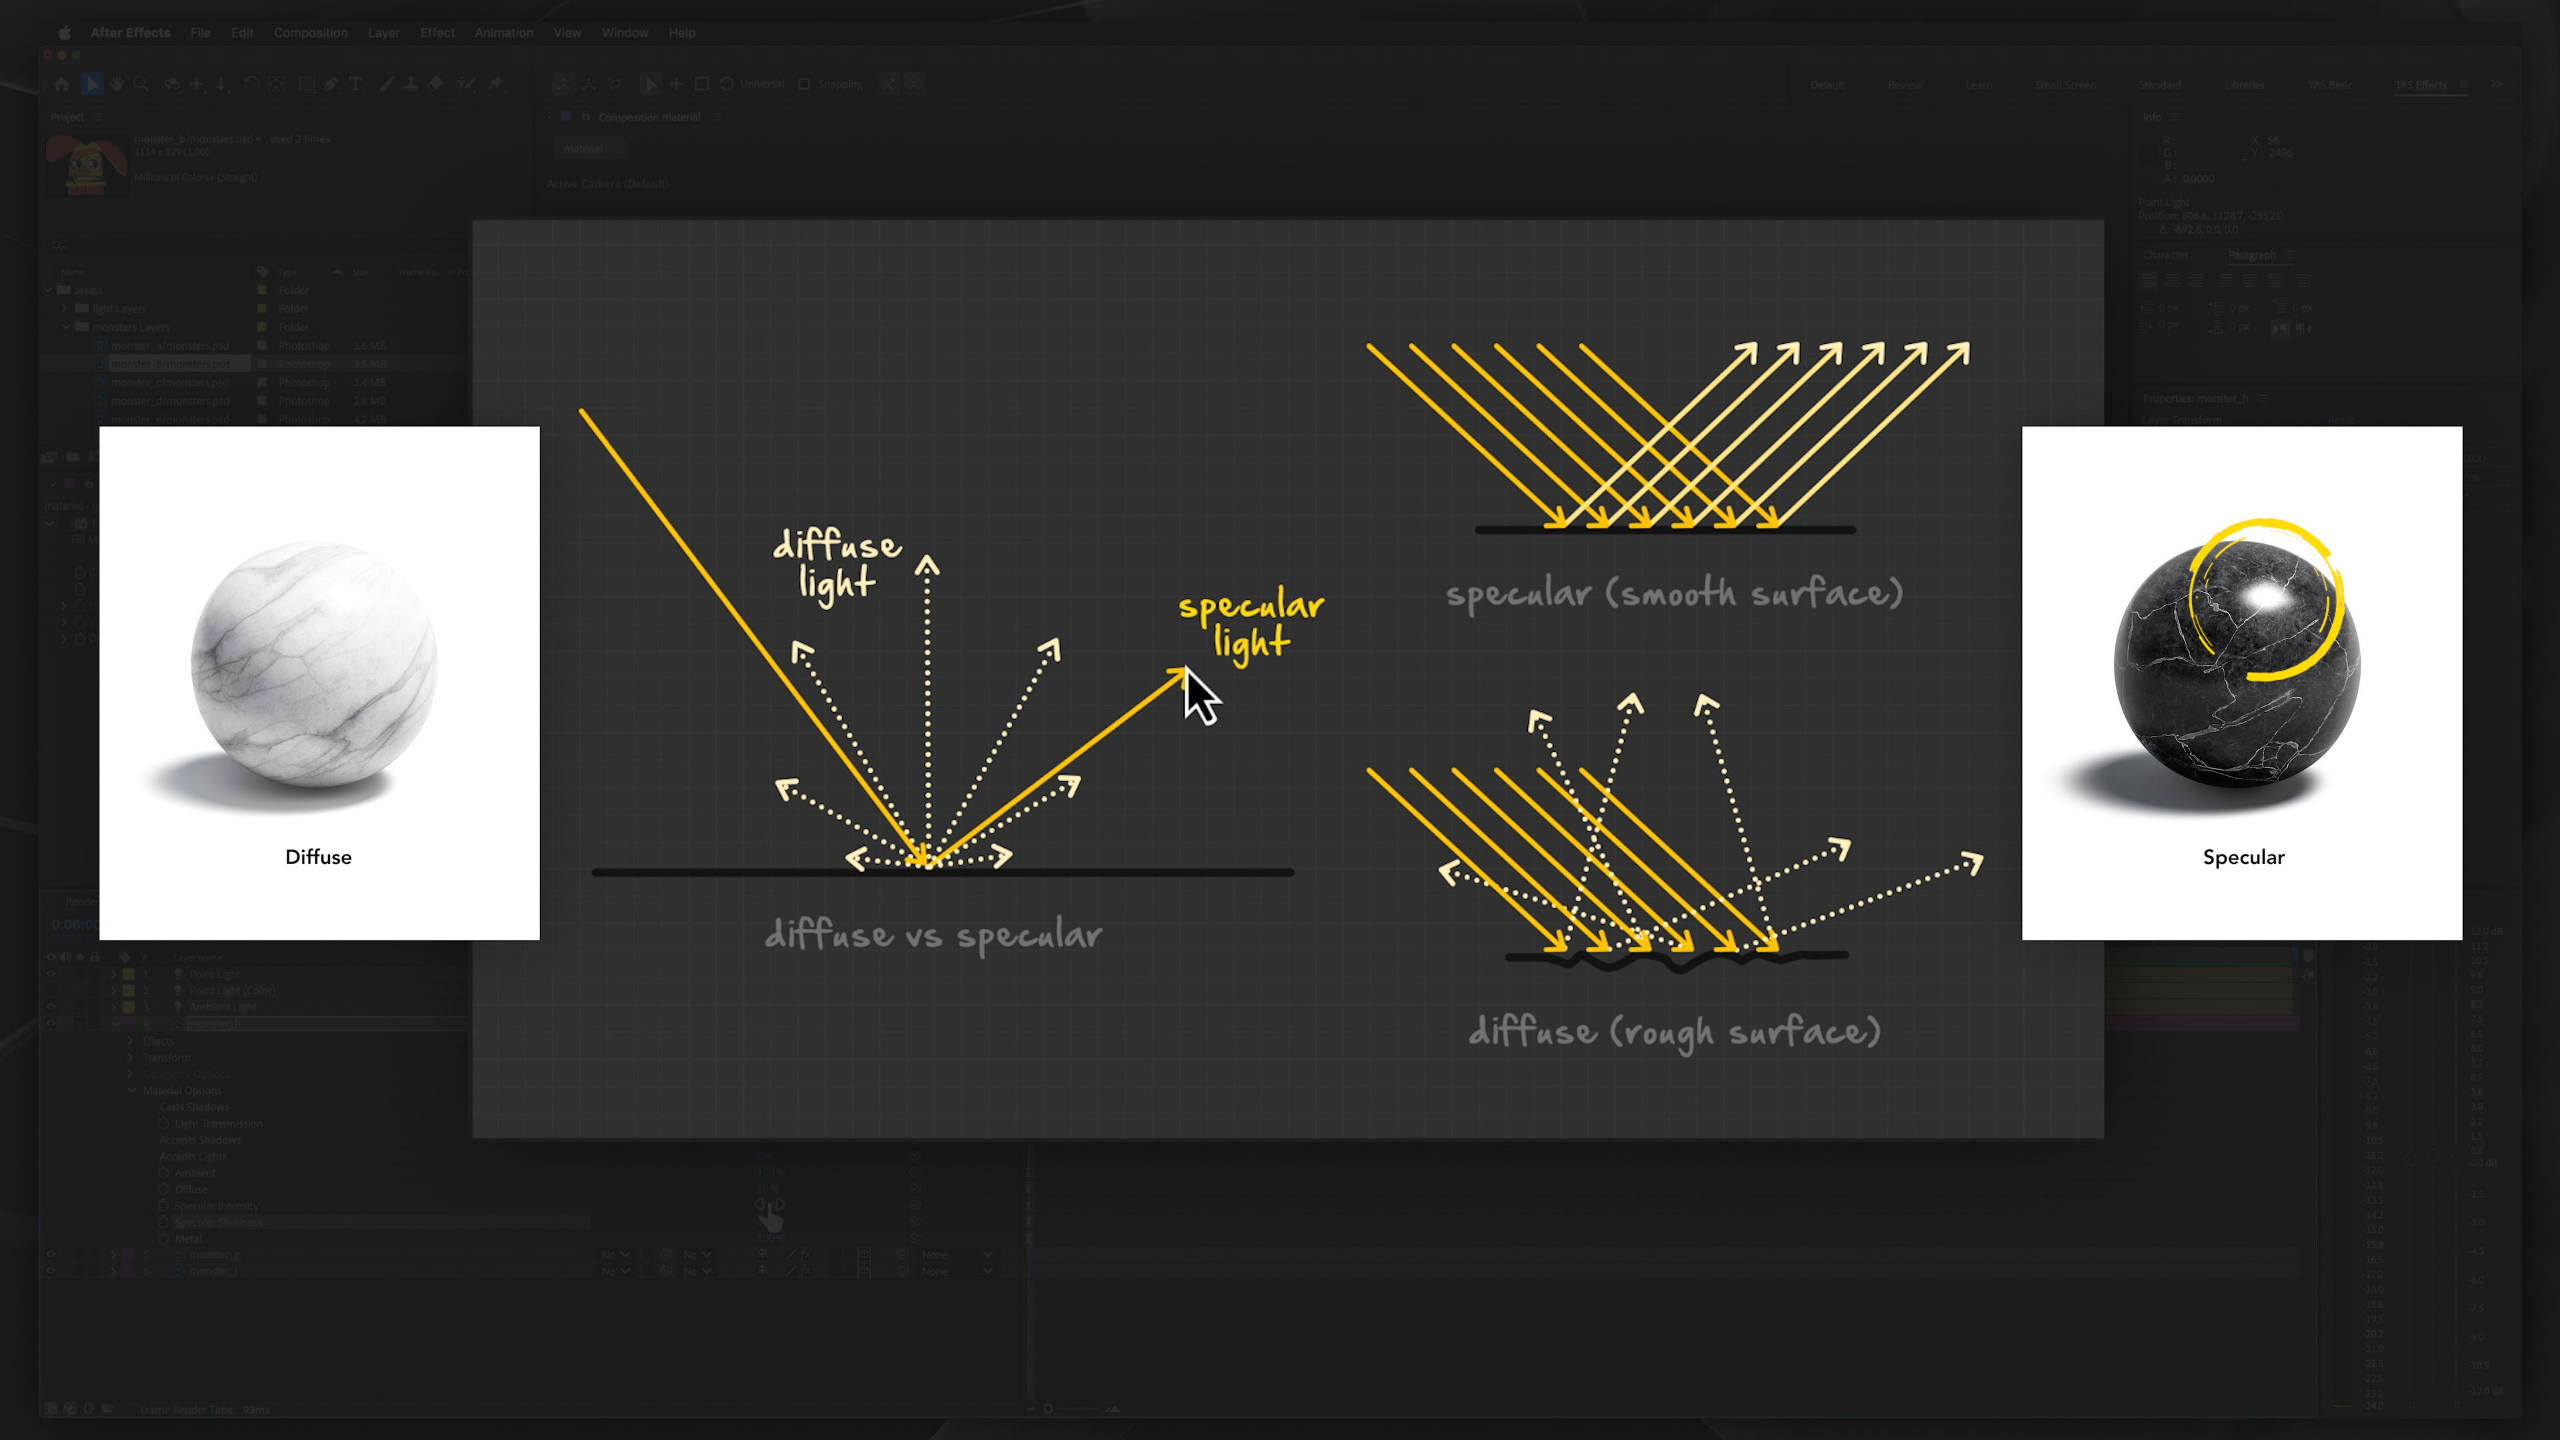
This lesson introduces lights and material settings in After Effects, showing how 3D layers can receive light, cast shadows, and take on different surface qualities like flat, shiny, or metallic. It also explains how to use these tools tastefully so they add depth and mood without overcomplicating the project or slowing down render times.
Lesson 5: Timeline & Layer Controls
This lesson gives students a deeper look at the Timeline Panel, where they’ll organize layers, control visibility, blending, motion blur, parenting, playback, and timing. It also introduces different layer types and the Flowchart view, helping students understand how to keep complex After Effects projects clean, flexible, and easier to manage.
Lesson 14: Paint Tools
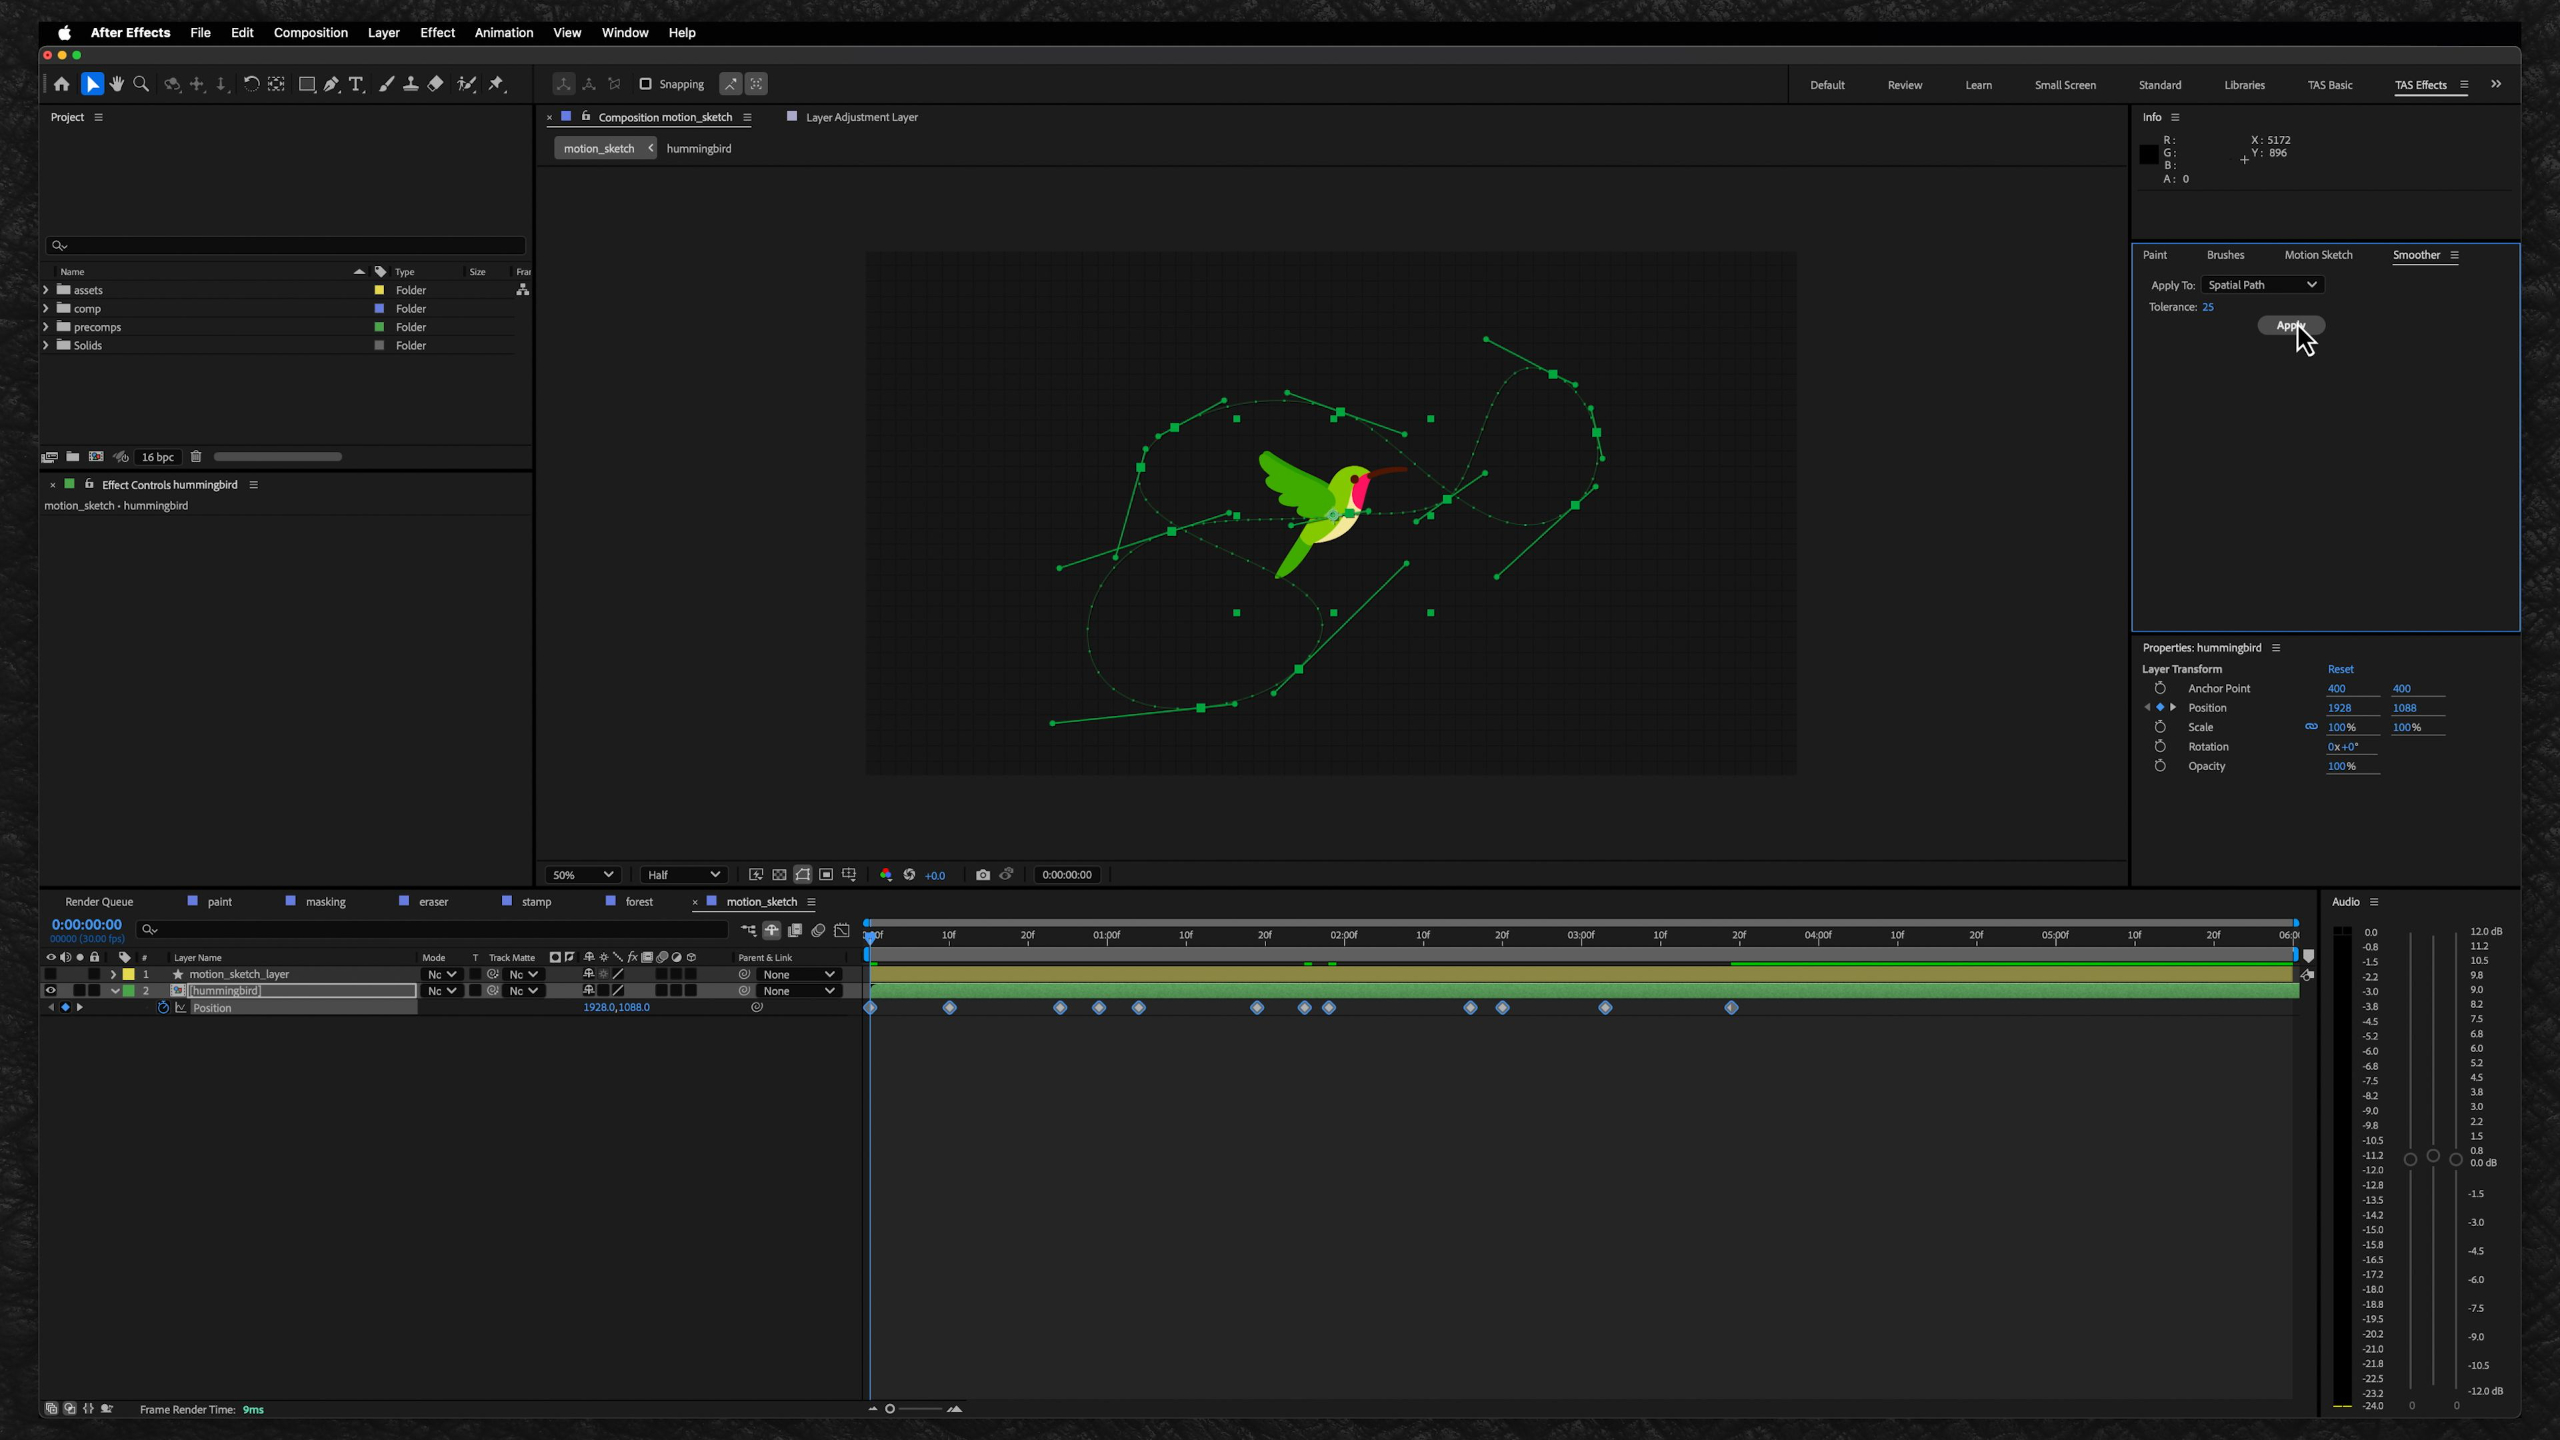
This lesson introduces the Paint tools in After Effects, including the Brush, Eraser, Clone Stamp, and Motion Sketch tools. Students learn how to create animated brush strokes, erase or reveal parts of a layer, clone visual details, and record hand-drawn cursor movement to add a more organic feel to their animations.
Lesson 6: Toolbar
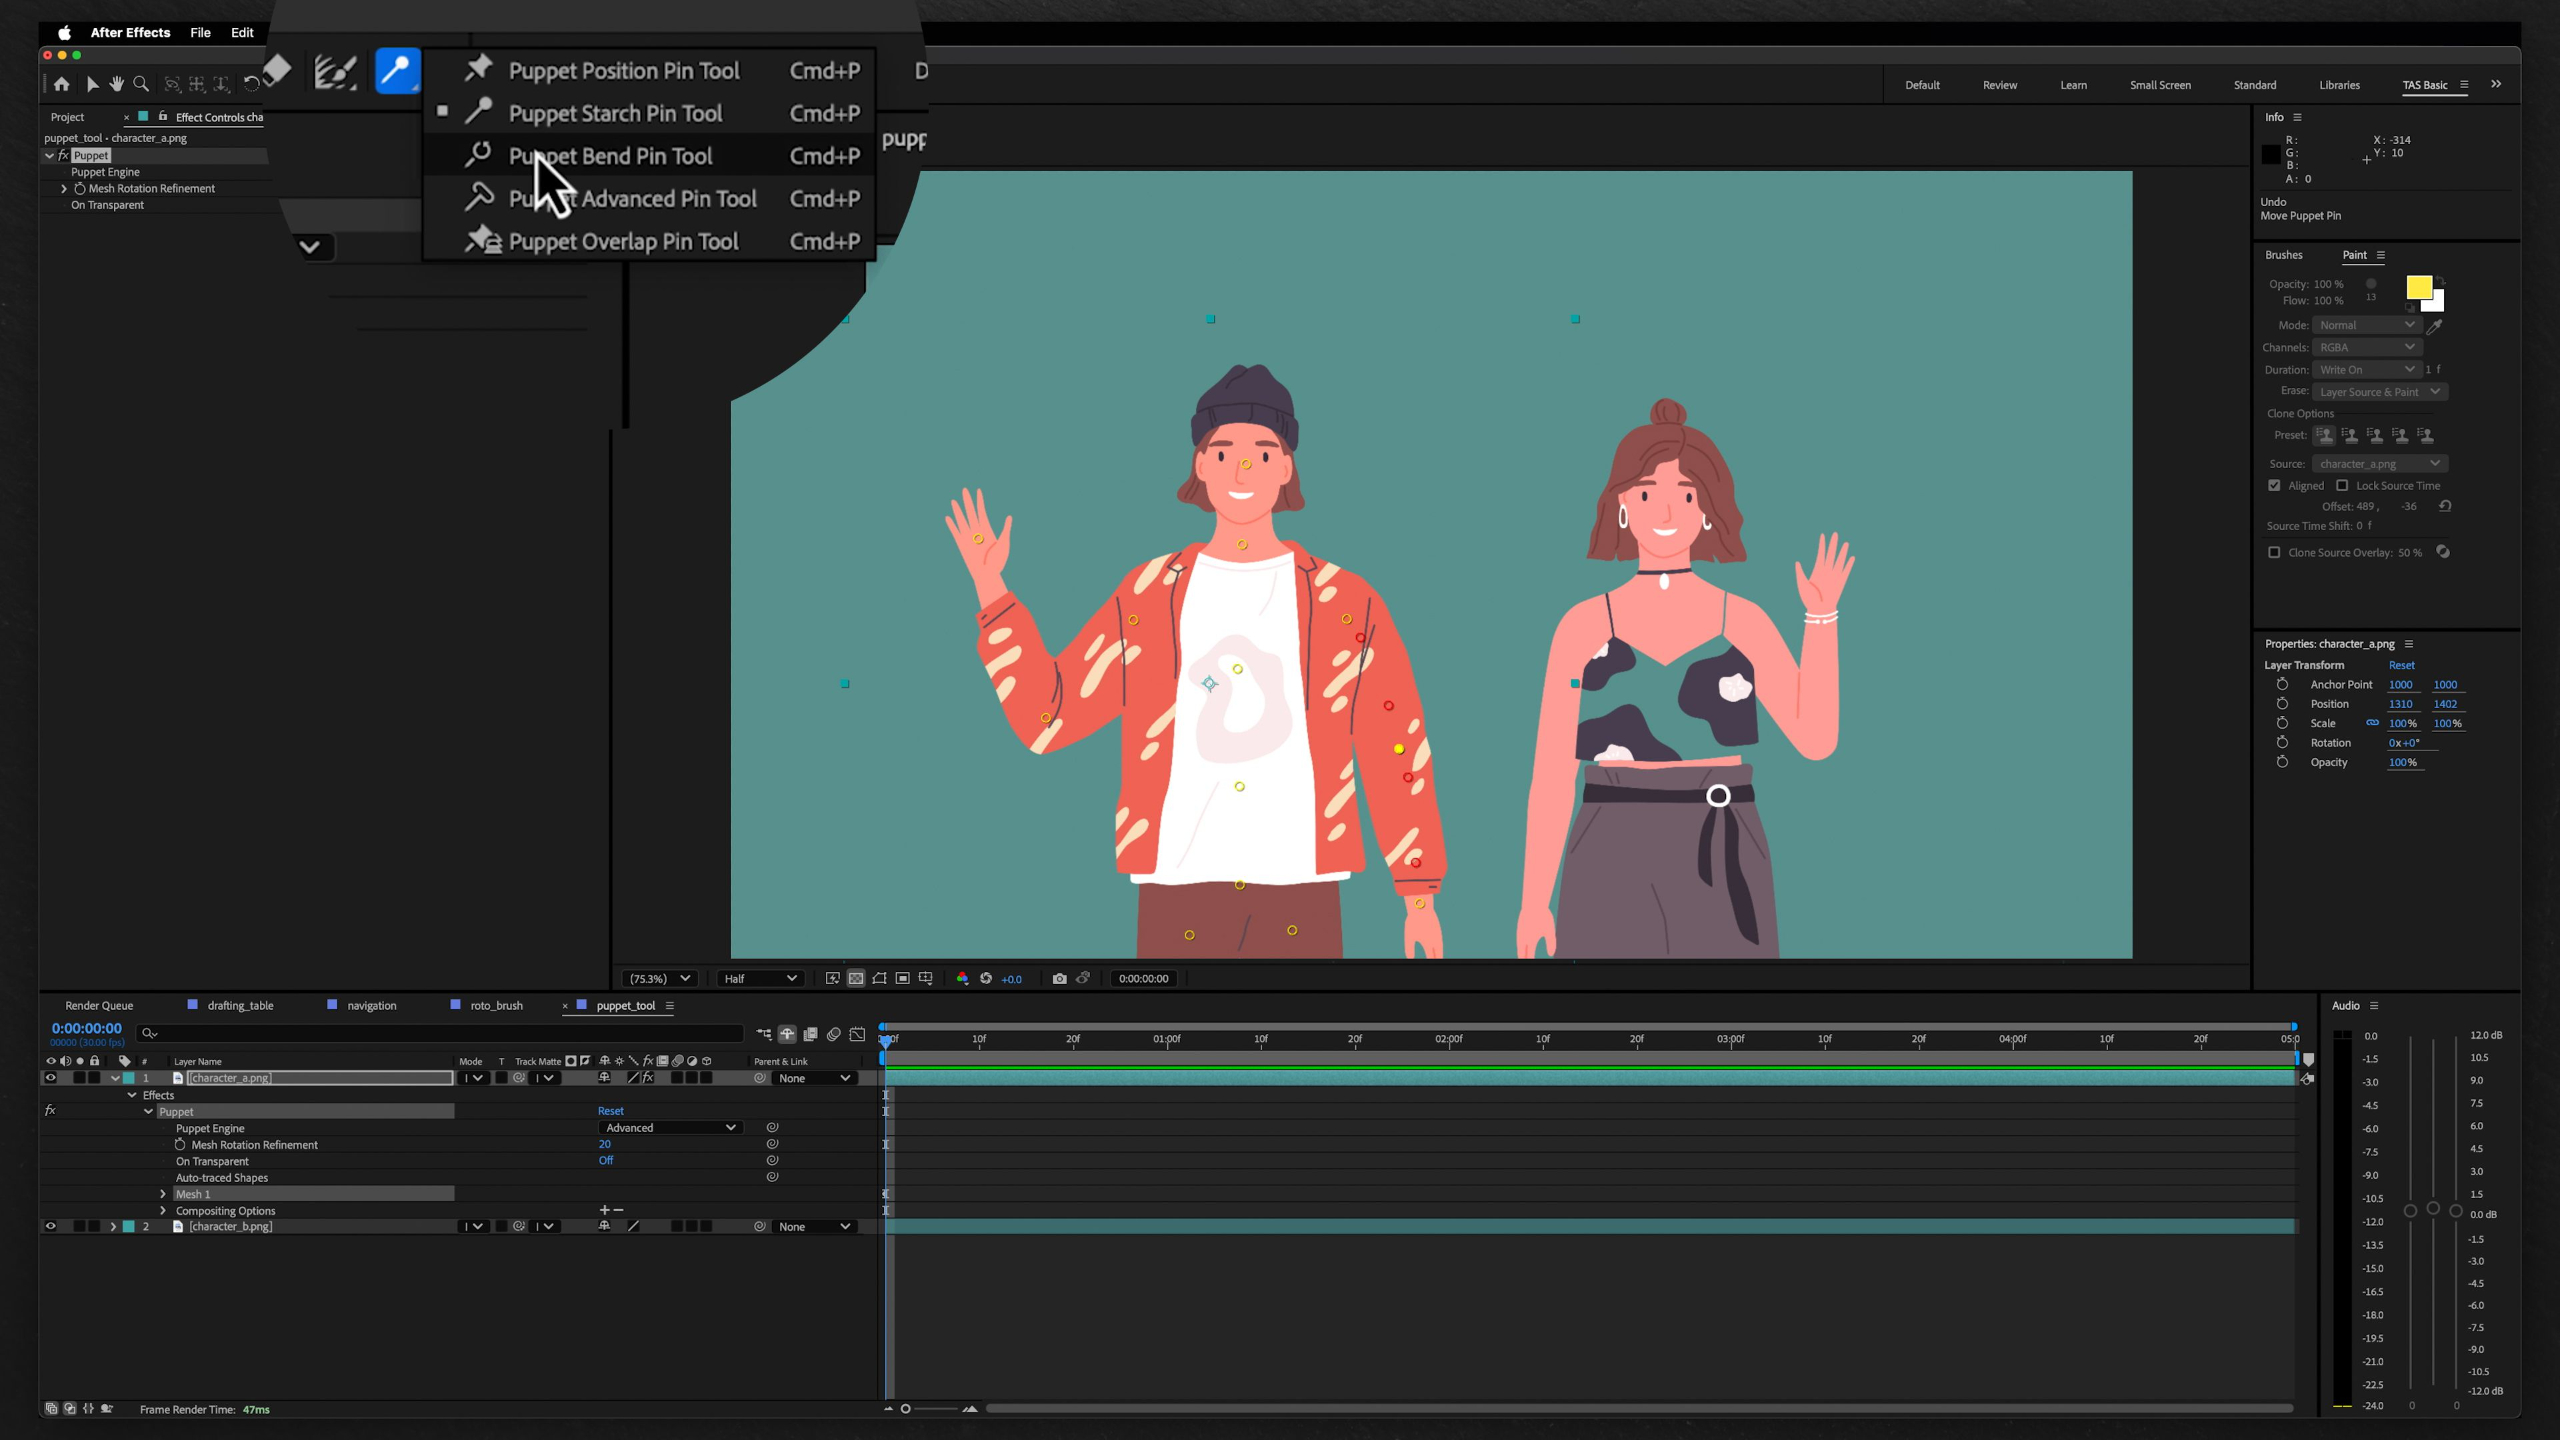
This lesson gives students a practical tour of the After Effects toolbar, covering the main tools they’ll use to select, move, zoom, rotate, draw shapes, create masks, add text, and work in 3D space. It also introduces more advanced tools like Roto Brush, Puppet Pins, painting, cloning, and erasing so students know what’s available as they build their workflow.
Lesson 15: Audio
This lesson explains how audio fits into animation, from scoring and syncing dialogue to lip-sync and sound design. Students learn how to import audio, read waveforms, adjust volume levels, balance a mix, and use basic audio effects inside After Effects.
Lesson 7: Shape Masks & Paths
This lesson digs deeper into shapes, masks, and paths, showing how they can be used to create visuals, hide or reveal parts of an image, animate custom forms, and control complex designs. It also introduces practical masking and rotoscoping techniques, plus useful path tools like null controllers that make animation more flexible and easier to manage.
Lesson 16: Expressions & Scripts
This lesson introduces expressions and scripts as powerful ways to automate repetitive tasks, link properties, create loops, add random motion, and build more efficient After Effects projects. Students learn basic expressions like wiggle, time, and loop, while also getting a first look at scripts, presets, and third-party tools that can speed up their workflow.
Lesson 8: Effects & Adjustment Layers
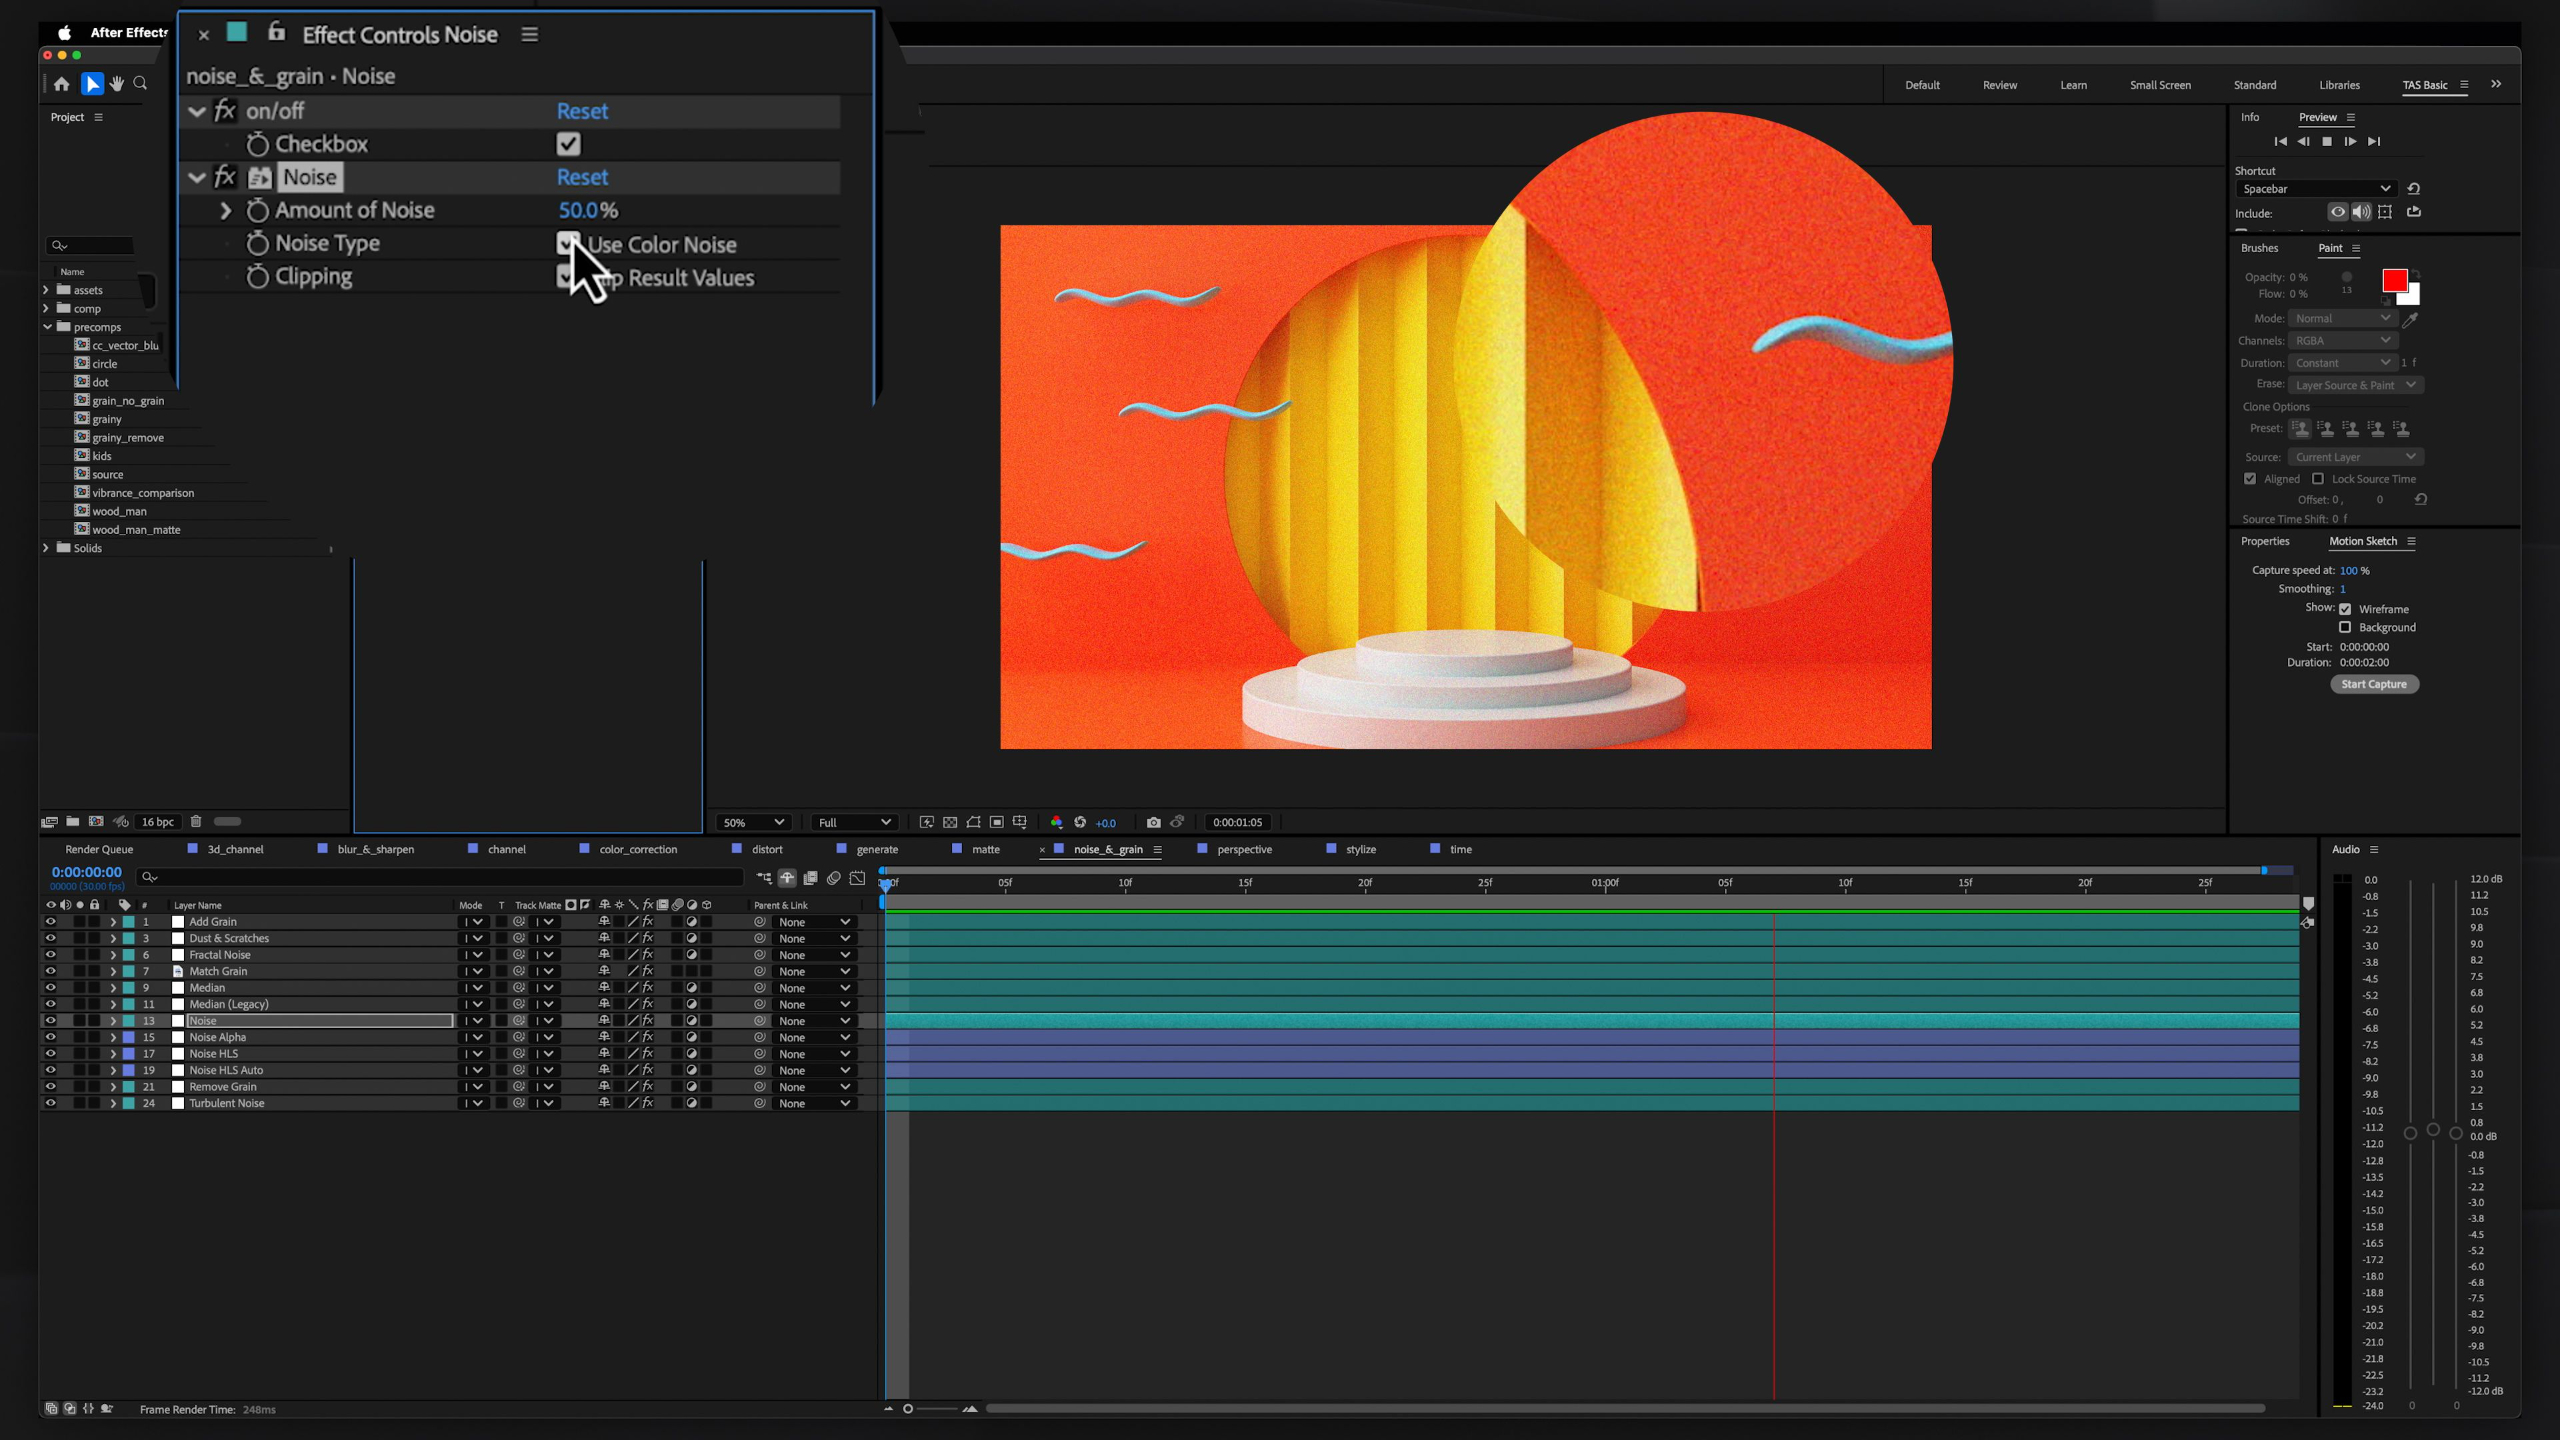
This lesson gives students a broad tour of After Effects effects and adjustment layers, showing how different categories like blur, color correction, distortion, generate, matte, stylize, and time effects can change or enhance a project. It’s meant to be used like a reference guide, helping students learn the most useful effects first and experiment with others as their workflow grows.
Lesson 17: Rendering & Formats
This lesson walks students through the rendering process in After Effects, including previews, pre-renders, the Render Queue, output settings, codecs, image sequences, proxies, and Adobe Media Encoder. It helps demystify how to export projects efficiently while choosing the right format for works-in-progress, final videos, or professional delivery.
Lesson 9: Transform Properties
In this lesson, you'll learn the core transform properties that drive animation in After Effects, including anchor point, position, scale, rotation, and opacity. You'll also explore how these controls work in 3D space, how to use tools like the Pan Behind tool and Pick Whip, and how null objects can be used to control and organize more complex animations.
Lesson 18: Clean-Up & Structure
This final lesson shows students how to clean up and organize After Effects projects so files stay linked, easy to manage, and ready to hand off to clients, studios, or other artists. It also wraps up the Intro to After Effects module by reinforcing the importance of structure, problem-solving, and using these lessons as a reference library moving forward.
Lesson 1: After Effects Overview
This lesson goes over what you will be learning in the Intro to After Effects module and introduces Adobe After Effects as a powerful compositing and animation tool used to combine visuals, create effects, and build 2.5D animated projects. It also explains how students will use After Effects to animate characters, move graphics through 3D space, format projects for different platforms, and build a practical animation pipeline through repetition and experimentation.
Lesson 2: Interface & Settings
This lesson walks students through the After Effects interface, showing how the main panels, workspaces, menus, and preferences are organized. It also helps beginners get comfortable with important settings like auto-save, memory, cache, previews, labels, and performance so they can work faster and avoid common workflow issues later.
Lesson 3: Project Panel
This lesson shows students how to use the Project Panel as the main place for importing, organizing, and managing media in After Effects. It also covers key project settings, file types, footage interpretation, proxies, and workflow tools that help keep bigger animation projects organized and running smoothly.
Lesson 4: Compositions
This lesson explains how compositions work as the main workspace where students combine media, set frame size, duration, frame rate, resolution, and 3D rendering options. It also walks through the Composition Panel tools so students can navigate, preview, align, crop, compare, and manage their scenes more confidently.
Lesson 5: Timeline & Layer Controls
This lesson gives students a deeper look at the Timeline Panel, where they’ll organize layers, control visibility, blending, motion blur, parenting, playback, and timing. It also introduces different layer types and the Flowchart view, helping students understand how to keep complex After Effects projects clean, flexible, and easier to manage.
Lesson 6: Toolbar
This lesson gives students a practical tour of the After Effects toolbar, covering the main tools they’ll use to select, move, zoom, rotate, draw shapes, create masks, add text, and work in 3D space. It also introduces more advanced tools like Roto Brush, Puppet Pins, painting, cloning, and erasing so students know what’s available as they build their workflow.
Lesson 7: Shape Masks & Paths
This lesson digs deeper into shapes, masks, and paths, showing how they can be used to create visuals, hide or reveal parts of an image, animate custom forms, and control complex designs. It also introduces practical masking and rotoscoping techniques, plus useful path tools like null controllers that make animation more flexible and easier to manage.
Lesson 8: Effects & Adjustment Layers
This lesson gives students a broad tour of After Effects effects and adjustment layers, showing how different categories like blur, color correction, distortion, generate, matte, stylize, and time effects can change or enhance a project. It’s meant to be used like a reference guide, helping students learn the most useful effects first and experiment with others as their workflow grows.
Lesson 9: Transform Properties
In this lesson, you'll learn the core transform properties that drive animation in After Effects, including anchor point, position, scale, rotation, and opacity. You'll also explore how these controls work in 3D space, how to use tools like the Pan Behind tool and Pick Whip, and how null objects can be used to control and organize more complex animations.
Lesson 10: Keyframes
This lesson introduces keyframes as the main way to create movement and change over time in After Effects. Students learn how different keyframe types—linear, bezier, easy ease, and hold—affect motion, timing, and interpolation so their animations feel more polished and believable.
Lesson 11: Text
This lesson walks students through the fundamentals of working with text in After Effects, including creating text layers, choosing fonts, adjusting color, spacing, stroke, alignment, and paragraph settings. It also introduces a few practical text workflow tips, like installing fonts, converting Photoshop text into editable After Effects text, and using the Character and Paragraph panels more confidently.
Lesson 12: Cameras & 3D Space
This lesson introduces cameras in After Effects and shows how they can add cinematography, depth, focus, and movement through 3D space. Students learn the basics of one-node and two-node cameras, depth of field, camera tools, motion blur, auto-orient, and simple expression-based camera movement.
Lesson 13: Lights & Materials
This lesson introduces lights and material settings in After Effects, showing how 3D layers can receive light, cast shadows, and take on different surface qualities like flat, shiny, or metallic. It also explains how to use these tools tastefully so they add depth and mood without overcomplicating the project or slowing down render times.
Lesson 14: Paint Tools
This lesson introduces the Paint tools in After Effects, including the Brush, Eraser, Clone Stamp, and Motion Sketch tools. Students learn how to create animated brush strokes, erase or reveal parts of a layer, clone visual details, and record hand-drawn cursor movement to add a more organic feel to their animations.
Lesson 15: Audio
This lesson explains how audio fits into animation, from scoring and syncing dialogue to lip-sync and sound design. Students learn how to import audio, read waveforms, adjust volume levels, balance a mix, and use basic audio effects inside After Effects.
Lesson 16: Expressions & Scripts
This lesson introduces expressions and scripts as powerful ways to automate repetitive tasks, link properties, create loops, add random motion, and build more efficient After Effects projects. Students learn basic expressions like wiggle, time, and loop, while also getting a first look at scripts, presets, and third-party tools that can speed up their workflow.
Lesson 17: Rendering & Formats
This lesson walks students through the rendering process in After Effects, including previews, pre-renders, the Render Queue, output settings, codecs, image sequences, proxies, and Adobe Media Encoder. It helps demystify how to export projects efficiently while choosing the right format for works-in-progress, final videos, or professional delivery.
Lesson 18: Clean-Up & Structure
This final lesson shows students how to clean up and organize After Effects projects so files stay linked, easy to manage, and ready to hand off to clients, studios, or other artists. It also wraps up the Intro to After Effects module by reinforcing the importance of structure, problem-solving, and using these lessons as a reference library moving forward.
Module 3: 2D Animation Fundamentals (Level I)
Estimated completion time: 6-8 weeks
This module builds on your knowledge of the After Effects interface by teaching the core techniques used to create animated sequences and stories.
Students will learn skills such as using the graph editor for smooth motion, animating text and logos, working with shapes, masks, and paths, preparing graphics for movement with tools like parenting and the puppet tool, using expressions and scripts to streamline workflows, and creating dynamic 2.5D camera movements.
The module also includes hands-on assignments for every lesson, culminating with a portfolio project utilizing all the skills learned during each lesson.
Lesson 1: Animation Overview
This lesson introduces the 2D Animation Fundamentals module, where students start applying the After Effects tools they learned to create real animated work. It gives a quick preview of upcoming skills like graph editor animation, text and logo animation, shapes, masks, puppet tools, expressions, 2.5D camera moves, and a final looping portfolio project.
Lesson 7: Transitions
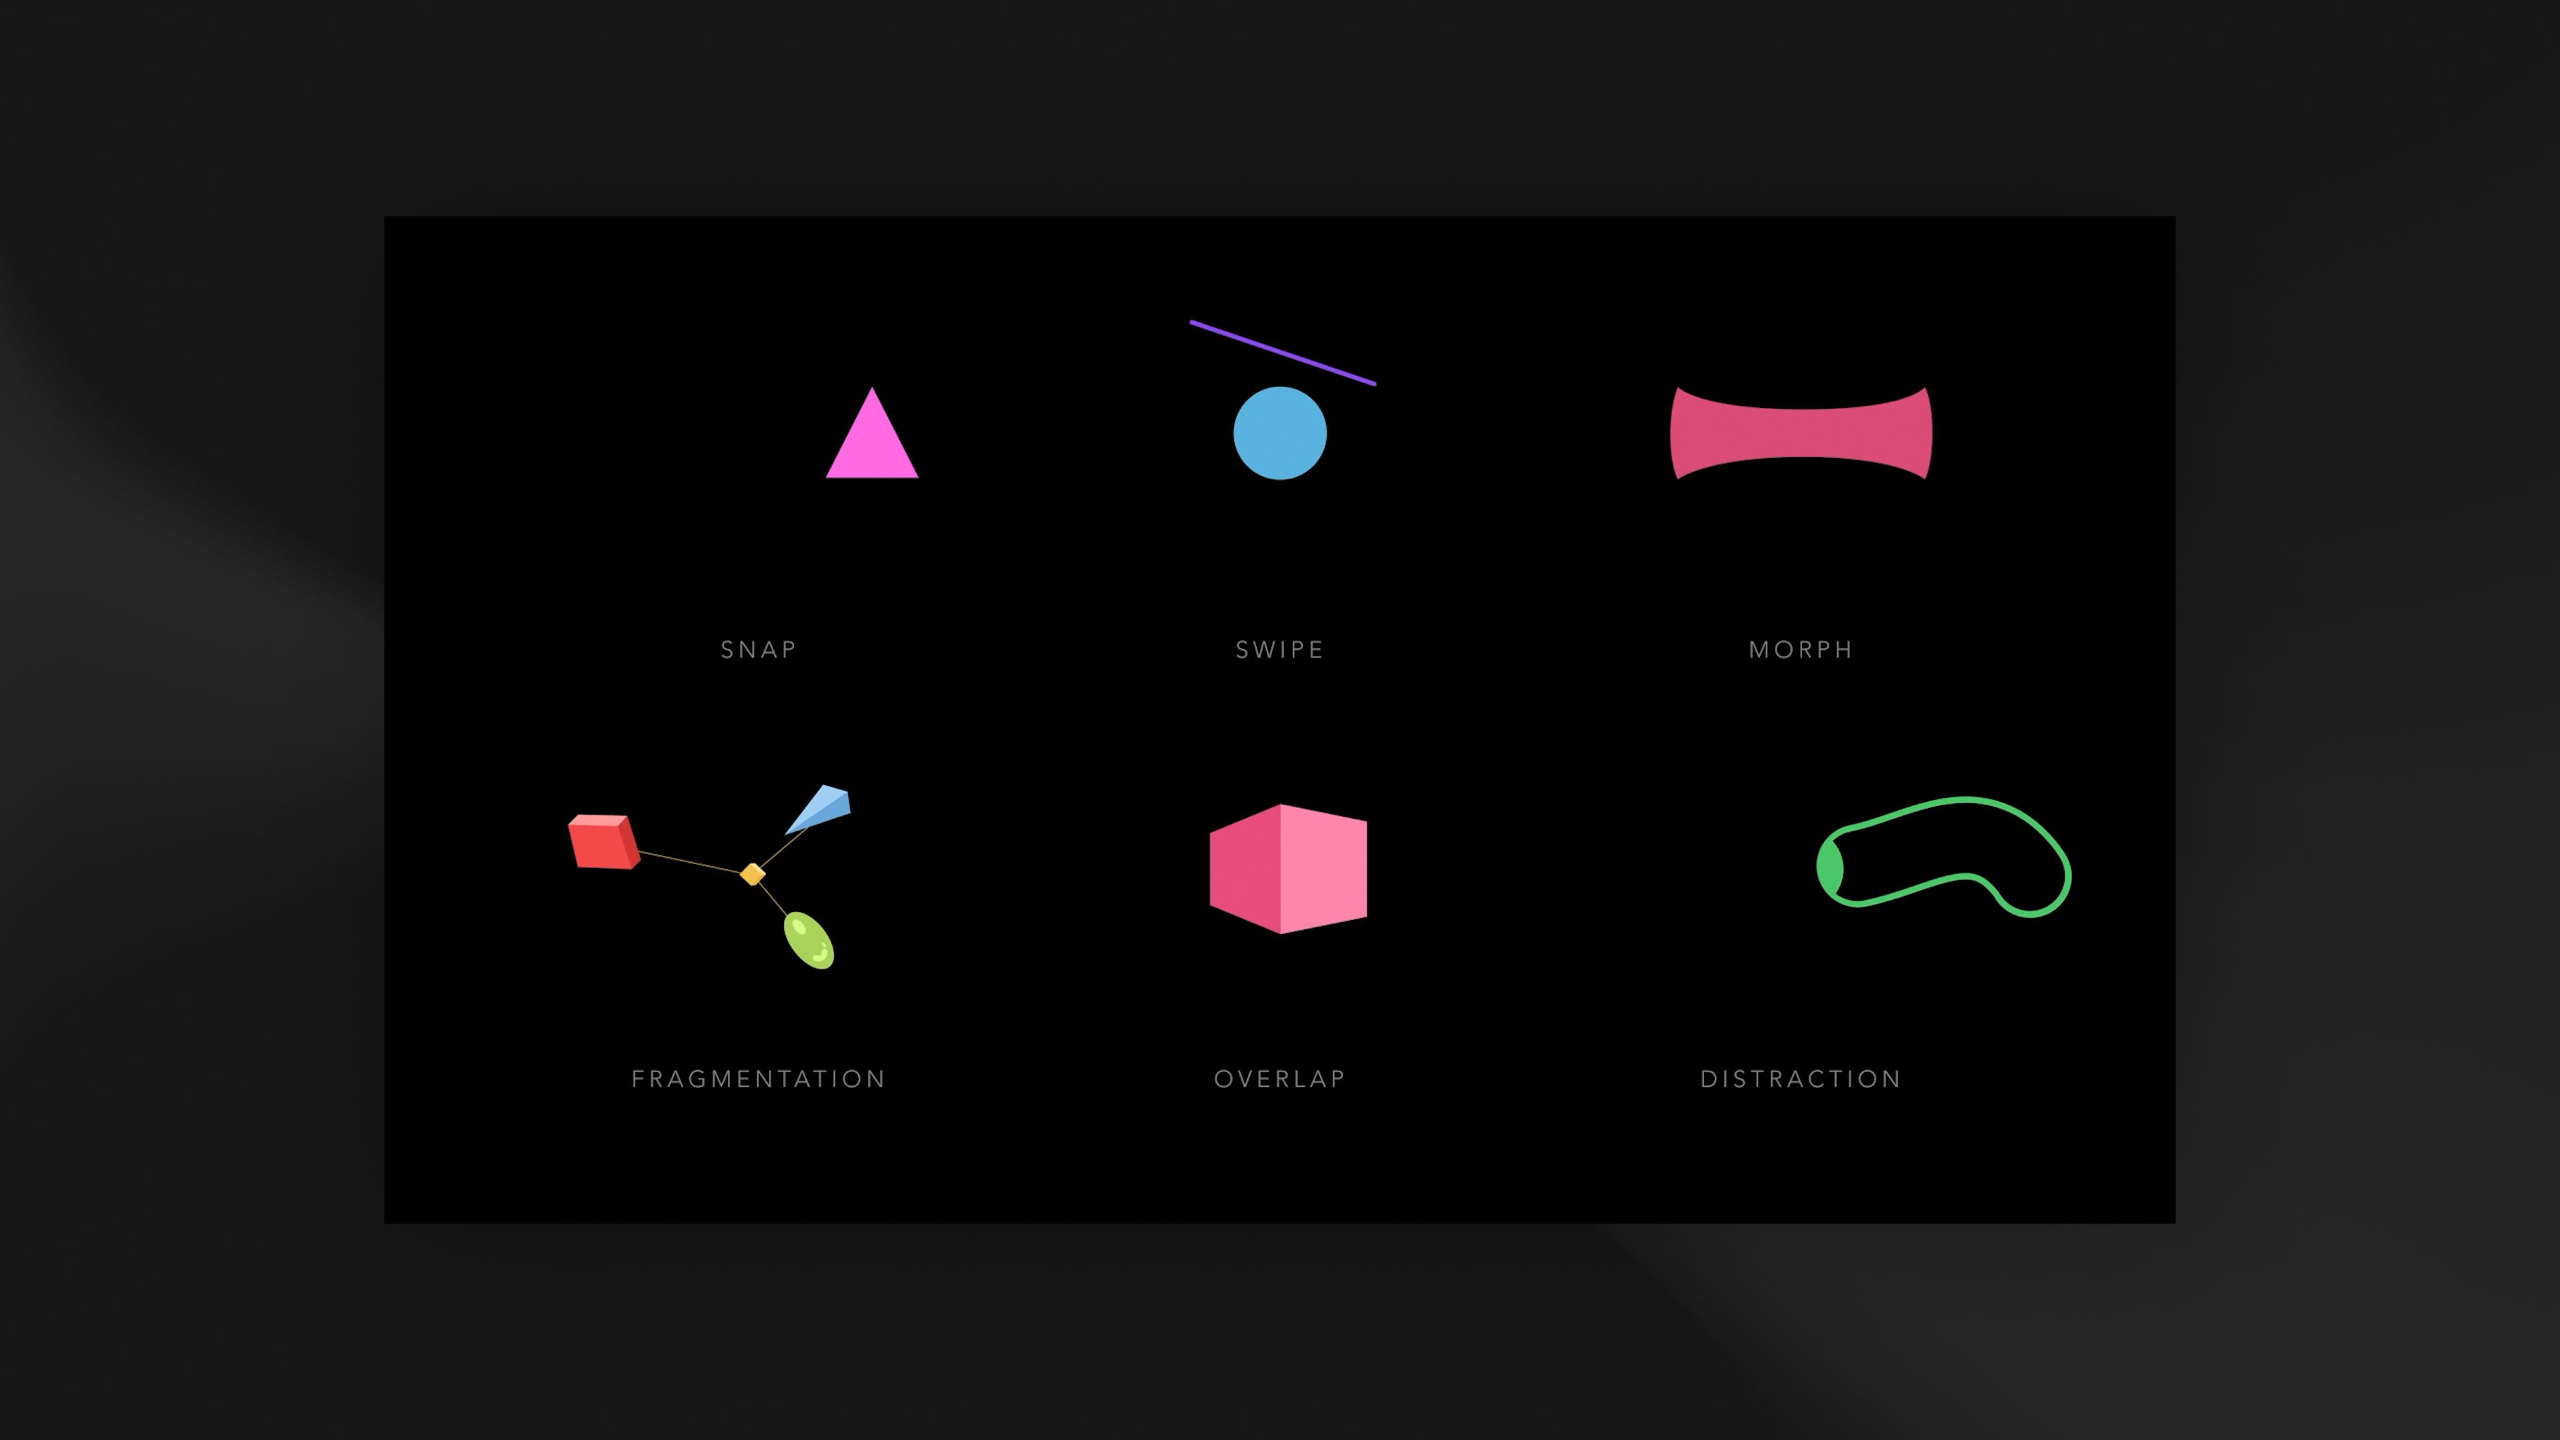
This lesson teaches students how to create smooth and engaging transitions between scenes, objects, and ideas using techniques like snapping, swiping, morphing, fragmenting, overlapping, and distraction. Students then apply these methods by animating transitions between icon designs, helping them build more stylish and professional motion graphics sequences.
Lesson 2: Graph / Curve Editor
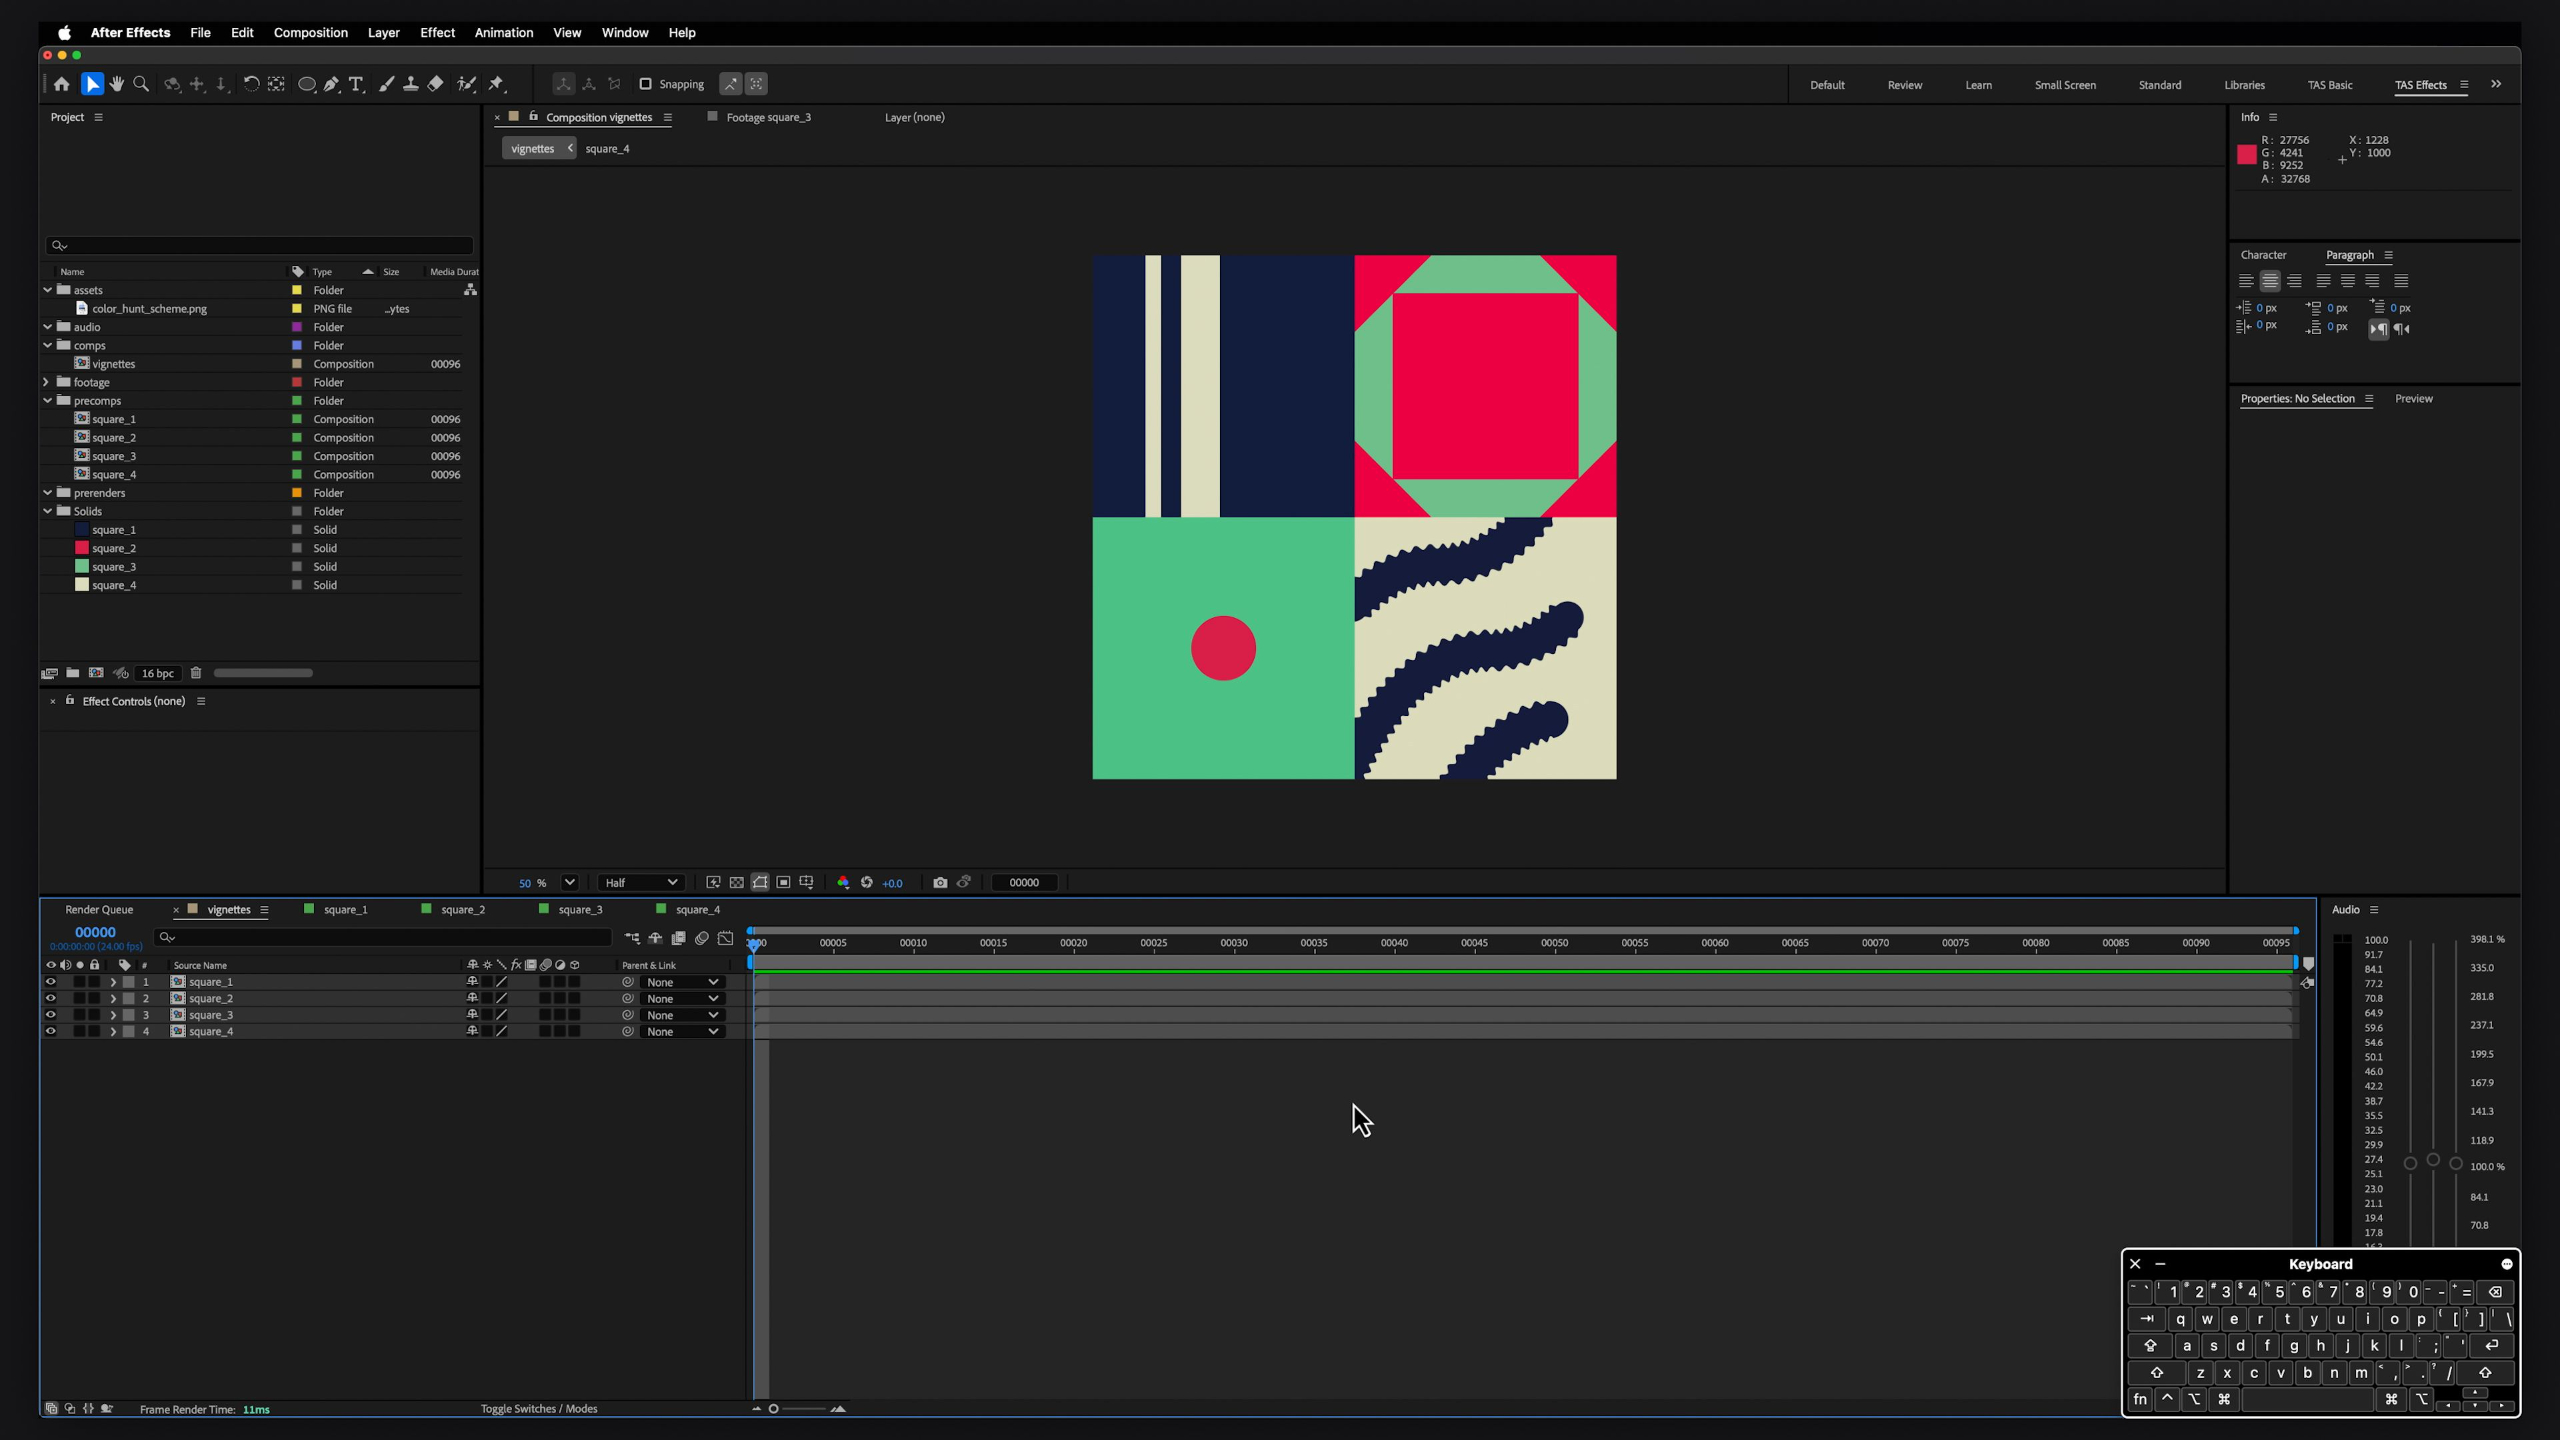
This lesson introduces the Graph Editor as one of the most important tools for controlling timing, weight, speed, and personality in After Effects animation. Students then apply those skills by creating a looping vignette animation, adjusting f-curves, styling the motion, and exporting the final piece as a GIF.
Lesson 8: Kinetic Typography
This lesson teaches students the fundamentals of kinetic typography, from using text animators, range selectors, 3D text, blur, fill, stroke, spacing, and expression-based motion to create more dynamic type animations. In Part II, students build on those tools with professional techniques like mattes, melting text, liquid reveals, brush-style strokes, and layered lettering animations for portfolio-ready work.
Lesson 3: Shapes & Objects
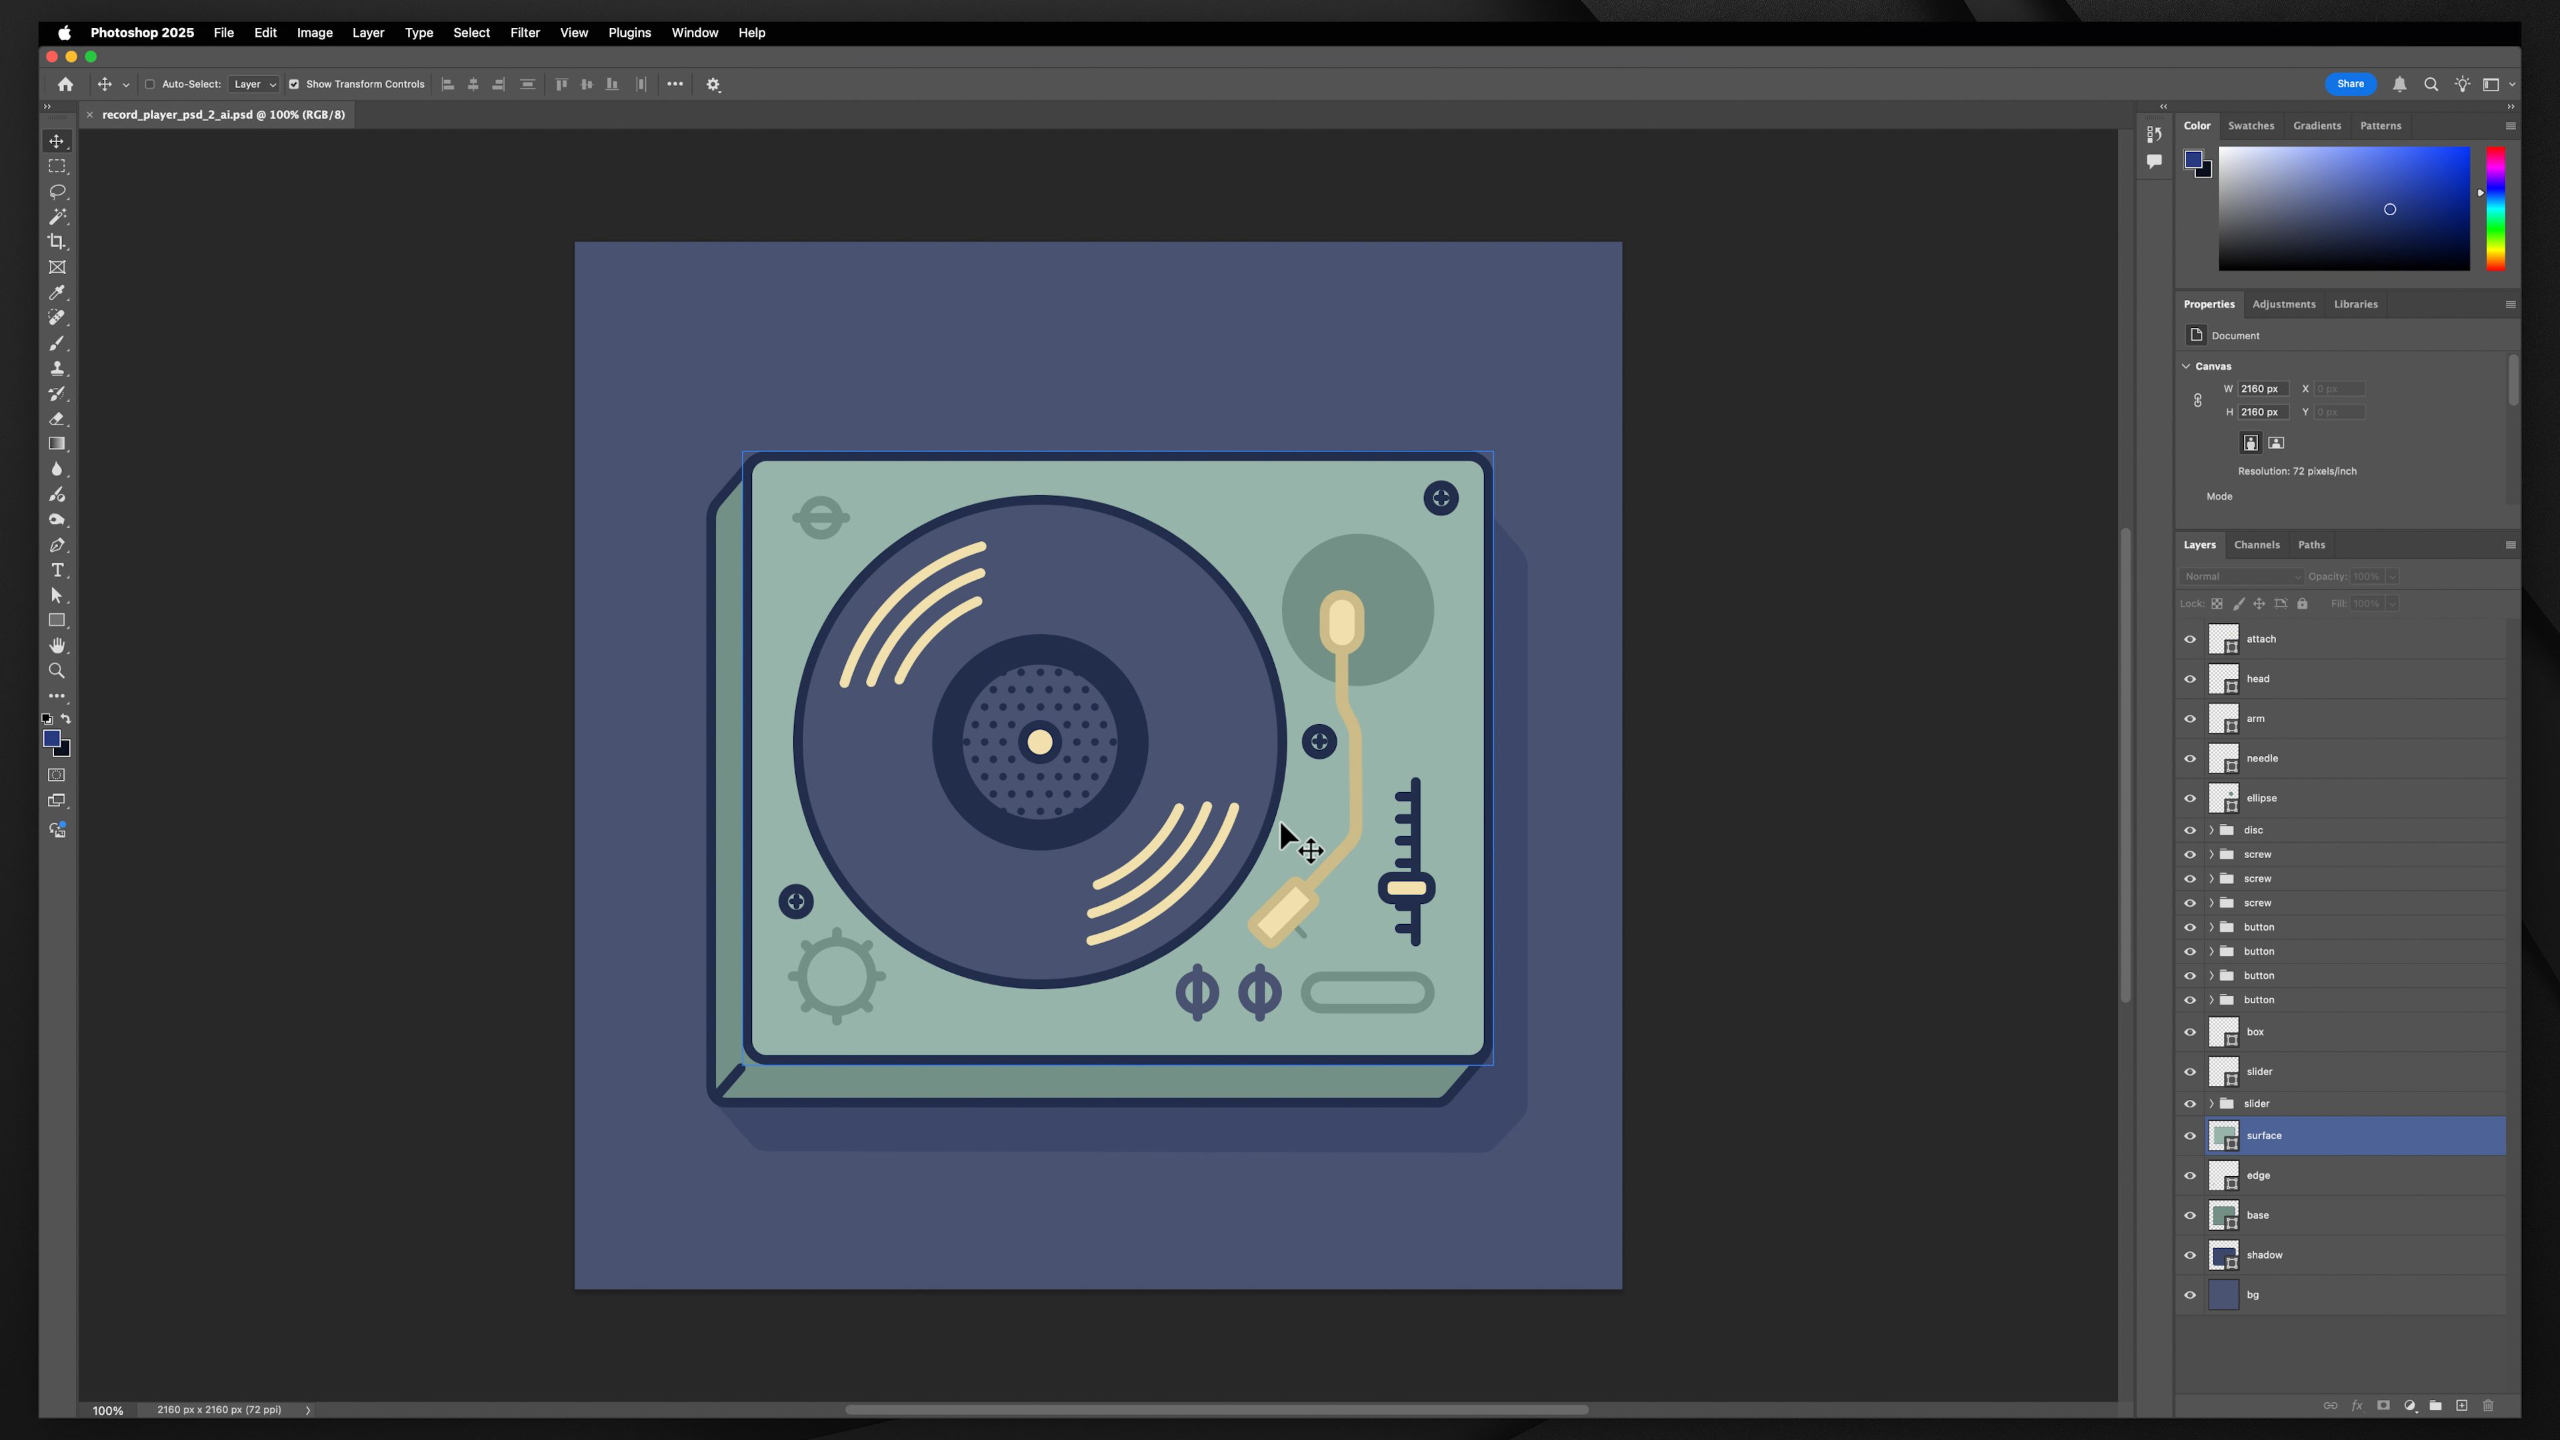
This lesson teaches students how to use shape objects to create more polished 2D animations, starting with a bouncing ball exercise that builds motion, rotation, weight, squash and stretch, character, and camera shake. It also covers more advanced shape workflows, including creating complex designs, importing graphics from Photoshop and Illustrator, converting vectors into editable After Effects shapes, and animating objects like a record player, headphones, and vintage audio devices.
Lesson 9: Advanced Expressions
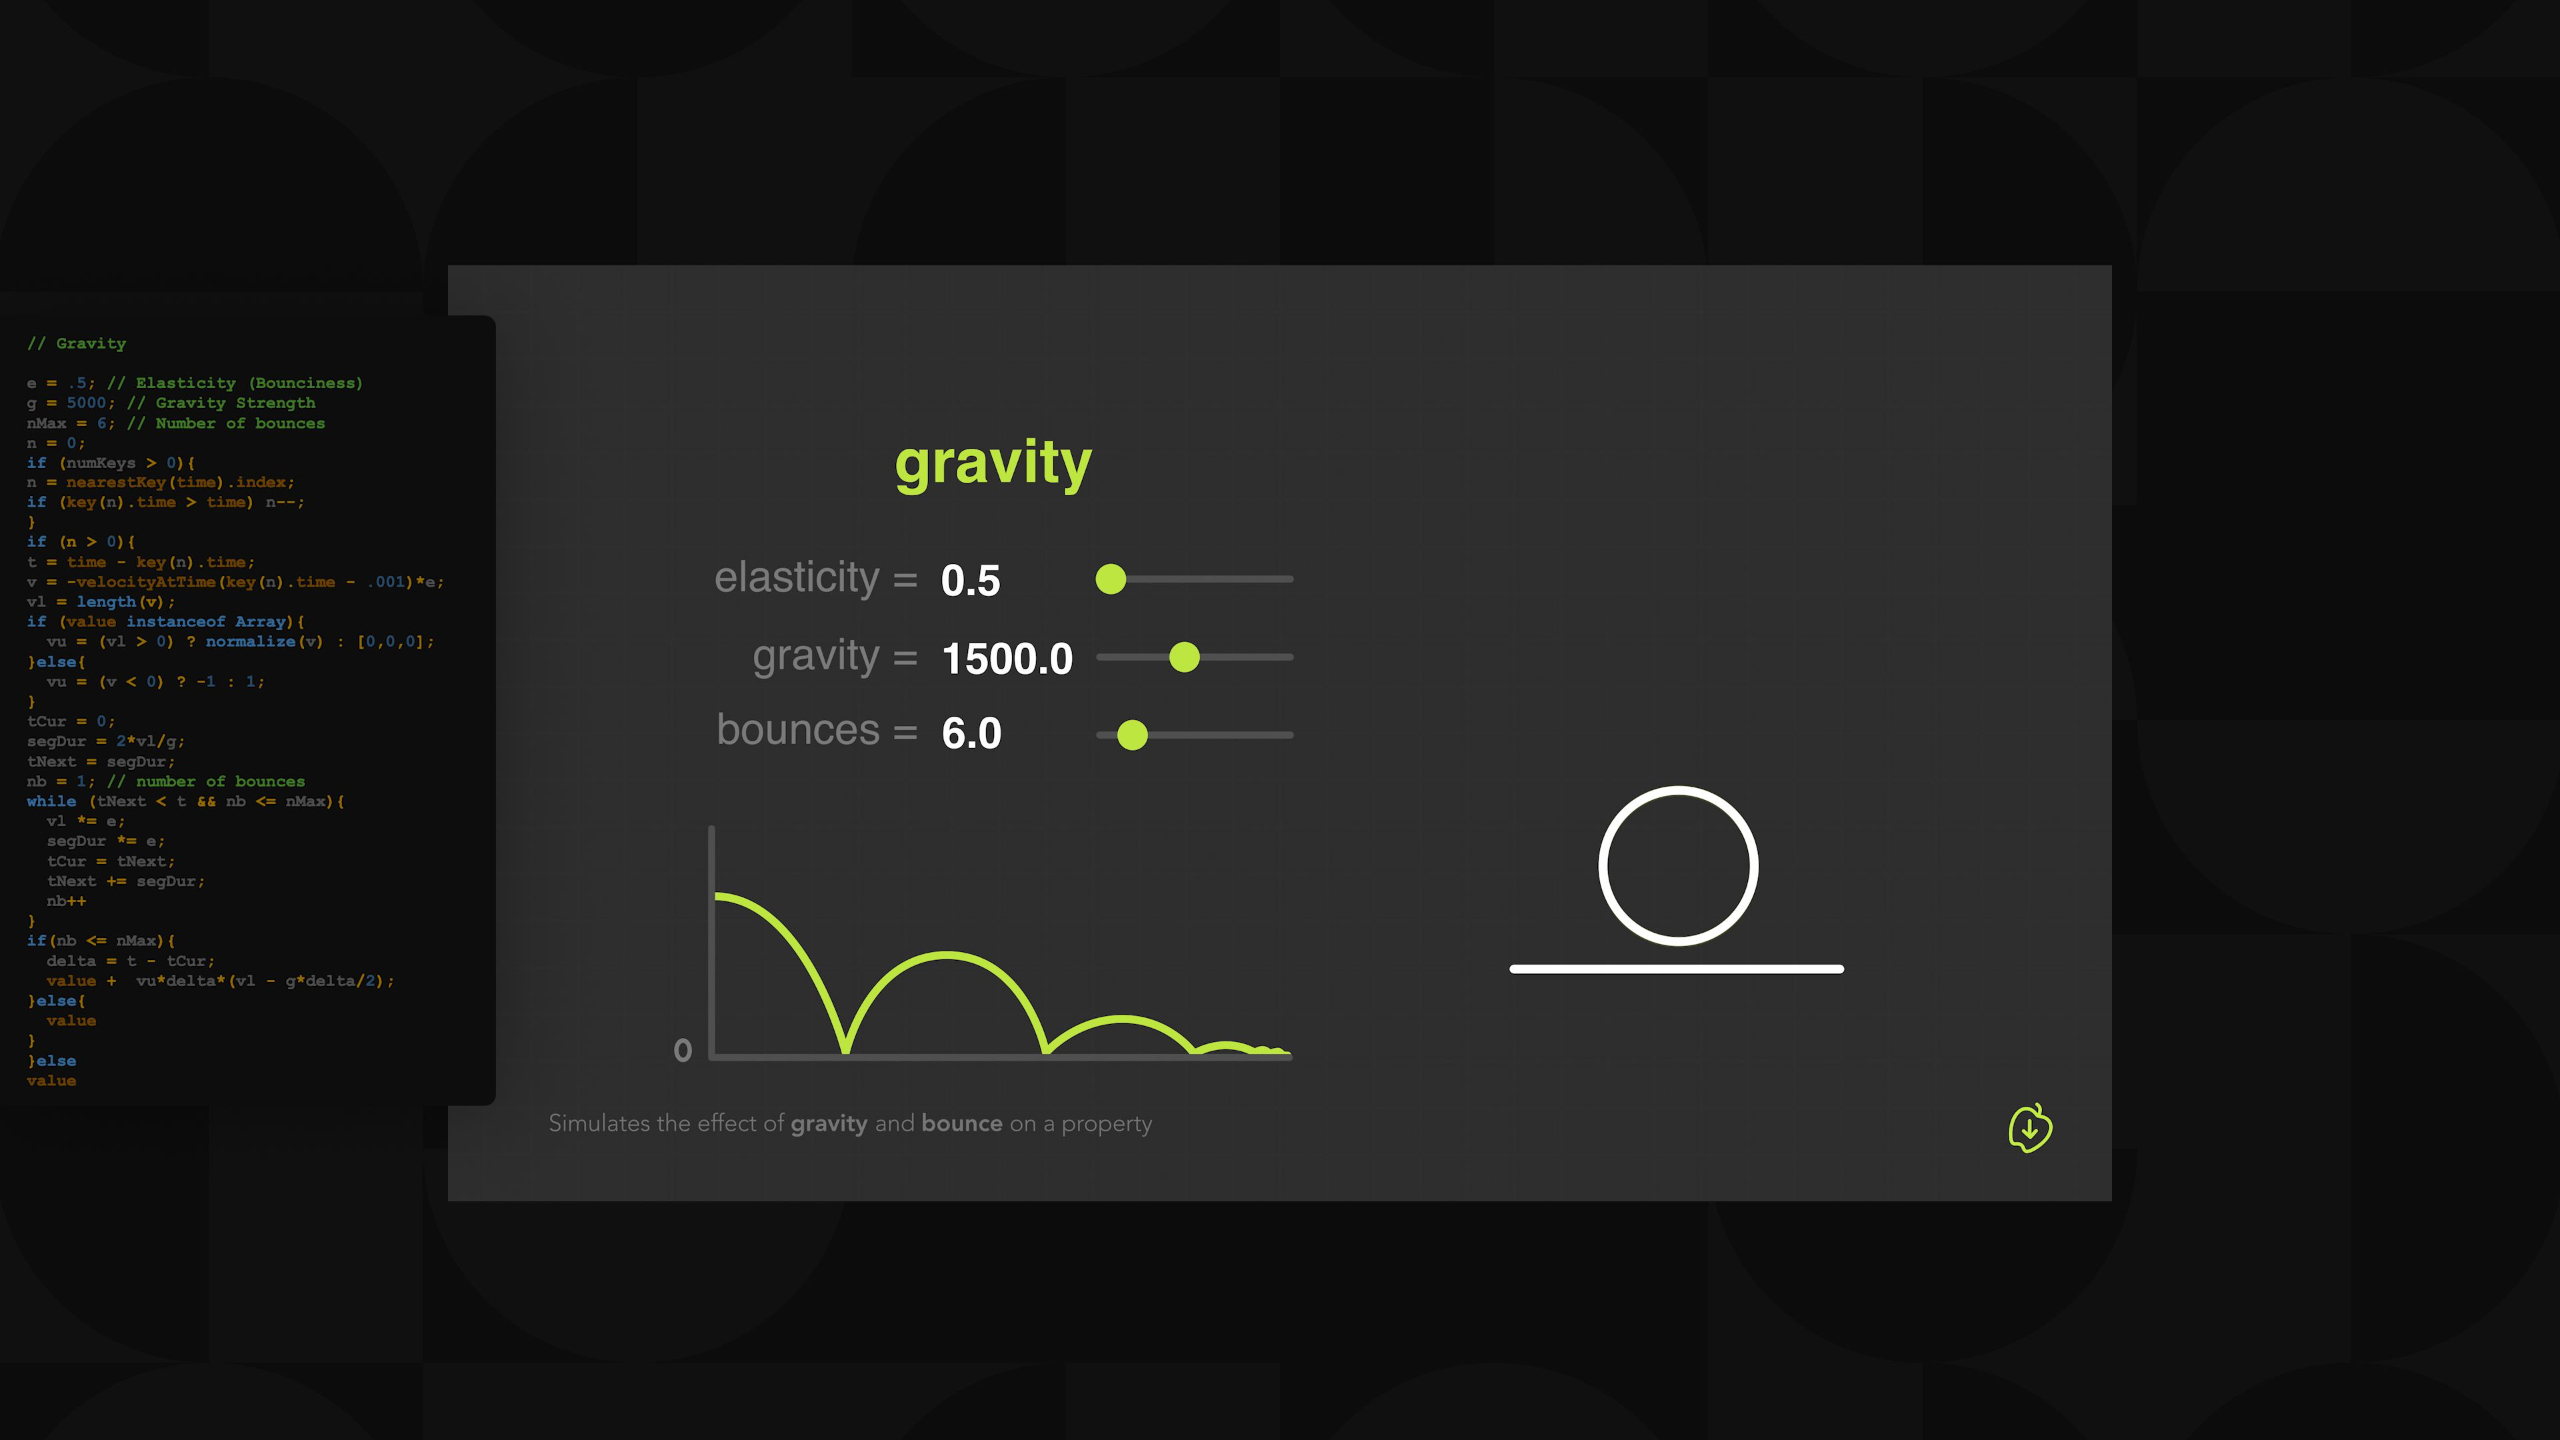
This lesson expands on expressions by showing students how to automate more complex animation behaviors, link properties, create reusable controls, and save time with expression presets or tools like KBar and Mute. Students explore practical expressions for wiggle, loops, random motion, counters, gravity, elastic movement, markers, switches, and controllers so they can build smarter, more flexible After Effects projects.
Lesson 4: Modifiers
This lesson teaches students how to use shape modifiers like Merge Paths, Offset Paths, Repeater, Trim Paths, Wiggle Paths, and more to create dynamic, flexible animations. Students then apply those tools through practical projects like animated channel scenes and an airline safety card, giving them more creative ways to bring simple shapes and paths to life.
Lesson 10: Logo Animation
This lesson explores the creative thinking behind logo animation by studying a wide range of professional examples, from simple and elegant reveals to complex, clever, character-based, and motion-driven designs. Students then apply these ideas by choosing two provided logos and animating each using one of the techniques discussed in the lesson.
Lesson 5: Paths & Lines
This lesson shows students how simple paths and lines can be used to communicate objects, ideas, and even complex concepts through shape, motion, and visual metaphor. Students then practice creating elemental animations and more abstract concept-based animations using line work, color, timing, and movement.
Lesson 11: Tools & Scripts
This lesson introduces a wide range of After Effects tools, scripts, plugins, and extensions that can speed up animation workflows, improve organization, simplify rigging, enhance path animation, and automate repetitive tasks. It also explains which tools are must-haves versus nice-to-haves, while encouraging students to explore the resources that best fit their own workflow.
Lesson 6: Stylization
This lesson introduces several ways to stylize After Effects animations so they feel more unique, handmade, and visually interesting. Students explore techniques like shimmy, noise, texture, scribble, fuzzy edges, and fluid effects, then apply them through a series of creative practice assignments.
Portfolio Project: Loops
This lesson guides students through the final portfolio project for the 2D Animation Fundamentals module: creating a polished looping animation that shows off their skills in motion, style, transitions, typography, logos, paths, and effects. It also walks through different ways to approach the project, including using stock assets, referencing inspiration responsibly, or designing original graphics from scratch.
Lesson 1: Animation Overview
This lesson introduces the 2D Animation Fundamentals module, where students start applying the After Effects tools they learned to create real animated work. It gives a quick preview of upcoming skills like graph editor animation, text and logo animation, shapes, masks, puppet tools, expressions, 2.5D camera moves, and a final looping portfolio project.
Lesson 2: Graph / Curve Editor
This lesson introduces the Graph Editor as one of the most important tools for controlling timing, weight, speed, and personality in After Effects animation. Students then apply those skills by creating a looping vignette animation, adjusting f-curves, styling the motion, and exporting the final piece as a GIF.
Lesson 3: Shapes & Objects
This lesson teaches students how to use shape objects to create more polished 2D animations, starting with a bouncing ball exercise that builds motion, rotation, weight, squash and stretch, character, and camera shake. It also covers more advanced shape workflows, including creating complex designs, importing graphics from Photoshop and Illustrator, converting vectors into editable After Effects shapes, and animating objects like a record player, headphones, and vintage audio devices.
Lesson 4: Modifiers
This lesson teaches students how to use shape modifiers like Merge Paths, Offset Paths, Repeater, Trim Paths, Wiggle Paths, and more to create dynamic, flexible animations. Students then apply those tools through practical projects like animated channel scenes and an airline safety card, giving them more creative ways to bring simple shapes and paths to life.
Lesson 5: Paths & Lines
This lesson shows students how simple paths and lines can be used to communicate objects, ideas, and even complex concepts through shape, motion, and visual metaphor. Students then practice creating elemental animations and more abstract concept-based animations using line work, color, timing, and movement.
Lesson 6: Stylization
This lesson introduces several ways to stylize After Effects animations so they feel more unique, handmade, and visually interesting. Students explore techniques like shimmy, noise, texture, scribble, fuzzy edges, and fluid effects, then apply them through a series of creative practice assignments.
Lesson 7: Transitions
This lesson teaches students how to create smooth and engaging transitions between scenes, objects, and ideas using techniques like snapping, swiping, morphing, fragmenting, overlapping, and distraction. Students then apply these methods by animating transitions between icon designs, helping them build more stylish and professional motion graphics sequences.
Lesson 8: Kinetic Typography
This lesson teaches students the fundamentals of kinetic typography, from using text animators, range selectors, 3D text, blur, fill, stroke, spacing, and expression-based motion to create more dynamic type animations. In Part II, students build on those tools with professional techniques like mattes, melting text, liquid reveals, brush-style strokes, and layered lettering animations for portfolio-ready work.
Lesson 9: Advanced Expressions
This lesson expands on expressions by showing students how to automate more complex animation behaviors, link properties, create reusable controls, and save time with expression presets or tools like KBar and Mute. Students explore practical expressions for wiggle, loops, random motion, counters, gravity, elastic movement, markers, switches, and controllers so they can build smarter, more flexible After Effects projects.
Lesson 10: Logo Animation
This lesson explores the creative thinking behind logo animation by studying a wide range of professional examples, from simple and elegant reveals to complex, clever, character-based, and motion-driven designs. Students then apply these ideas by choosing two provided logos and animating each using one of the techniques discussed in the lesson.
Lesson 11: Tools & Scripts
This lesson introduces a wide range of After Effects tools, scripts, plugins, and extensions that can speed up animation workflows, improve organization, simplify rigging, enhance path animation, and automate repetitive tasks. It also explains which tools are must-haves versus nice-to-haves, while encouraging students to explore the resources that best fit their own workflow.
Portfolio Project: Loops
This lesson guides students through the final portfolio project for the 2D Animation Fundamentals module: creating a polished looping animation that shows off their skills in motion, style, transitions, typography, logos, paths, and effects. It also walks through different ways to approach the project, including using stock assets, referencing inspiration responsibly, or designing original graphics from scratch.
Module 4: 2.5D Character Animation (Level II)
Estimated completion time: 6-8 weeks
This module explores professional animation workflows, character rigging tools and scripts, animation controls, walk and run cycles, facial animation, and 'faux 3D' techniques that bring 2D characters to life in a '2.5D' style.
By the end, you’ll combine everything you’ve learned into a polished portfolio project while gaining skills that can be applied to characters and creatures of all kinds.
Lesson 1: 2.5D Character Animation Overview
This lesson introduces the 2.5D Character Animation module, where students will learn how to rig and animate characters inside After Effects. It previews upcoming topics like professional animation analysis, rigging tools, character controls, walk and run cycles, faux 3D techniques, facial animation, and a final character-based portfolio project.
Lesson 6: Animal Cycles
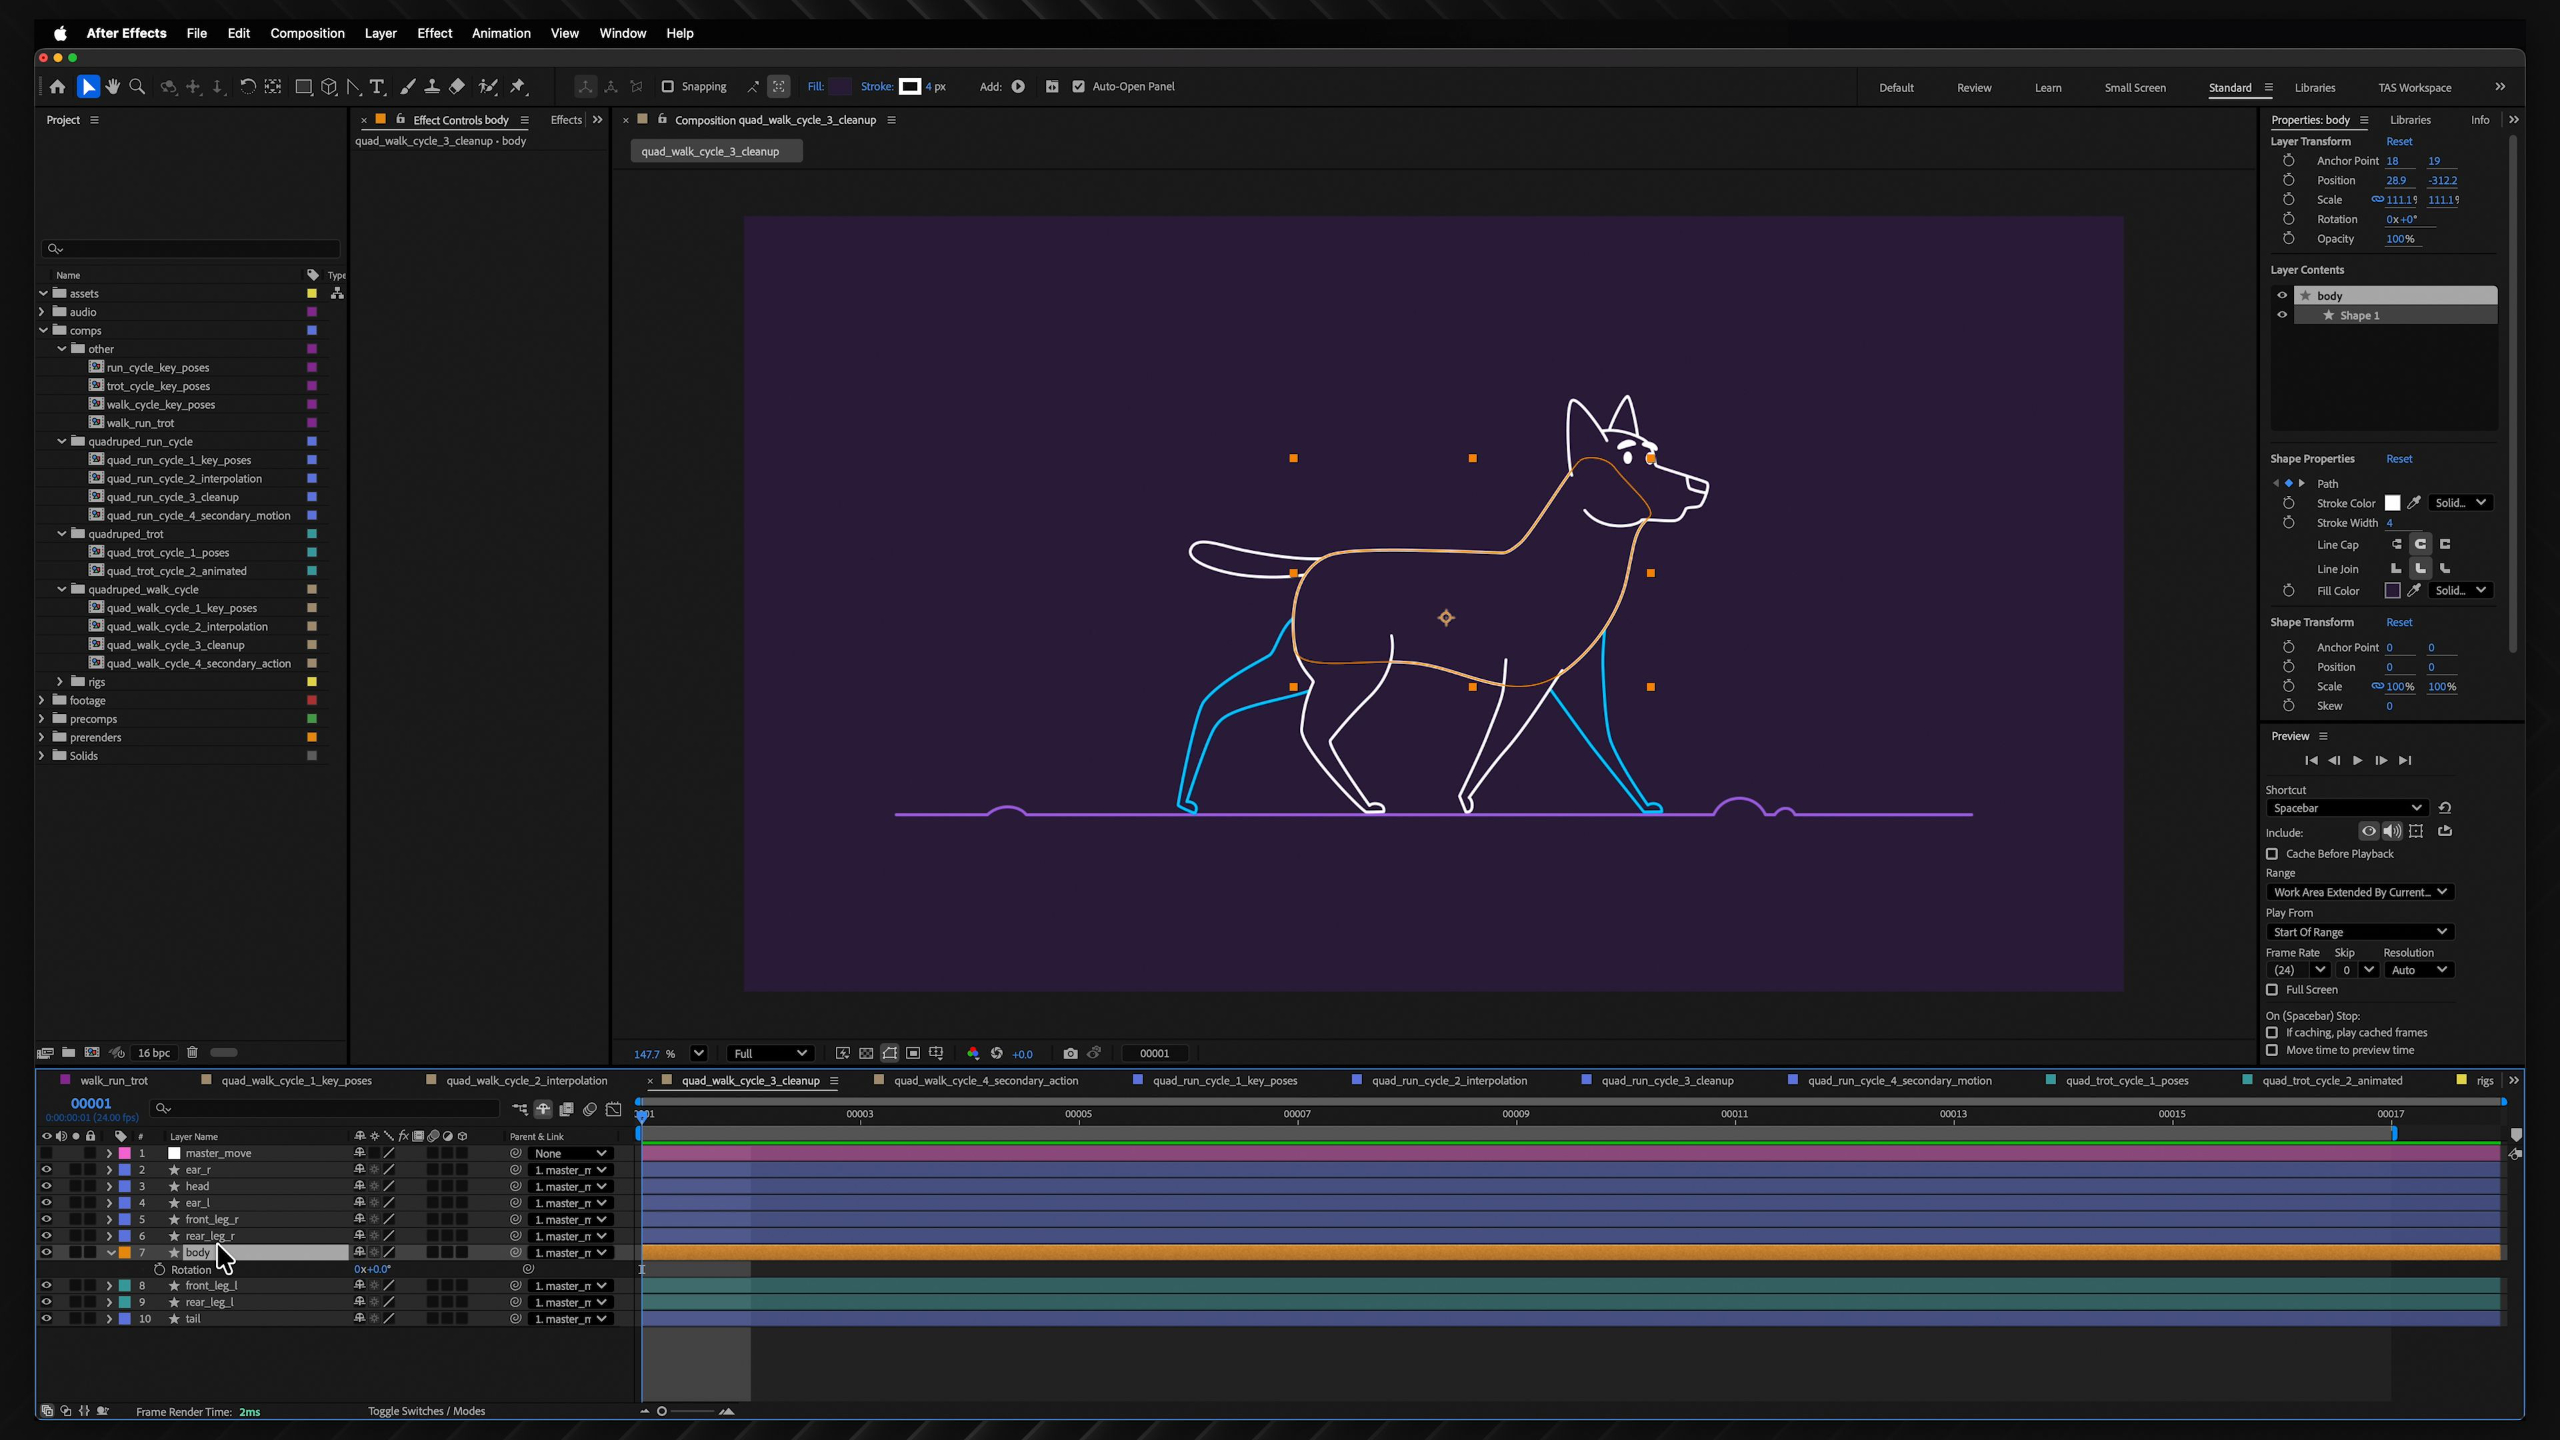
This lesson teaches students how to create animal walk, run, and trot cycles by breaking quadruped movement into clear key poses, timing, interpolation, cleanup, and secondary action. Students then practice applying these workflows to provided animal rigs while learning how to use reference footage to understand different creature movements.
Lesson 2: Animation Principles
This lesson teaches students how the 12 animation principles apply specifically to 2.5D character animation, helping characters feel believable, expressive, and full of weight. Students then practice principles like squash and stretch, anticipation, staging, arcs, timing, secondary action, exaggeration, and appeal using a simple provided character rig.
Lesson 7: Faux 3D
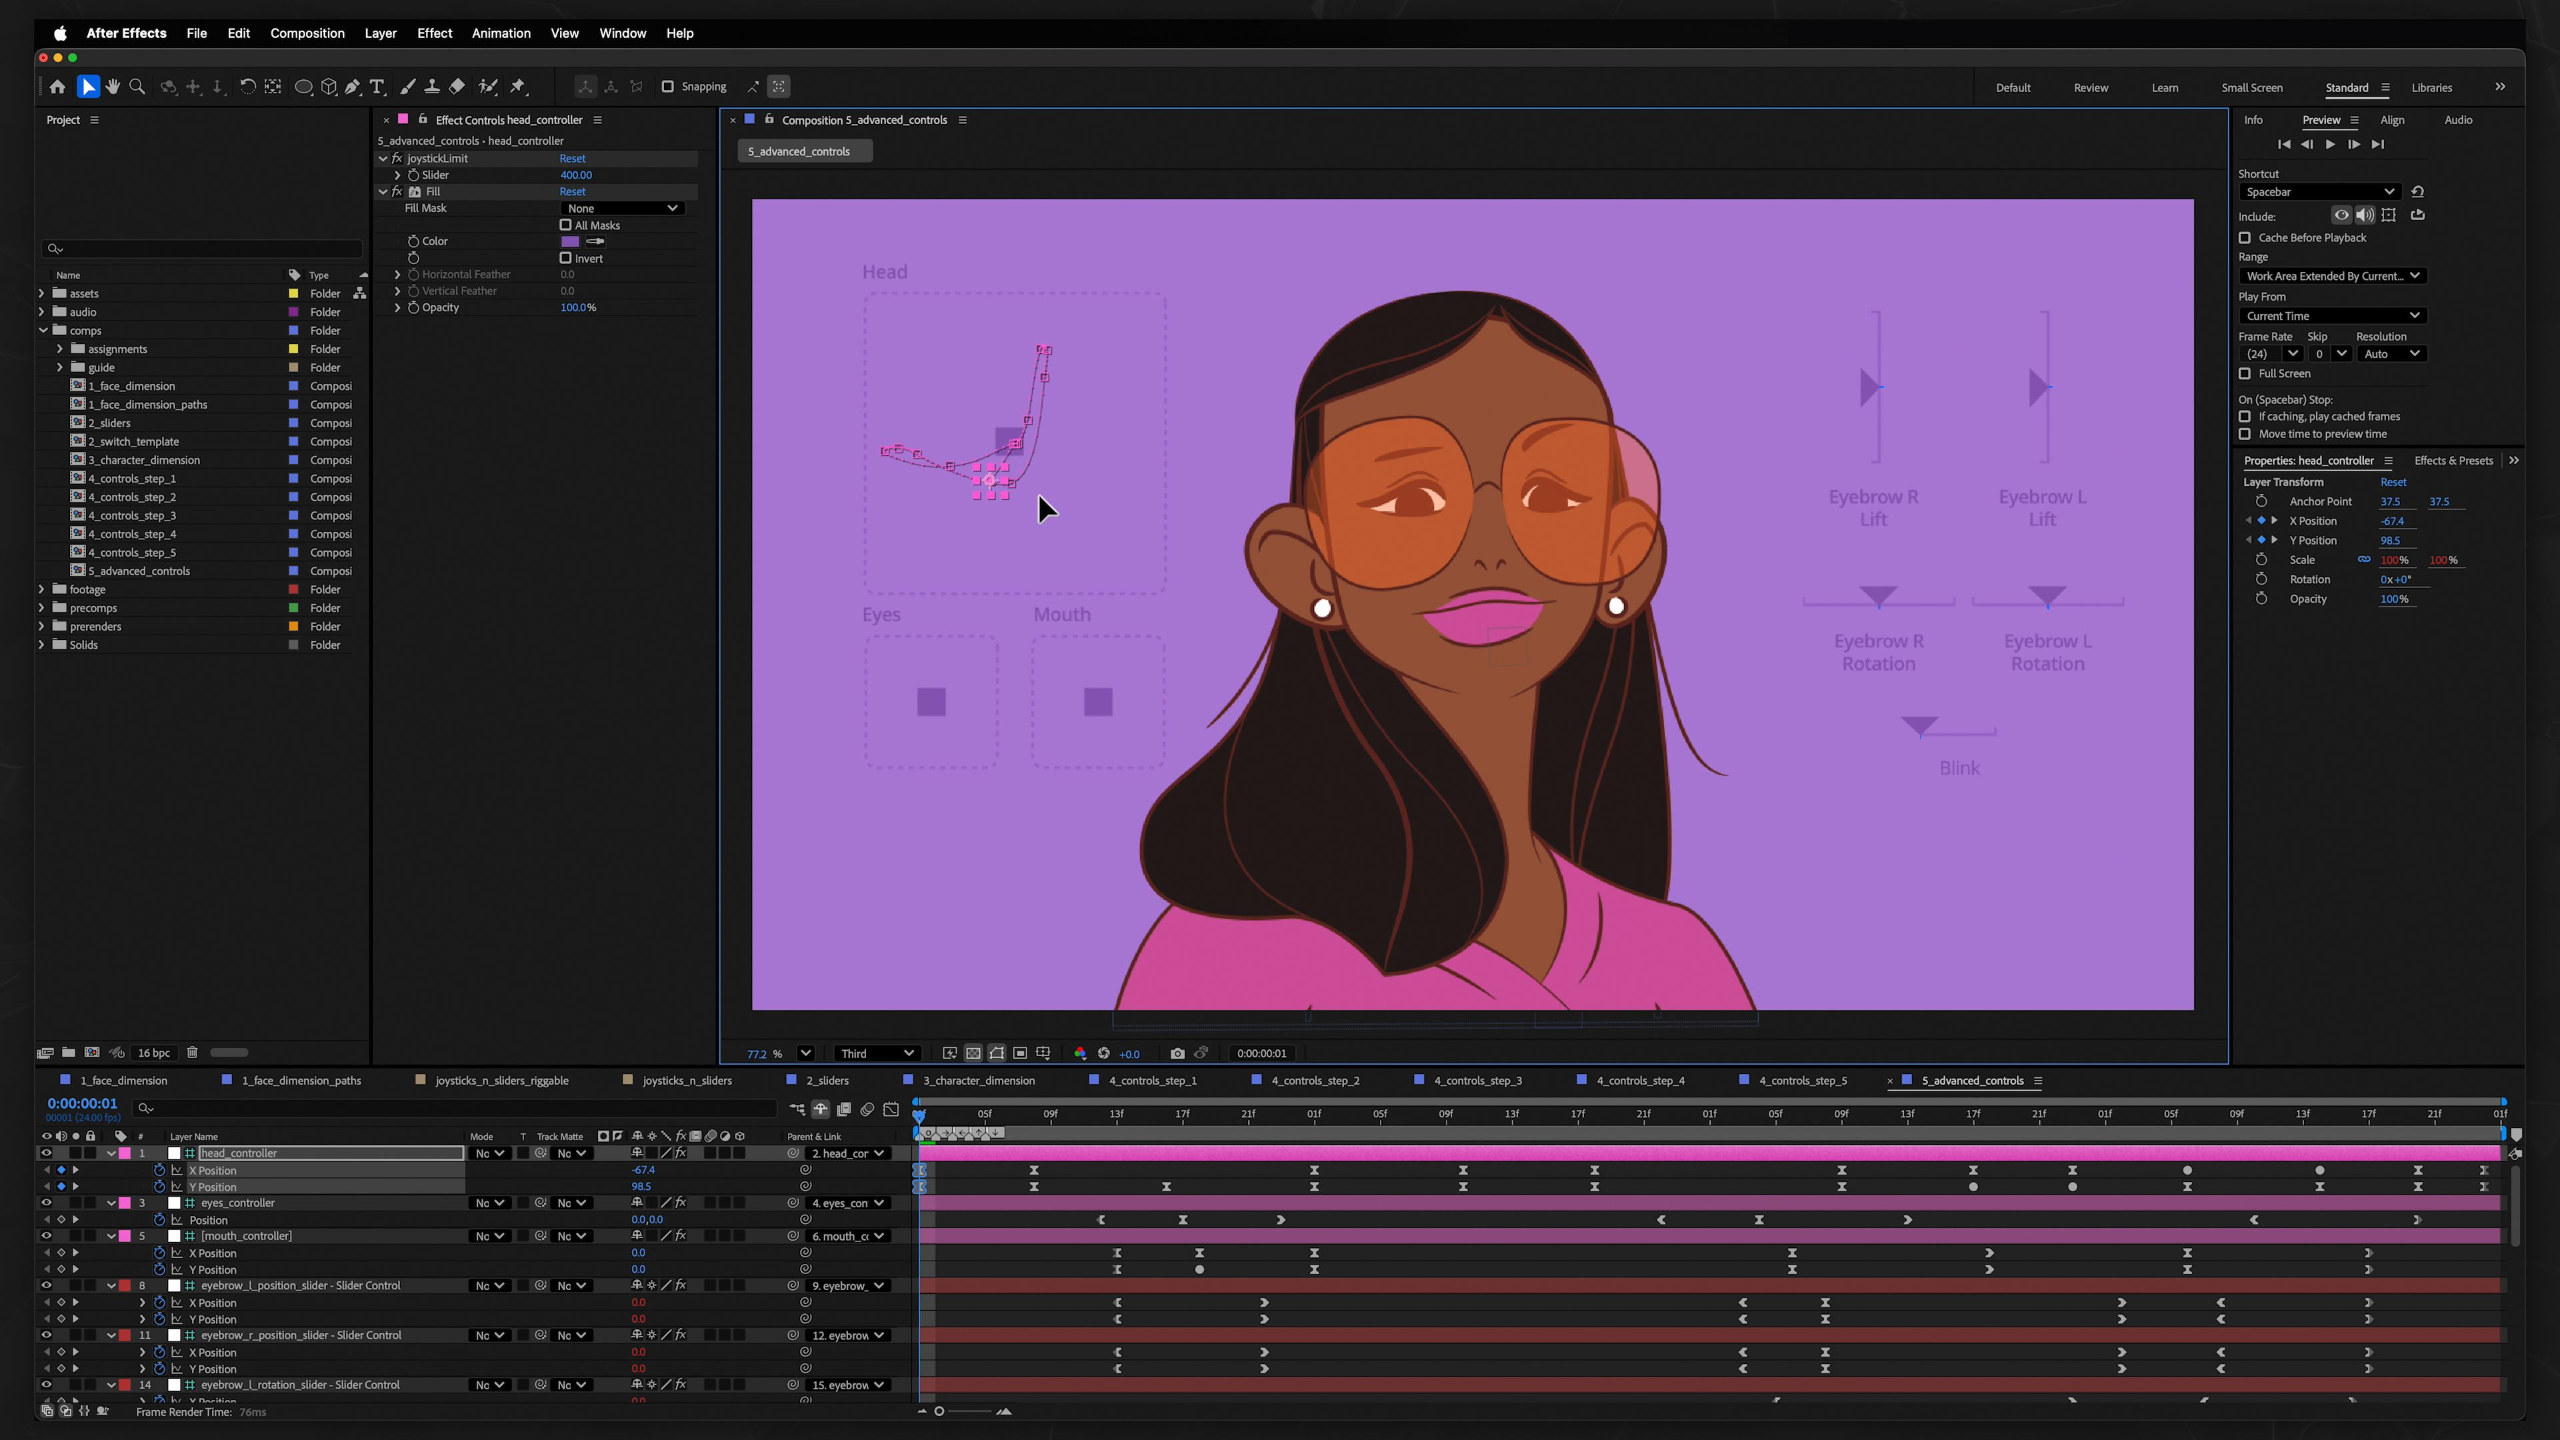
This lesson teaches students how to create the illusion of 3D movement using 2D artwork, starting with simple objects like bottles, paper airplanes, and rockets before moving into character faces. Students then learn how tools like Joysticks n’ Sliders can make faux 3D face rigs easier to control, helping characters look around, blink, emote, and feel more dimensional.
Lesson 3: Rigging Systems
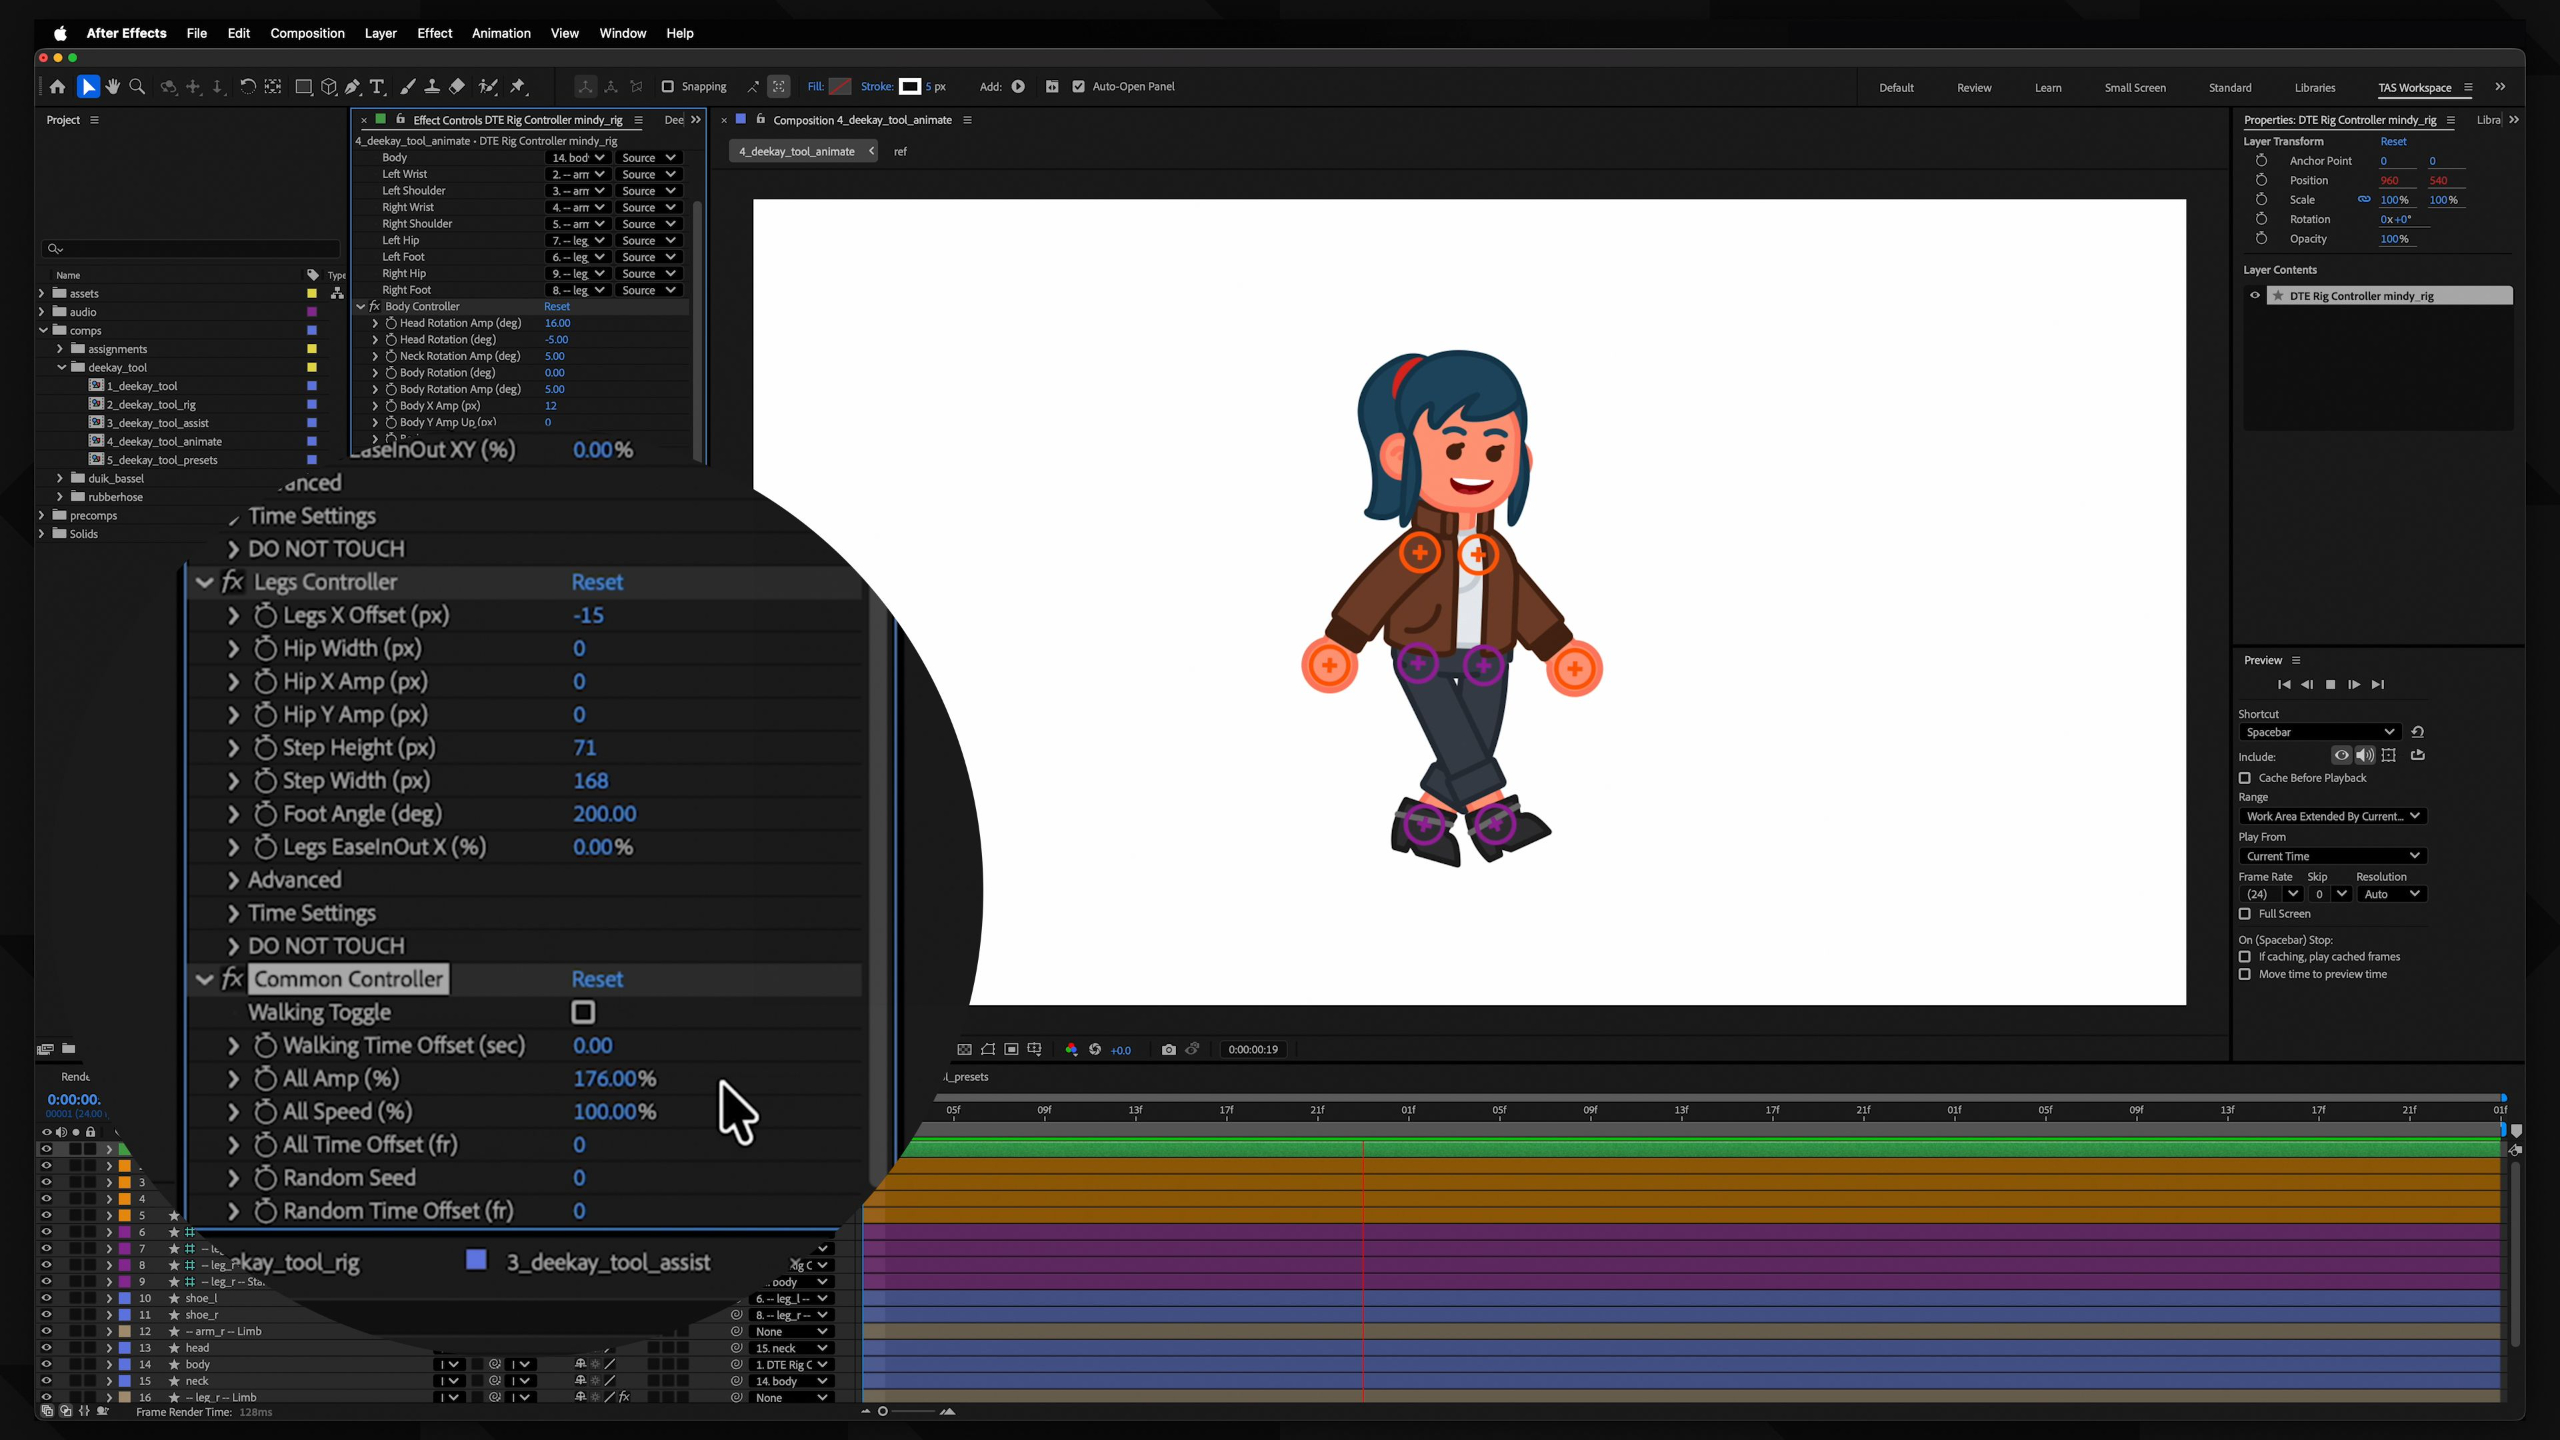
This lesson introduces character rigging systems in After Effects, showing how tools like parenting, the Puppet Tool, DUIK, RubberHose, and DeeKay Tool can make complex character animation much easier to control. Students learn the strengths of each rigging workflow and practice building functional character rigs they can use in future animation projects.
Lesson 8: Facial Animation
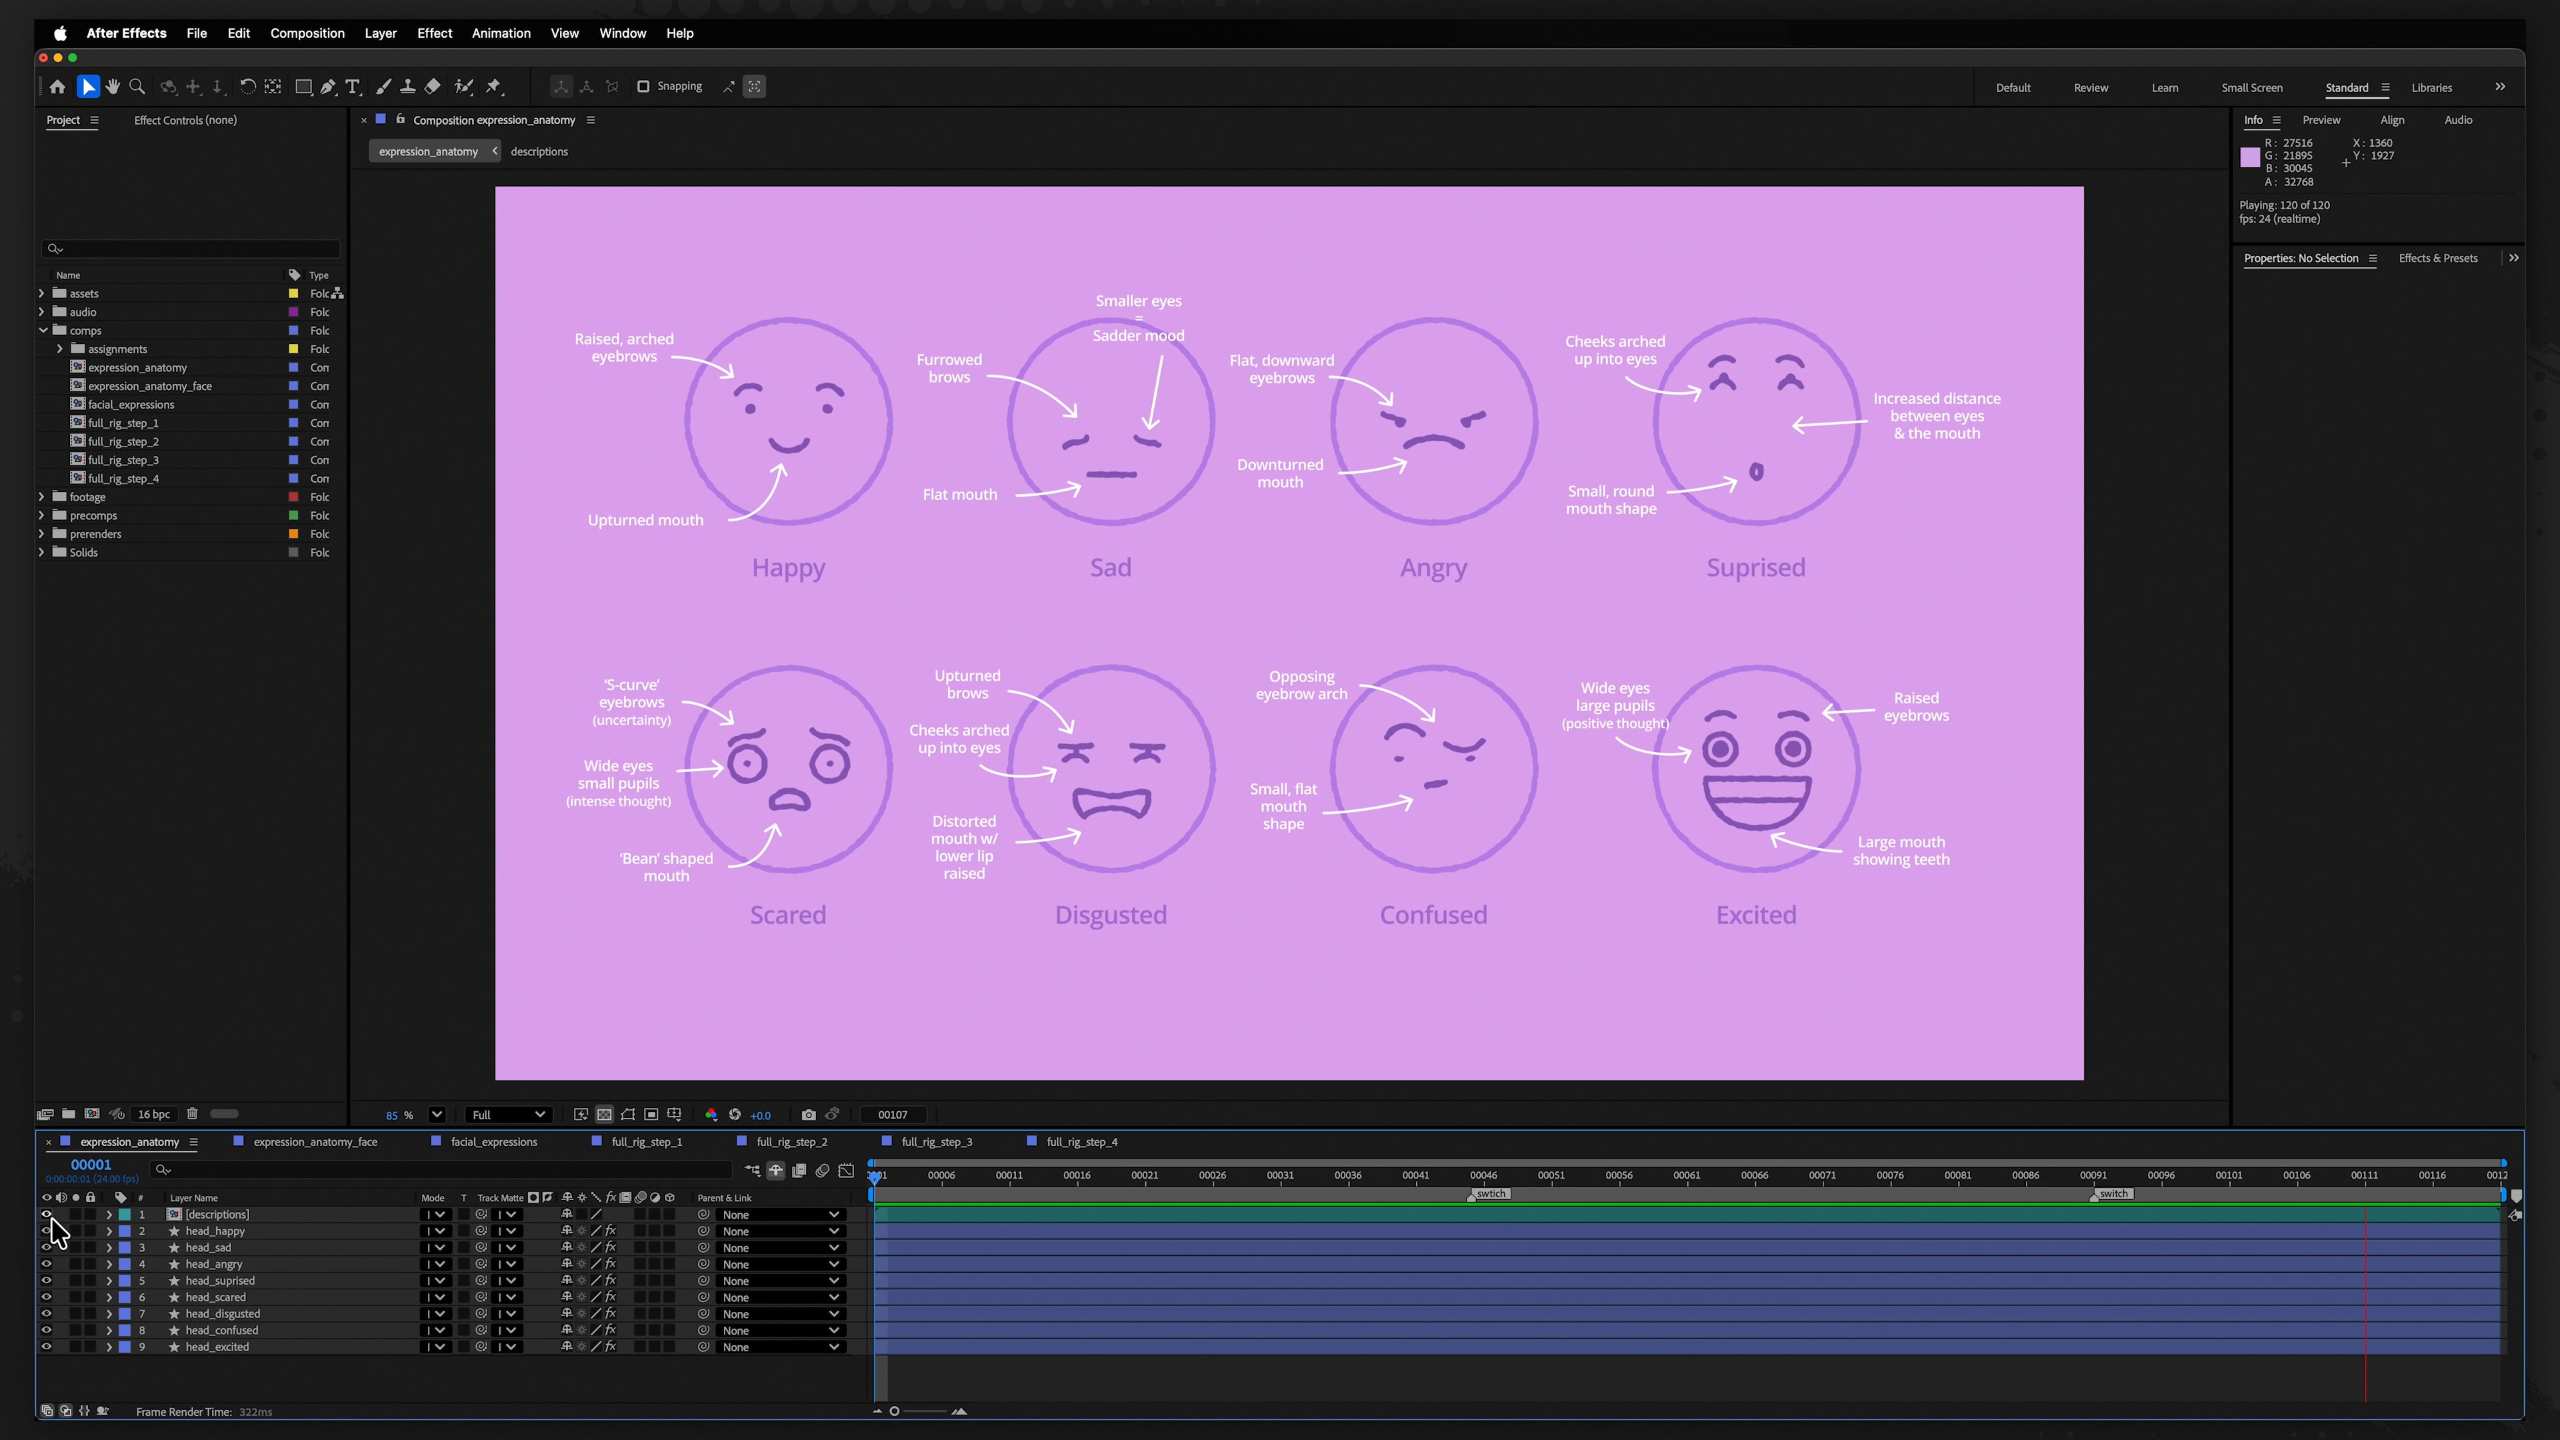
This lesson teaches students how facial expressions work and how simple changes to eyebrows, eyes, mouth shapes, and body language can communicate clear emotions. Students then build on their faux 3D face rigging skills by creating facial controls and animating the eight major expressions on the provided Hugo character rig.
Lesson 4: Walk Cycles
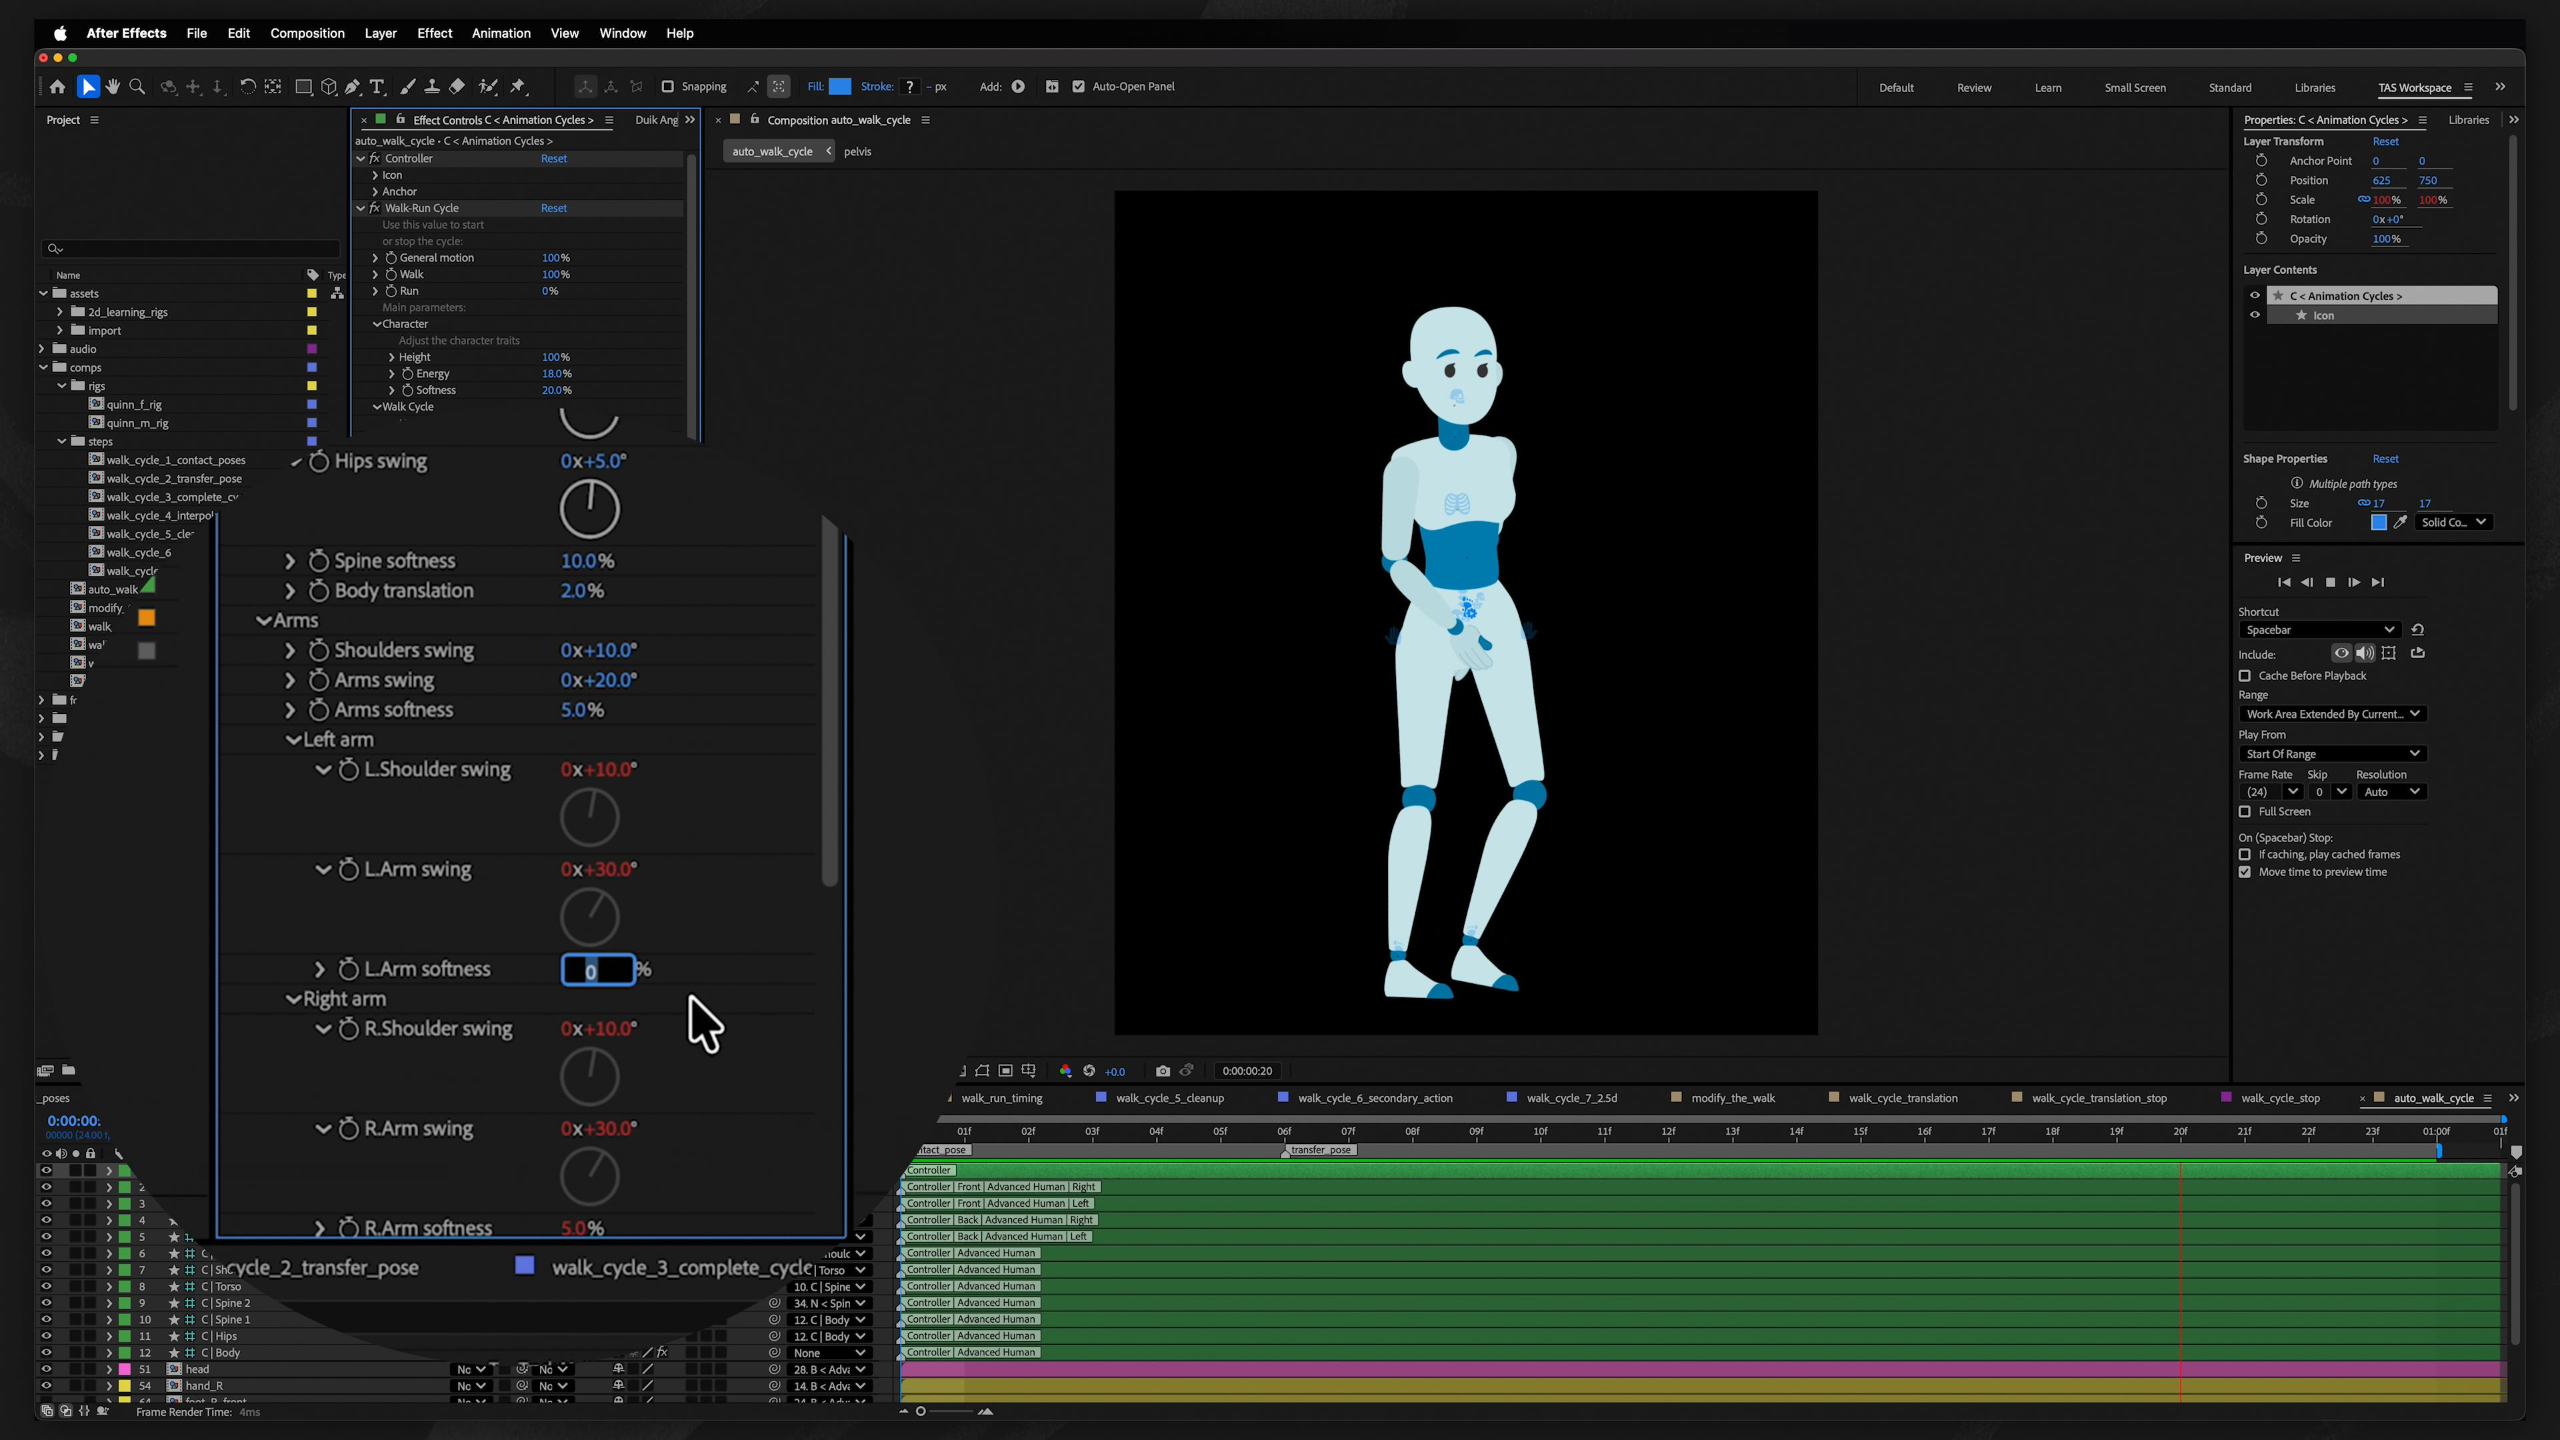
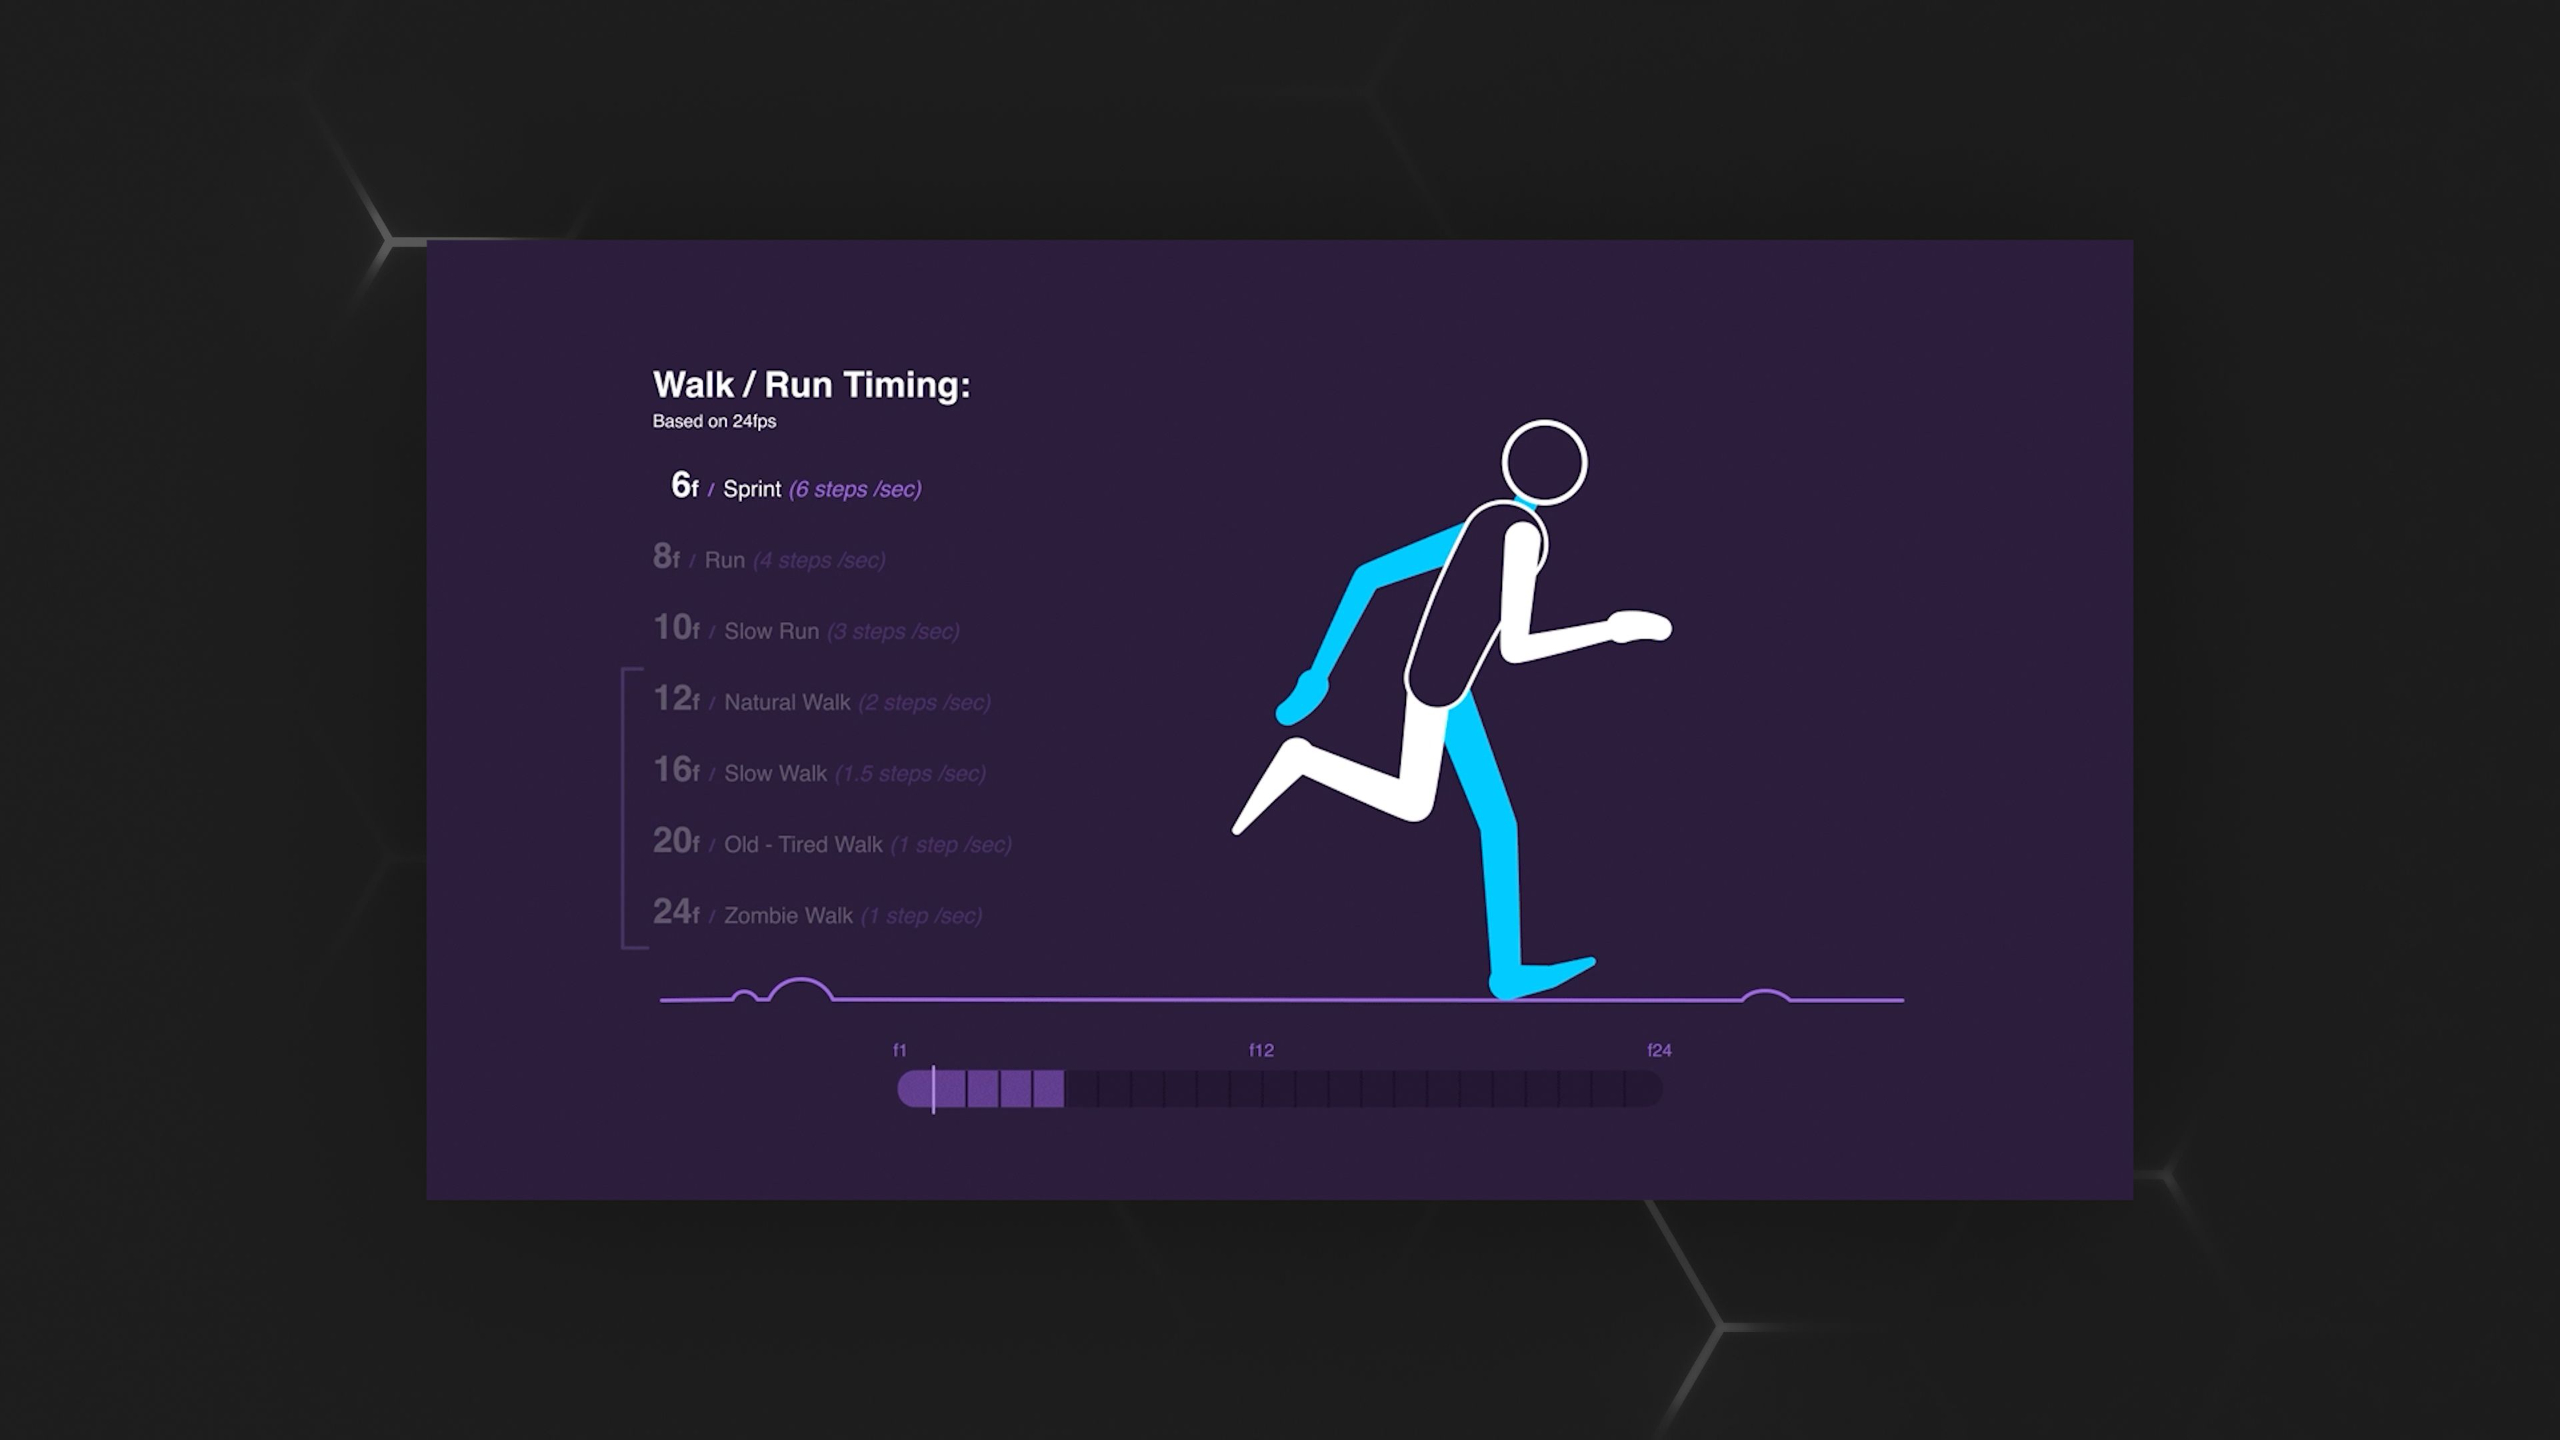
This lesson breaks down the full process of creating a believable walk cycle, from contact poses and transfer poses to timing, interpolation, cleanup, secondary action, 2.5D details, and forward translation. Students then practice building their own walk cycle using the provided rig and key pose references, with optional Duik rig challenges for extra practice.
Portfolio Project: 2.5D Character Animation
This lesson wraps up the 2.5D Character Animation module by showing students how to connect face controls into a full-body character rig for easier animation. Students then create a 6–10 second portfolio piece featuring a walk or run, a clear emotional change, facial expressions, and simple story-driven action.
Lesson 5: Run Cycles
This lesson builds on walk cycles by teaching students how to create a believable run cycle using contact, transfer, kickoff, and up poses. Students learn how to adjust timing, curves, cleanup, secondary action, 2.5D details, and translation so their character feels fast, powerful, and full of momentum.
Lesson 1: 2.5D Character Animation Overview
This lesson introduces the 2.5D Character Animation module, where students will learn how to rig and animate characters inside After Effects. It previews upcoming topics like professional animation analysis, rigging tools, character controls, walk and run cycles, faux 3D techniques, facial animation, and a final character-based portfolio project.
Lesson 2: Animation Principles
This lesson teaches students how the 12 animation principles apply specifically to 2.5D character animation, helping characters feel believable, expressive, and full of weight. Students then practice principles like squash and stretch, anticipation, staging, arcs, timing, secondary action, exaggeration, and appeal using a simple provided character rig.
Lesson 3: Rigging Systems
This lesson introduces character rigging systems in After Effects, showing how tools like parenting, the Puppet Tool, DUIK, RubberHose, and DeeKay Tool can make complex character animation much easier to control. Students learn the strengths of each rigging workflow and practice building functional character rigs they can use in future animation projects.
Lesson 4: Walk Cycles
This lesson breaks down the full process of creating a believable walk cycle, from contact poses and transfer poses to timing, interpolation, cleanup, secondary action, 2.5D details, and forward translation. Students then practice building their own walk cycle using the provided rig and key pose references, with optional Duik rig challenges for extra practice.
Lesson 5: Run Cycles
This lesson builds on walk cycles by teaching students how to create a believable run cycle using contact, transfer, kickoff, and up poses. Students learn how to adjust timing, curves, cleanup, secondary action, 2.5D details, and translation so their character feels fast, powerful, and full of momentum.
Lesson 6: Animal Cycles
This lesson teaches students how to create animal walk, run, and trot cycles by breaking quadruped movement into clear key poses, timing, interpolation, cleanup, and secondary action. Students then practice applying these workflows to provided animal rigs while learning how to use reference footage to understand different creature movements.
Lesson 7: Faux 3D
This lesson teaches students how to create the illusion of 3D movement using 2D artwork, starting with simple objects like bottles, paper airplanes, and rockets before moving into character faces. Students then learn how tools like Joysticks n’ Sliders can make faux 3D face rigs easier to control, helping characters look around, blink, emote, and feel more dimensional.
Lesson 8: Facial Animation
This lesson teaches students how facial expressions work and how simple changes to eyebrows, eyes, mouth shapes, and body language can communicate clear emotions. Students then build on their faux 3D face rigging skills by creating facial controls and animating the eight major expressions on the provided Hugo character rig.
Portfolio Project: 2.5D Character Animation
This lesson wraps up the 2.5D Character Animation module by showing students how to connect face controls into a full-body character rig for easier animation. Students then create a 6–10 second portfolio piece featuring a walk or run, a clear emotional change, facial expressions, and simple story-driven action.
Module 5: 2.5D Pipeline (Level II)
Estimated completion time: 6-8 weeks
This module teaches the complete 2.5D Animation Production Pipeline, guiding students from the initial idea all the way to a finished animation.
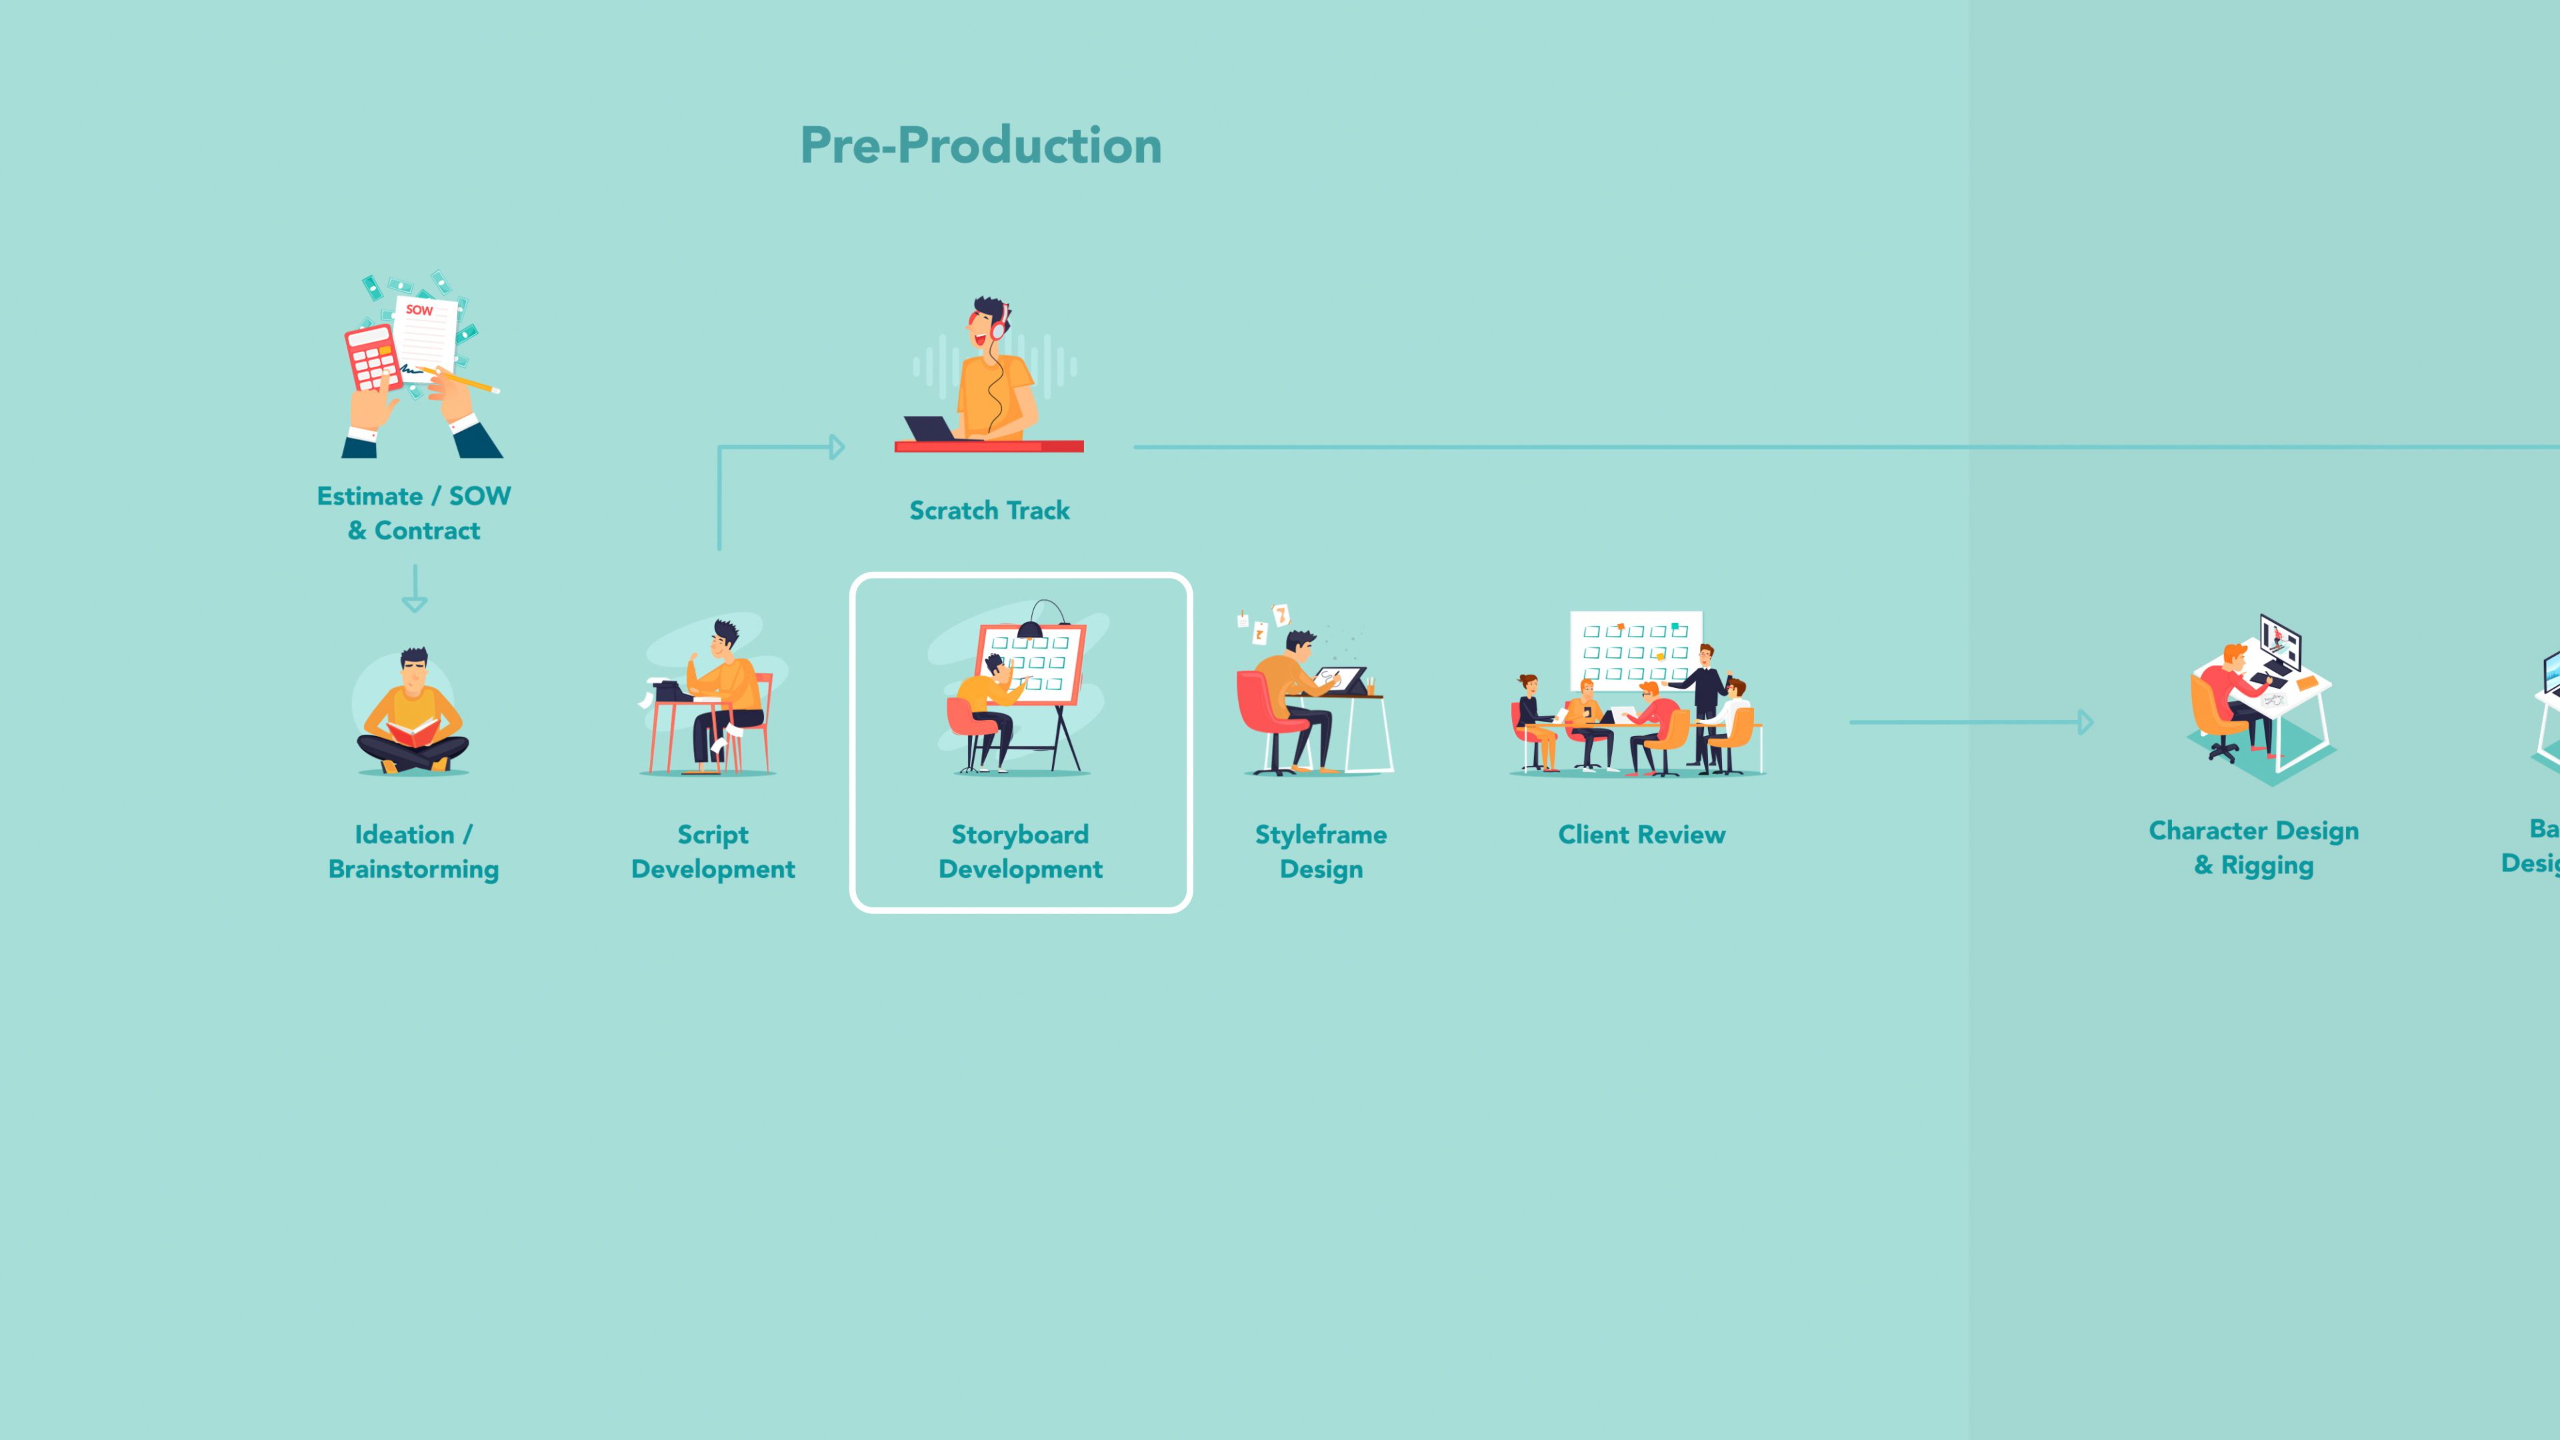
We cover every major stage of production — including brainstorming, scriptwriting, storyboarding, styleframes, character creation, animation, sound design, rendering, and post-production — while also explaining how these processes work in both studio and freelance environments.
By the end, students will be able to create full portfolio-quality animations from start to finish, and understand how to repeatedly apply the same professional workflow to future projects.
Lesson 1: 2.5D Pipeline Overview
This lesson introduces the 2.5D Pipeline module, where students learn how to take an animation project from idea to final export using a professional production workflow. It previews each stage of the process, including briefs, scripts, storyboards, styleframes, sound, asset creation, character setup, animation, post-production, and final delivery.
Lesson 7: Series of Scenes
This lesson teaches students how to turn their storyboard and styleframes into organized graphic assets that are ready for animation. It covers planning what needs to be built, designing assets in Photoshop or Illustrator, organizing scenes and layers, and preparing everything with the animation process in mind.
Lesson 2: Reading The Brief
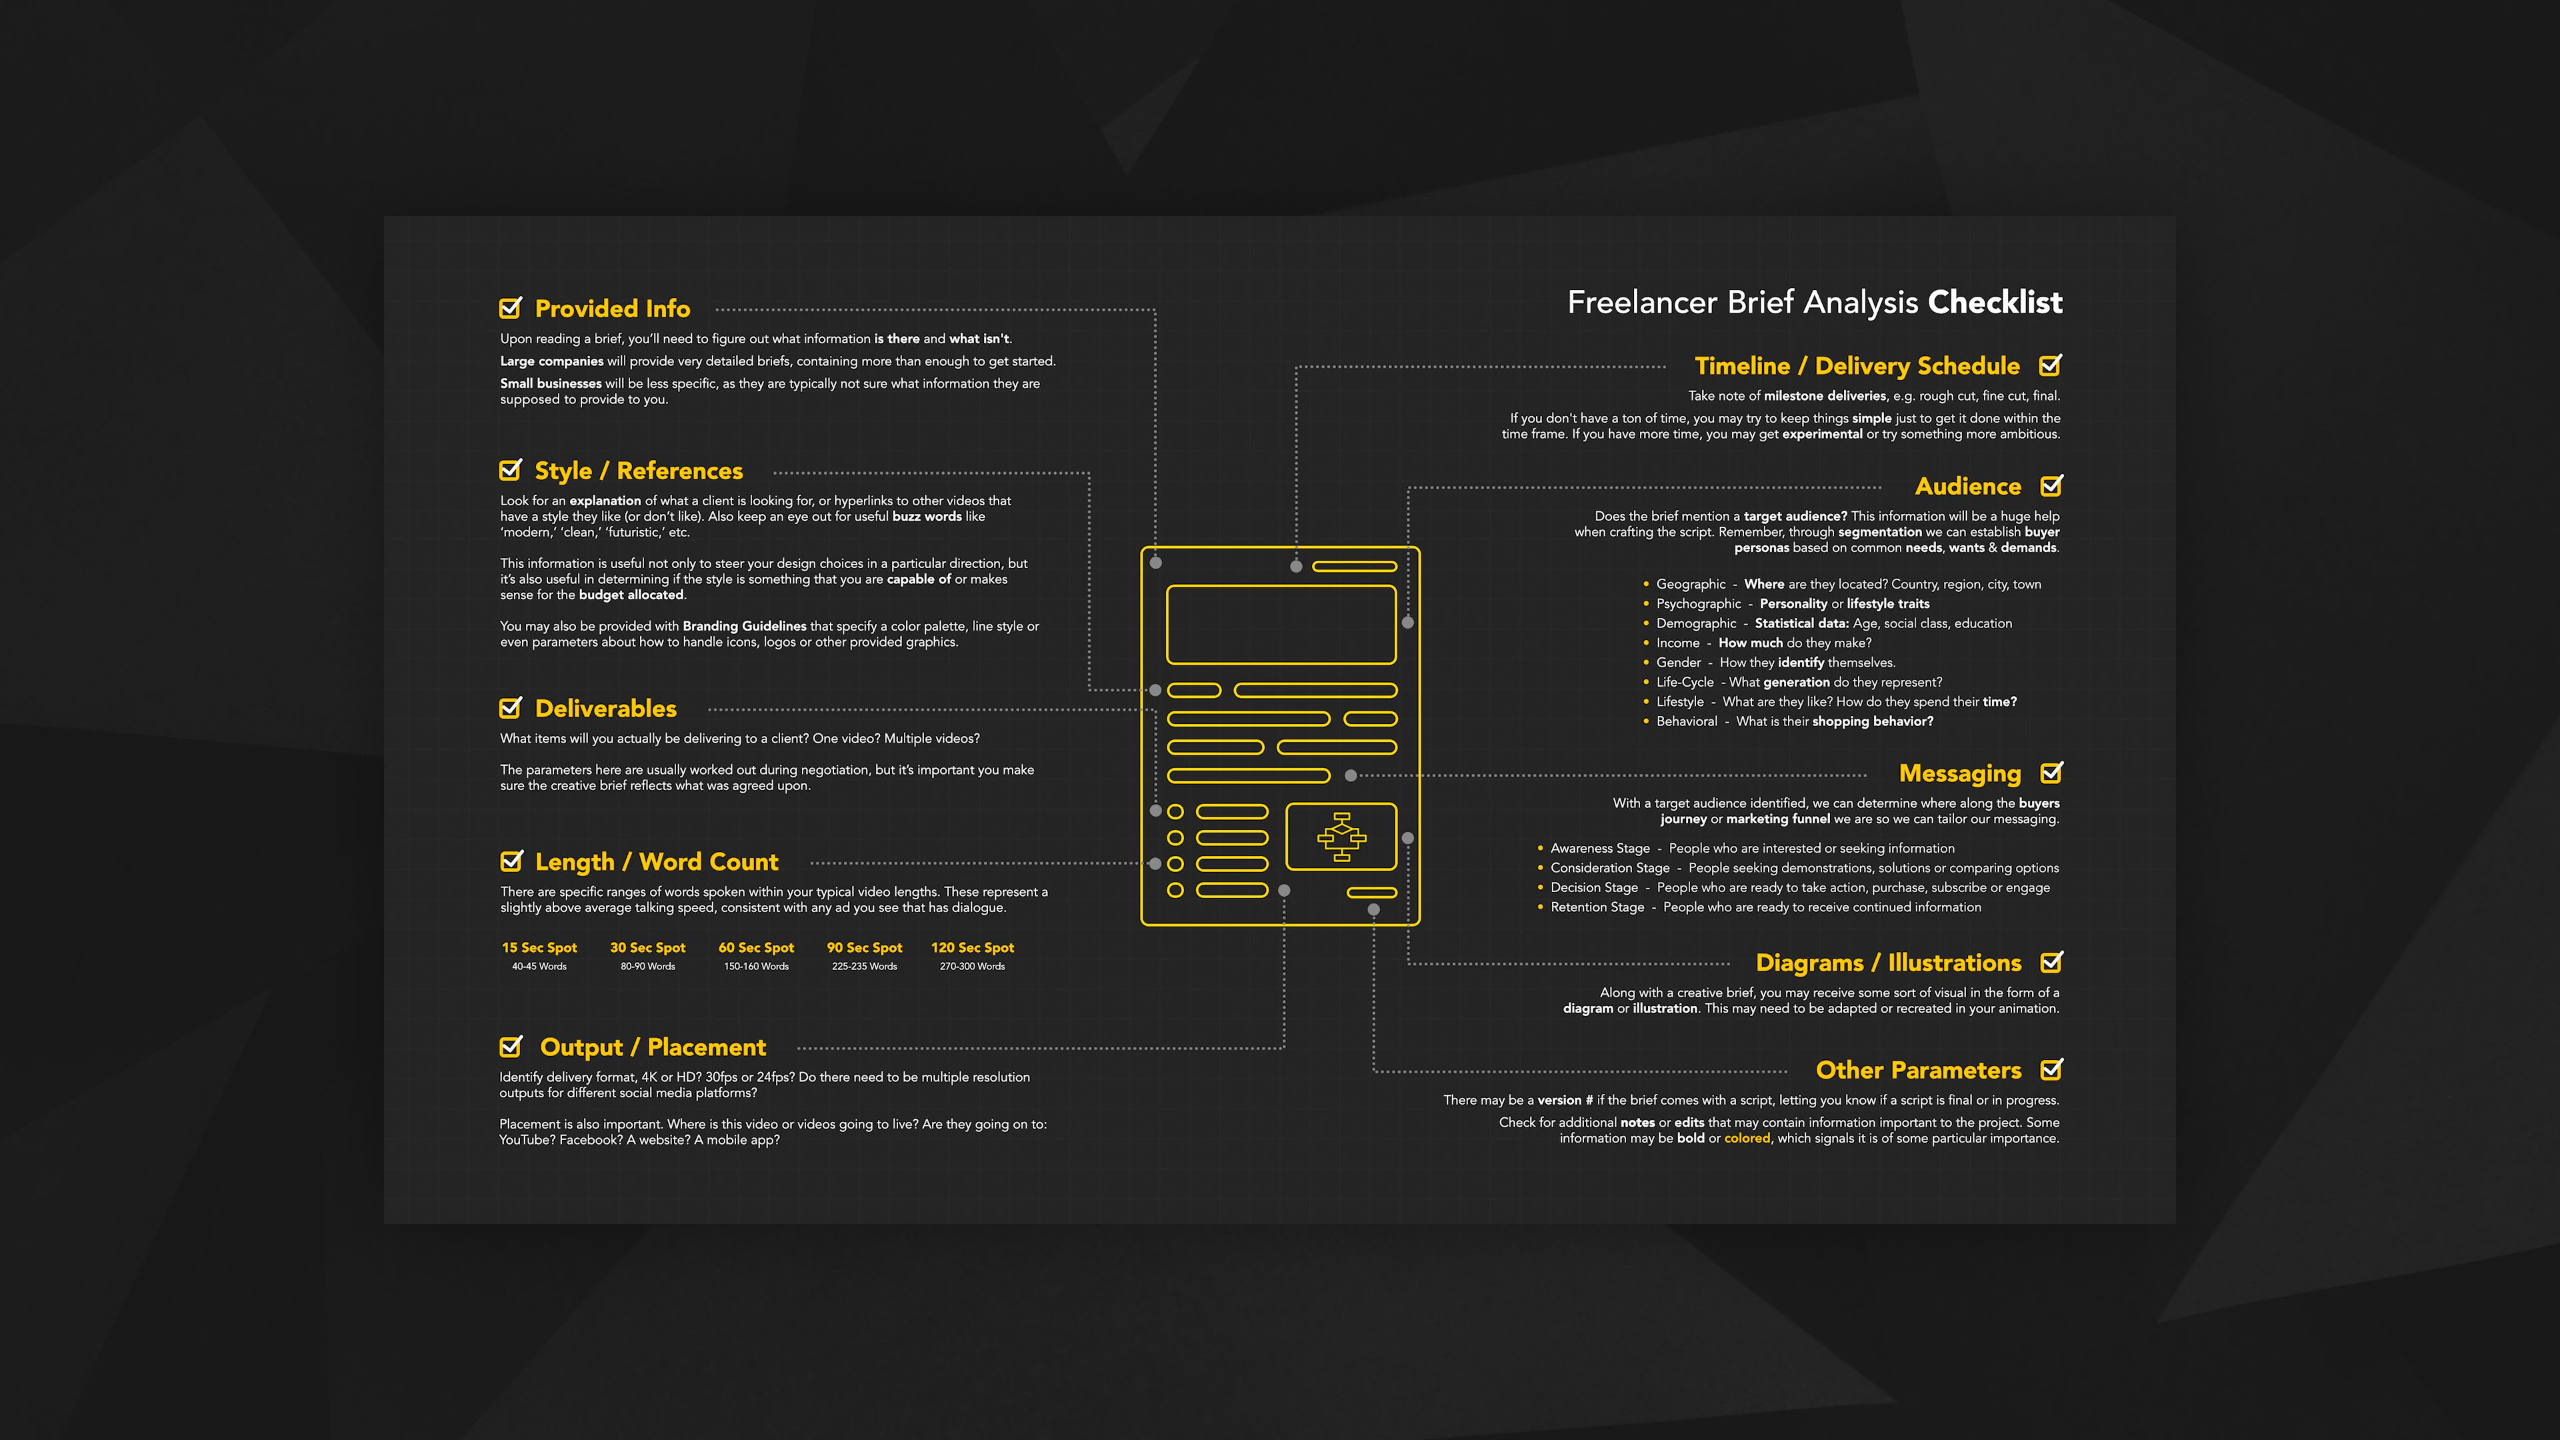
This lesson teaches students how to read and break down a creative brief so they can clearly understand deliverables, style references, timelines, output specs, and missing information before starting production. Students then choose a provided brief, extract the key details with a checklist, and set up an organized project structure for the rest of the pipeline.
Lesson 8: Creating Characters
This lesson teaches students how to create, prep, and organize character assets for 2.5D animation projects. It covers planning character needs, setting up body parts for rigging, using Photoshop or Illustrator, importing characters into After Effects, and deciding whether to design, reference, purchase, or hire out character artwork.
Lesson 3: Writing The Script
This lesson teaches students how to turn a creative brief into a clear 30 or 60-second animation script using structure, word count, and concise messaging. It walks through hooks, perspective shifts, pitches, proof, summaries, and calls-to-action so students can write scripts that are short, engaging, and animation-friendly.
Lesson 9: Animation
This lesson guides students through the main animation phase of the 2.5D pipeline, where all previous skills—motion, transitions, typography, rigging, faux 3D, and facial animation—come together in a longer-form project. It also shows how to study real project examples, keep scenes moving, set up the After Effects template, import assets and audio, time everything to the voiceover, and begin building the full animated sequence.
Lesson 4: Creating Storyboards
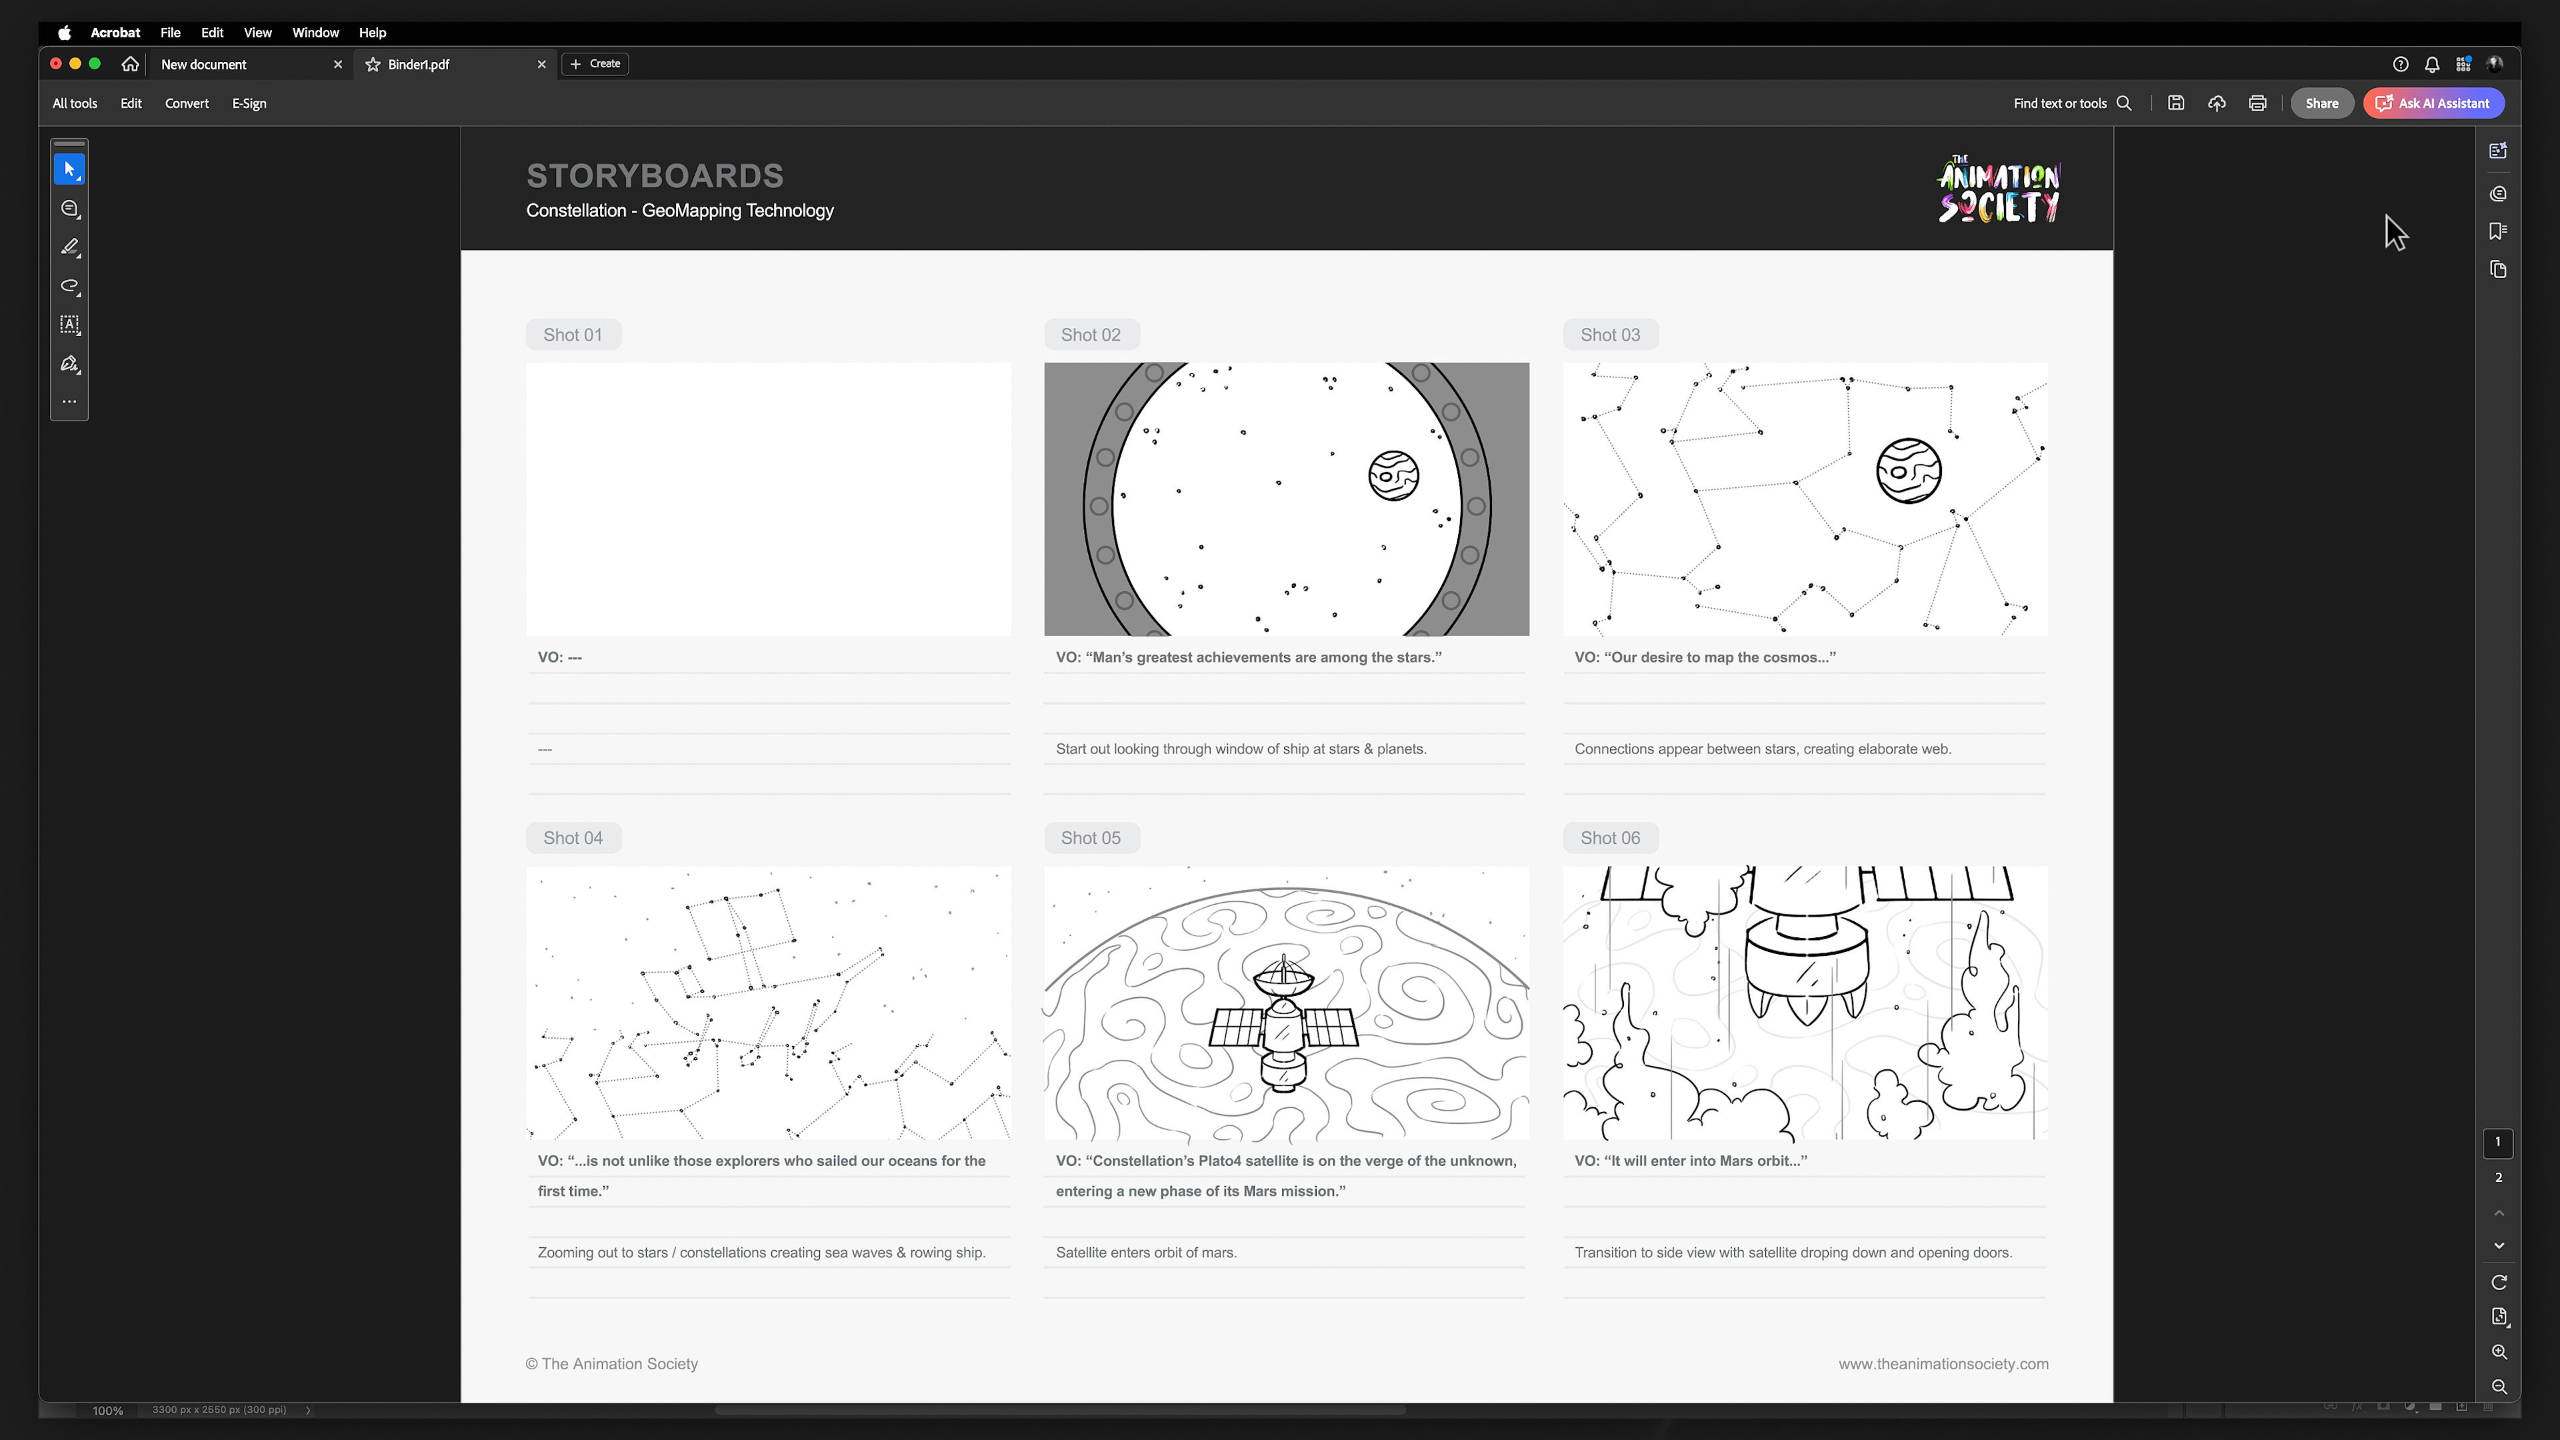
This lesson teaches students how to turn their script into a clear storyboard that acts as the blueprint for the entire animation. It walks through using a storyboard template, adding voiceover, sketching thumbnails, describing action, cleaning up panels, and exporting the finished boards as a PDF.
Lesson 10: Post-Production
This lesson walks students through the post-production process for finishing their 2.5D animation, including post-effects, pre-rendering, sound design, quality control, rendering, and export. It shows how to polish the final piece, catch mistakes, mix audio, choose the right format, and prepare the animation for delivery or portfolio use.
Lesson 5: Creating Styleframes
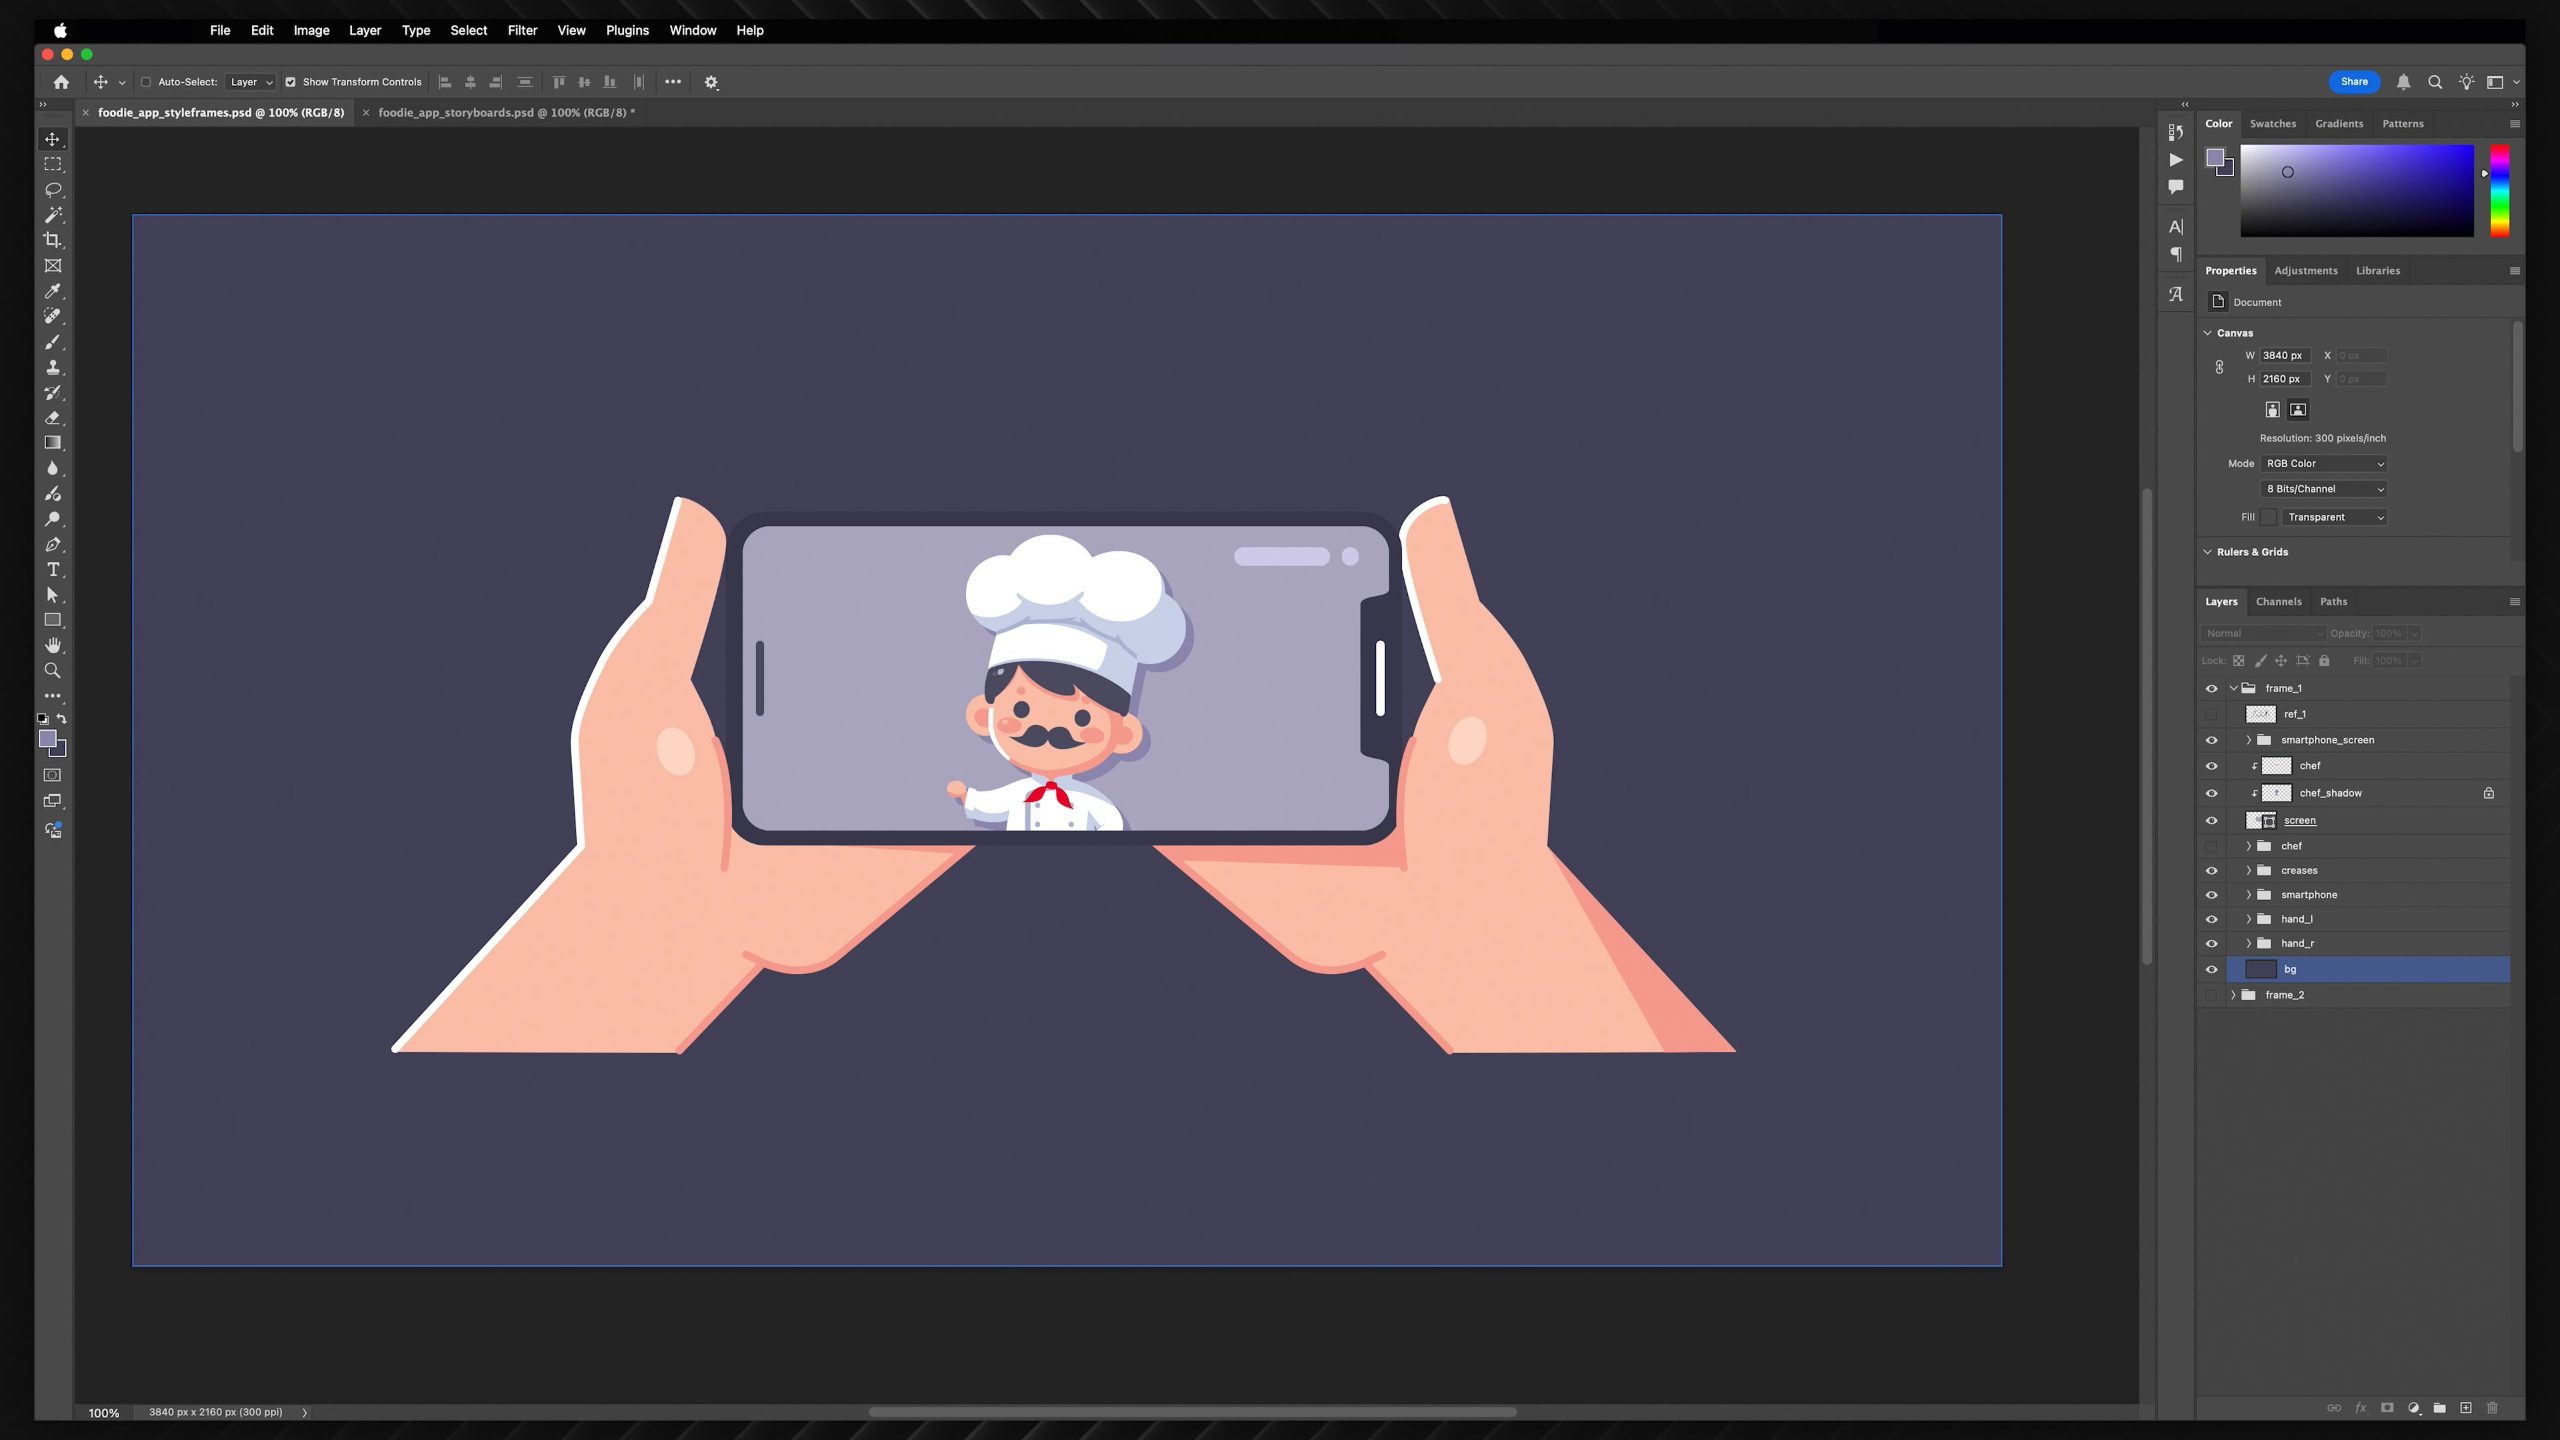
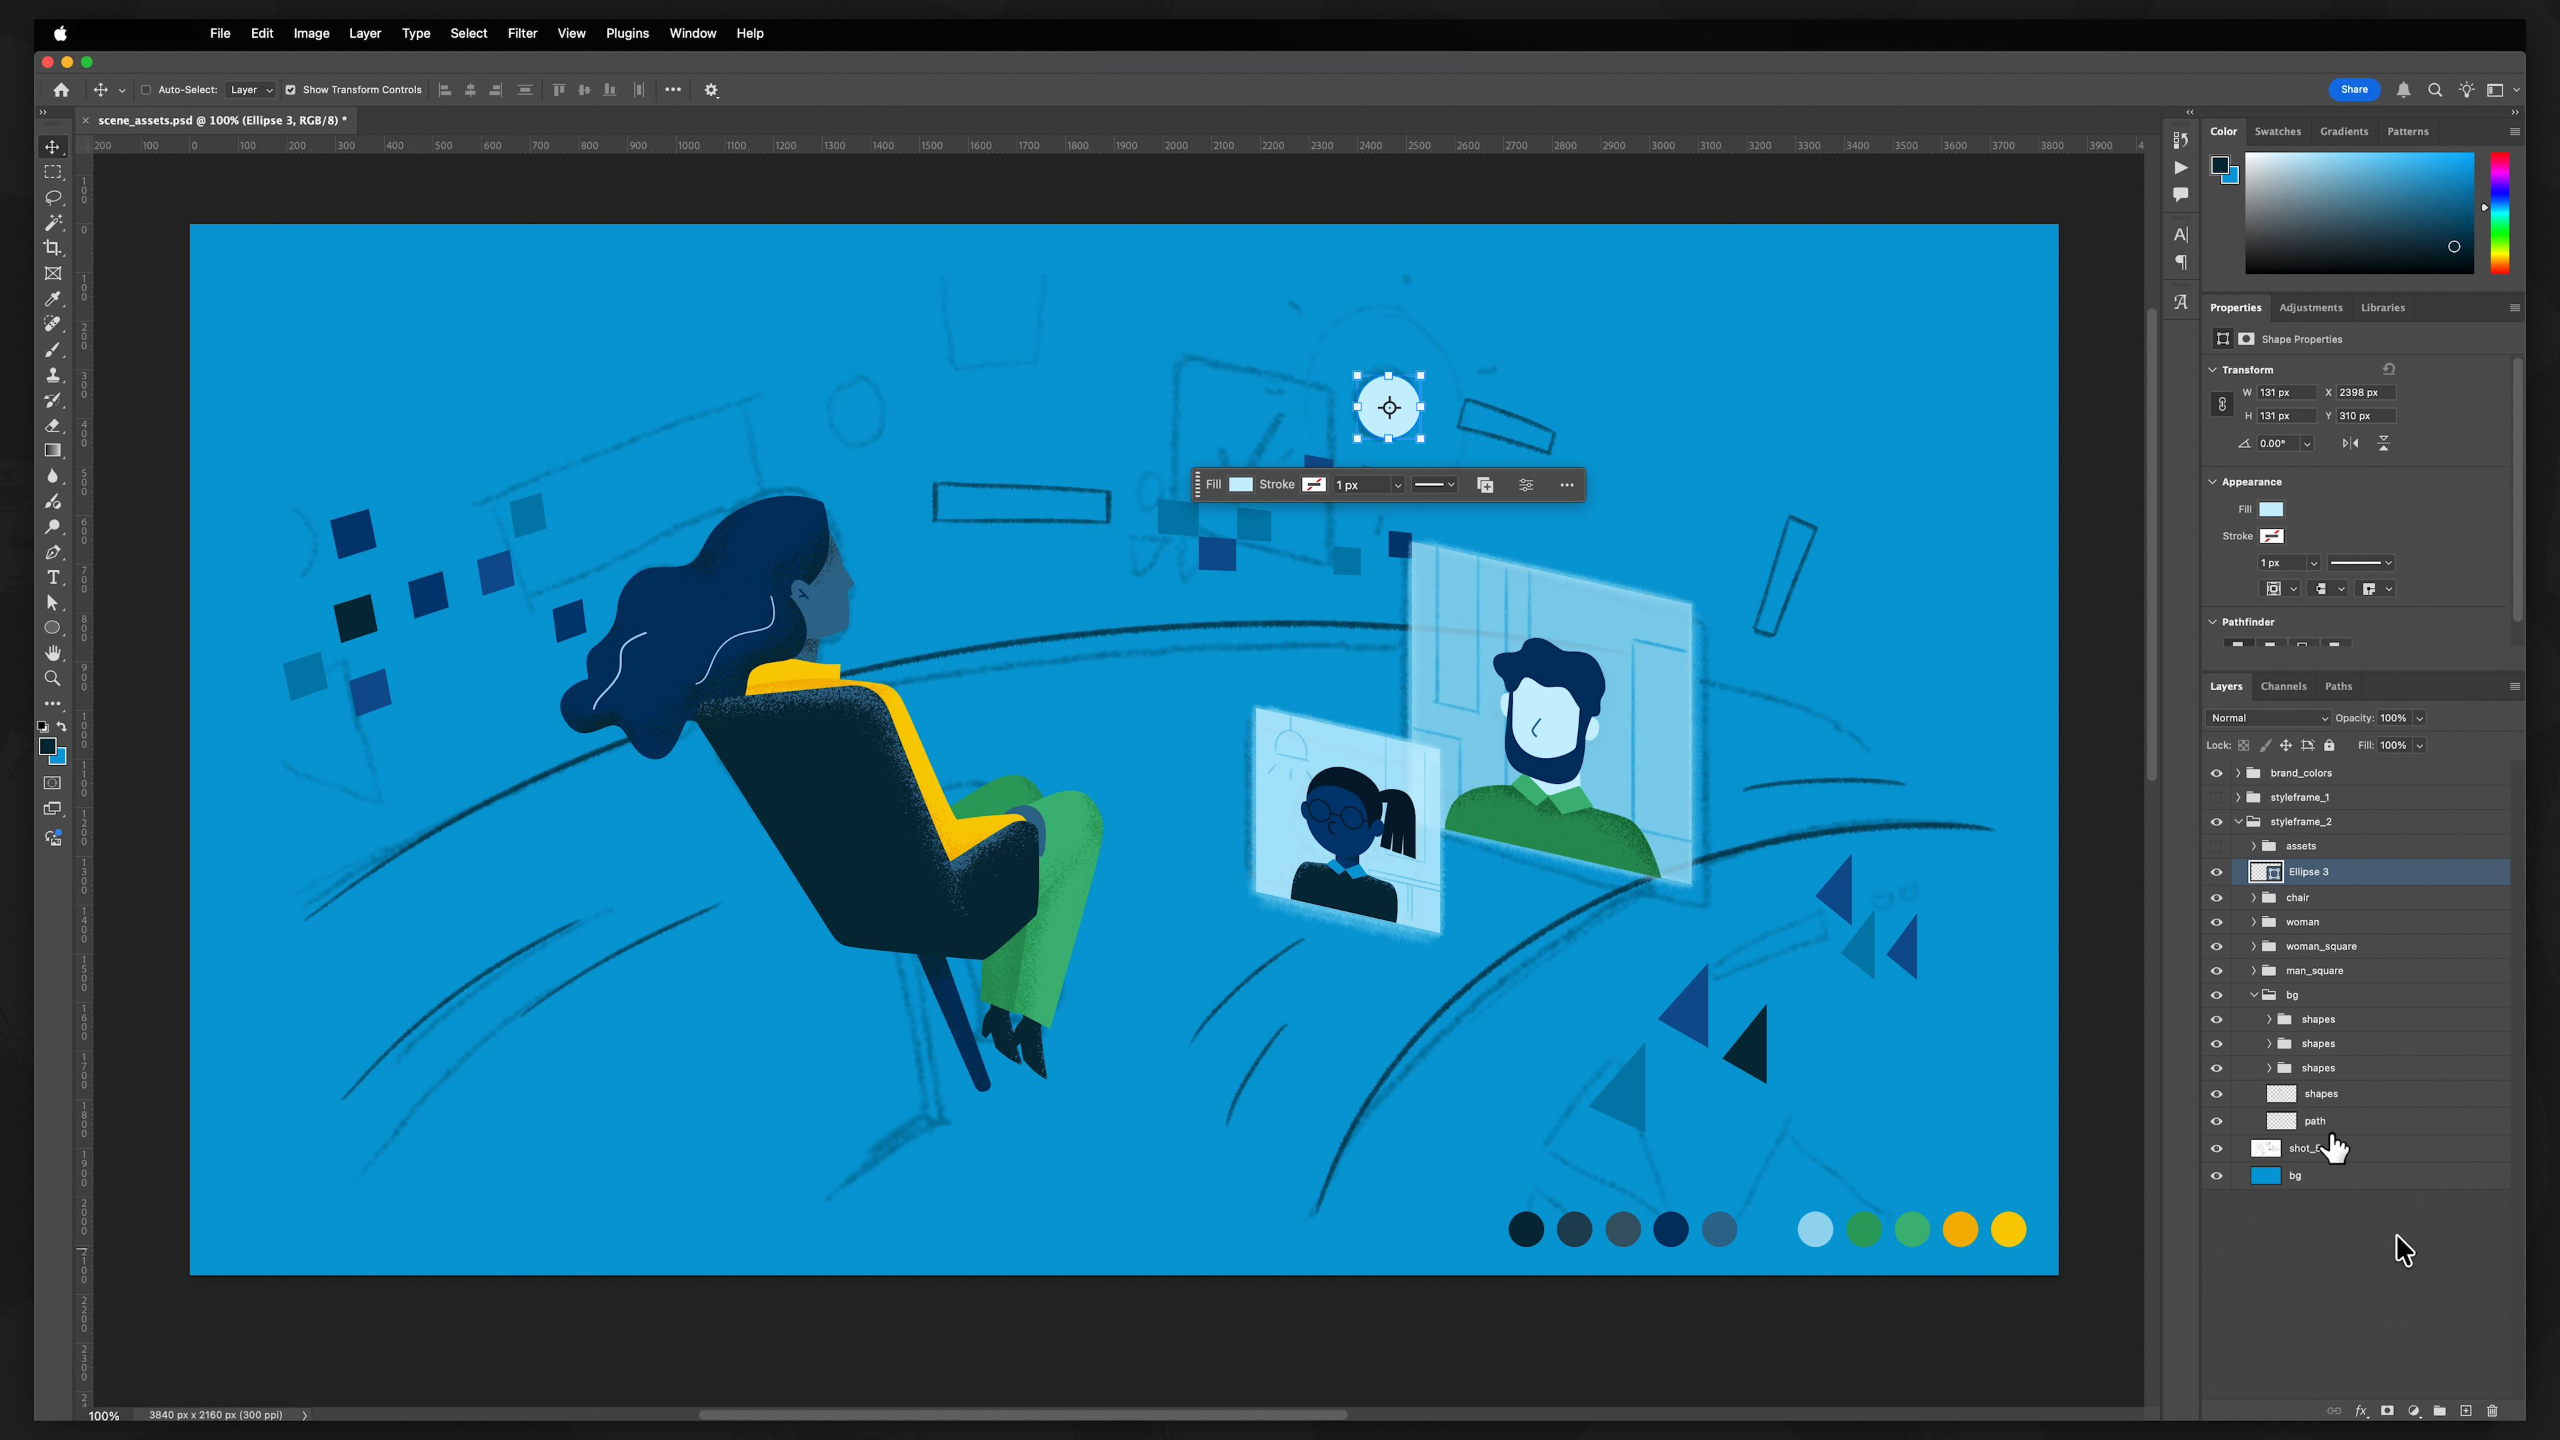
This lesson teaches students how to create styleframes that prove the visual look of an animation before full production begins. It covers choosing a style, finding inspiration, solving technical design challenges, and creating two polished frame options based on a storyboard panel.
Portfolio Project: Portfolio Building
This lesson gives students guidance on how to keep building their 2.5D animation portfolio after completing their first full pipeline project. It explores different portfolio directions like marketing videos, narrative shorts, show openers, title packages, maps, infographics, logo animations, and raw skill pieces so students can choose the path that fits their goals.
Lesson 6: Sound Design
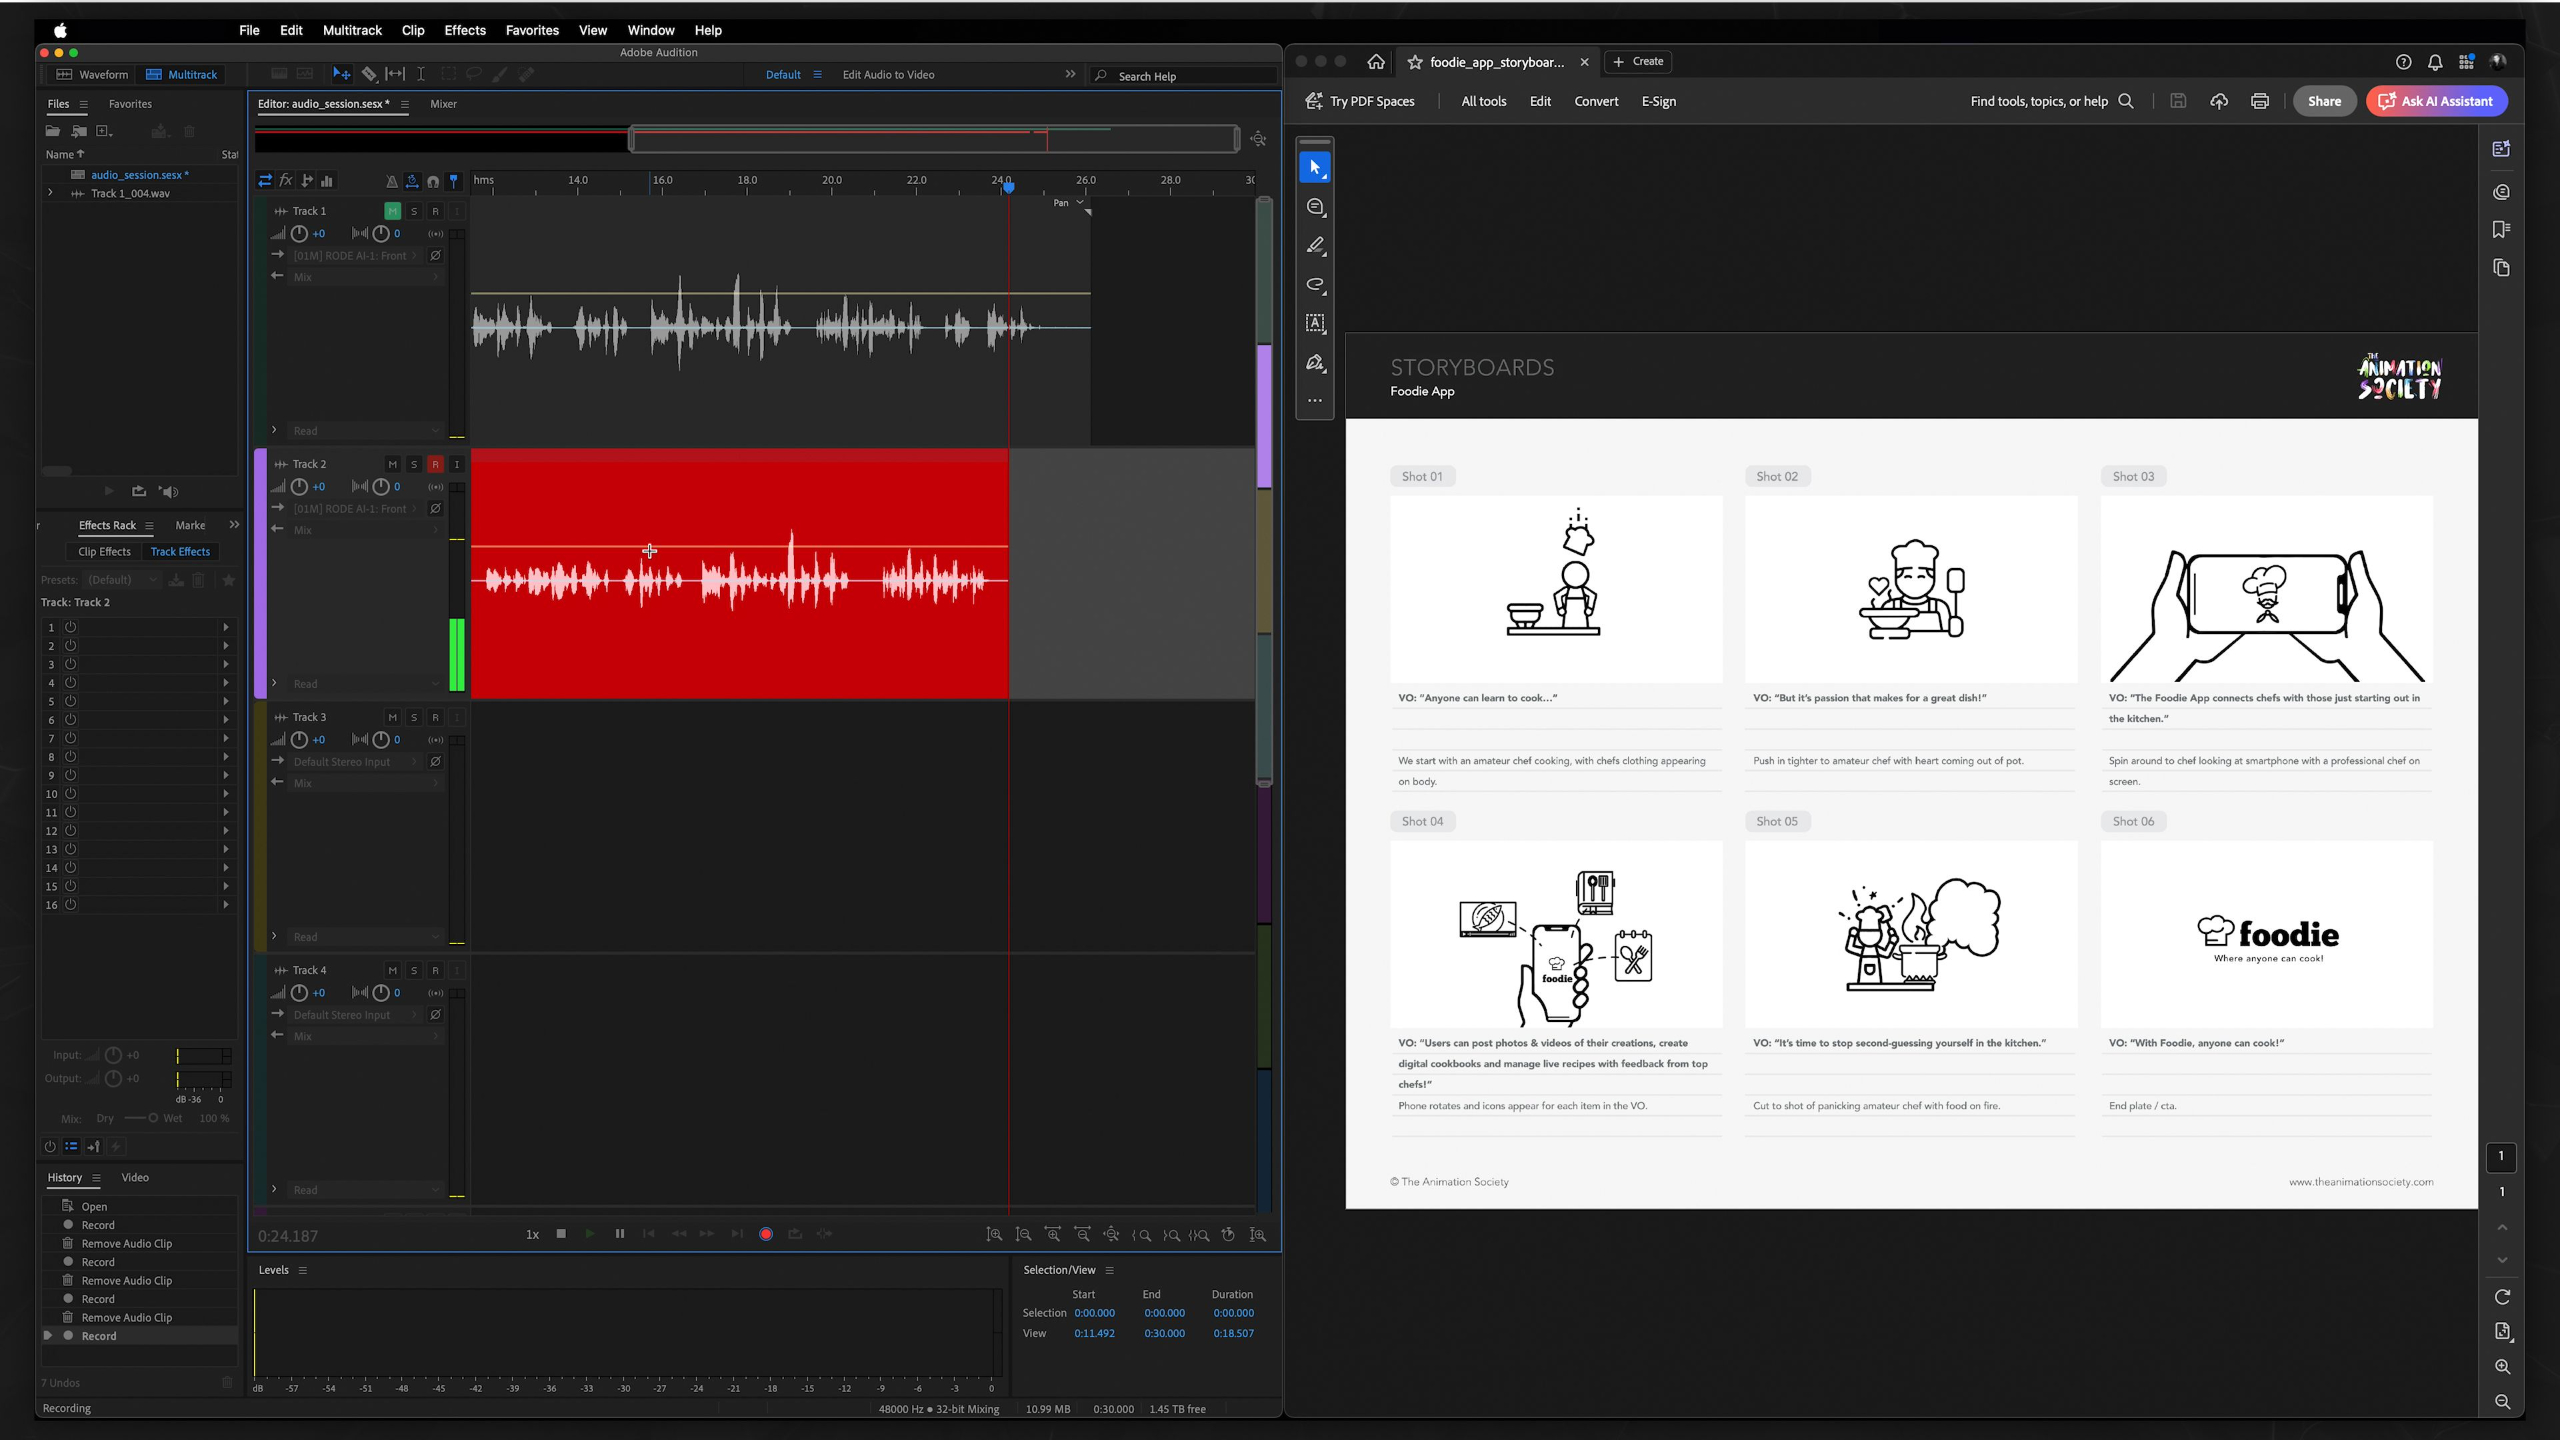
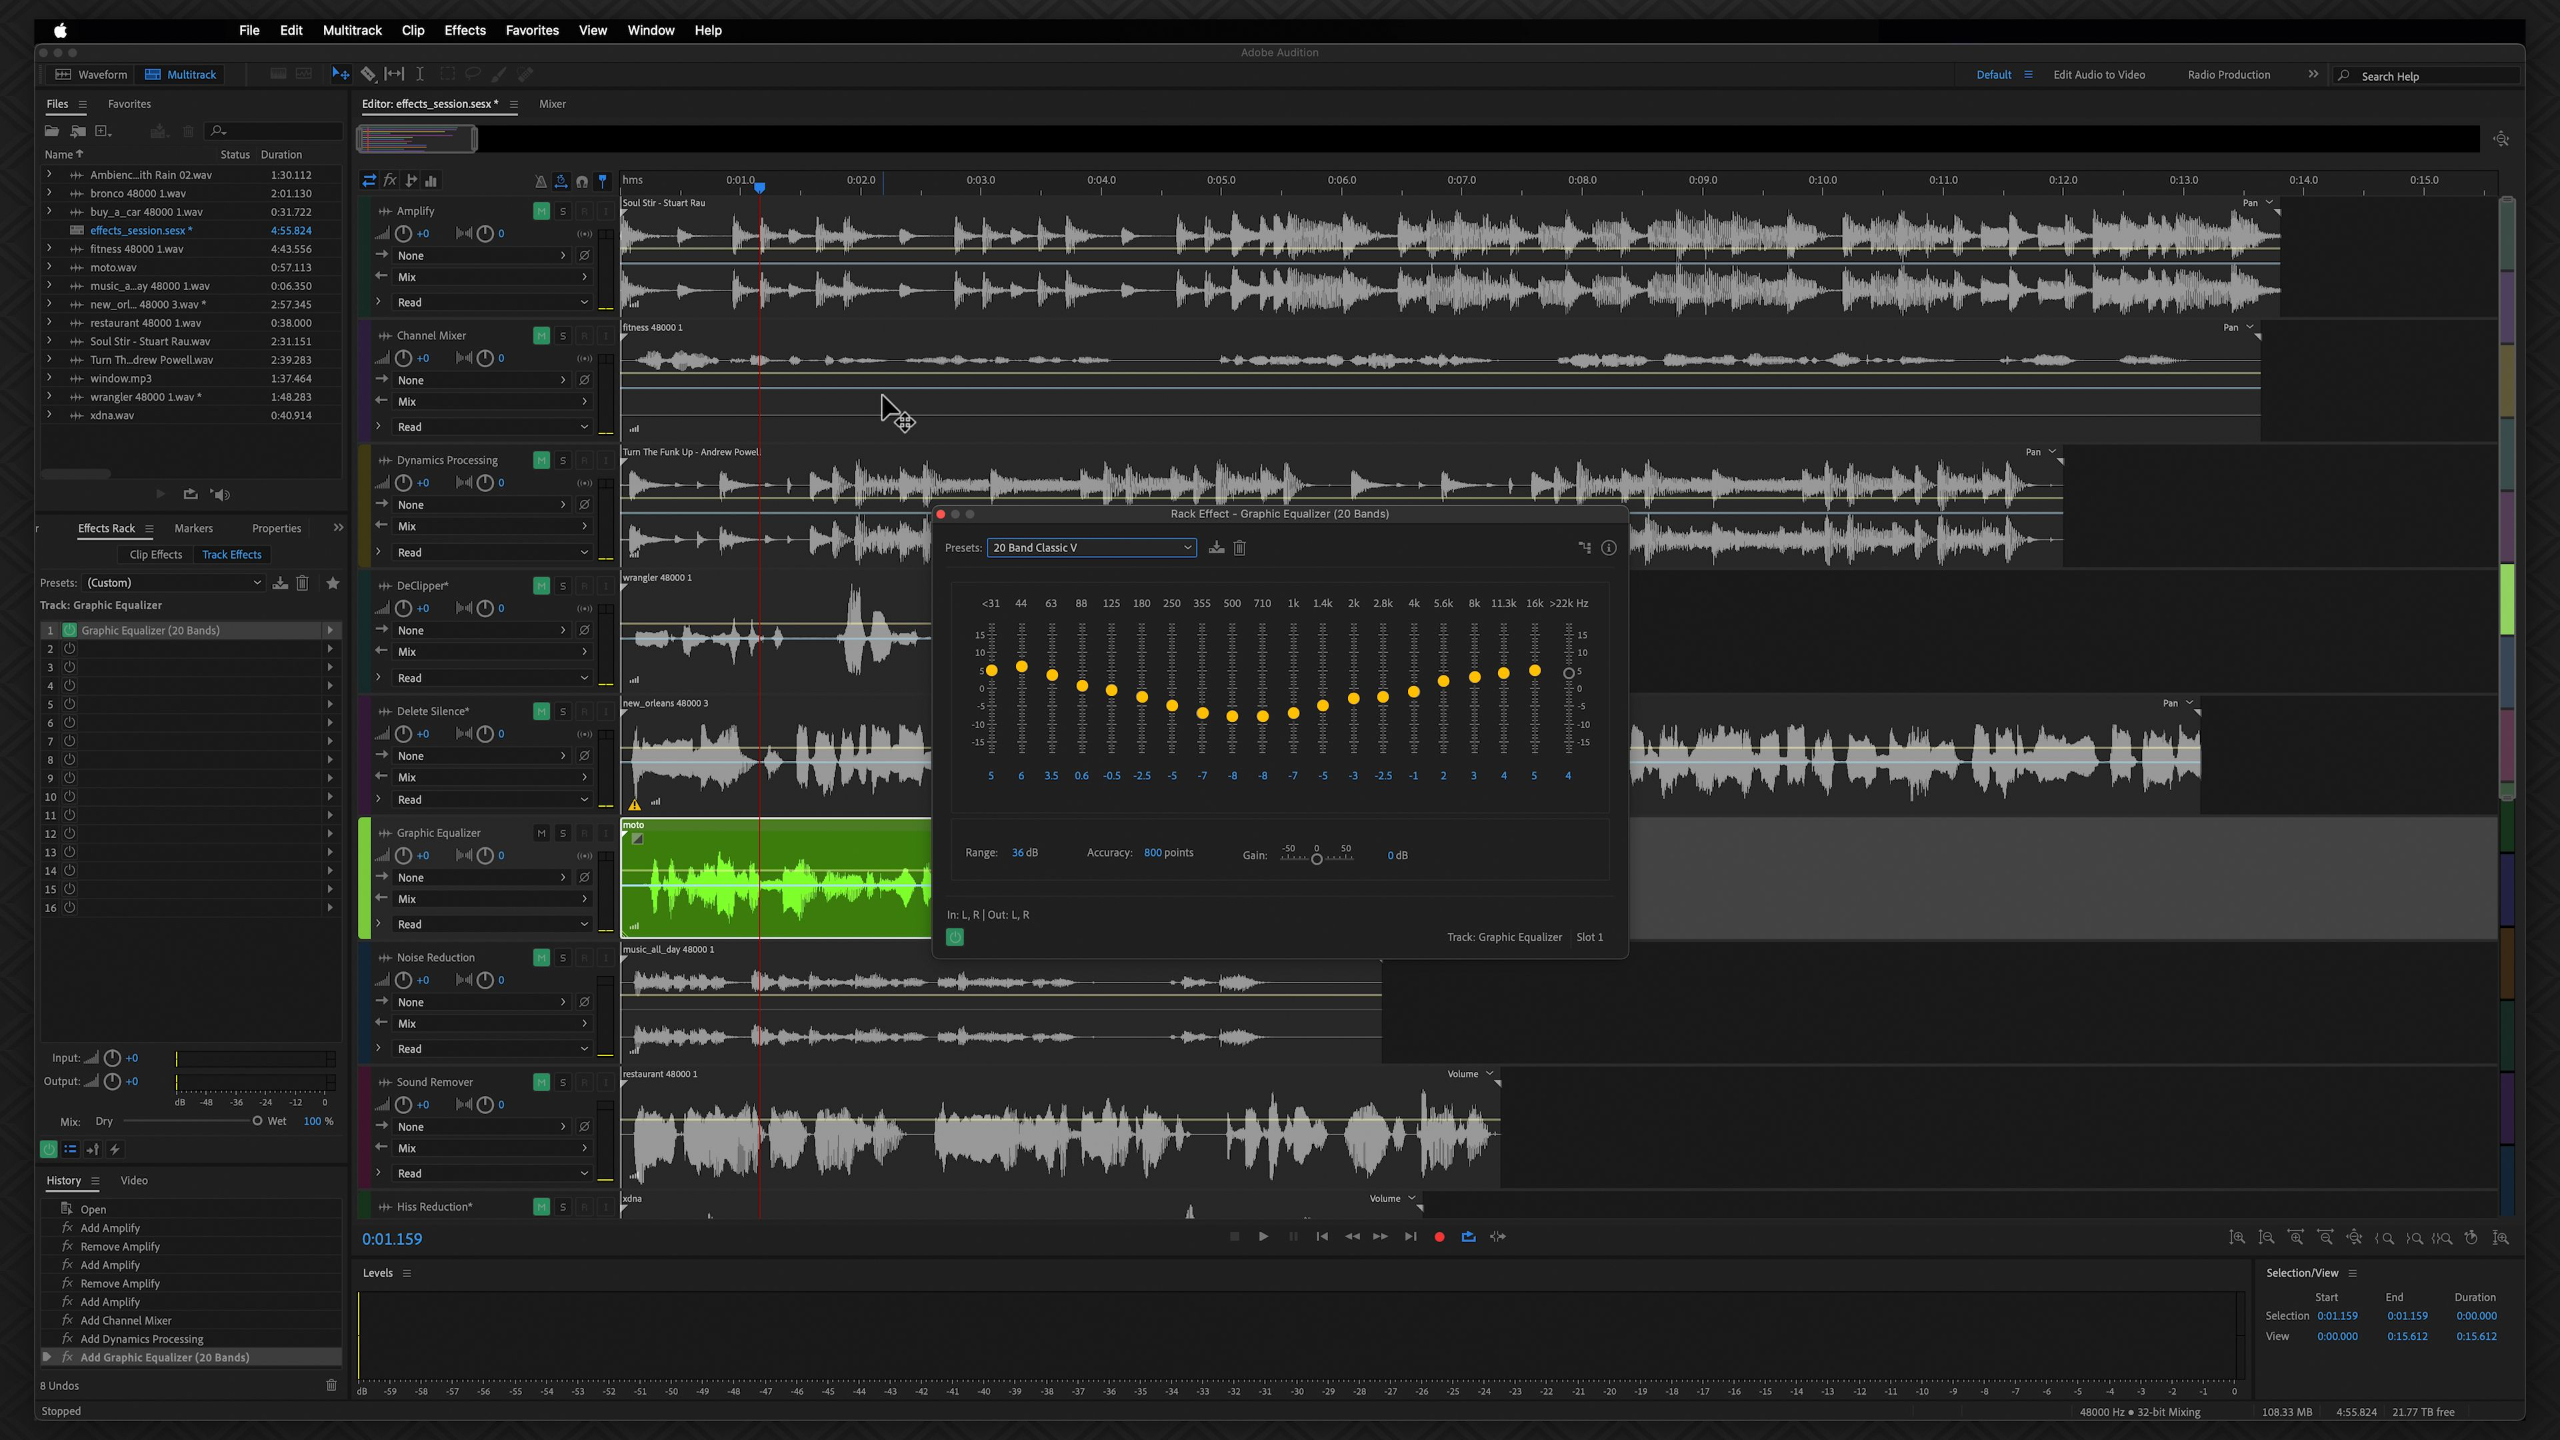
This lesson introduces Adobe Audition and shows students how to record, edit, mix, and export audio for their animation projects. It covers voiceover, dialogue, music, sound effects, basic audio settings, track editing, and exporting a clean WAV file to use in the production pipeline.
Lesson 1: 2.5D Pipeline Overview
This lesson introduces the 2.5D Pipeline module, where students learn how to take an animation project from idea to final export using a professional production workflow. It previews each stage of the process, including briefs, scripts, storyboards, styleframes, sound, asset creation, character setup, animation, post-production, and final delivery.
Lesson 2: Reading The Brief
This lesson teaches students how to read and break down a creative brief so they can clearly understand deliverables, style references, timelines, output specs, and missing information before starting production. Students then choose a provided brief, extract the key details with a checklist, and set up an organized project structure for the rest of the pipeline.
Lesson 3: Writing The Script
This lesson teaches students how to turn a creative brief into a clear 30 or 60-second animation script using structure, word count, and concise messaging. It walks through hooks, perspective shifts, pitches, proof, summaries, and calls-to-action so students can write scripts that are short, engaging, and animation-friendly.
Lesson 4: Creating Storyboards
This lesson teaches students how to turn their script into a clear storyboard that acts as the blueprint for the entire animation. It walks through using a storyboard template, adding voiceover, sketching thumbnails, describing action, cleaning up panels, and exporting the finished boards as a PDF.
Lesson 5: Creating Styleframes
This lesson teaches students how to create styleframes that prove the visual look of an animation before full production begins. It covers choosing a style, finding inspiration, solving technical design challenges, and creating two polished frame options based on a storyboard panel.
Lesson 6: Sound Design
This lesson introduces Adobe Audition and shows students how to record, edit, mix, and export audio for their animation projects. It covers voiceover, dialogue, music, sound effects, basic audio settings, track editing, and exporting a clean WAV file to use in the production pipeline.
Lesson 7: Series of Scenes
This lesson teaches students how to turn their storyboard and styleframes into organized graphic assets that are ready for animation. It covers planning what needs to be built, designing assets in Photoshop or Illustrator, organizing scenes and layers, and preparing everything with the animation process in mind.
Lesson 8: Creating Characters
This lesson teaches students how to create, prep, and organize character assets for 2.5D animation projects. It covers planning character needs, setting up body parts for rigging, using Photoshop or Illustrator, importing characters into After Effects, and deciding whether to design, reference, purchase, or hire out character artwork.
Lesson 9: Animation
This lesson guides students through the main animation phase of the 2.5D pipeline, where all previous skills—motion, transitions, typography, rigging, faux 3D, and facial animation—come together in a longer-form project. It also shows how to study real project examples, keep scenes moving, set up the After Effects template, import assets and audio, time everything to the voiceover, and begin building the full animated sequence.
Lesson 10: Post-Production
This lesson walks students through the post-production process for finishing their 2.5D animation, including post-effects, pre-rendering, sound design, quality control, rendering, and export. It shows how to polish the final piece, catch mistakes, mix audio, choose the right format, and prepare the animation for delivery or portfolio use.
Portfolio Project: Portfolio Building
This lesson gives students guidance on how to keep building their 2.5D animation portfolio after completing their first full pipeline project. It explores different portfolio directions like marketing videos, narrative shorts, show openers, title packages, maps, infographics, logo animations, and raw skill pieces so students can choose the path that fits their goals.
Module 6: Advanced 2.5D Animation (Level III)
Estimated completion time: 6-8 weeks
This module expands the 2.5D Animation Pipeline into a professional freelance workflow, covering every stage from client onboarding and pre-production to animation, sound design, post-production, and marketing strategy.
Students learn how to develop scripts, storyboards, styleframes, expressive characters, advanced scenery, facial animation, and polished final outputs while understanding how animation fits into broader marketing and business objectives.
Through a repeatable portfolio project, this module emphasizes industry-standard production pipelines, creative problem solving, and building the skills necessary to work as a professional freelance animator.
Lesson 1: Advanced 2.5D Animation Overview
This lesson introduces the Advanced 2.5D Animation module, where students build on the full production pipeline with more complex freelance-focused skills and marketing strategy. It previews advanced topics like targeted scripts, stronger storyboards, concept development, sound design, complex scenery, expressive characters, acting, dialogue, facial animation, and final delivery.
Lesson 7: Advanced Sound Design
This lesson takes students deeper into Adobe Audition by exploring more advanced tools for cleaning, shaping, mixing, and retiming audio. It covers dialogue editing, soundtrack cutting, sound effects, Essential Sound tags, noise reduction, EQ, pitch and tempo changes, and recording a polished scratch voiceover for the animation project.
Lesson 2: Marketing Concepts
This lesson introduces key marketing concepts that freelance animators should understand because much of their paid work supports a client’s larger business goals. It covers the marketing funnel, audience targeting, buyer personas, B2B vs. B2C messaging, video marketing, and how metrics, KPIs, and ROI help determine whether an animation is successful.
Lesson 8: Complex Scenes
This lesson teaches students how to create more complex scene assets with depth, detail, and animation in mind. It covers planning scenery, using layered Photoshop assets, experimenting with 2.5D multiplane setups, studying real project examples, and preparing environments that feel more dynamic than simple flat backgrounds.
Lesson 3: Studying The Brief
This lesson teaches students how to study a creative brief from a freelance animator’s perspective, focusing on what information is provided, what questions still need to be asked, and how the project fits the client’s goals. Students then choose or create a brief, use the freelancer brief analysis checklist to extract key details, and set up the foundation for their advanced 2.5D animation project.
Lesson 9: Character Studio
This lesson teaches students how to build more capable 2.5D characters for advanced animation projects, especially when characters need multiple perspectives, stronger body controls, and more expressive facial movement. It covers preparing character assets in Photoshop or Illustrator, planning anchor points with structure rigs, importing layers into After Effects, using tools like DUIK, Joysticks n’ Sliders, and Overlord, and studying fully rigged character examples.
Lesson 4: Targeted Scriptwriting
This lesson teaches students how to write a more targeted, audience-focused script that connects the creative brief to the marketing funnel. It builds on the previous scriptwriting structure by adding audience needs, messaging, tone, buyer journey awareness, and longer 90–120 second formats for more advanced freelance projects.
Lesson 10: Facial Animation & Dialogue
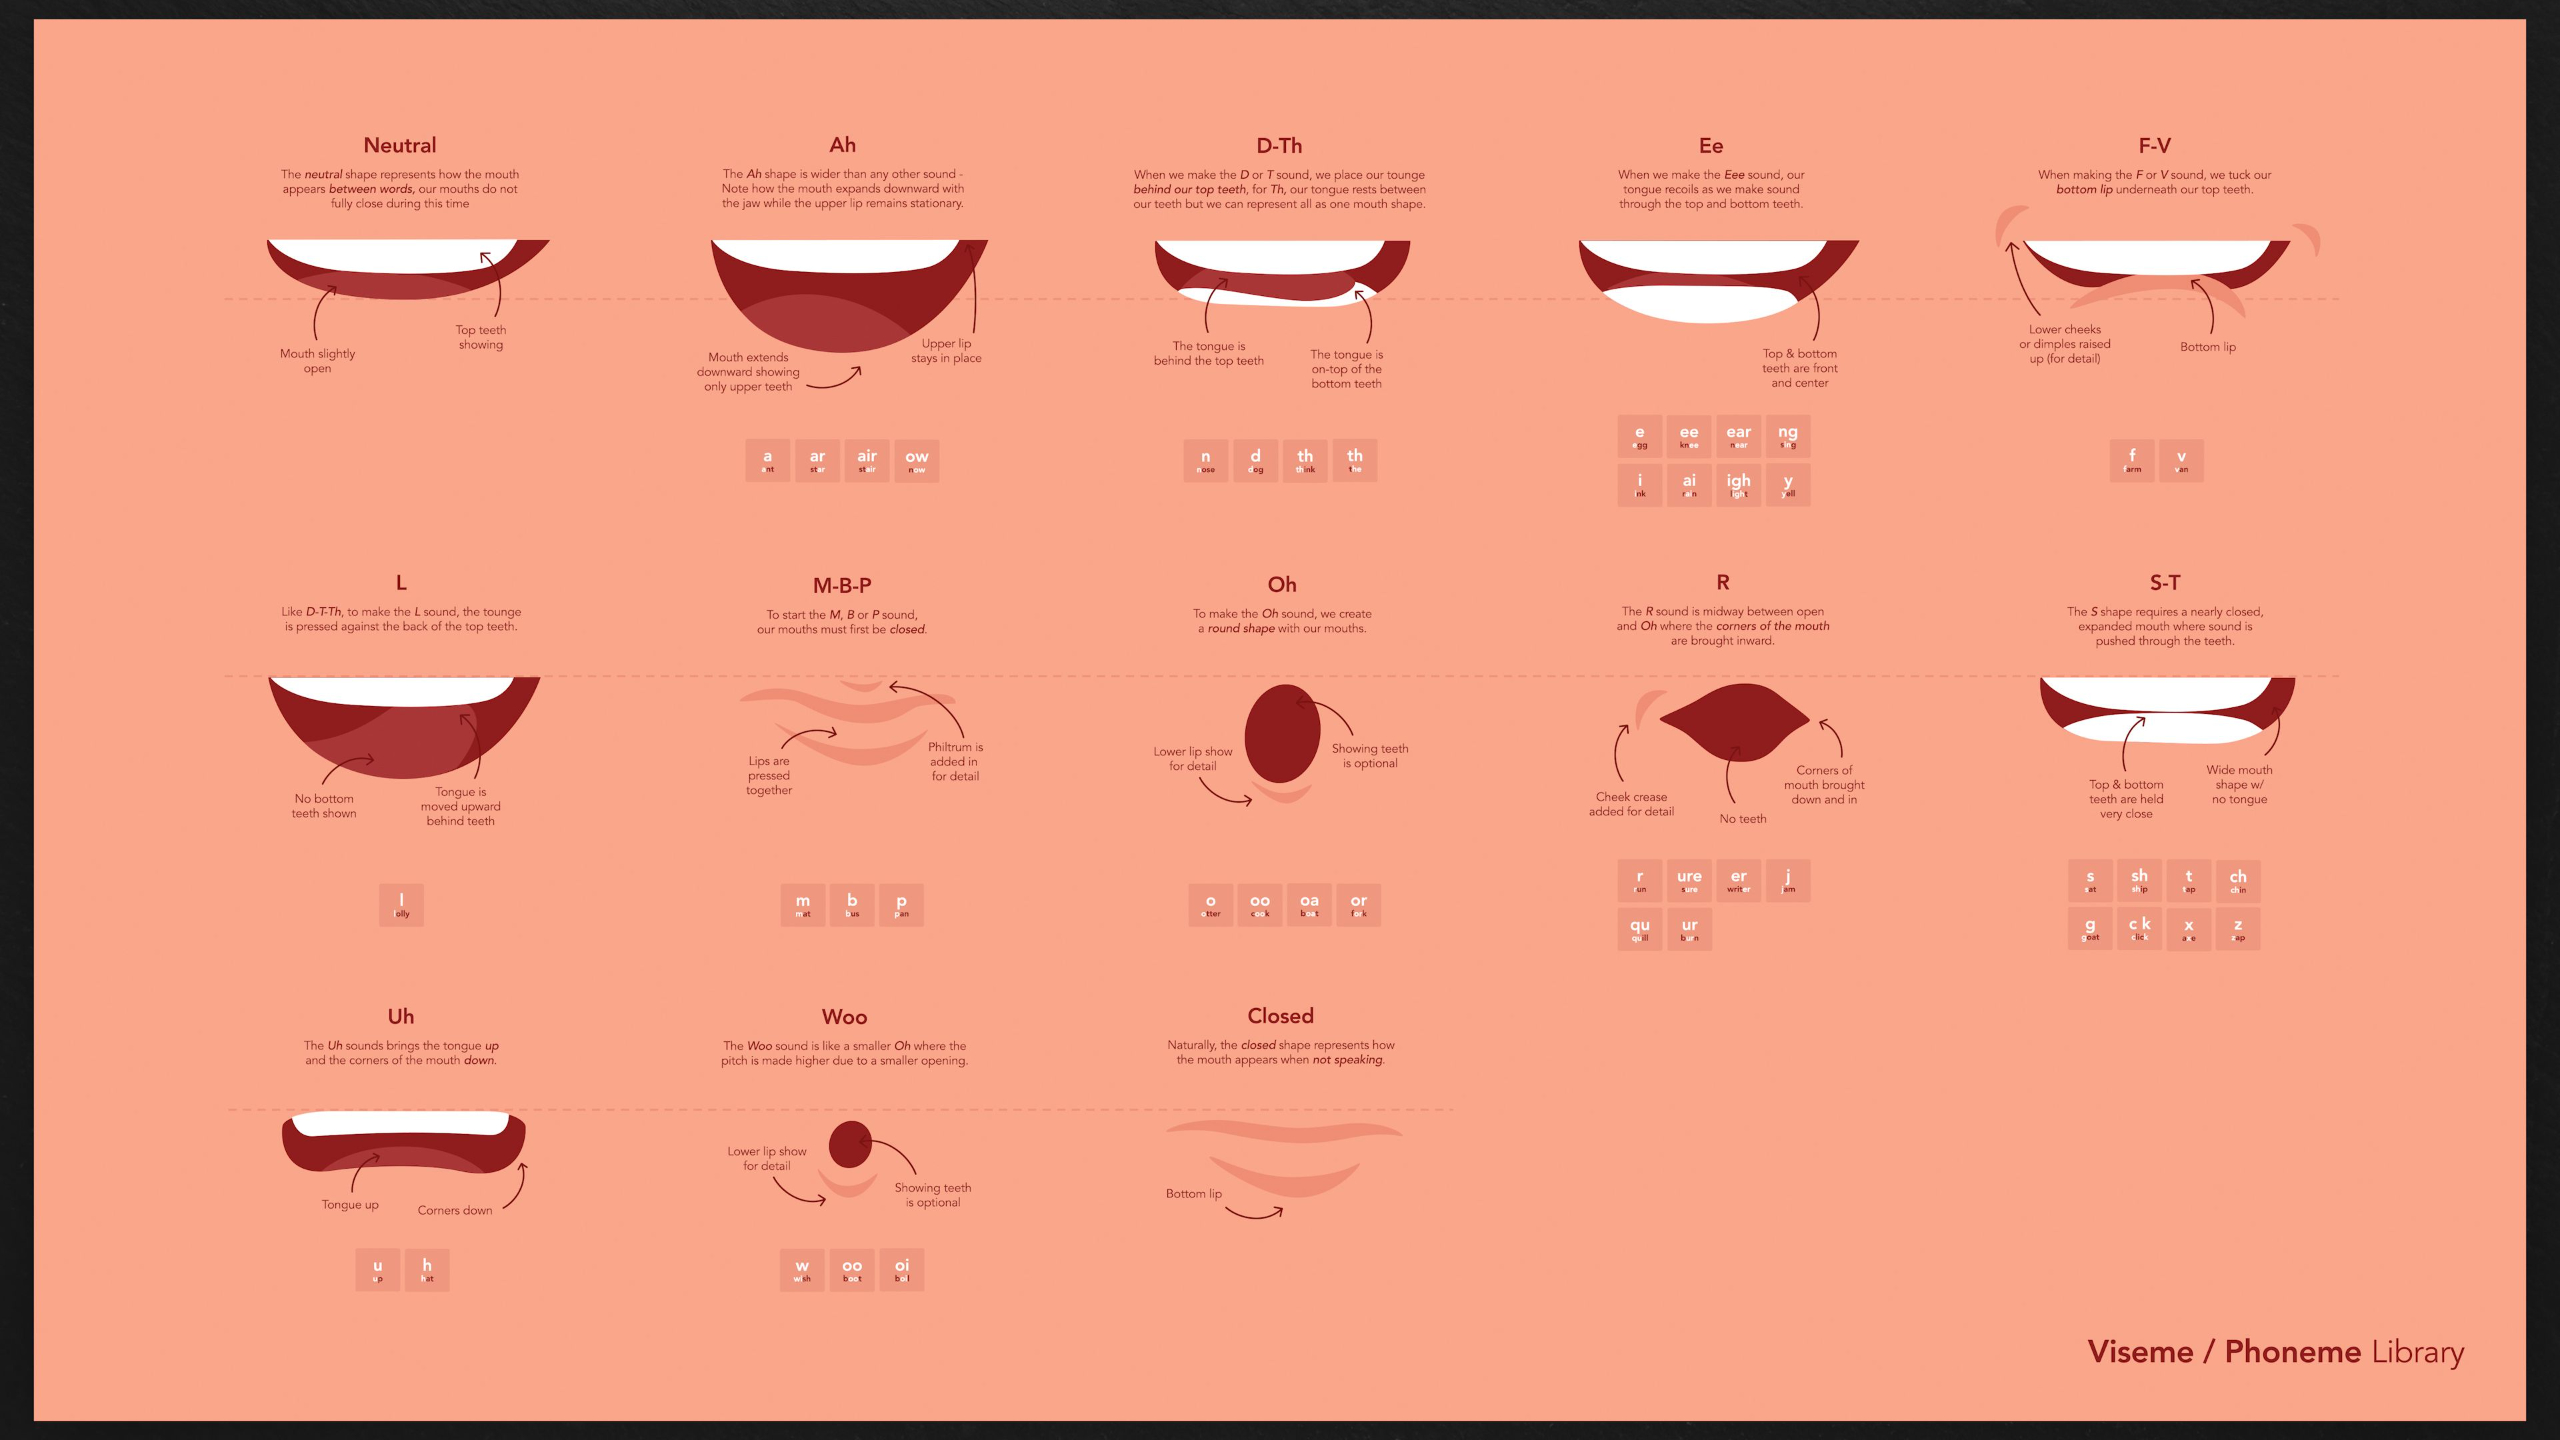
This lesson teaches students how to make 2.5D characters speak by using phonemes, visemes, Adobe Animate lip-sync tools, and manual mouth-shape timing. It also shows how to bring that lip sync back into After Effects and build a stronger character performance using facial animation, body motion, timing, and dialogue.
Lesson 5: Proving The Concept
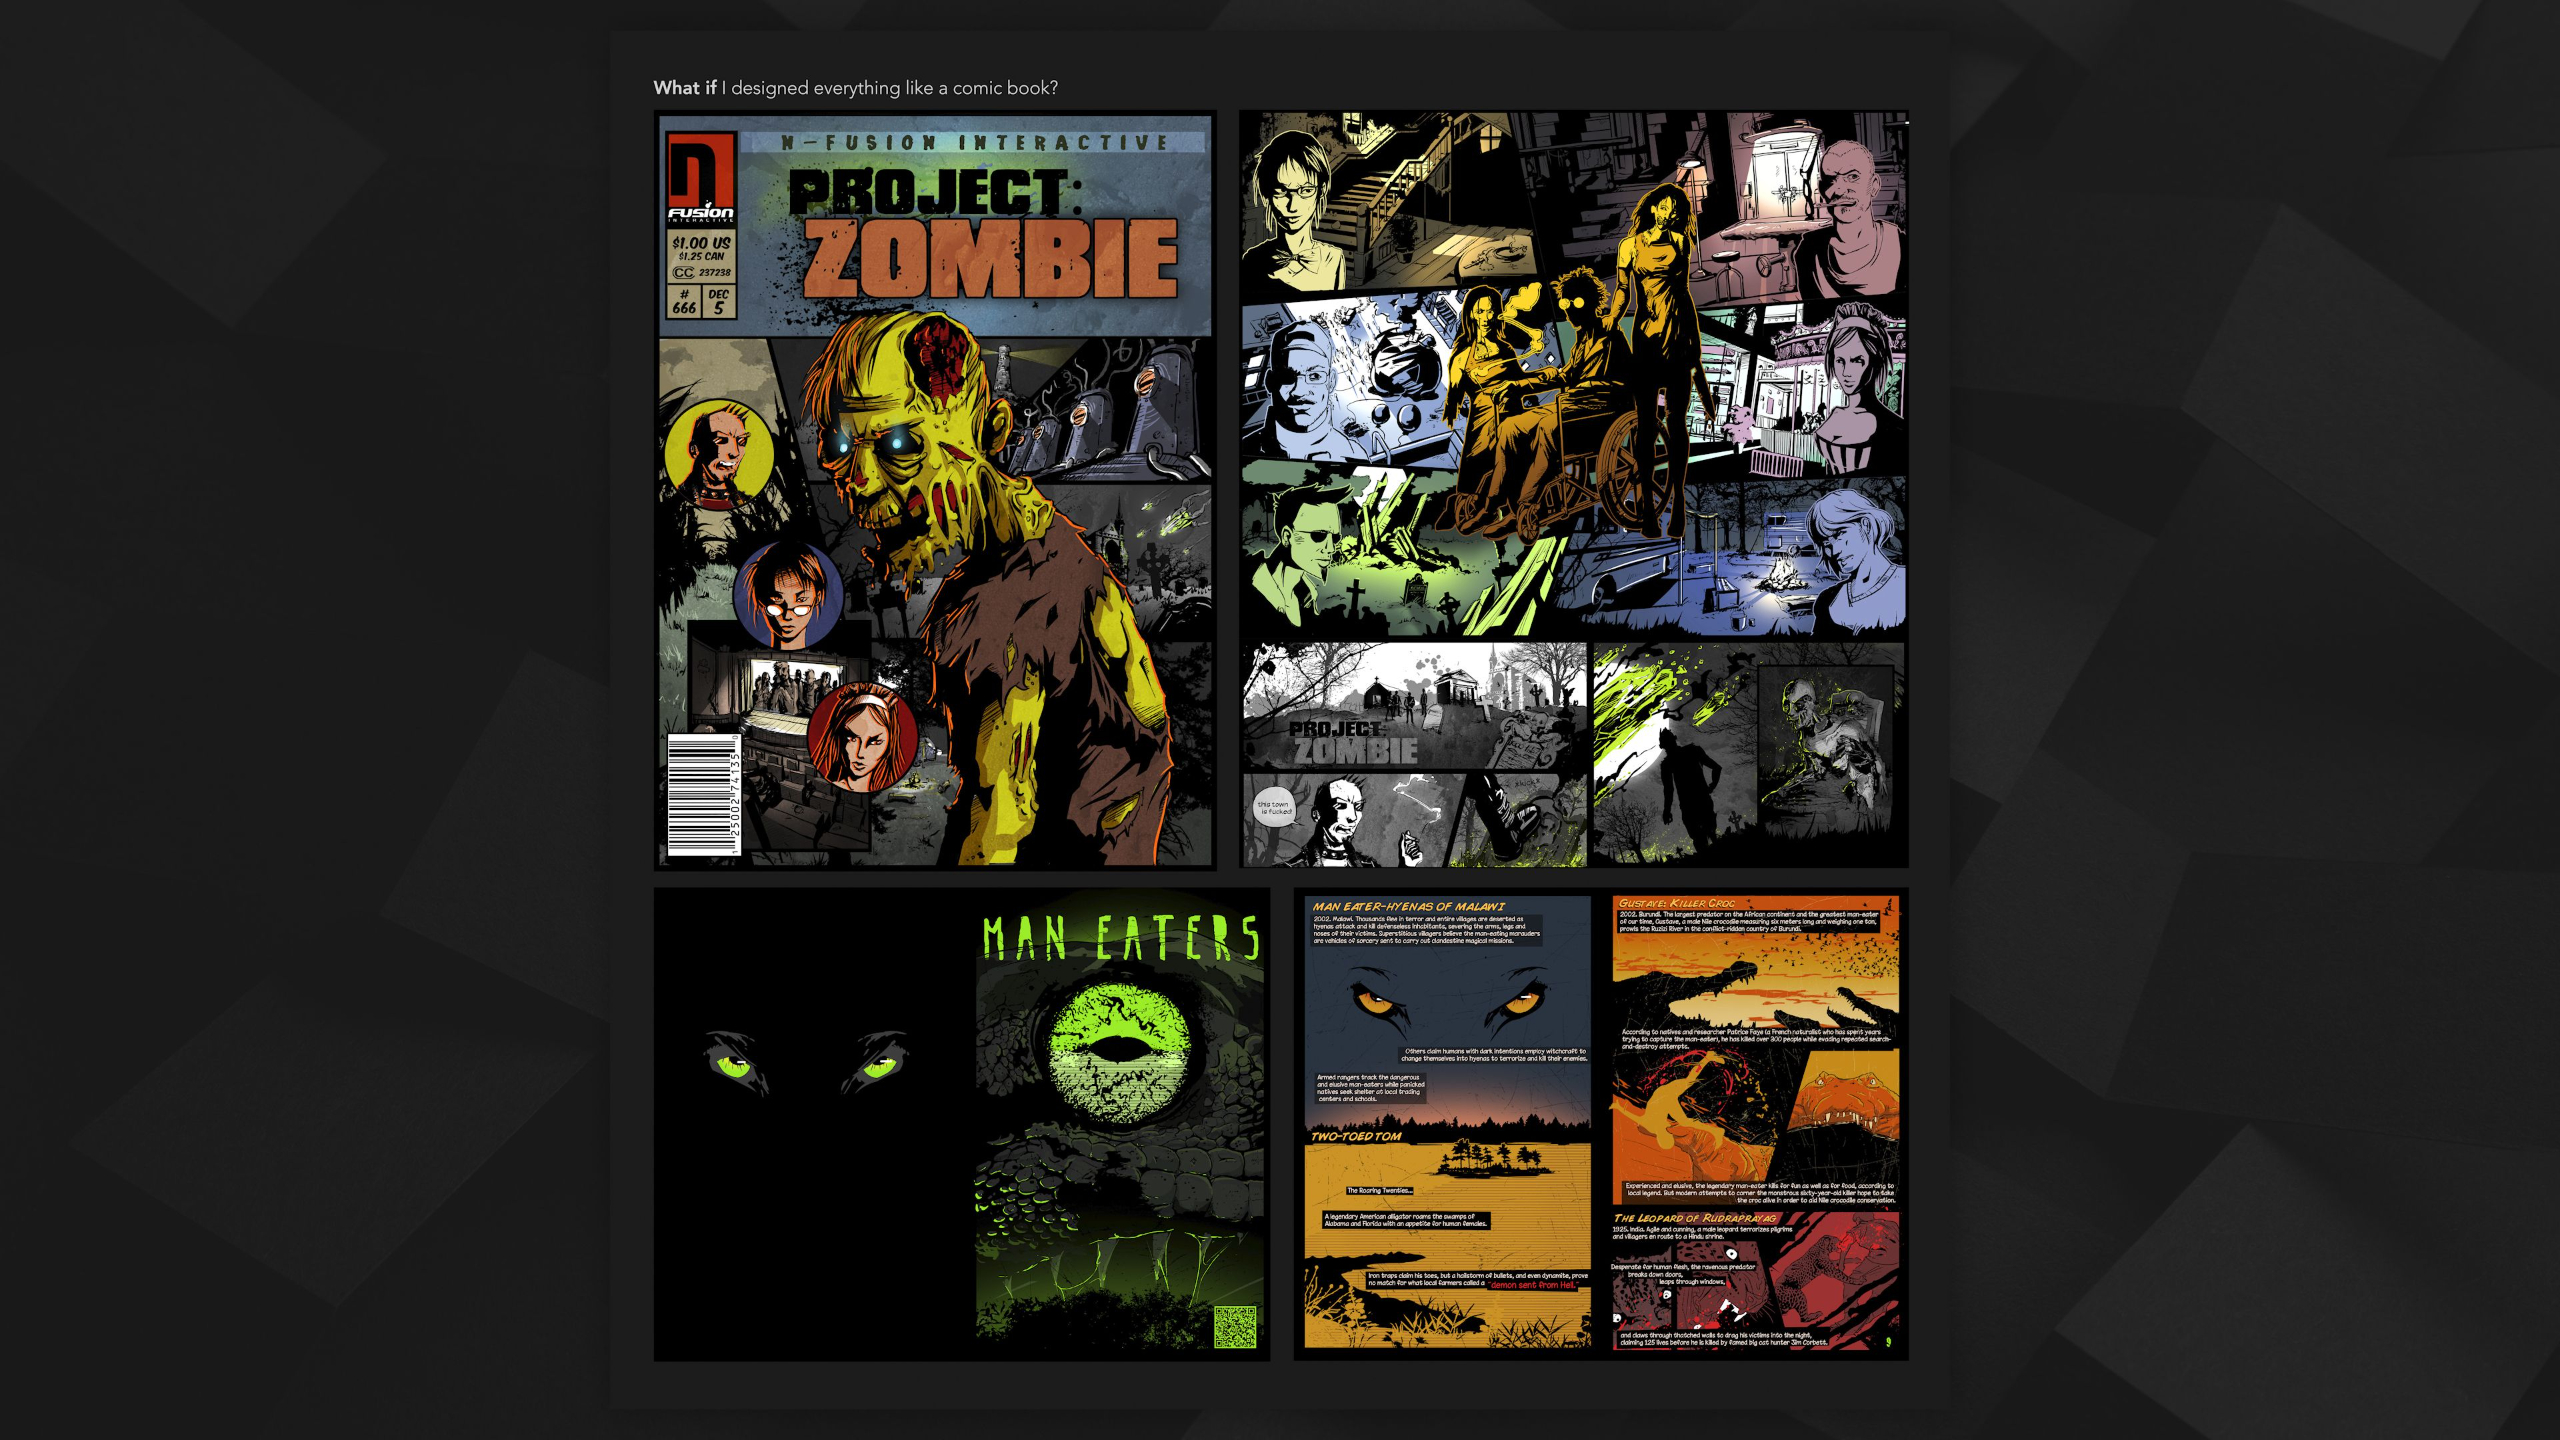
This lesson encourages students to push beyond familiar styles and use styleframes as a way to prove whether a visual idea or animation concept can actually work. It focuses on creative exploration, asking “what if,” finding inspiration, and experimenting with new approaches before committing to a full animated sequence.
Lesson 11: Post-Production & Output
This lesson walks students through the final post-production and output process for an advanced 2.5D animation project, with added context for freelance delivery. It covers post-effects, pre-rendering, sound design, quality control, export formats, client review stages, and planning final deliverables for different distribution platforms.
Lesson 6: Storyboarding Pro
This lesson teaches students how to turn a finished script into a polished, client-ready storyboard that clearly communicates the visual plan for an animation. It covers thumbnail sketching, refining panels, adding action notes, exporting boards as a PDF, creating optional animatics, and developing styleframes to prove the final look before production begins.
Portfolio Project: Freelance Portfolio Building
This lesson guides students on how to keep building a strong freelance 2.5D animation portfolio after completing the advanced pipeline. It explores portfolio directions like marketing videos, title packages, maps, infographics, logos, raw skill pieces, and next steps like building a demo reel or moving into the Freelancer Toolkit.
Lesson 1: Advanced 2.5D Animation Overview
This lesson introduces the Advanced 2.5D Animation module, where students build on the full production pipeline with more complex freelance-focused skills and marketing strategy. It previews advanced topics like targeted scripts, stronger storyboards, concept development, sound design, complex scenery, expressive characters, acting, dialogue, facial animation, and final delivery.
Lesson 2: Marketing Concepts
This lesson introduces key marketing concepts that freelance animators should understand because much of their paid work supports a client’s larger business goals. It covers the marketing funnel, audience targeting, buyer personas, B2B vs. B2C messaging, video marketing, and how metrics, KPIs, and ROI help determine whether an animation is successful.
Lesson 3: Studying The Brief
This lesson teaches students how to study a creative brief from a freelance animator’s perspective, focusing on what information is provided, what questions still need to be asked, and how the project fits the client’s goals. Students then choose or create a brief, use the freelancer brief analysis checklist to extract key details, and set up the foundation for their advanced 2.5D animation project.
Lesson 4: Targeted Scriptwriting
This lesson teaches students how to write a more targeted, audience-focused script that connects the creative brief to the marketing funnel. It builds on the previous scriptwriting structure by adding audience needs, messaging, tone, buyer journey awareness, and longer 90–120 second formats for more advanced freelance projects.
Lesson 5: Proving The Concept
This lesson encourages students to push beyond familiar styles and use styleframes as a way to prove whether a visual idea or animation concept can actually work. It focuses on creative exploration, asking “what if,” finding inspiration, and experimenting with new approaches before committing to a full animated sequence.
Lesson 6: Storyboarding Pro
This lesson teaches students how to turn a finished script into a polished, client-ready storyboard that clearly communicates the visual plan for an animation. It covers thumbnail sketching, refining panels, adding action notes, exporting boards as a PDF, creating optional animatics, and developing styleframes to prove the final look before production begins.
Lesson 7: Advanced Sound Design
This lesson takes students deeper into Adobe Audition by exploring more advanced tools for cleaning, shaping, mixing, and retiming audio. It covers dialogue editing, soundtrack cutting, sound effects, Essential Sound tags, noise reduction, EQ, pitch and tempo changes, and recording a polished scratch voiceover for the animation project.
Lesson 8: Complex Scenes
This lesson teaches students how to create more complex scene assets with depth, detail, and animation in mind. It covers planning scenery, using layered Photoshop assets, experimenting with 2.5D multiplane setups, studying real project examples, and preparing environments that feel more dynamic than simple flat backgrounds.
Lesson 9: Character Studio
This lesson teaches students how to build more capable 2.5D characters for advanced animation projects, especially when characters need multiple perspectives, stronger body controls, and more expressive facial movement. It covers preparing character assets in Photoshop or Illustrator, planning anchor points with structure rigs, importing layers into After Effects, using tools like DUIK, Joysticks n’ Sliders, and Overlord, and studying fully rigged character examples.
Lesson 10: Facial Animation & Dialogue
This lesson teaches students how to make 2.5D characters speak by using phonemes, visemes, Adobe Animate lip-sync tools, and manual mouth-shape timing. It also shows how to bring that lip sync back into After Effects and build a stronger character performance using facial animation, body motion, timing, and dialogue.
Lesson 11: Post-Production & Output
This lesson walks students through the final post-production and output process for an advanced 2.5D animation project, with added context for freelance delivery. It covers post-effects, pre-rendering, sound design, quality control, export formats, client review stages, and planning final deliverables for different distribution platforms.
Portfolio Project: Freelance Portfolio Building
This lesson guides students on how to keep building a strong freelance 2.5D animation portfolio after completing the advanced pipeline. It explores portfolio directions like marketing videos, title packages, maps, infographics, logos, raw skill pieces, and next steps like building a demo reel or moving into the Freelancer Toolkit.
Lesson Block 5:
Skillset: 3D Animation
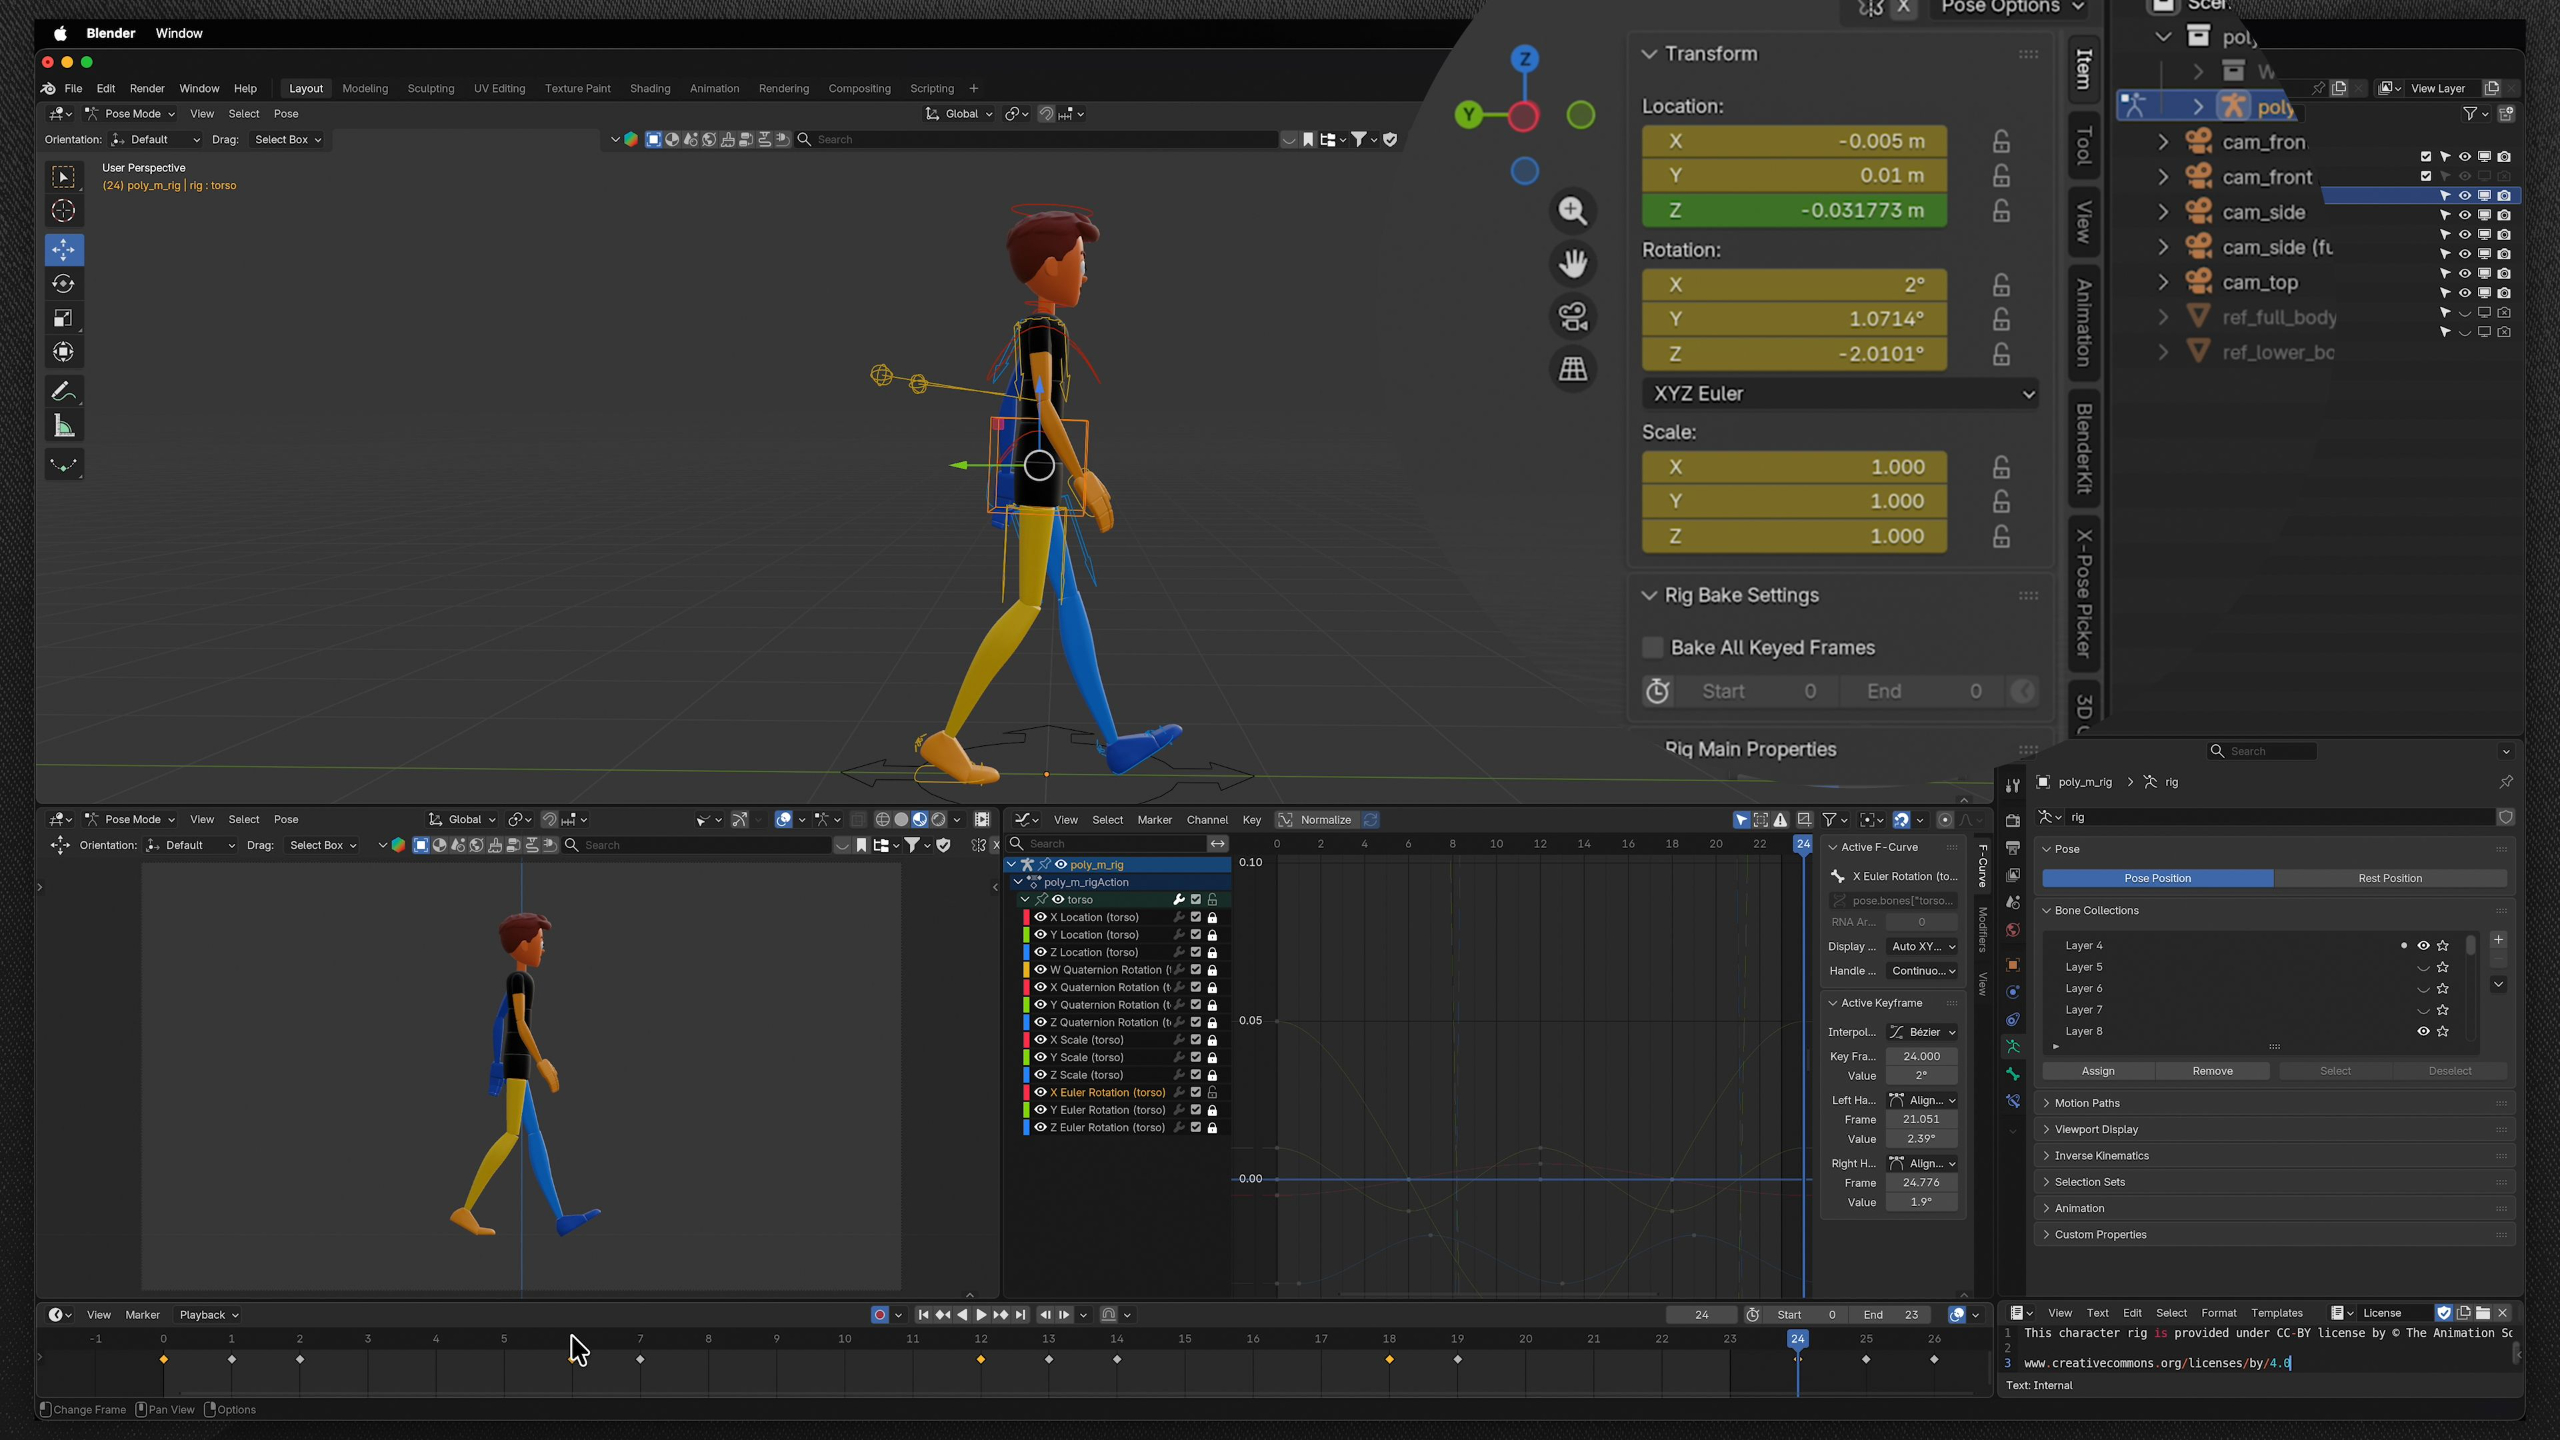
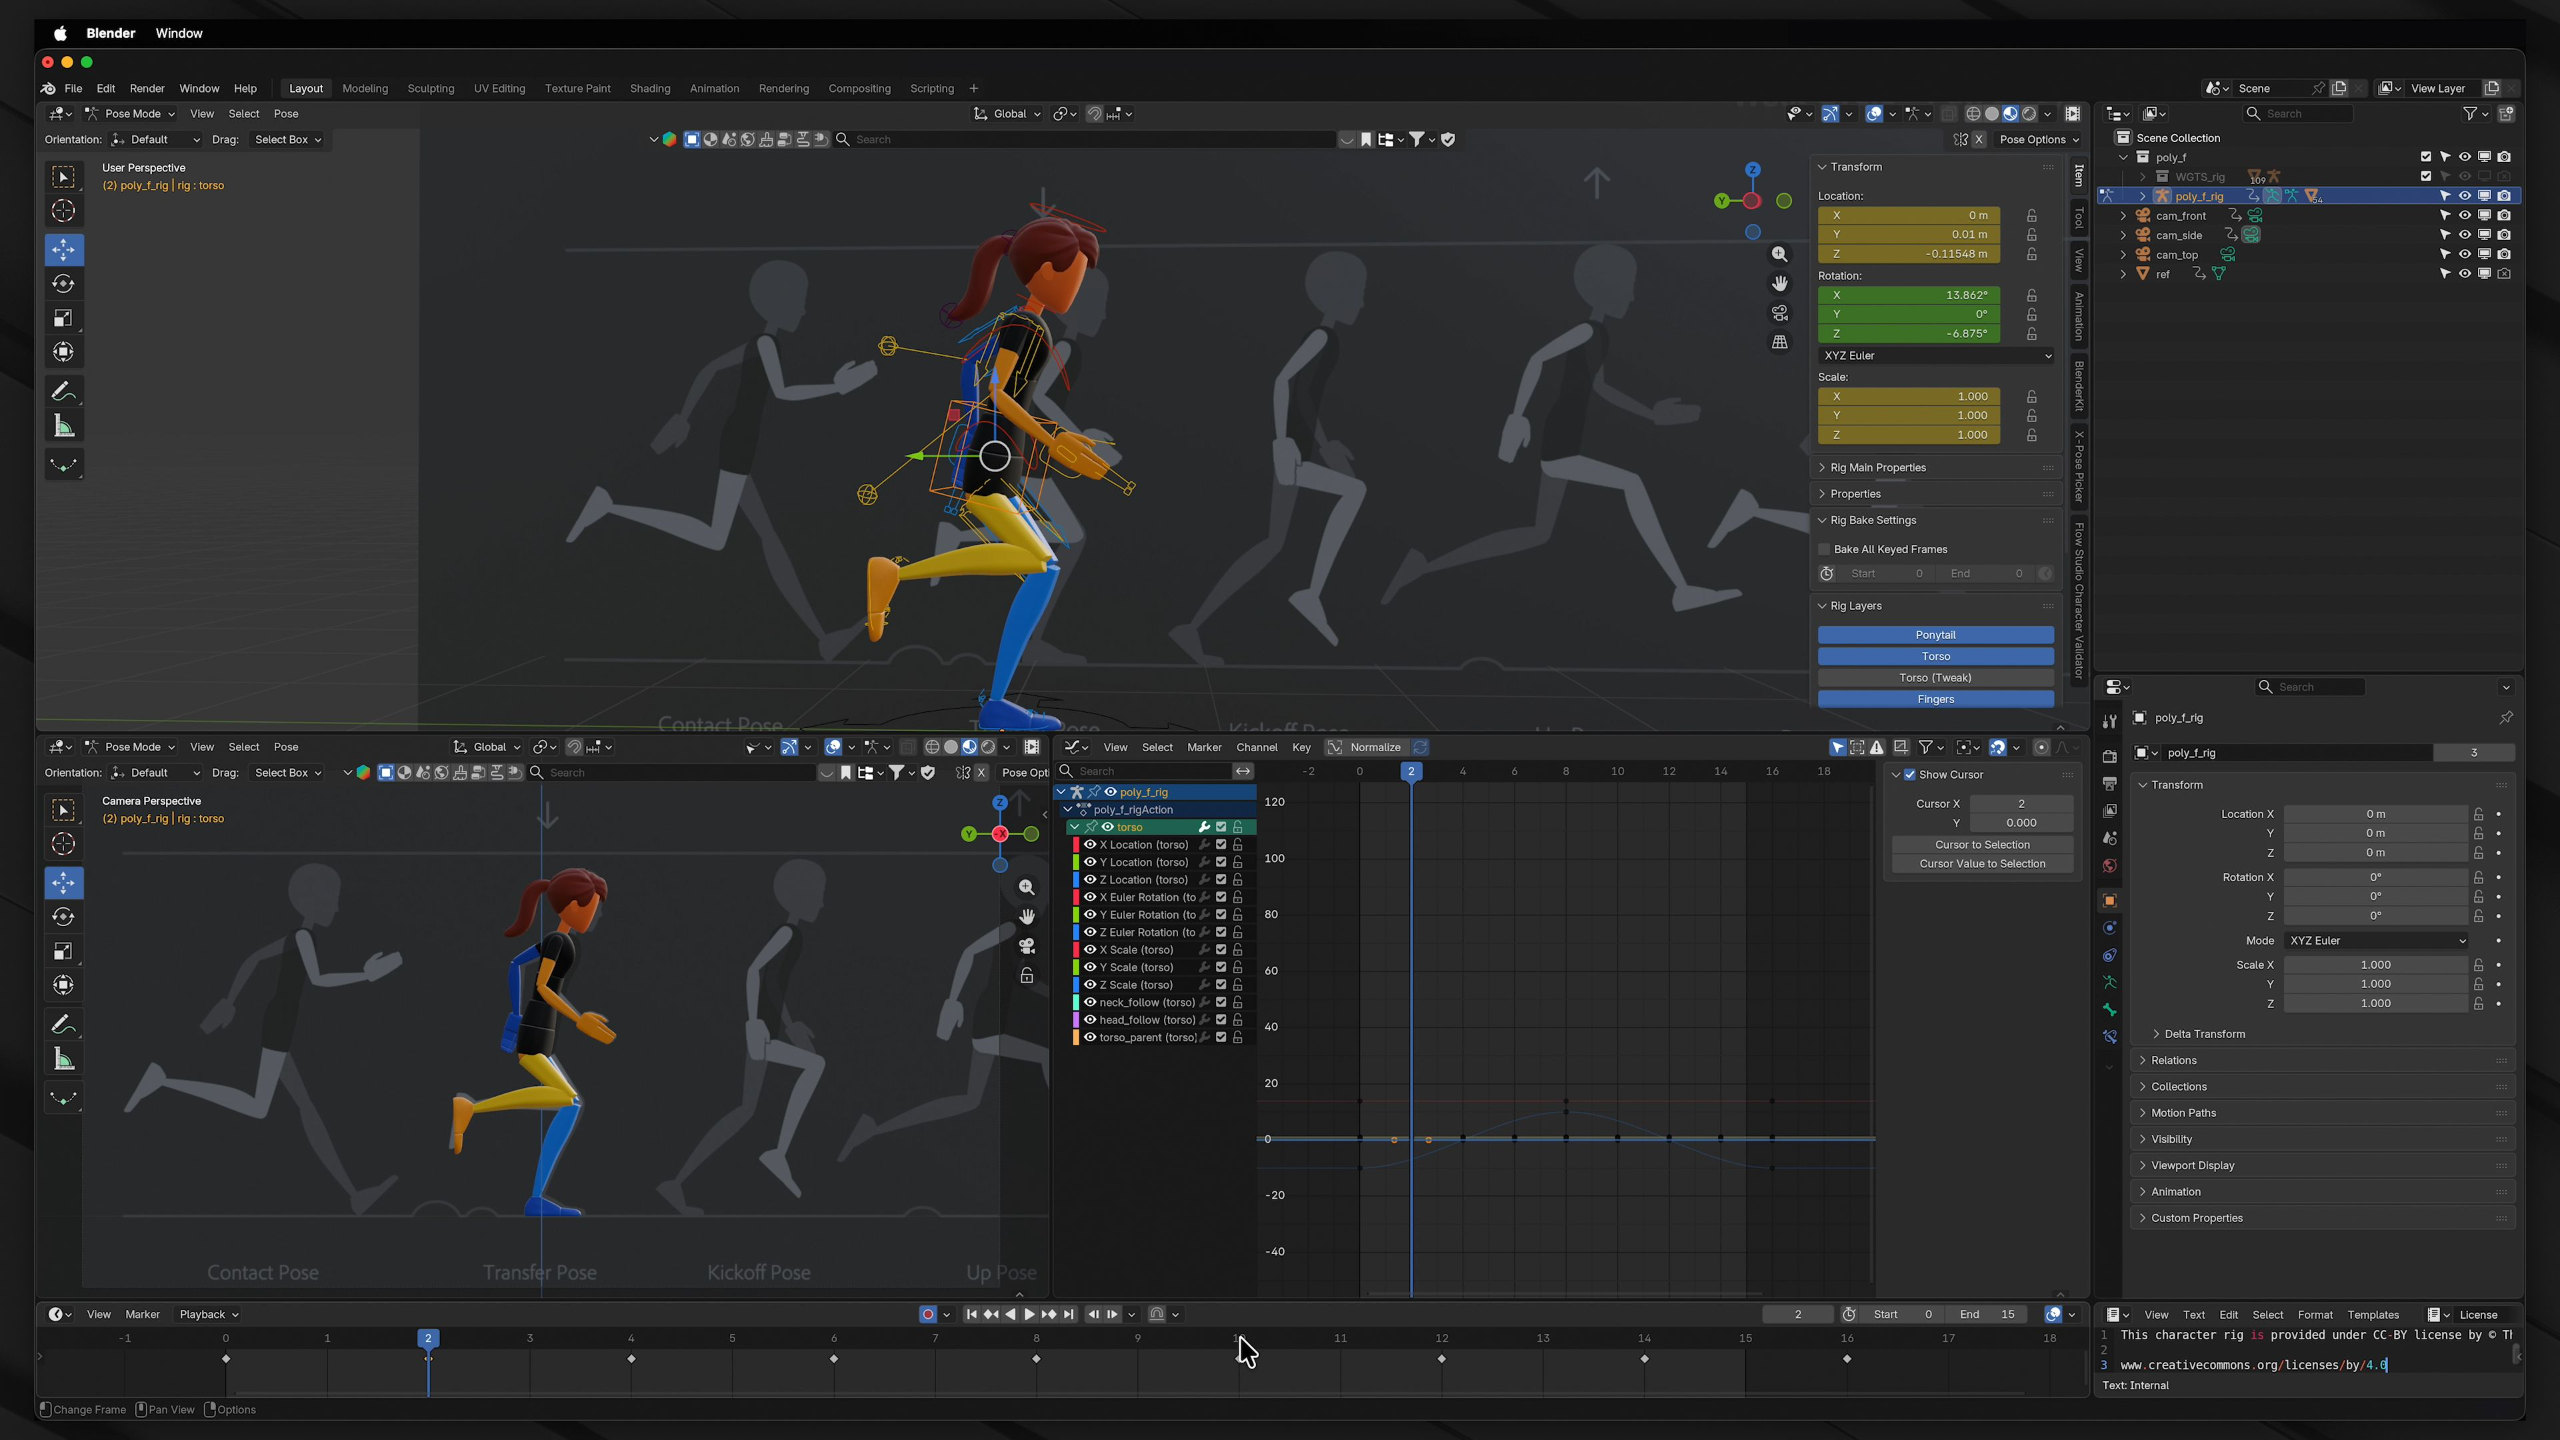
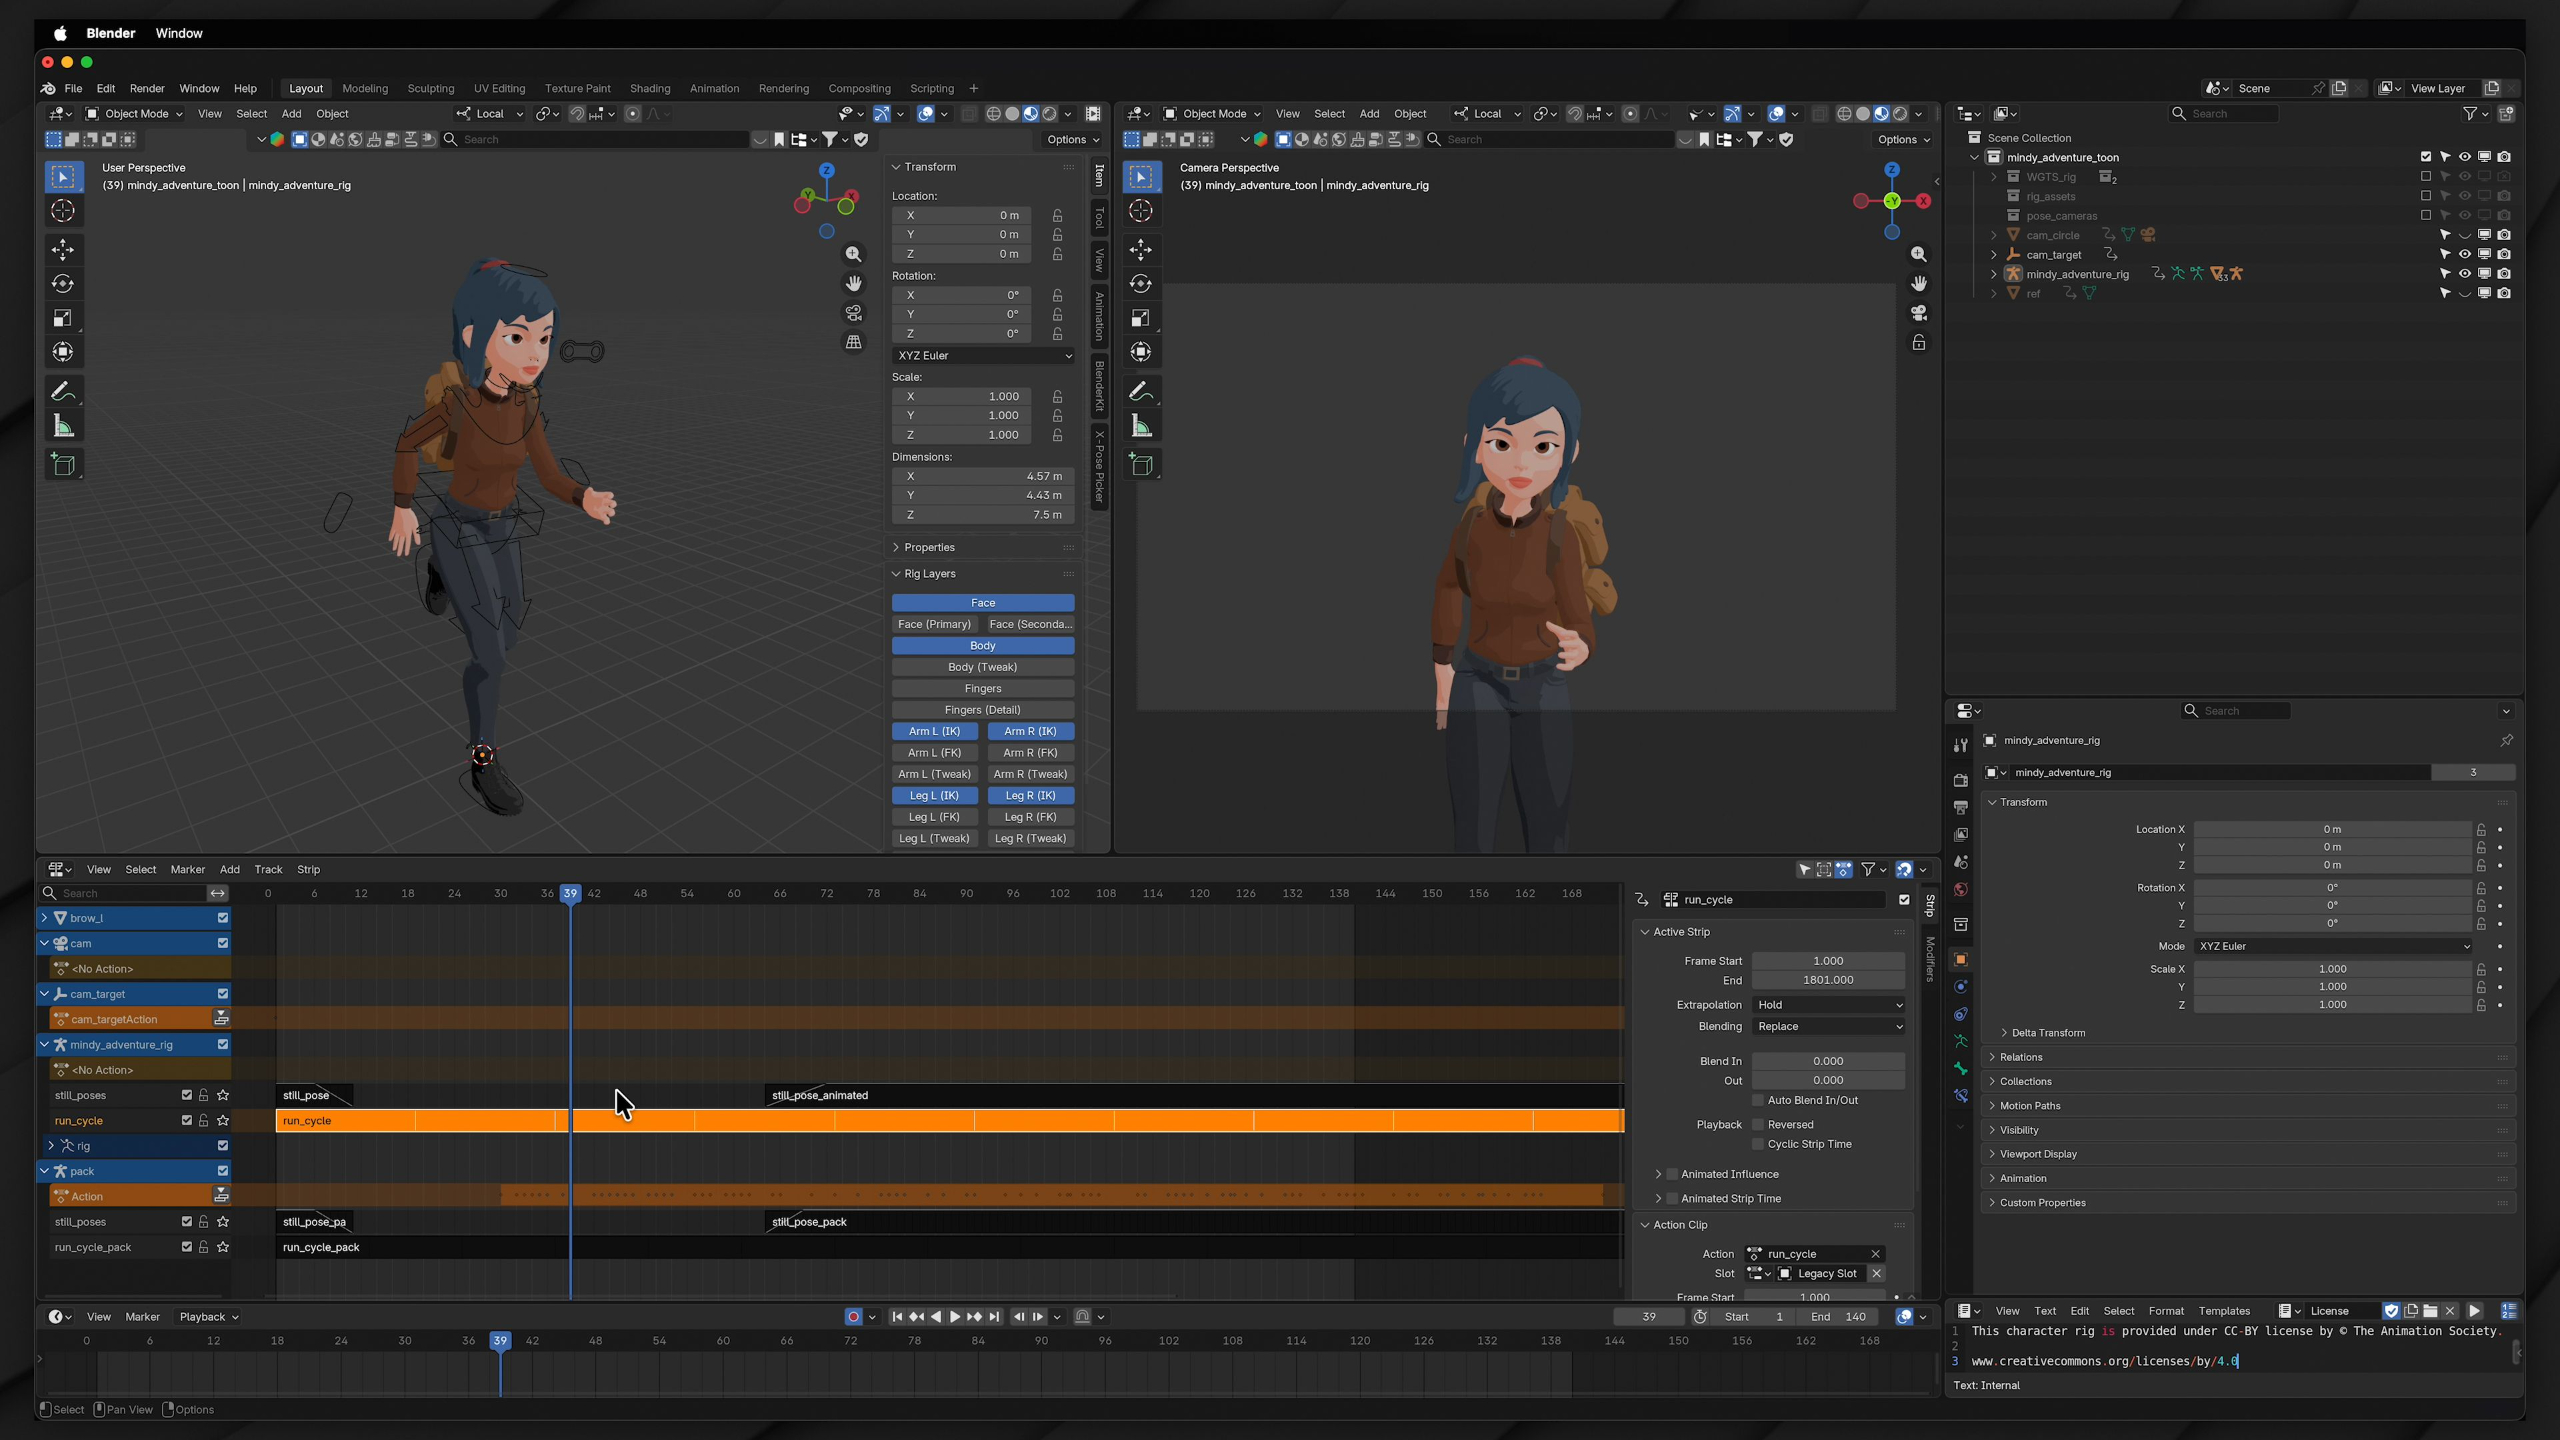
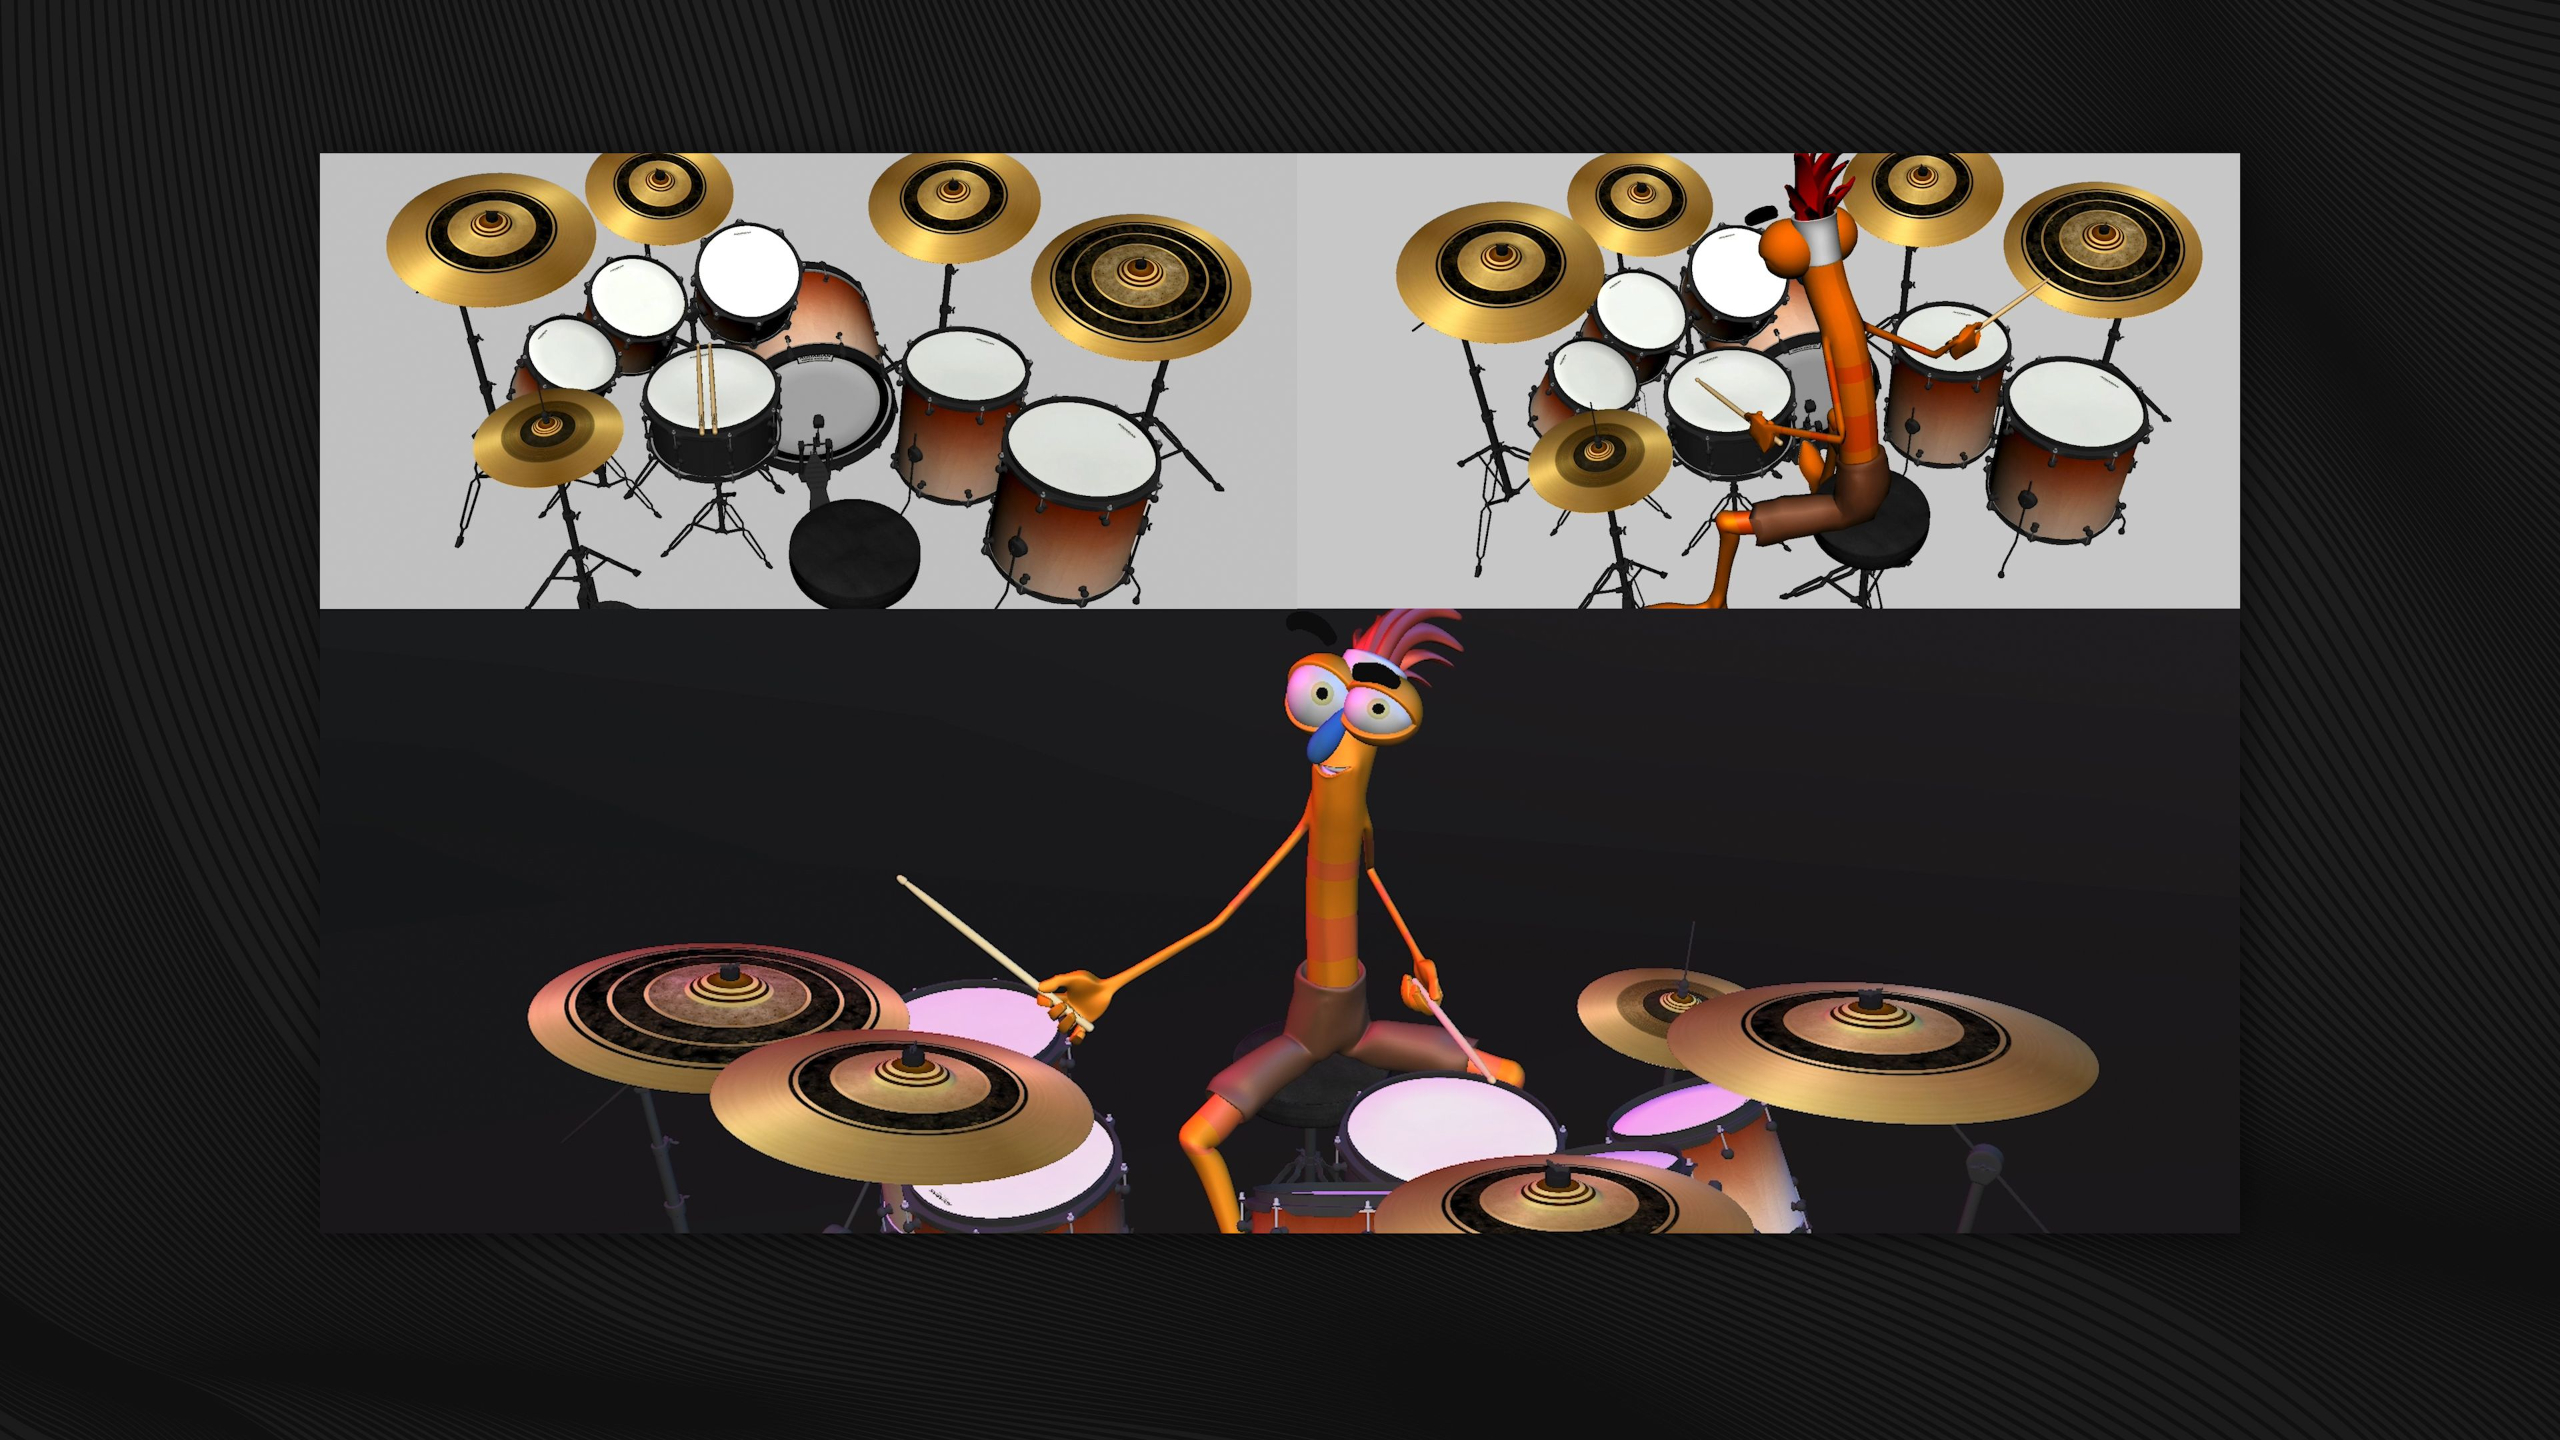
Our 3D Animation Curriculum is a progressive training program designed to guide students from foundational animation concepts to advanced 3D character and motion work using the Blender software.
The curriculum emphasizes mastering core animation fundamentals through manageable, skill-focused assignments and portfolio-building projects.
*Requires Blender installation (free)
Module 1: Overview
This first module summarizes up everything you will be learning within the 3D Animation Curriculum.
Covering what is and is not included if you are enrolled in one of our tailored Journeys, as well as details around what you will be learning at each skill level, the assignments ahead, and expected outcomes for your portfolio.
Module 2: Intro to Blender (Level I)
Estimated completion time: 6-8 weeks
This module provides an A to Z walkthrough of the free open-source 3D software Blender. These lessons focus not only on animation, but introduces students to all other parts of the 3D production pipeline. Such as modeling, texturing, lighting, rigging, and rendering to understand how productions work as a whole.
By the end, students will not simply be able to use the software, but they'll have a deep understanding of all it's capabilities for use in a variety of different industries.
Lesson 1: Blender Intro
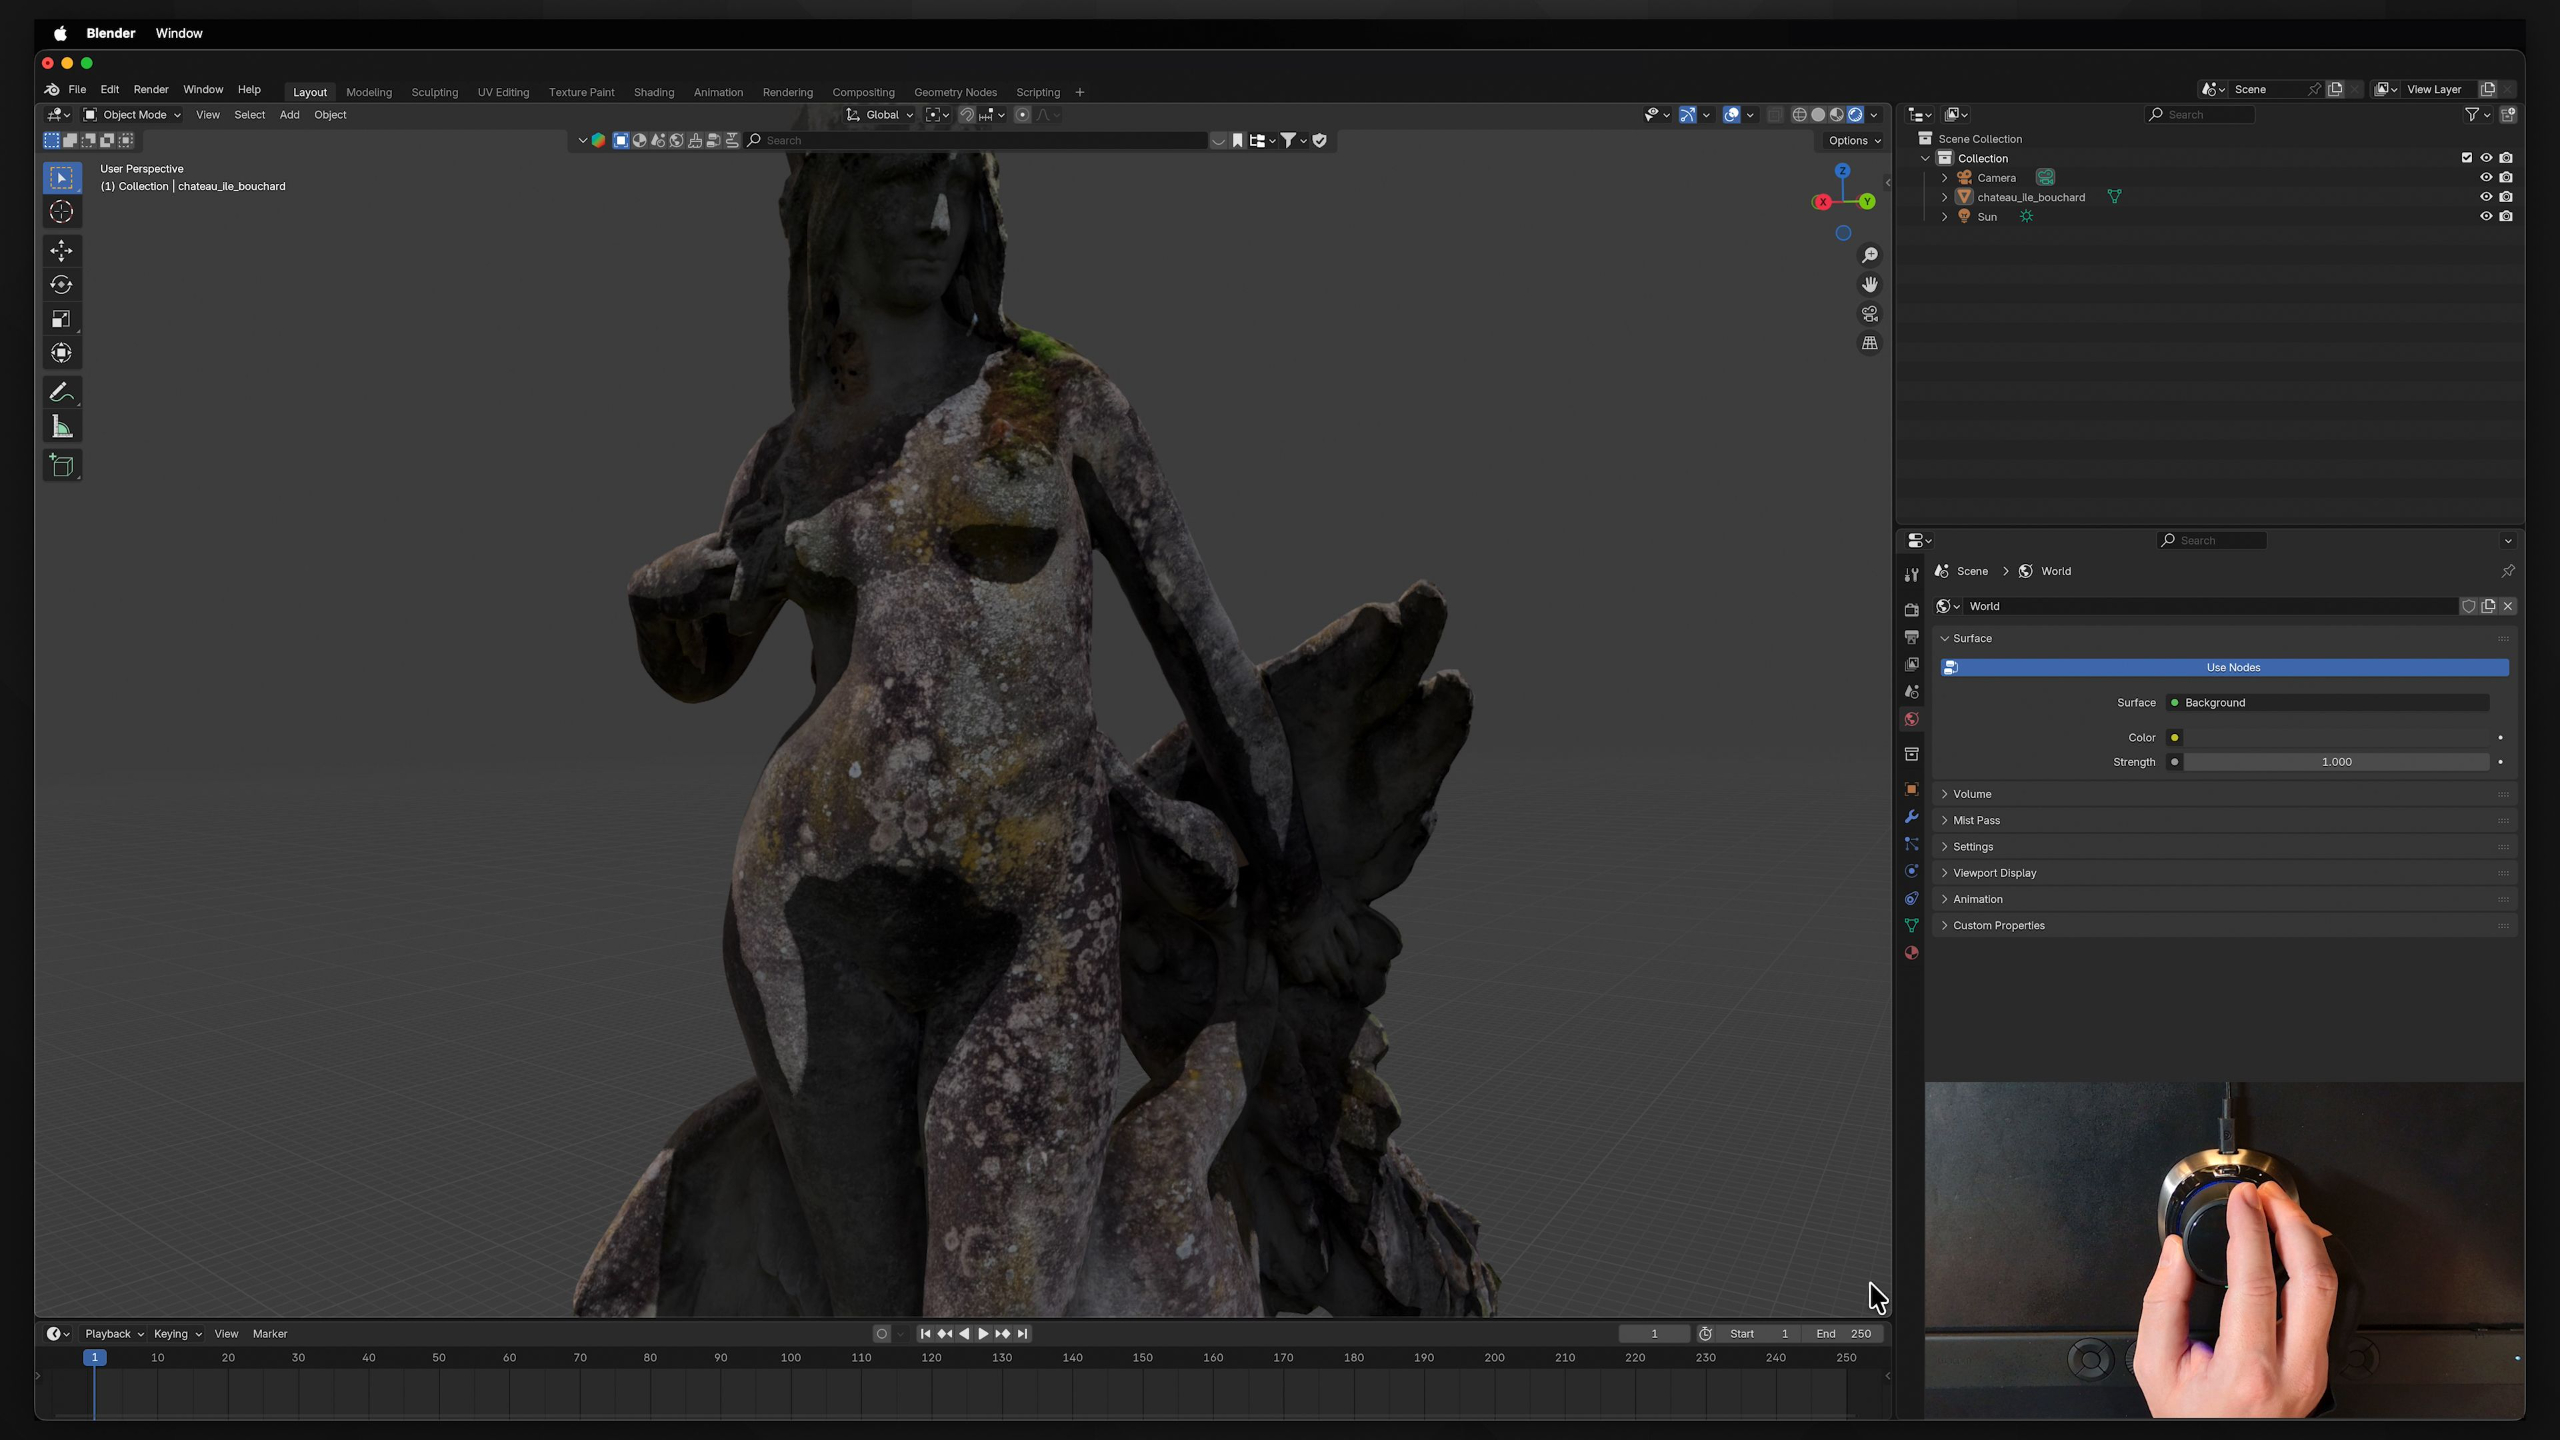
This lesson introduces Blender as the main 3D software used throughout the curriculum and explains why it’s such a powerful, accessible tool for animation students. Students will learn how Blender fits into the larger 3D pipeline, why its free and open-source structure matters, and how to download and install it before moving forward.
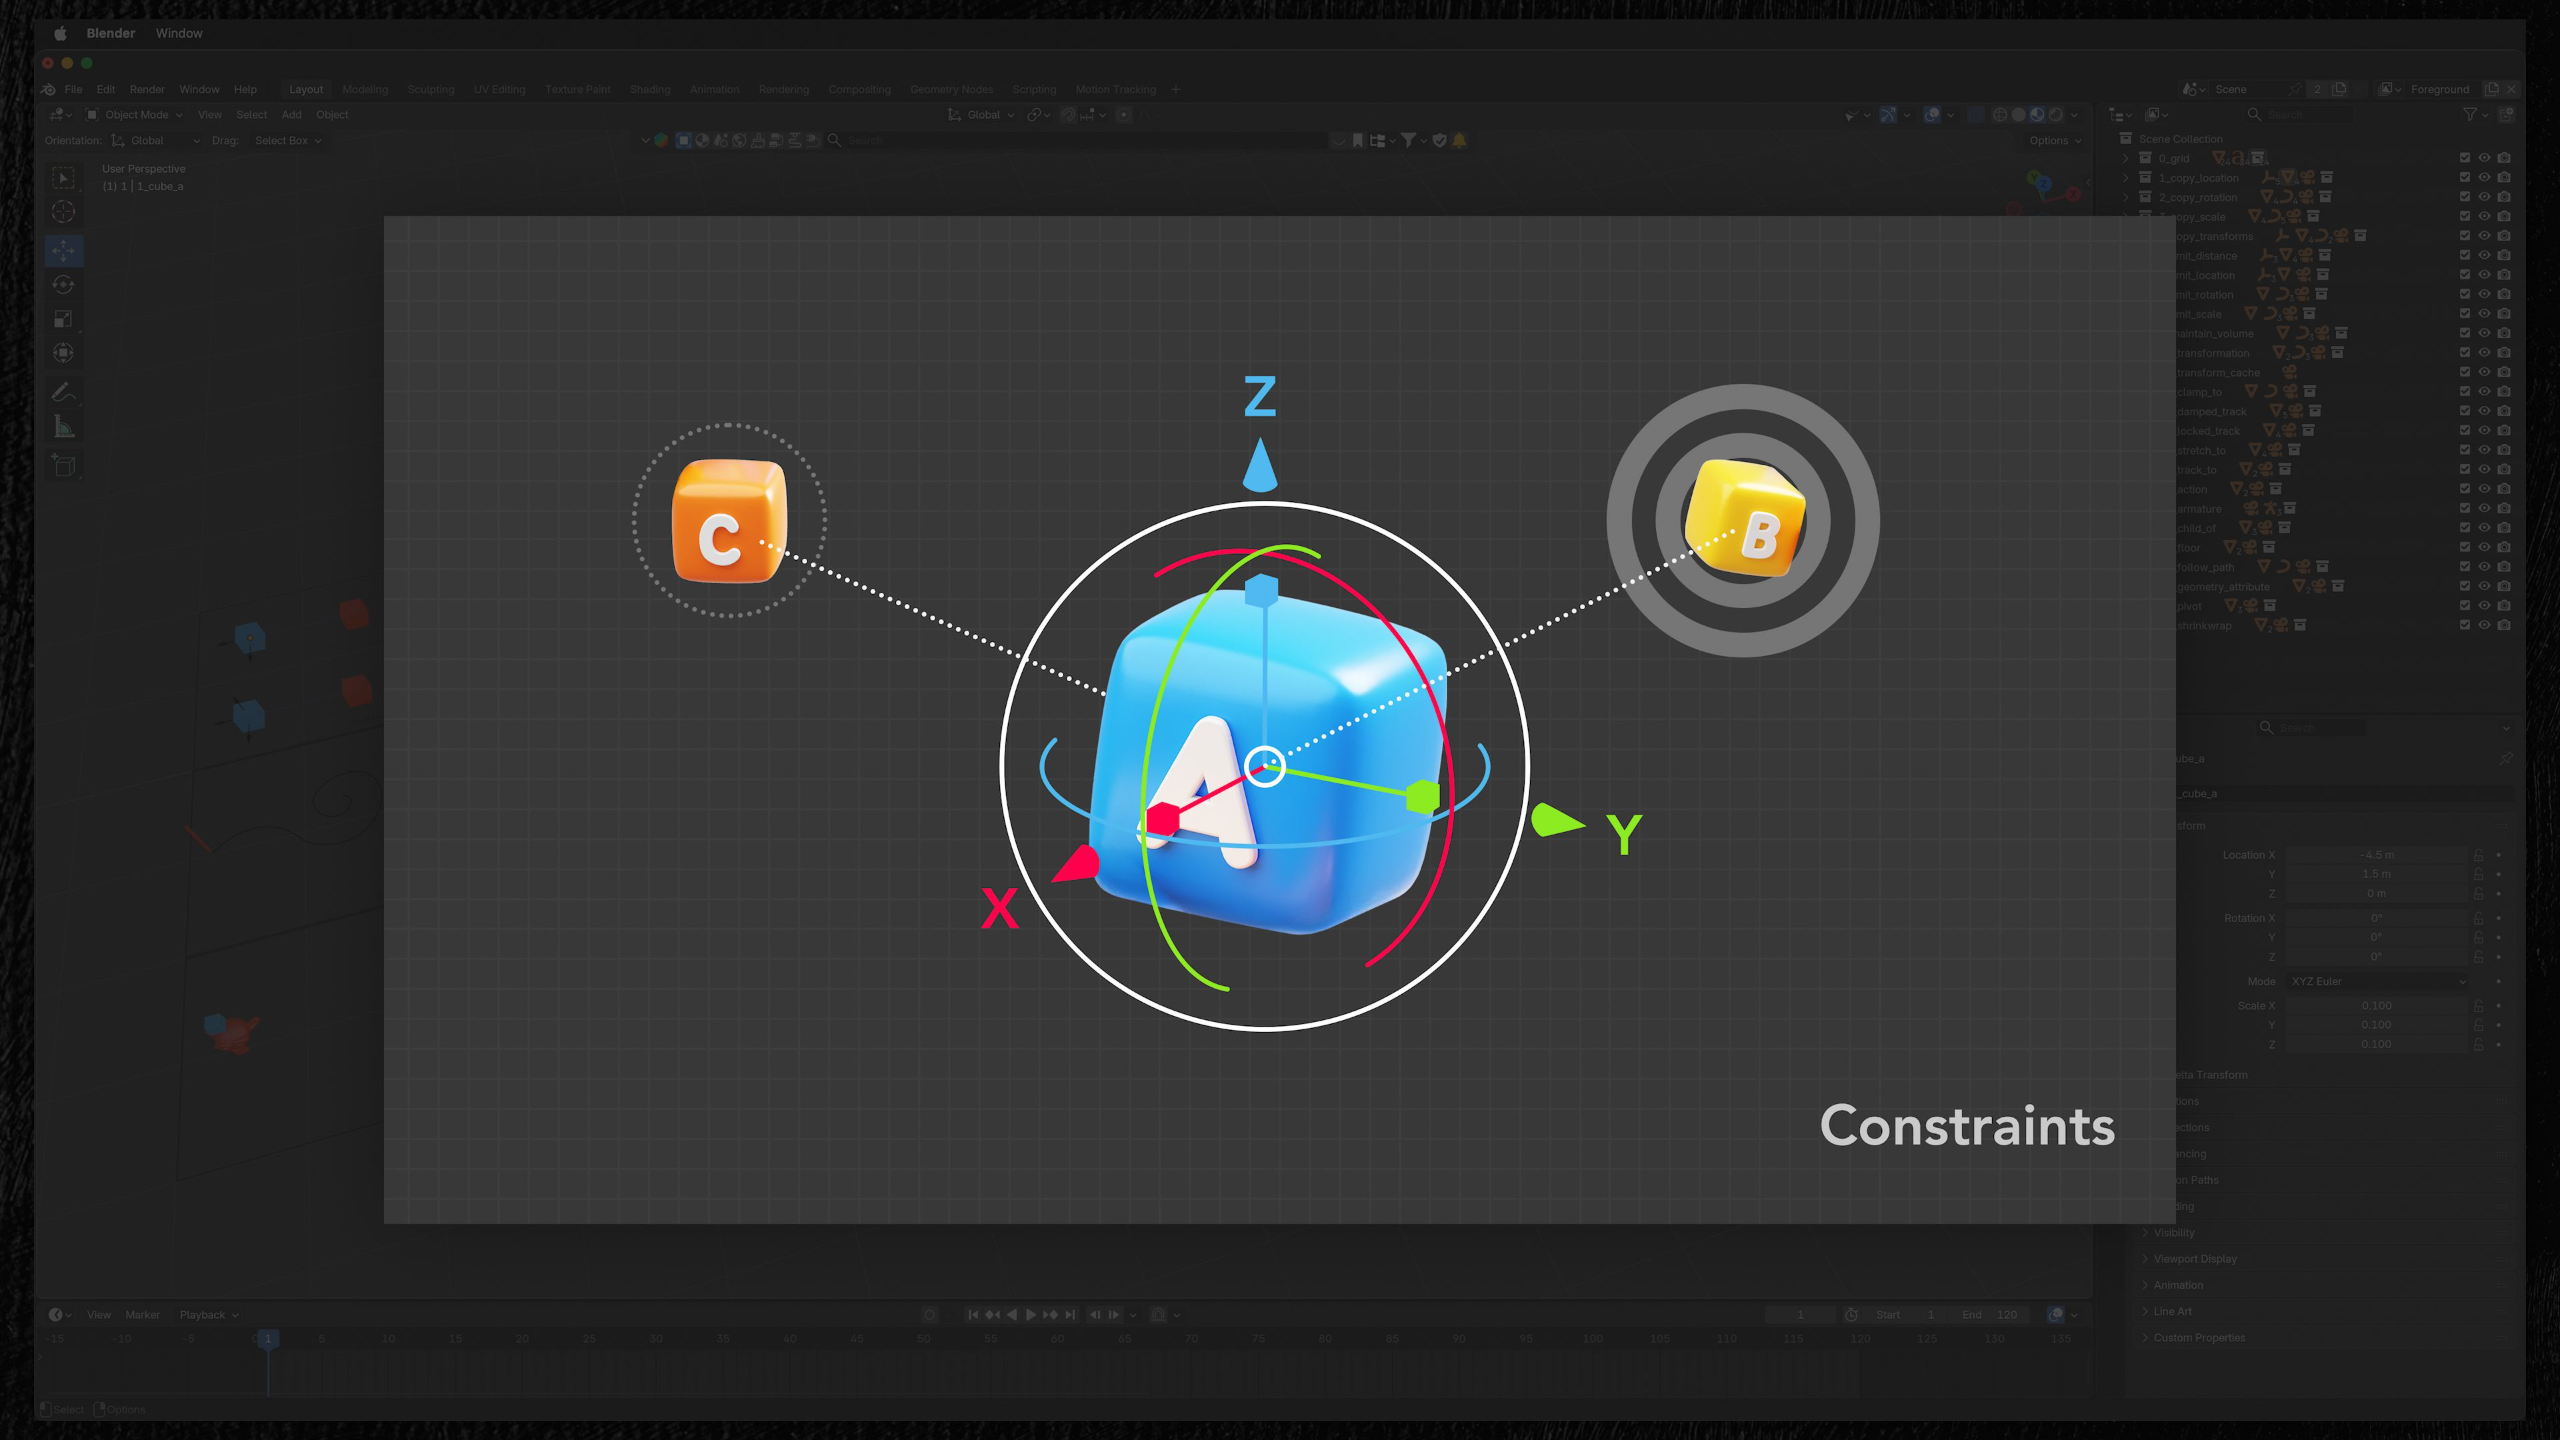
Lesson 20: Rigging: Parenting & Constraints
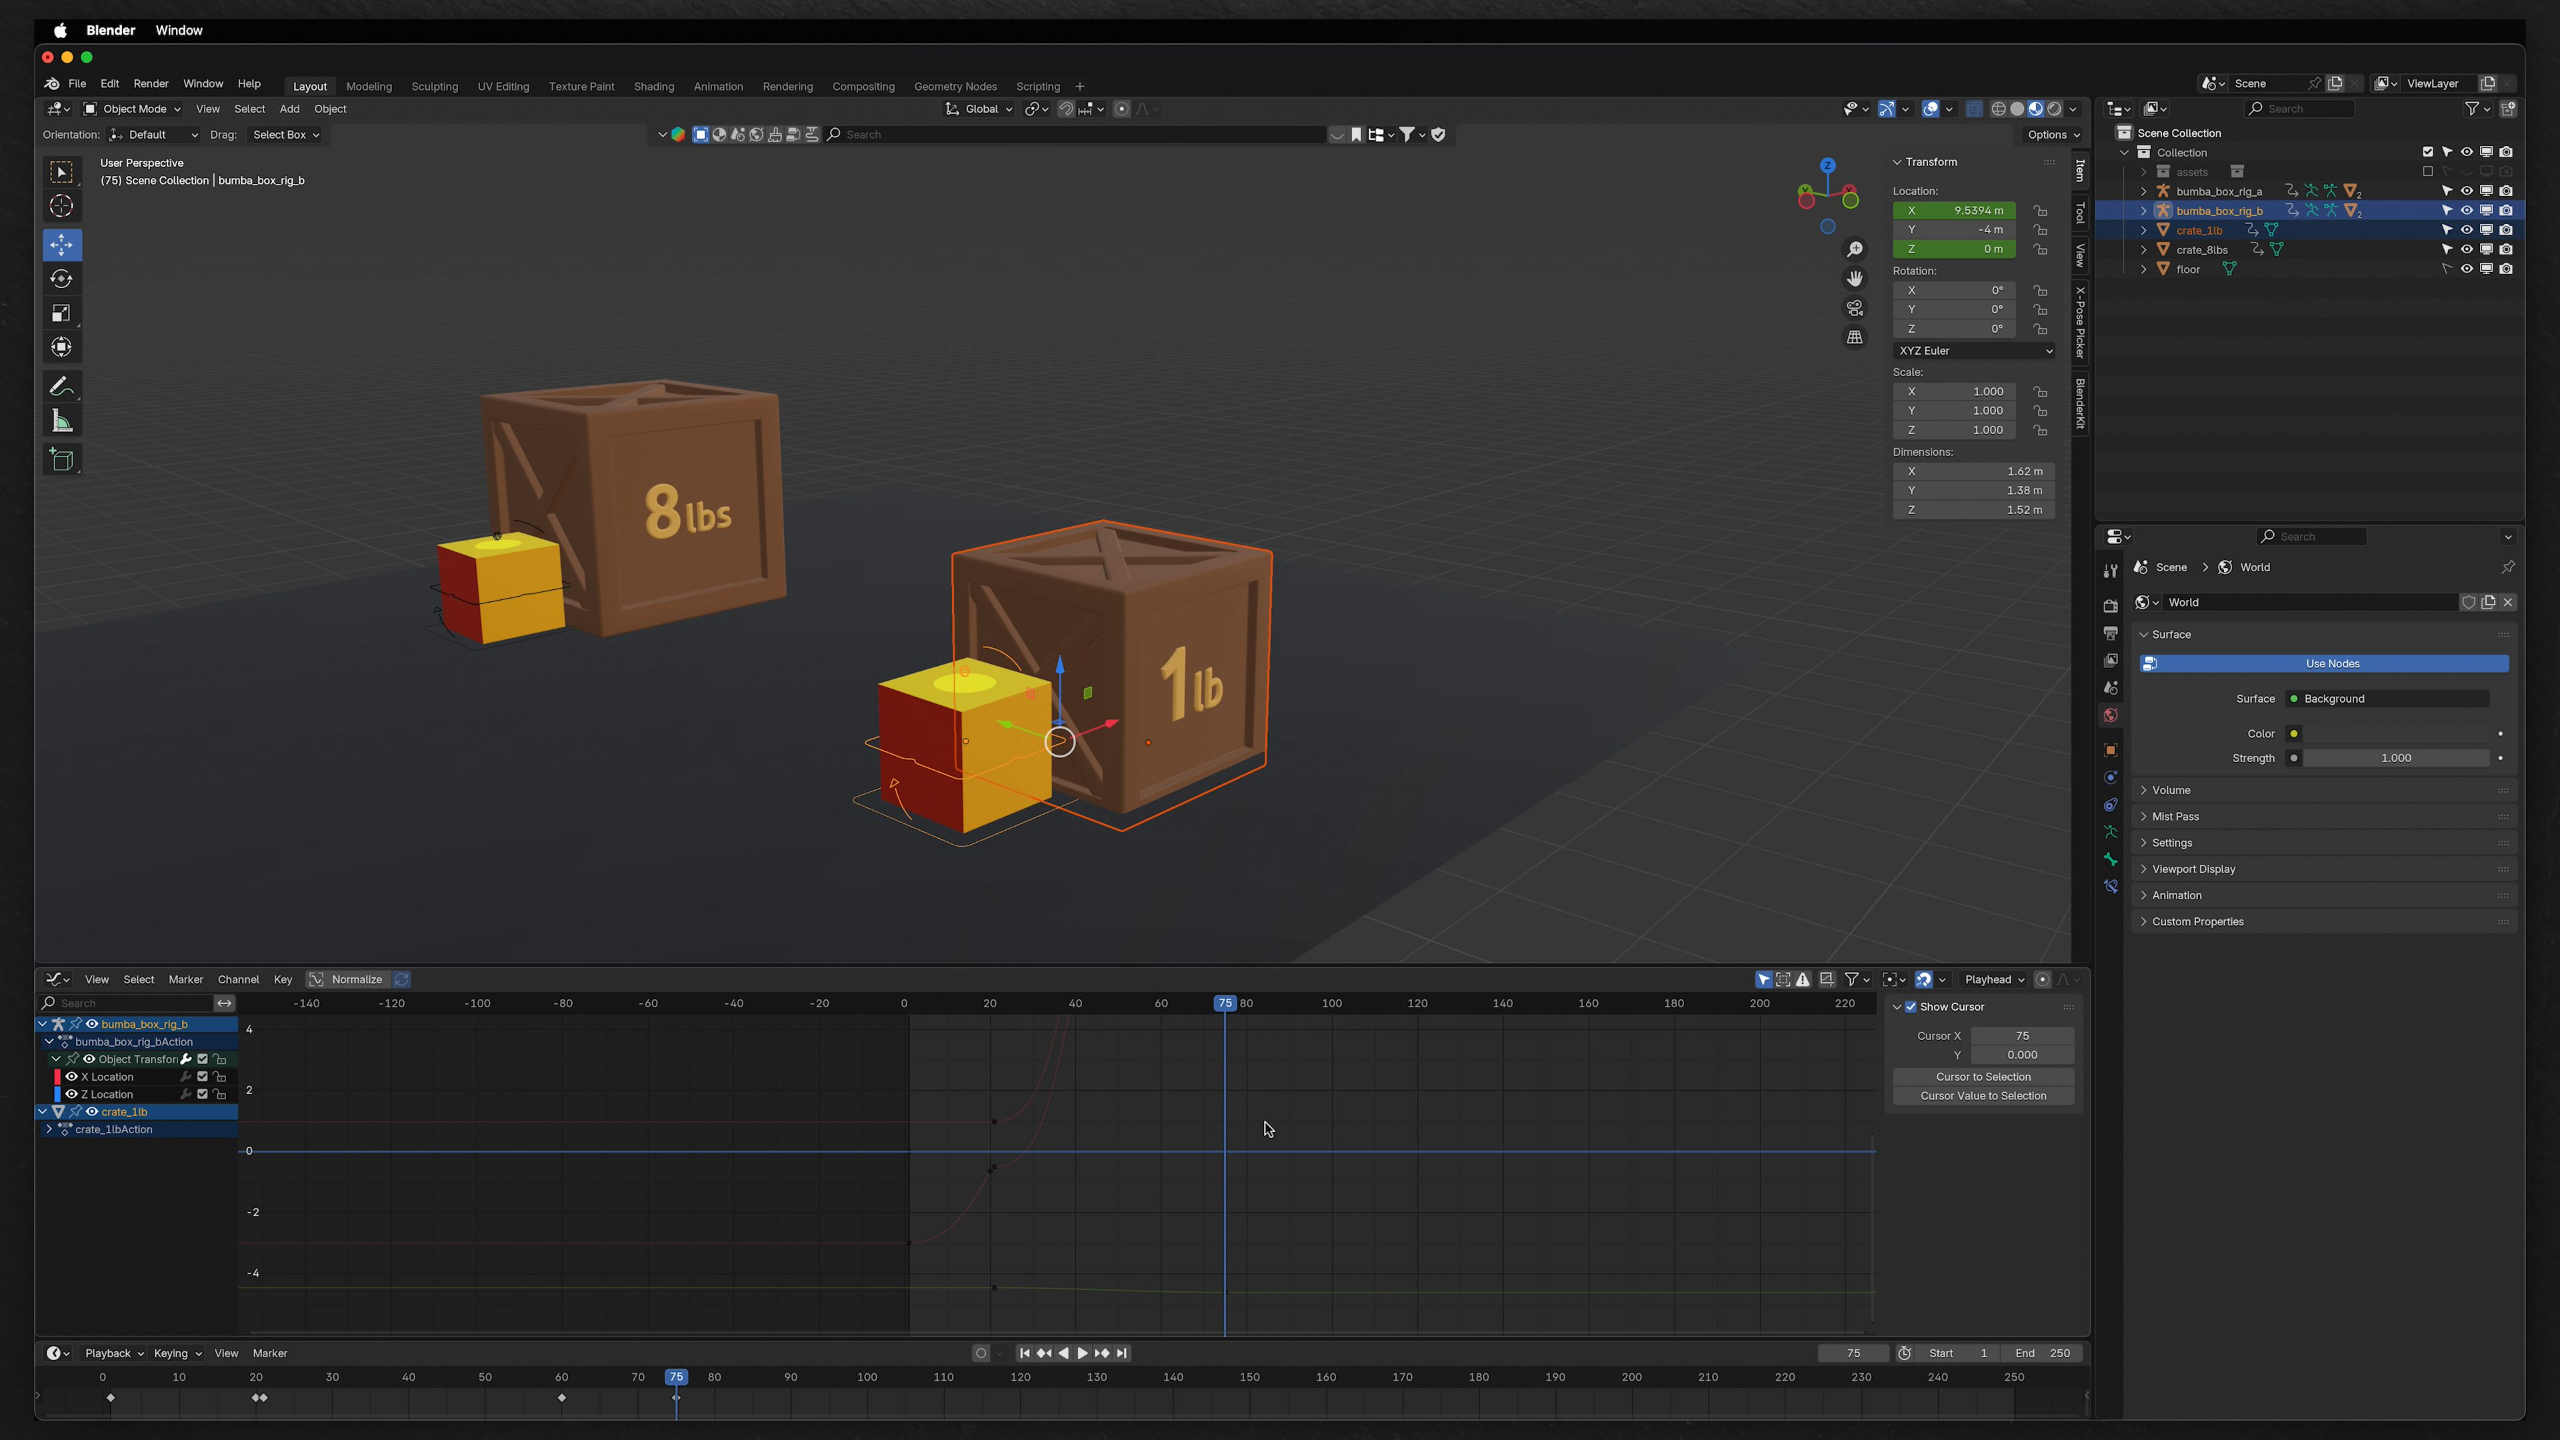
In this lesson, students are introduced to rigging fundamentals in Blender through parenting and constraints, learning how objects can control, follow, limit, or influence one another. They’ll practice building simple parent-child relationships and experimenting with different constraints so they can start understanding the systems behind object-based animation.
Lesson 2: Basics: Interface Overview
This lesson gives students a guided tour of Blender’s interface, key panels, hotkeys, and workspace setup so the software feels less overwhelming from the start. It also walks through recommended keymap and tablet/mouse settings to make navigating, transforming objects, and following future lessons much easier.
Lesson 21: Rigging: Armatures
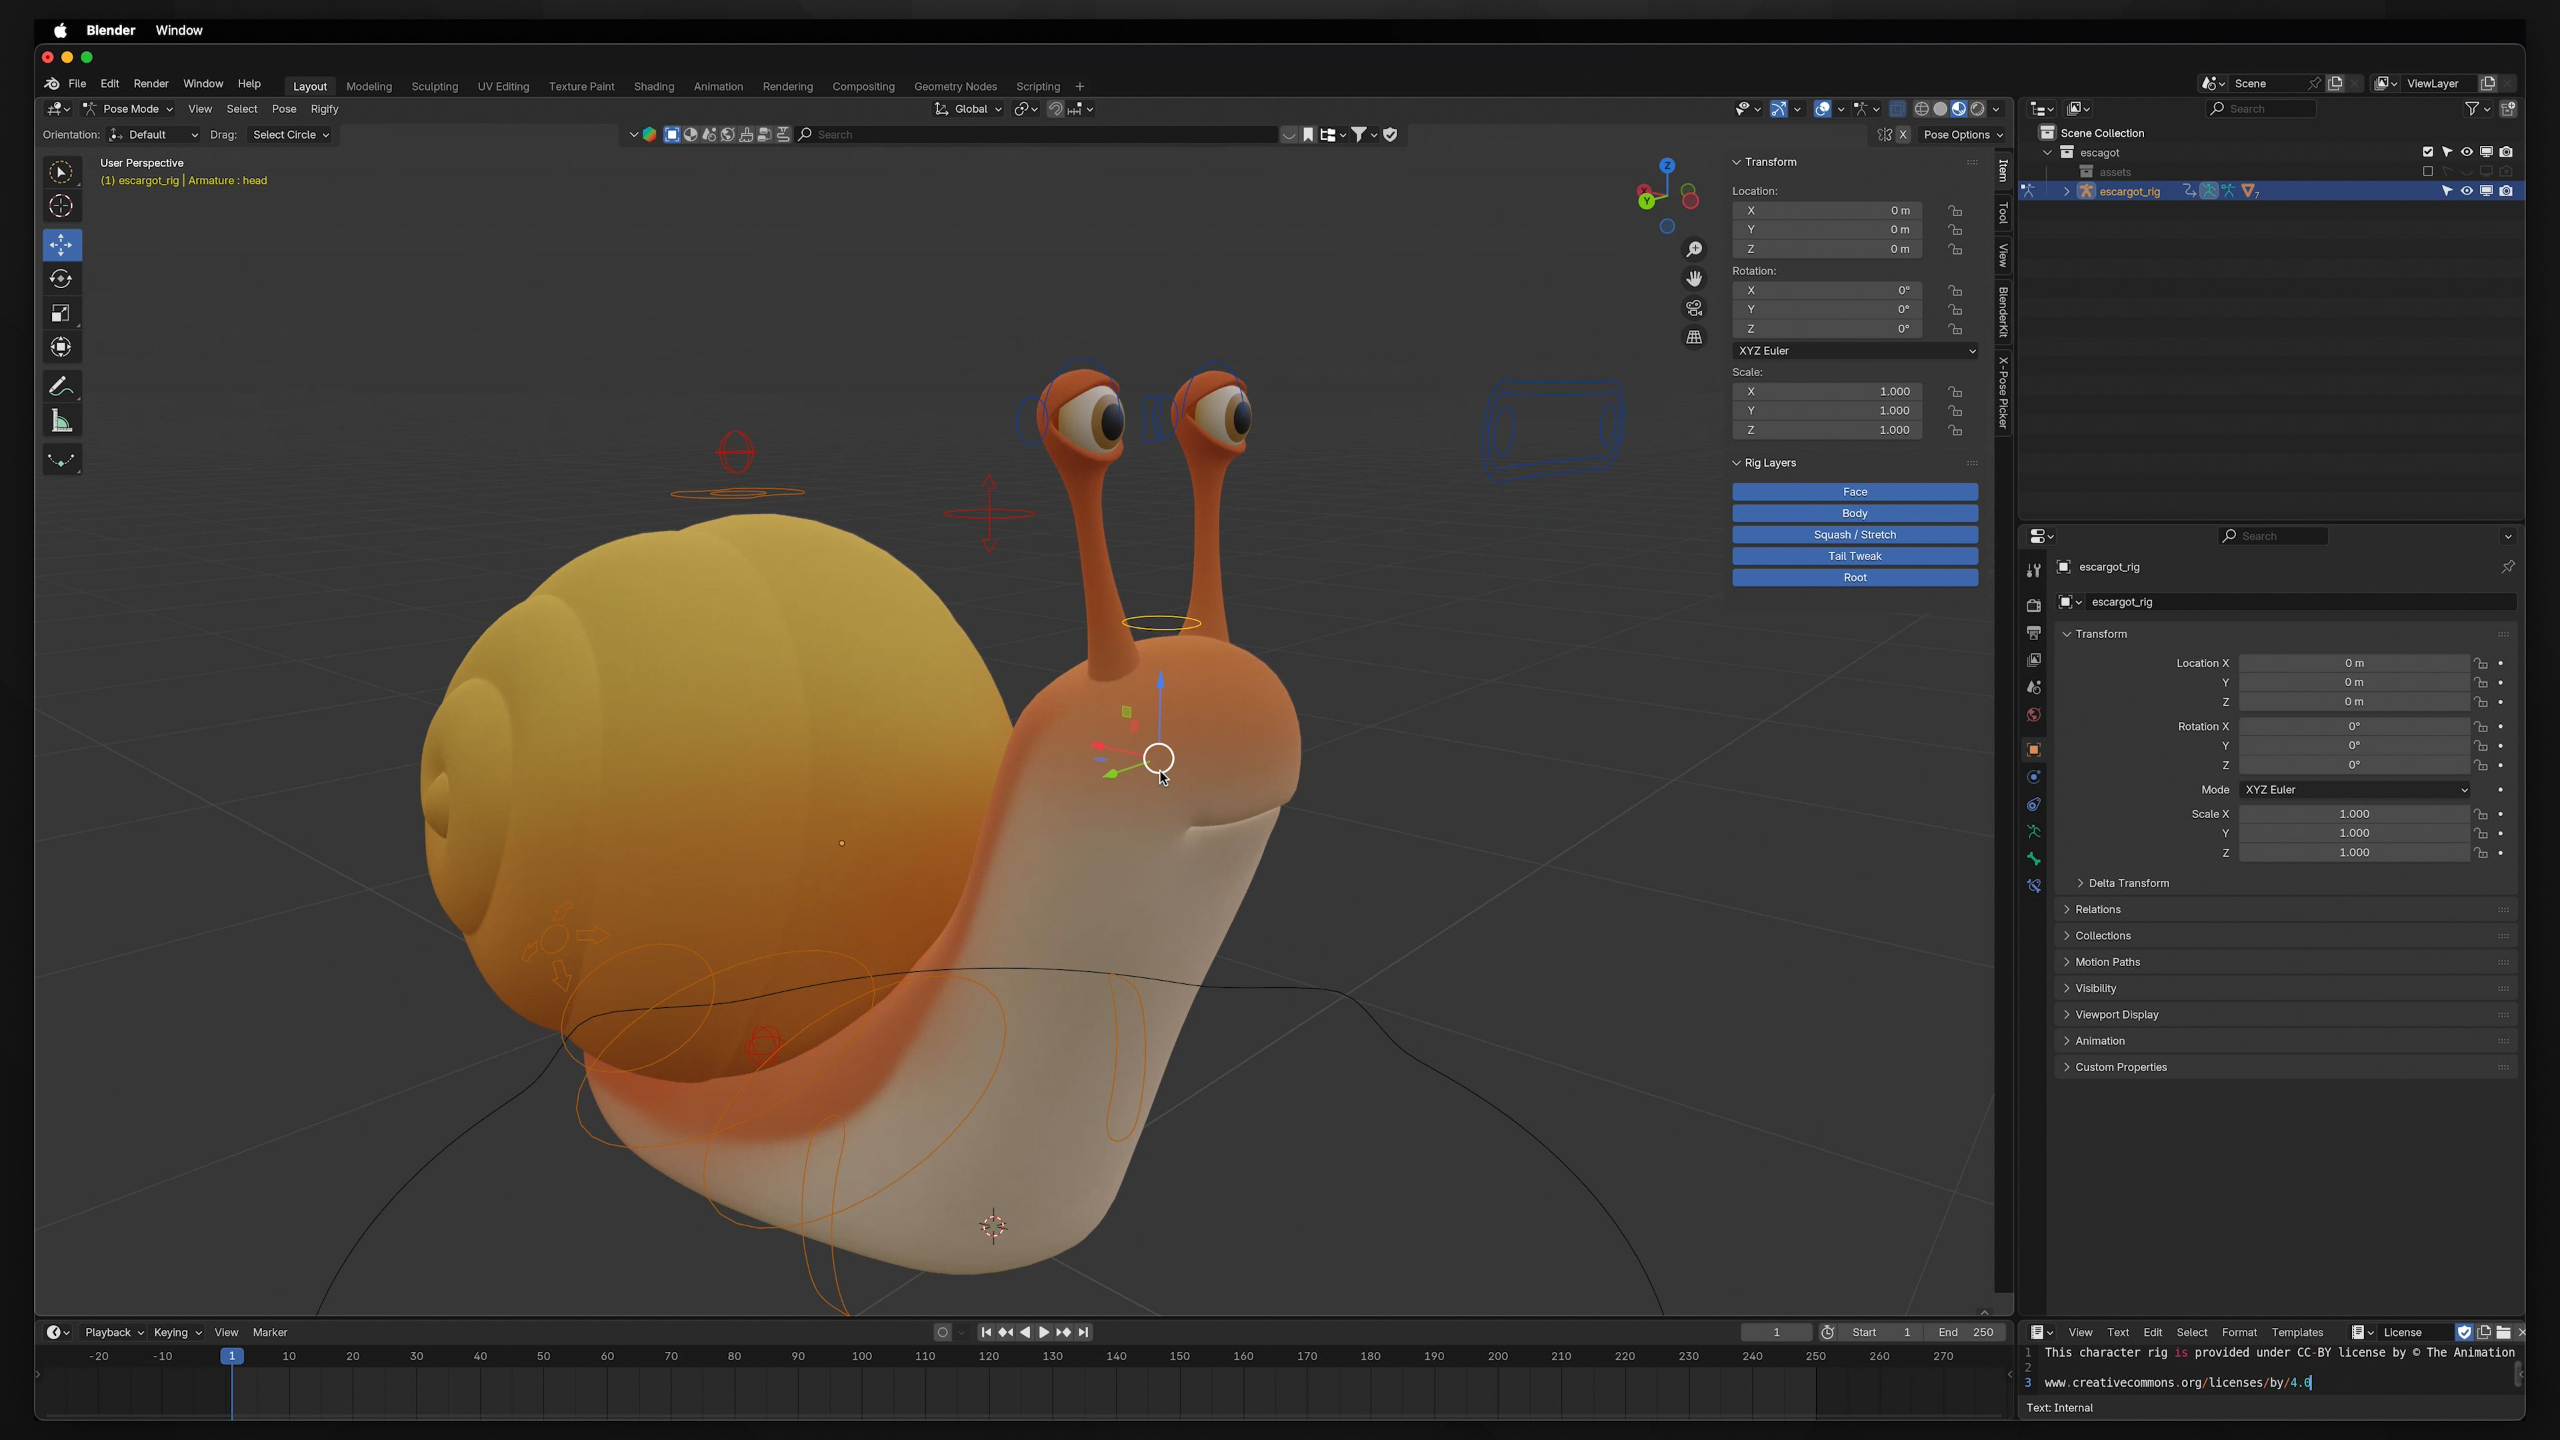
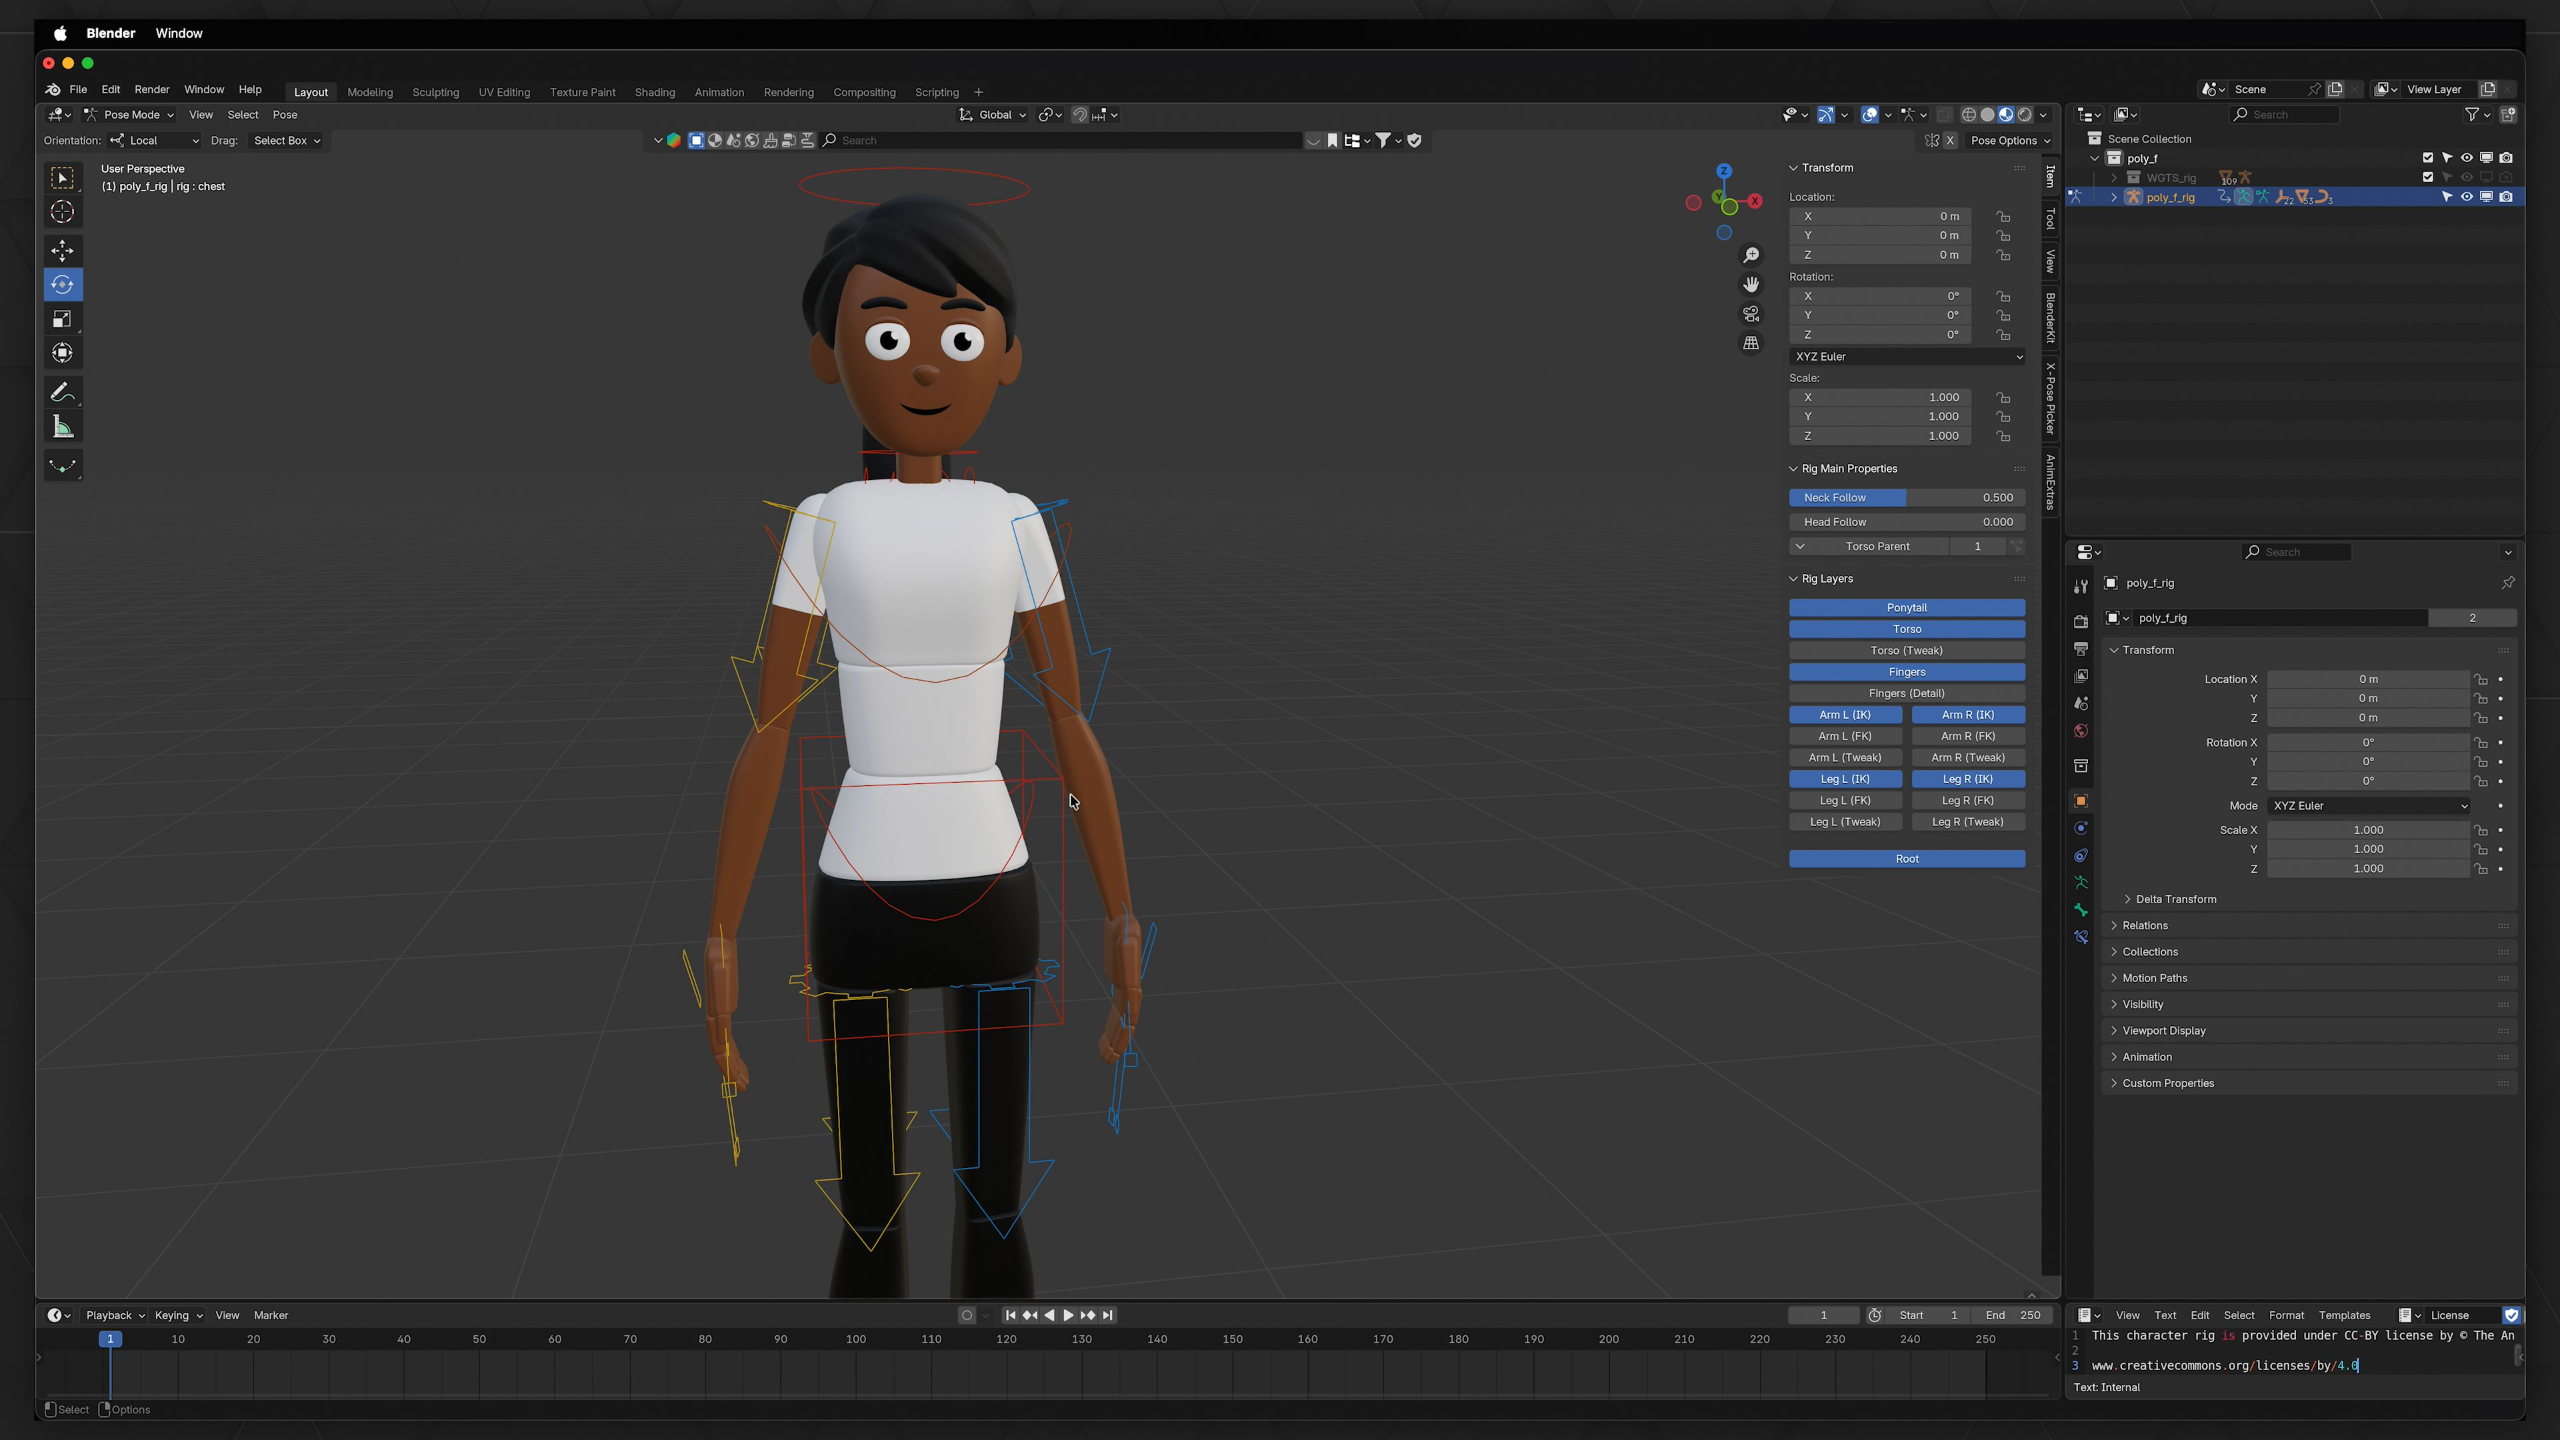
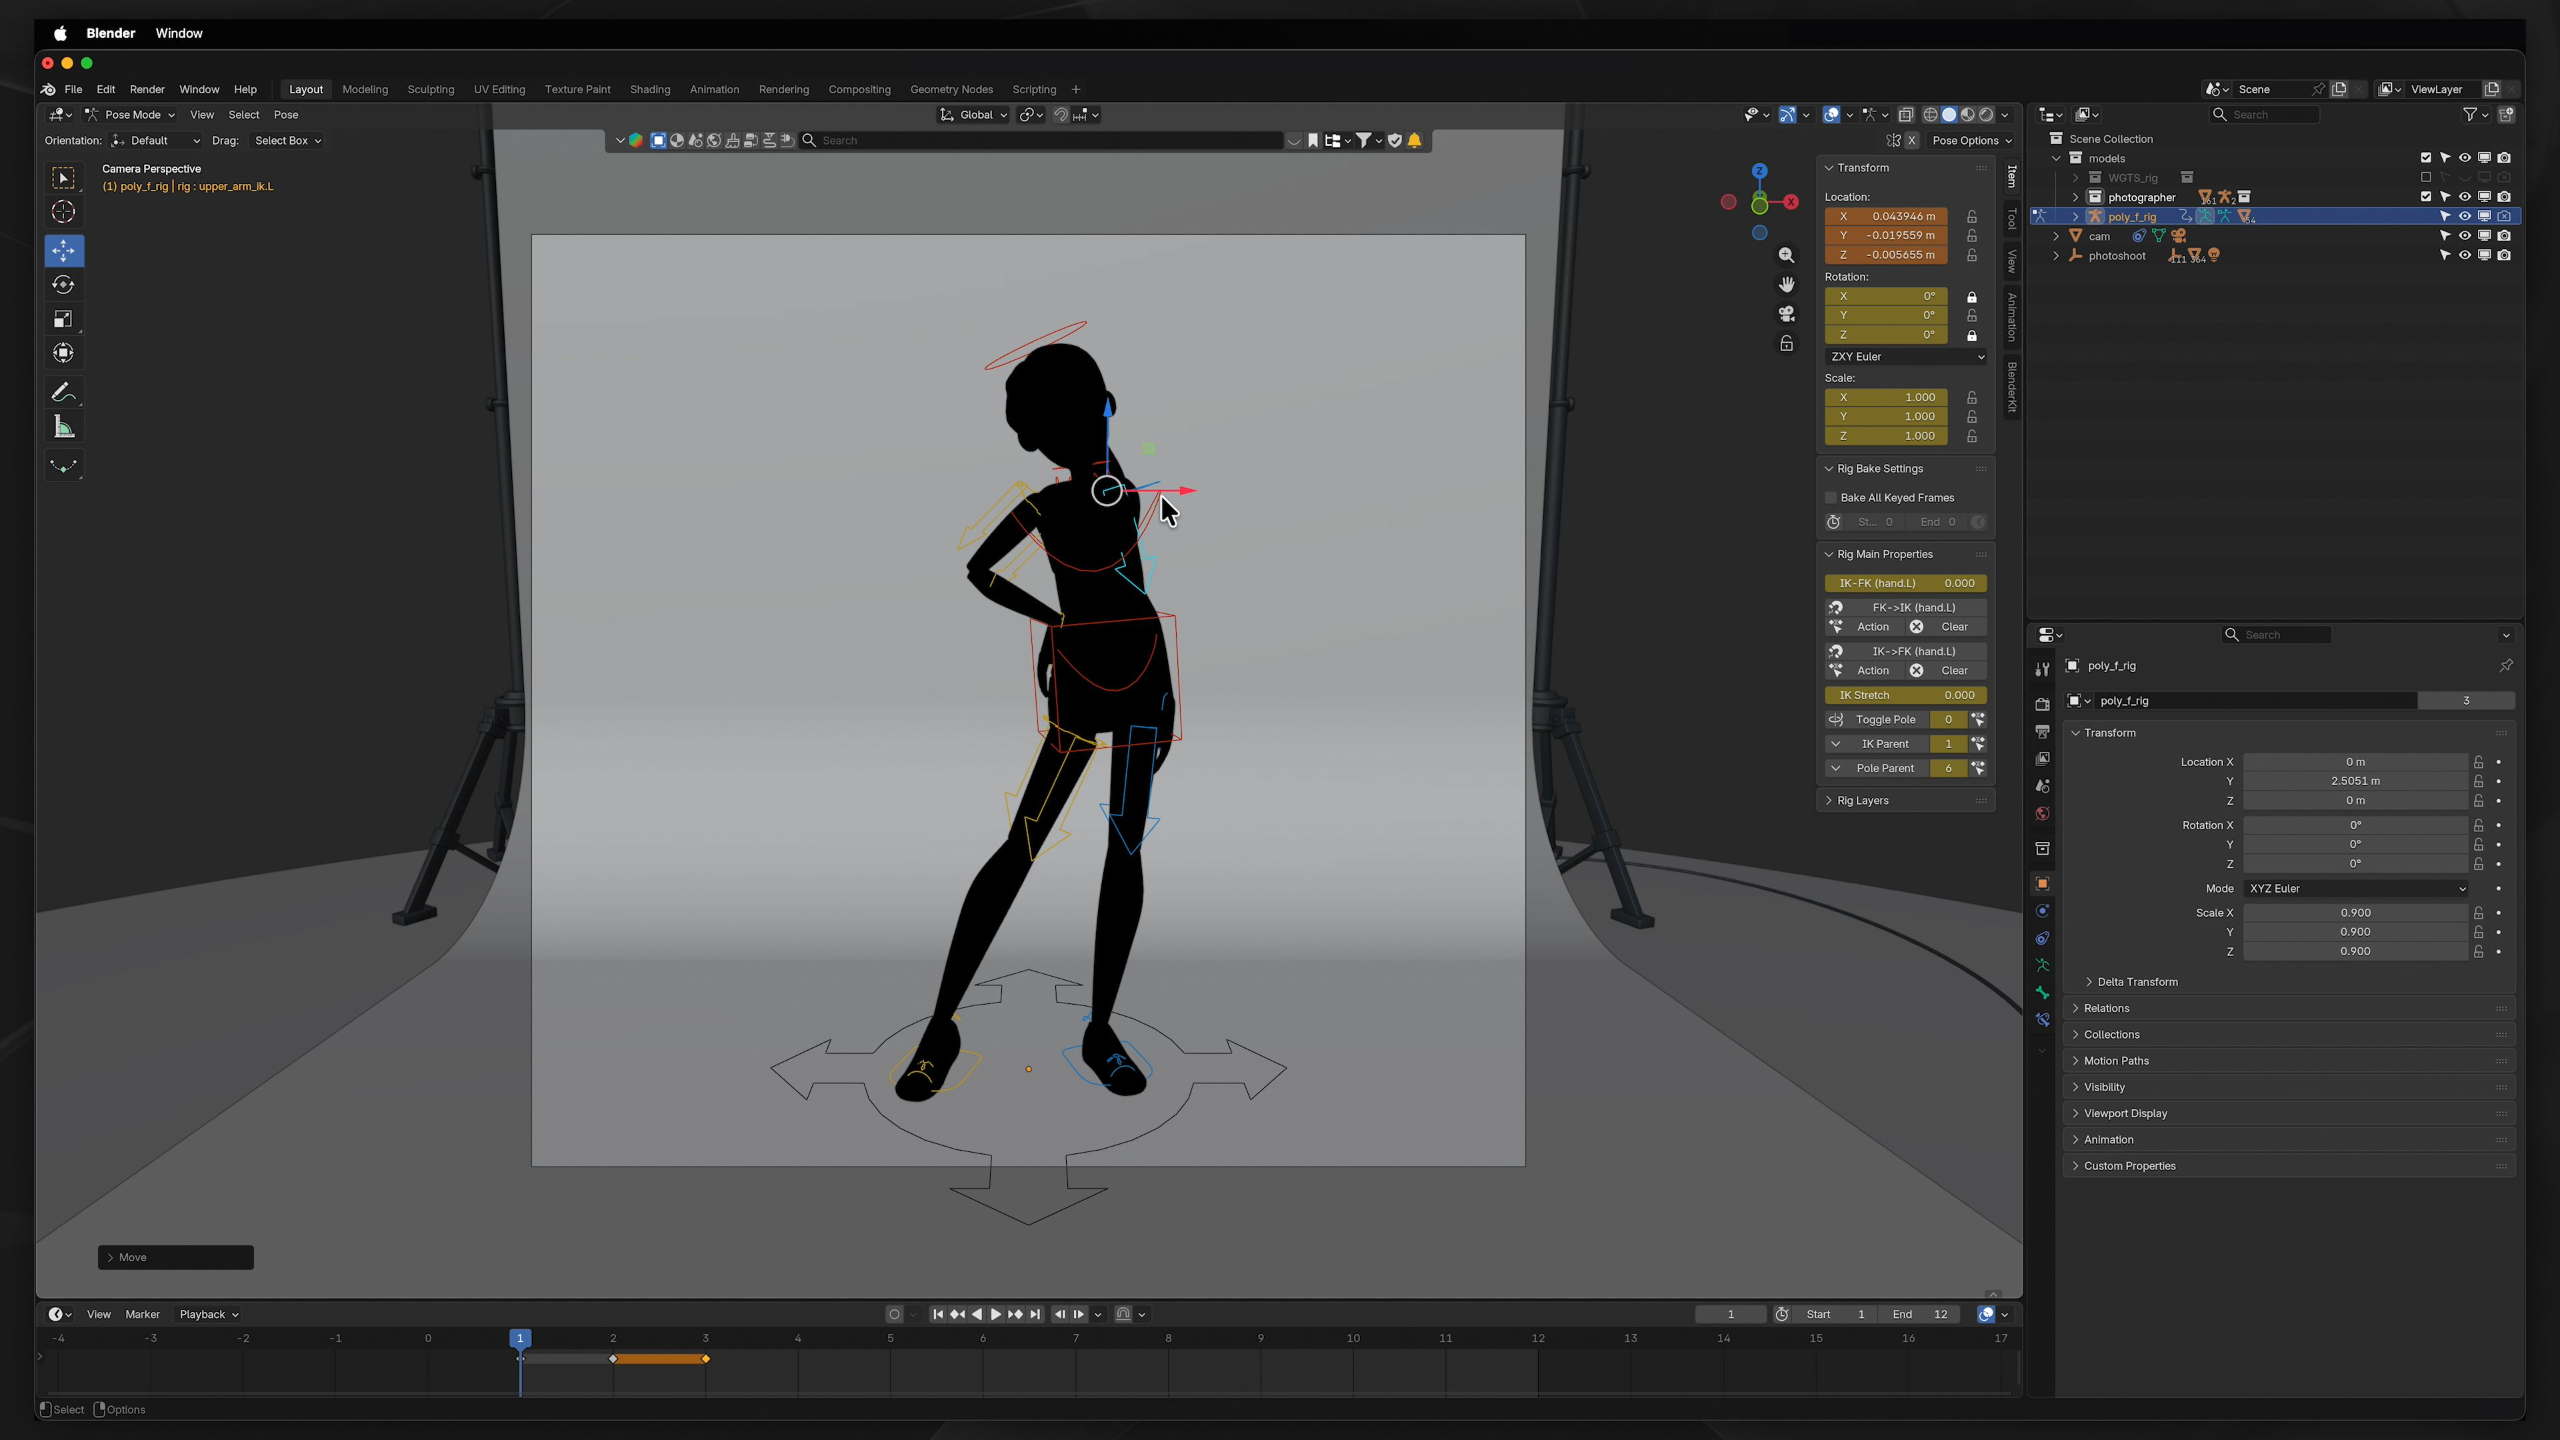
In this lesson, students learn how Blender armatures and bones work as the foundation for more advanced rigging and character control. They’ll explore bone structure, display options, envelopes, FK vs. IK, bone constraints, custom controls, pole targets, Spline IK, bone collections, and color organization so they can better understand how complex rigs are built and animated.
Lesson 3: Basics: Viewport Navigation
In this lesson, students learn how to confidently move around Blender’s 3D Viewport using tools like orbit, pan, zoom, camera view, orthographic views, Quad View, the numpad, and the 3D cursor. They’ll practice navigating both simple objects and a house model so working in 3D space starts to feel more natural.
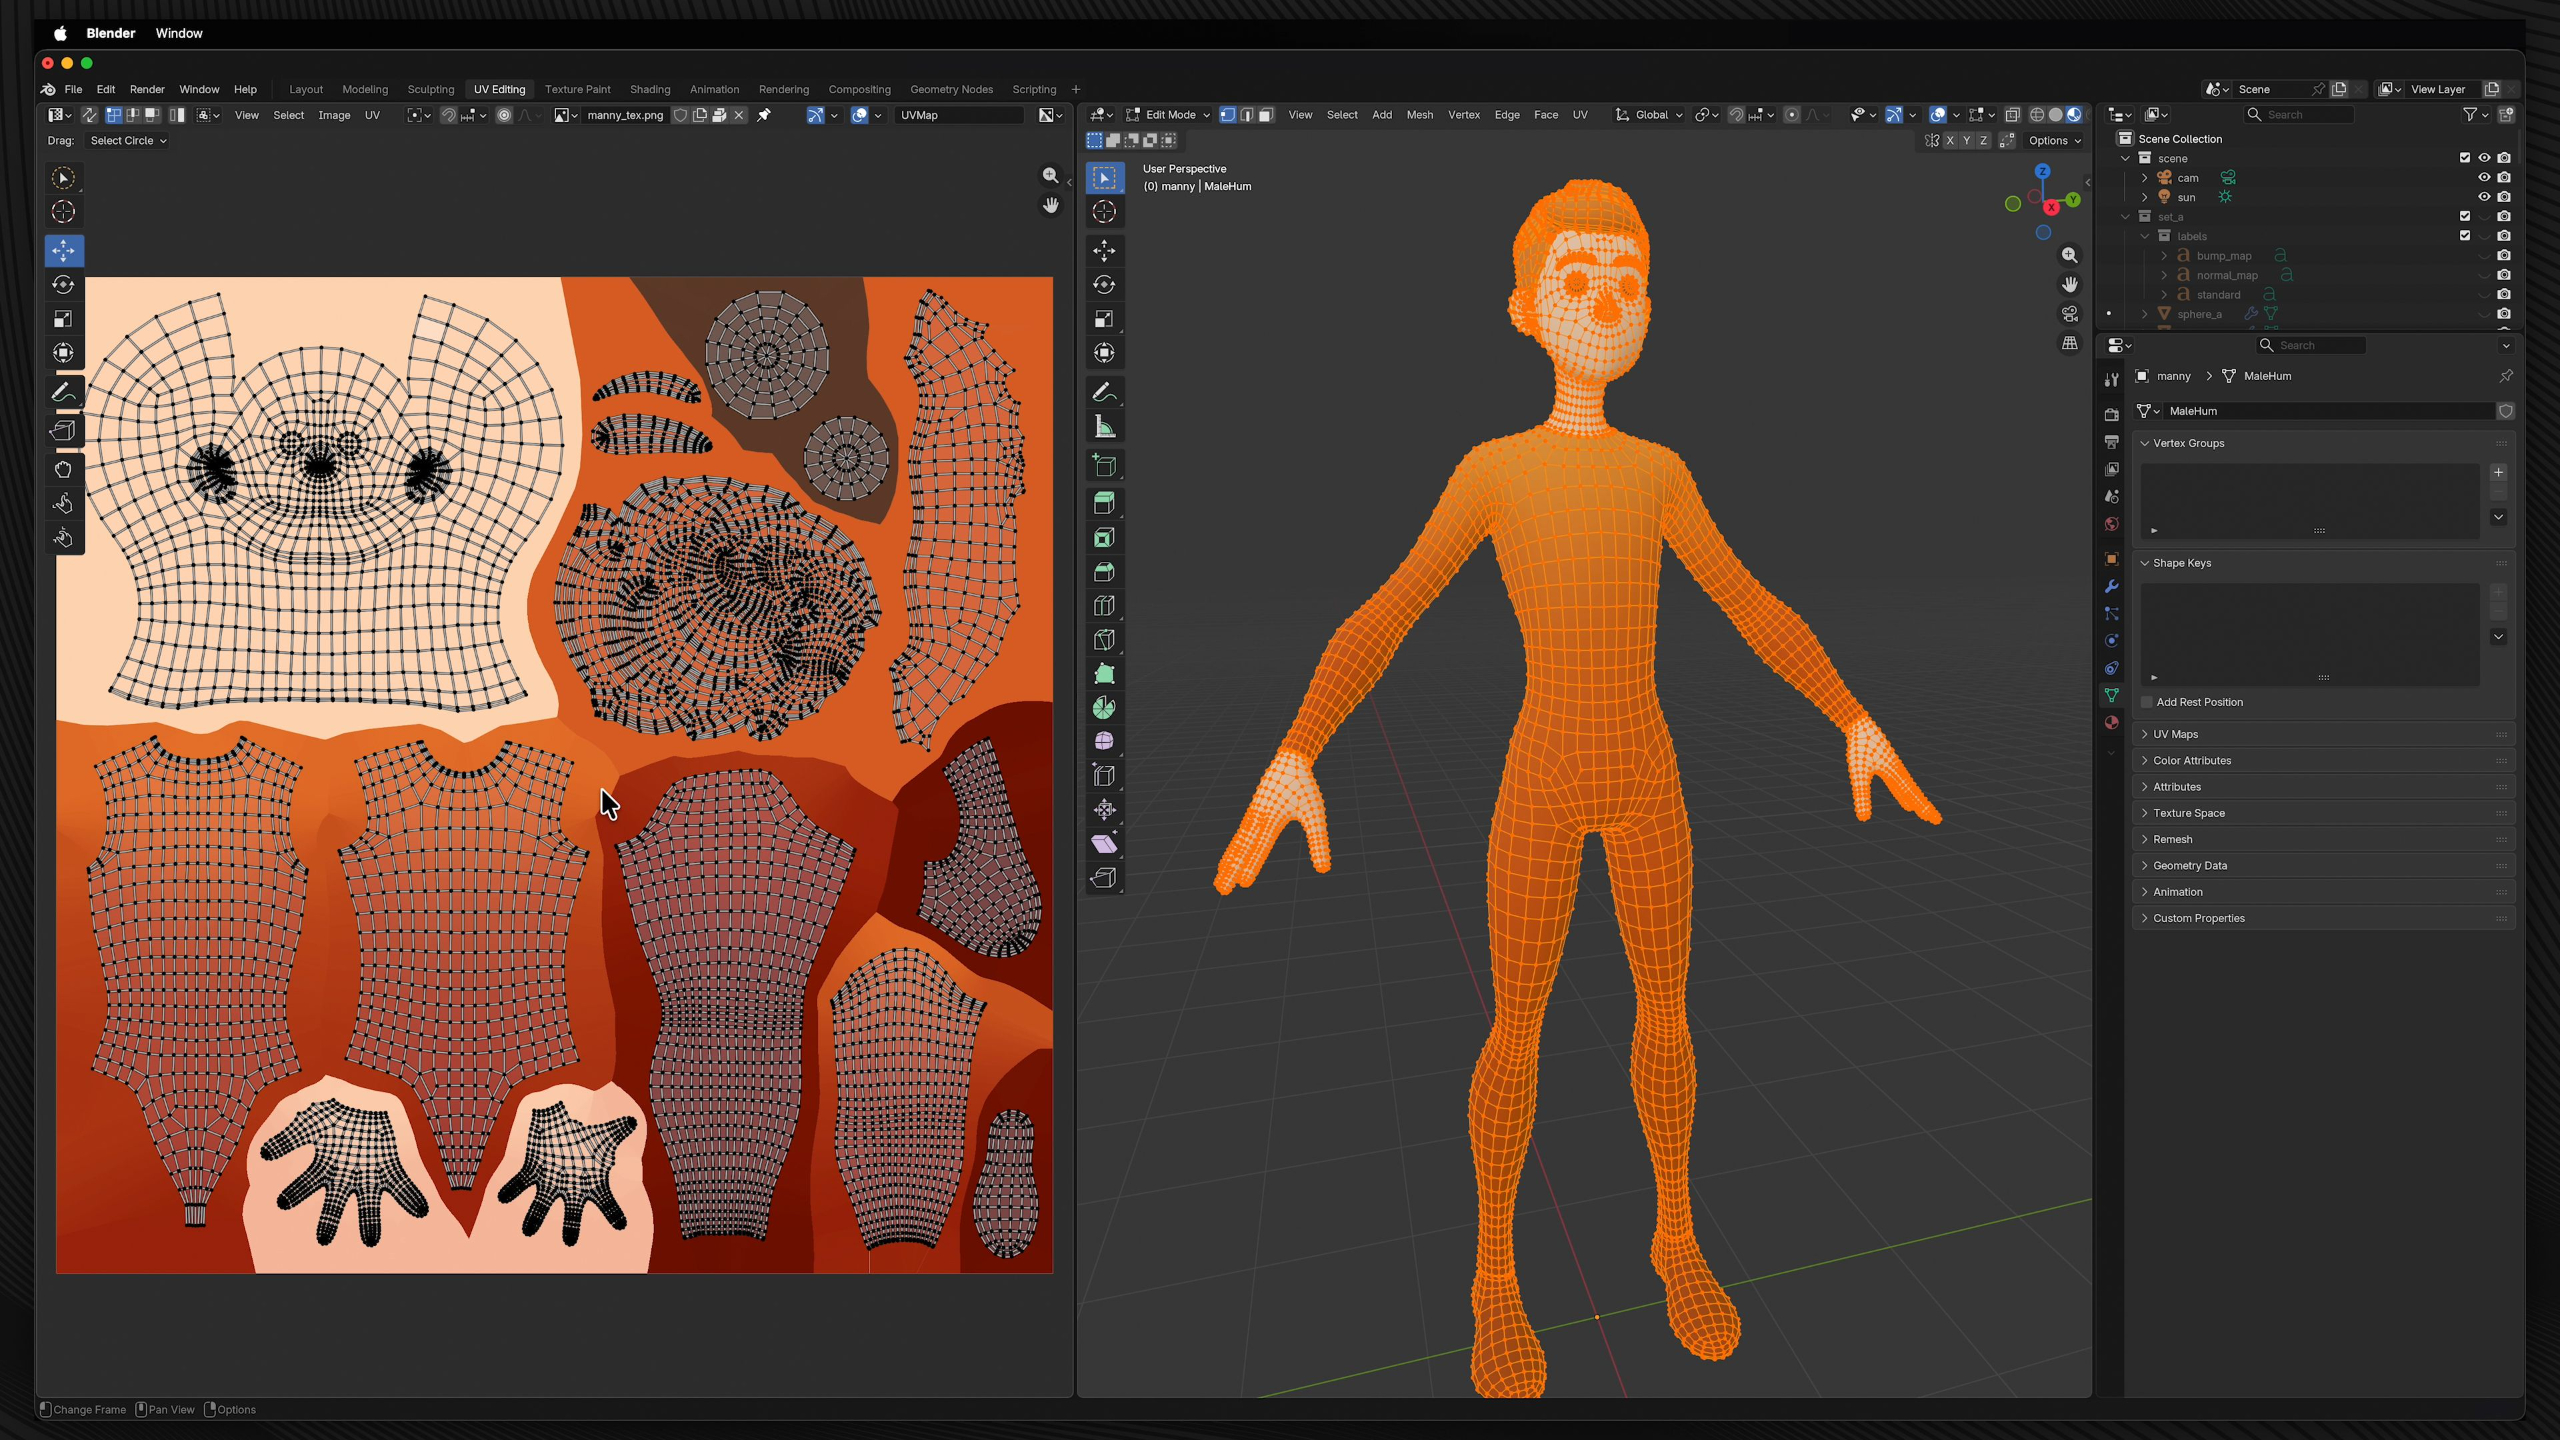
Lesson 22: Rigging: Skinning & Weights
In this lesson, students learn how skinning and weight painting connect a mesh to an armature so characters and organic objects can deform naturally. They’ll practice automatic weights, vertex groups, brush tools, falloff settings, and cleanup techniques so they can better understand how rigs influence geometry during animation.
Lesson 4: Basics: Selecting & Transforming
In this lesson, students learn how to select objects in Blender and transform them using move, rotate, scale, snapping, pivot points, transform orientations, and the 3D cursor. They’ll practice manipulating objects in a table scene so they can get comfortable with the core tools used to position and organize anything in 3D space.
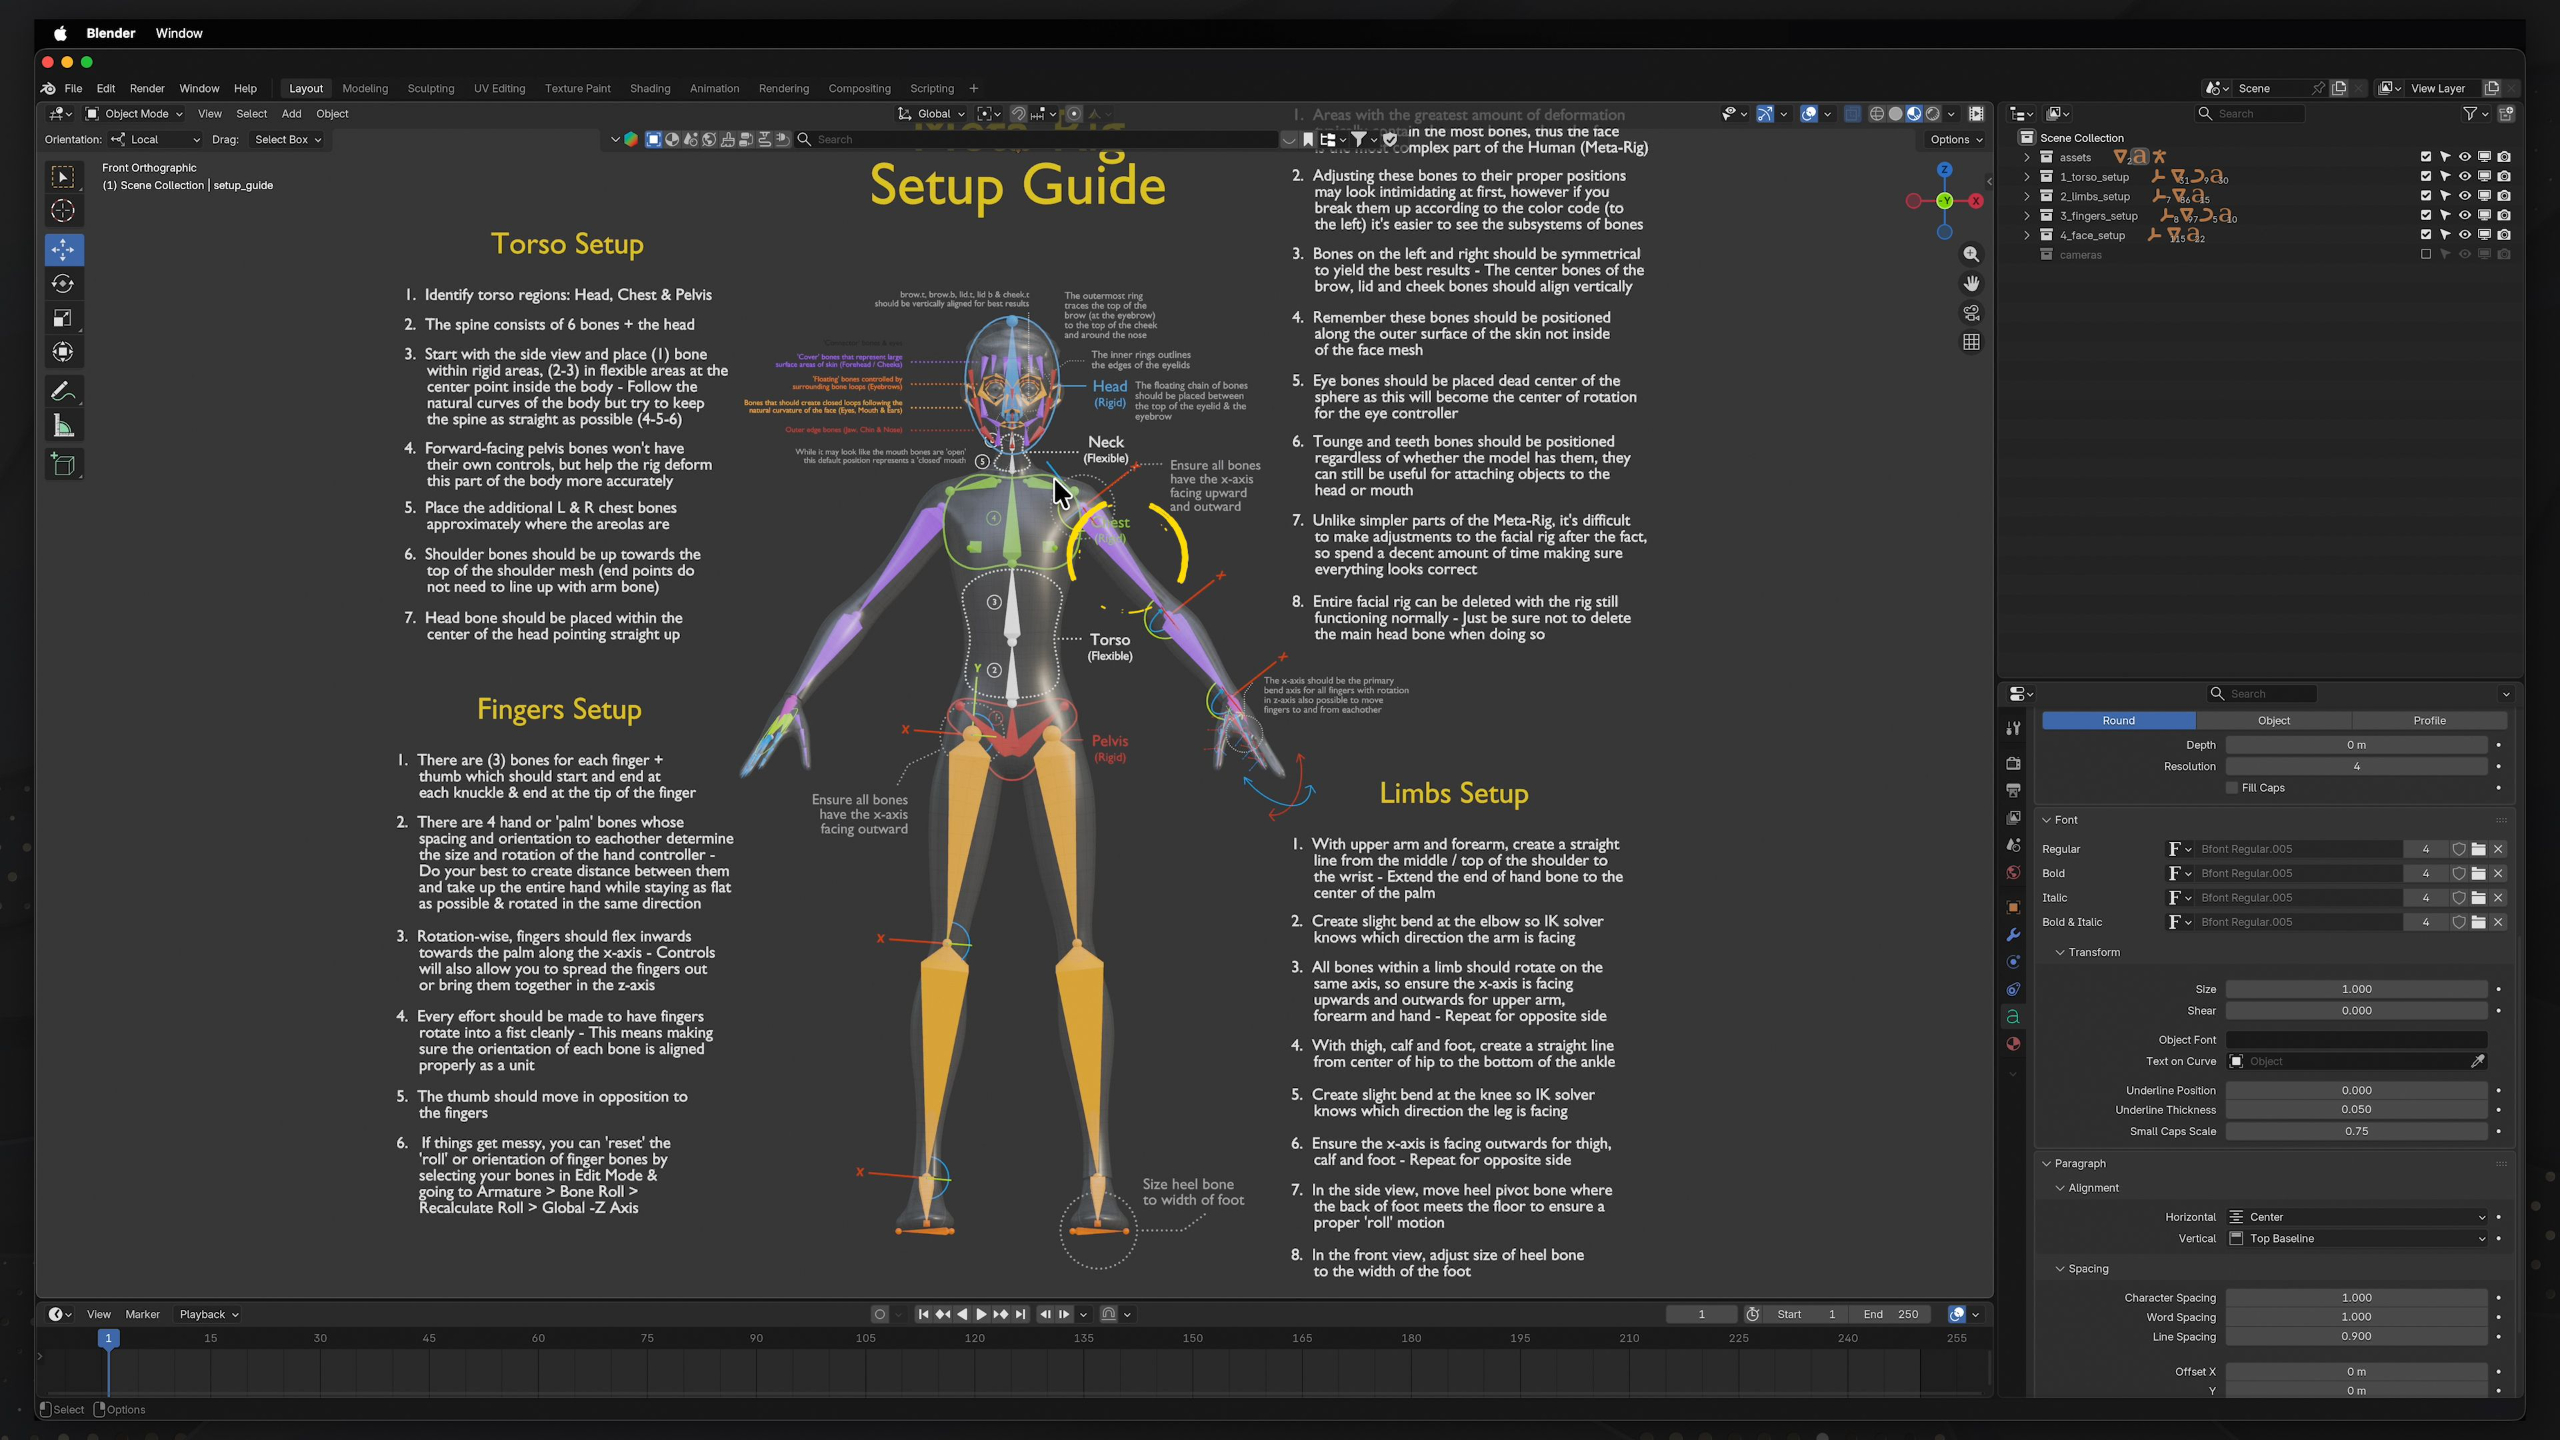
Lesson 23: Rigging: Meta-Rigs
In this lesson, students learn how Blender’s Meta-Rigs and Rigify system make character rigging faster by providing ready-made bone structures and controls for humans, animals, and other characters. They’ll explore body movement, joint types, bone placement, rest poses, rig generation, automatic weights, and common setup issues so they can understand the full process of turning a character model into an animatable rig.
Lesson 5: Basics: Object Manipulation
In this lesson, students learn how to manipulate objects in Blender by editing vertices, edges, faces, curves, surfaces, metaballs, and text. They’ll explore key tools like Edit Mode, proportional editing, selection menus, deleting, extruding, merging, and curve controls so they can start reshaping objects with more confidence.
Lesson 24: Rigging: Controls & Customizations
In this lesson, students learn how Rigify controllers work and how they make character animation much easier by organizing complex bone systems into usable controls. They’ll explore controller properties, FK/IK switching, rig layers, custom bone shapes, color sets, and the main control groups so they feel more prepared to animate a fully rigged character.
Lesson 6: Basics: Collections
In this lesson, students learn how to use Collections in Blender to organize objects, manage visibility, control render settings, and keep complex scenes easier to work with. They’ll explore the Outliner, collection options, restriction toggles, and filtering tools so their projects stay clean and manageable as they grow.
Lesson 25: Rigging: Character Rigging
In this lesson, students bring together the full rigging workflow by fitting a Meta-Rig to a character, generating controls, connecting separate elements like eyes, teeth, tongue, and hair, and customizing the rig for easier animation. They’ll also refine the character through weight painting and final control adjustments so the finished rig is ready for animation.
Lesson 7: Basics: Working w/ Workspaces
In this lesson, students get a guided tour of Blender’s different workspaces and how each layout supports a specific part of the 3D production pipeline, from modeling and sculpting to shading, animation, rendering, and compositing. They’ll learn which workspaces matter most for animation while getting a basic understanding of how the rest of Blender’s tools fit into the bigger picture.
Lesson 26: Animation: Frame Rate & Time
In this lesson, students are introduced to animation timing in Blender by learning how frame rate, playback settings, and the timeline work together to create motion. They’ll explore 24fps, timeline controls, audio importing, markers, frame ranges, and playback options so they’re ready to start keyframing in the next lesson.
Lesson 8: Modeling: Toolbox
In this lesson, students are introduced to Blender’s core modeling tools and learn how to use features like extrude, inset, bevel, loop cut, knife, smooth, and more to shape and refine geometry. They’ll experiment with these tools on different objects and set up a TurboSquid account so they can begin working with real 3D models in future lessons.
Lesson 27: Animation: Keyframes
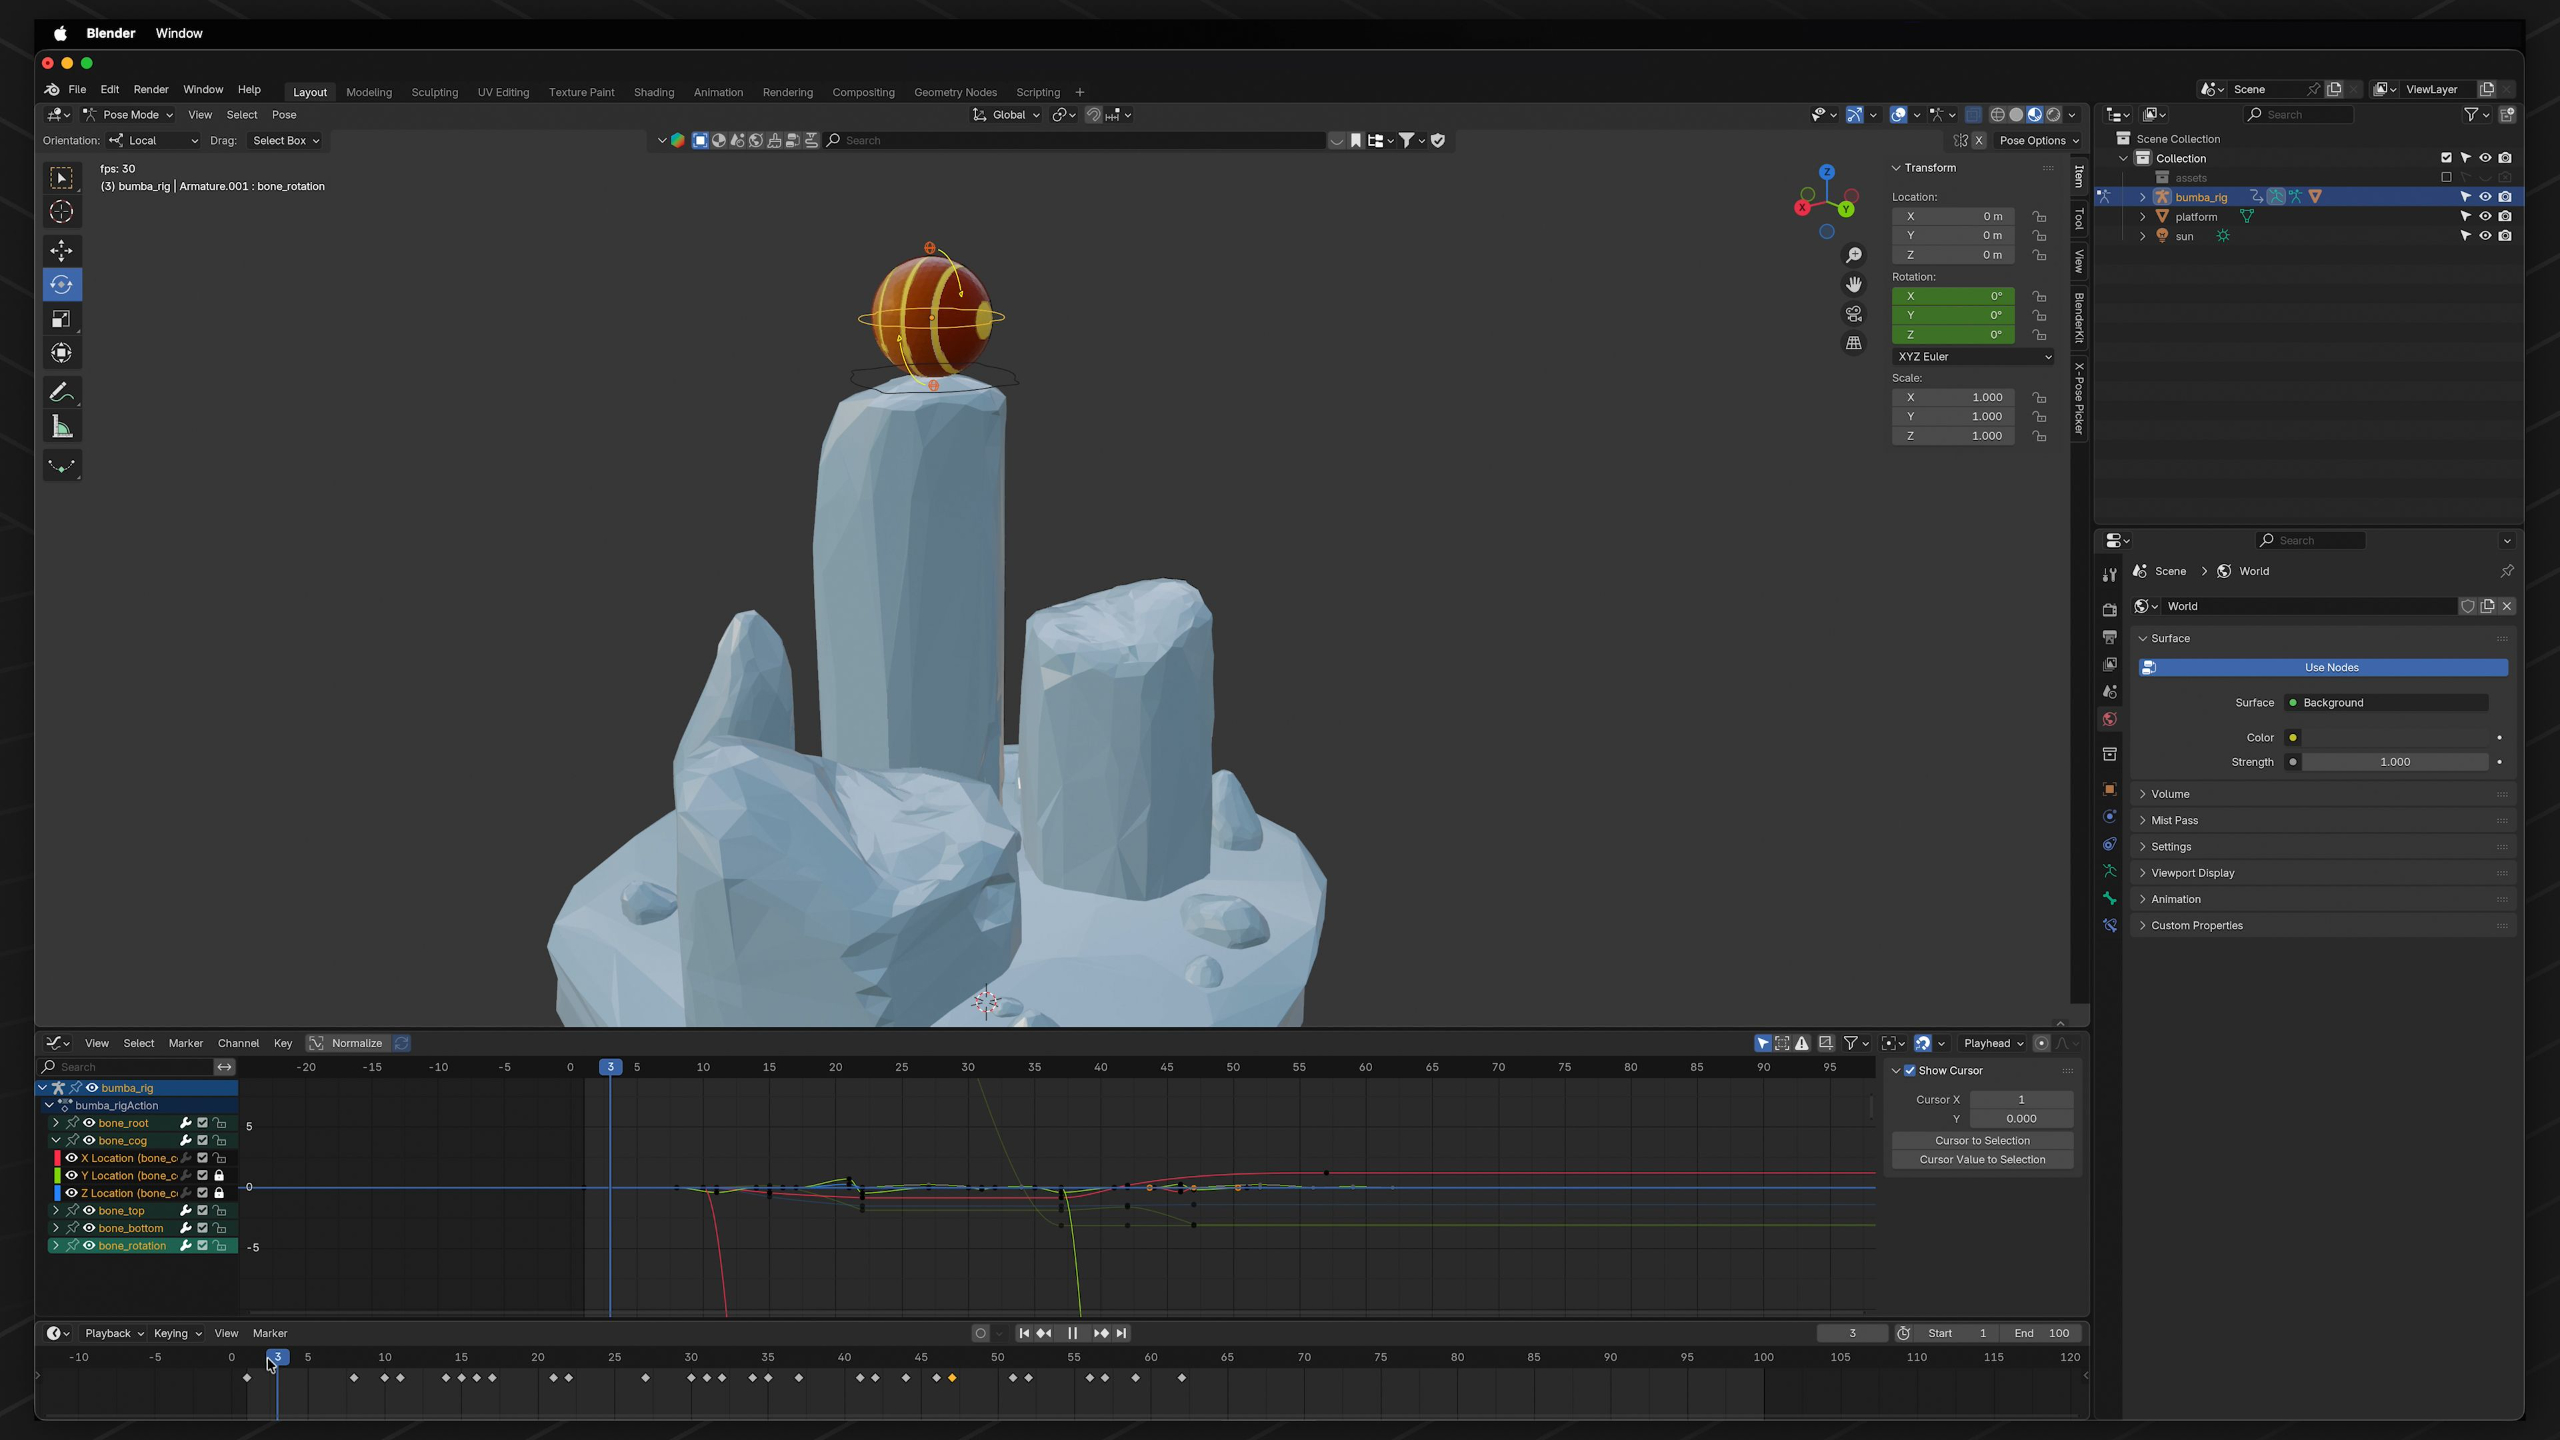
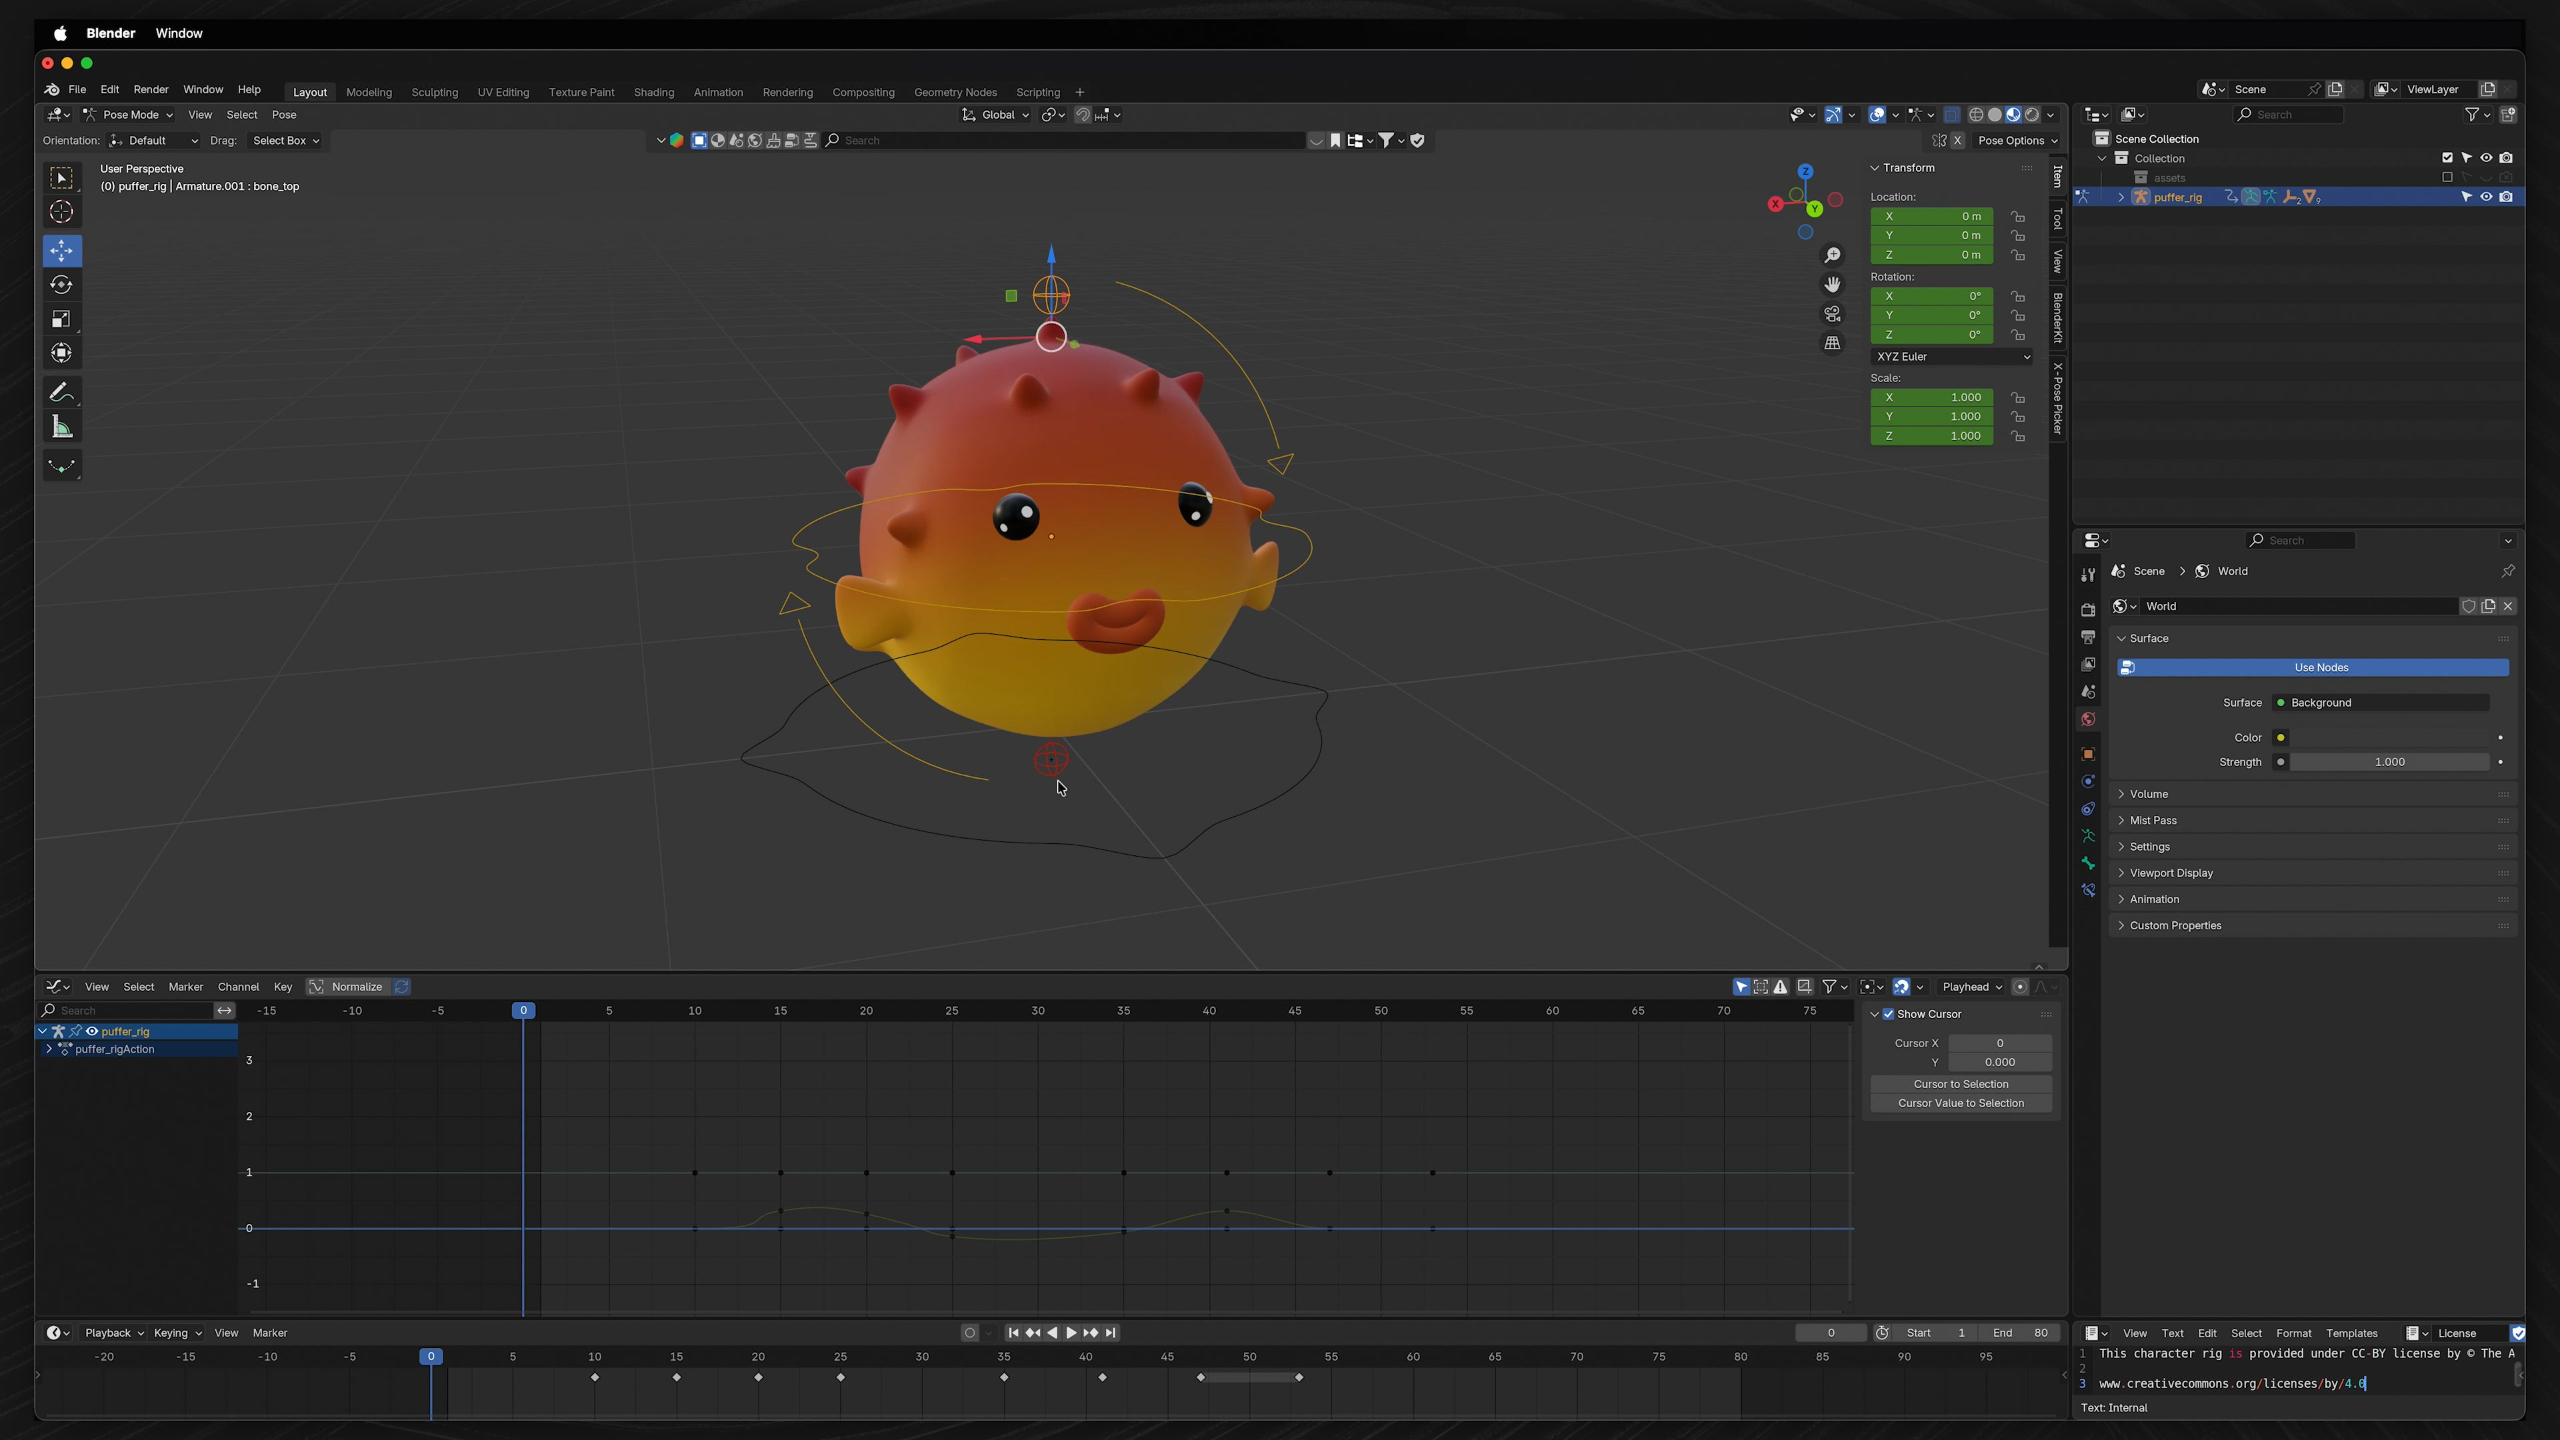
In this lesson, students learn what keyframes are and how they are used in Blender to create animation over time. They’ll practice setting, deleting, copying, moving, labeling, and auto-keying keyframes so they can start building simple animated motion with confidence.
Lesson 9: Modeling: Advanced Tools
In this lesson, students go beyond Blender’s basic modeling toolbox and explore more advanced tools found in the Vertex, Edge, and Face menus. They’ll experiment with techniques like beveling, bridging, subdividing, filling, triangulating, booleans, smoothing, and creasing so they can better understand different ways to modify and refine 3D models.
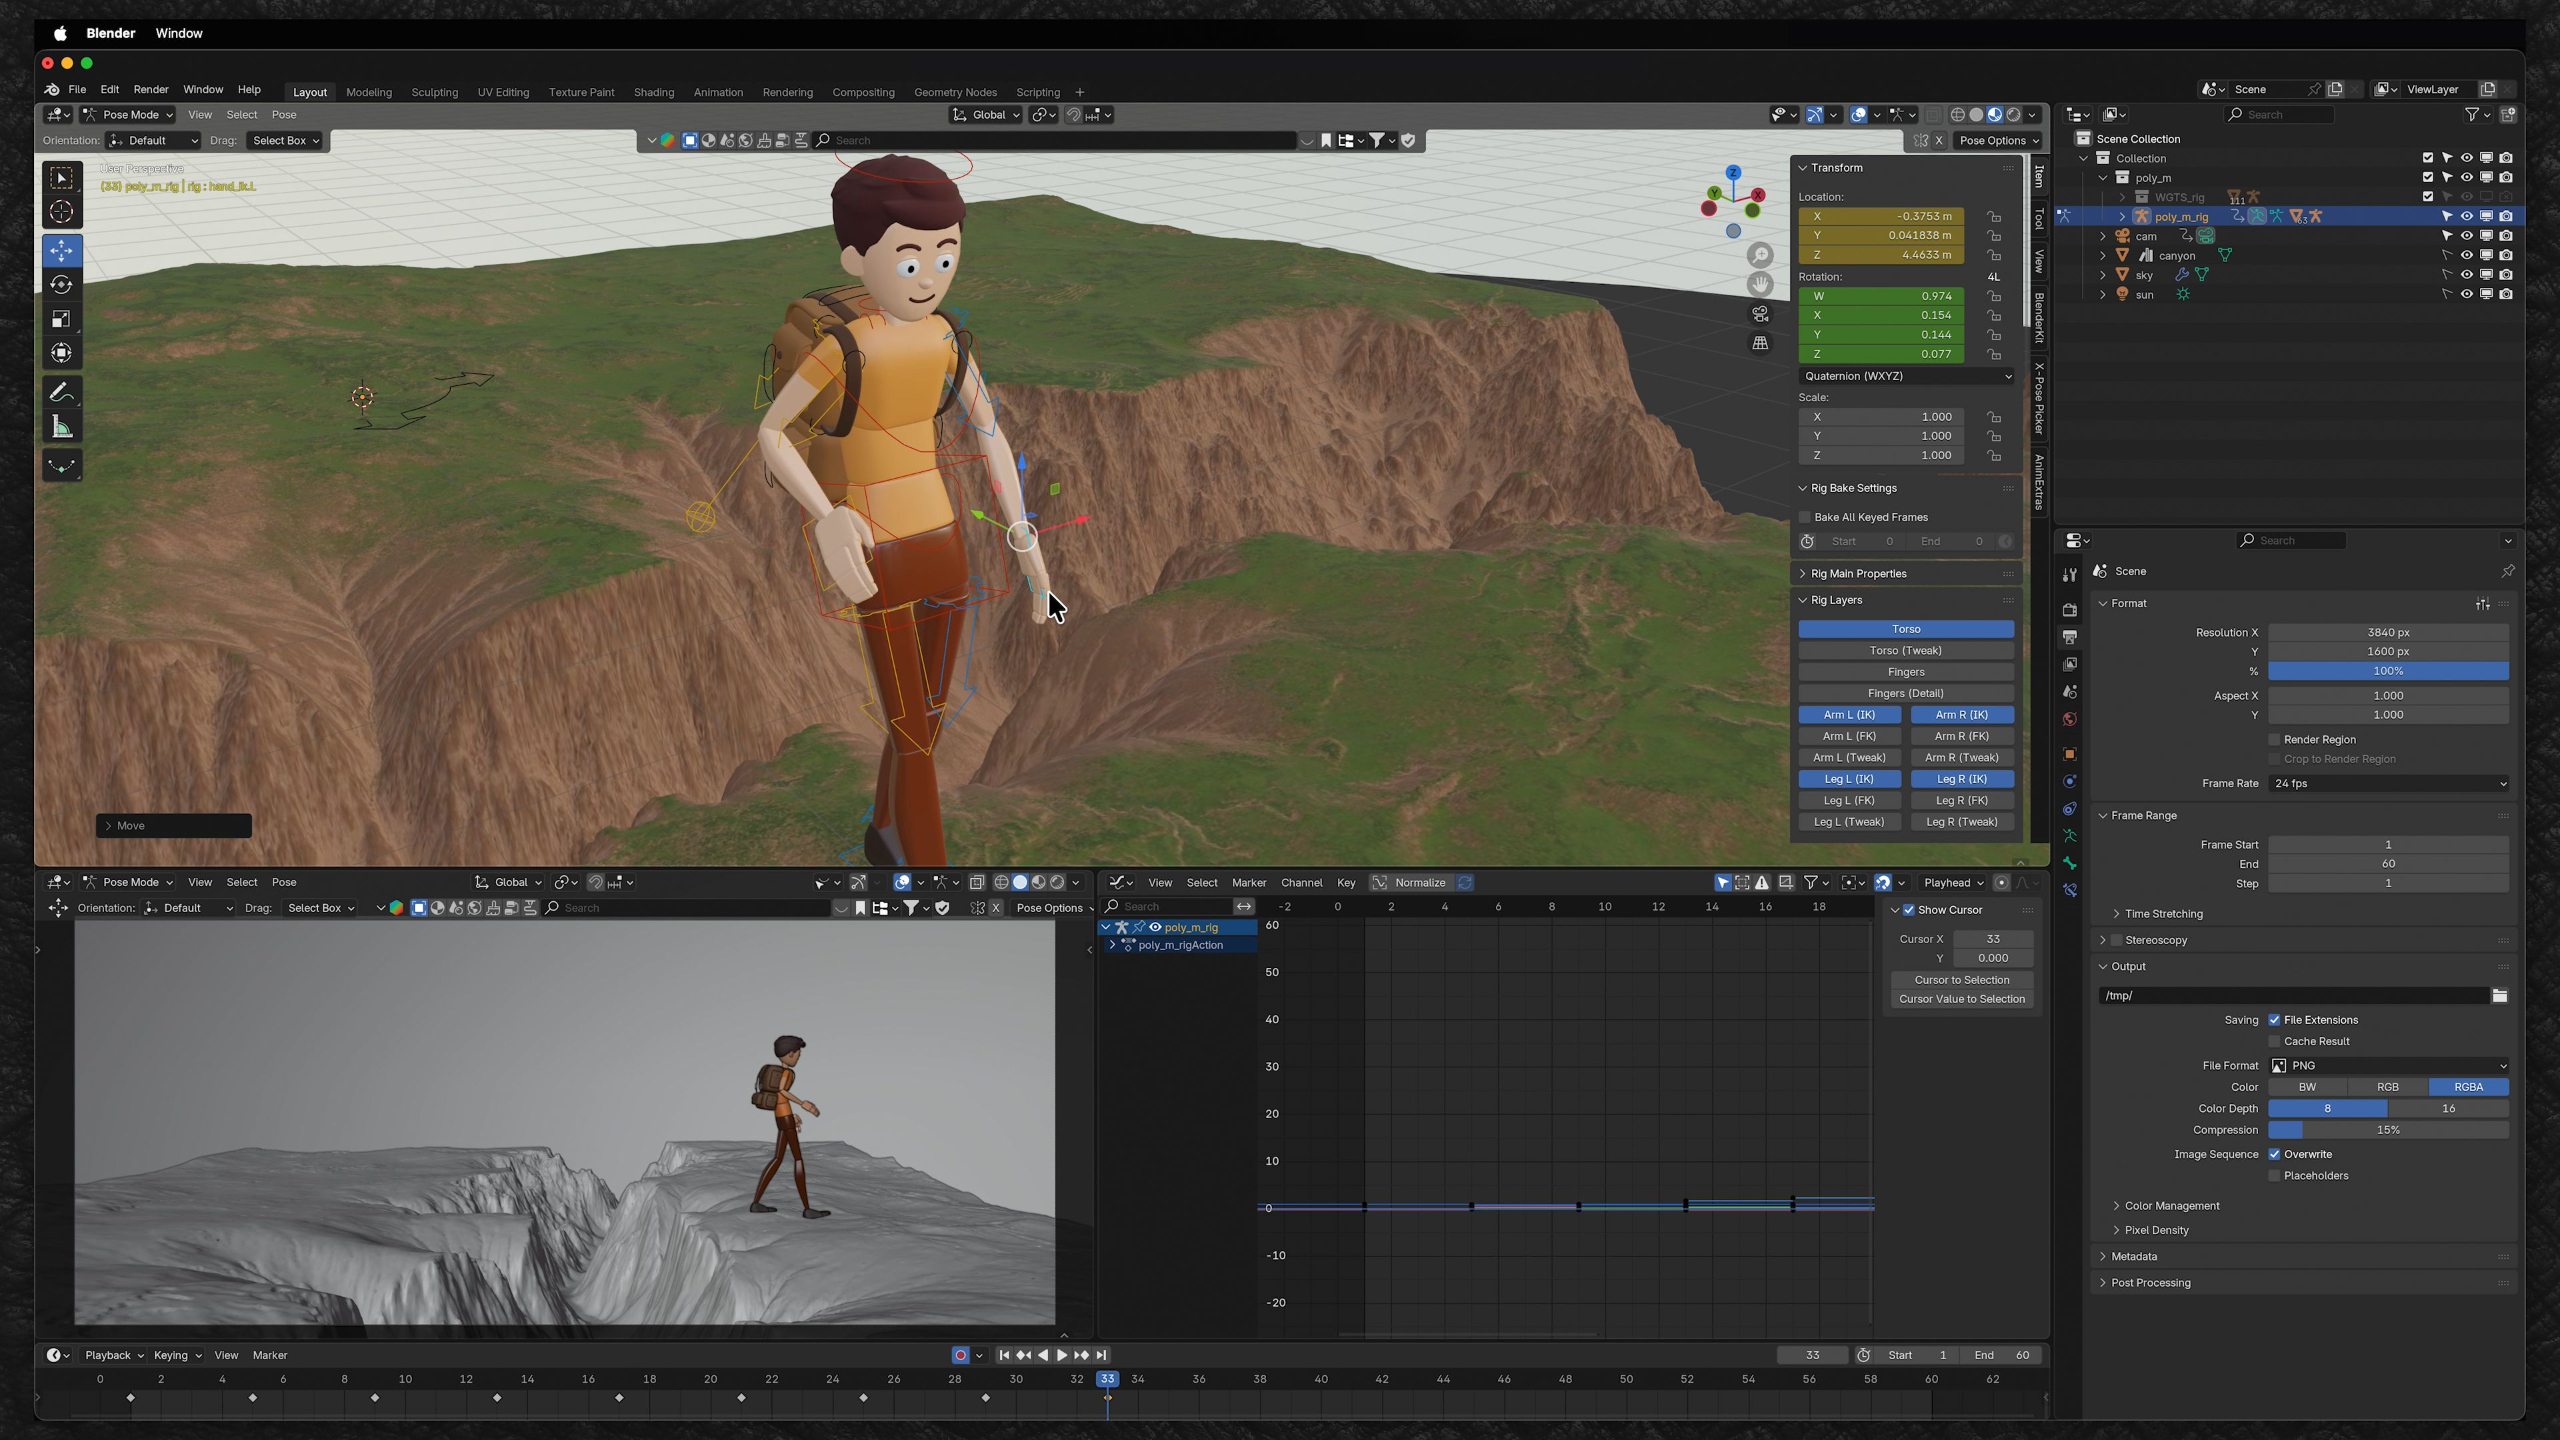
Lesson 28: Animation: Dope Sheet
In this lesson, students learn how the Dope Sheet gives them a deeper way to view, organize, and edit keyframes beyond the basic timeline. They’ll practice working with channels, interpolation, handle types, actions, and a bouncing ball exercise so they can better control timing and animation data in Blender.
Lesson 10: Modeling: Construct & Deconstruct
In this lesson, students apply Blender’s modeling tools to a more complex excavator model, practicing how to construct, adjust, and deconstruct geometry using techniques like deleting, ripping, bridging, beveling, booleans, and proportional editing. They’ll also learn the difference between hard-surface and organic modeling while building a better understanding of topology and how clean geometry affects a 3D model.
Lesson 29: Animation: Nonlinear Animation Editor
In this lesson, students learn how Blender’s Nonlinear Animation Editor lets them organize, layer, blend, and reuse multiple animations as editable action strips. They’ll practice creating separate actions, pushing them into the NLA Editor, adjusting timing, mixing tracks, and baking animation so they can better manage more complex animated sequences.
Lesson 11: Modeling: Modifiers
In this lesson, students learn how Blender modifiers work as flexible, non-destructive tools for editing, generating, deforming, and refining objects. They’ll explore a wide range of modifiers through hands-on examples so they can better understand how to create complex effects, clean up geometry, and build more capable animation-ready scenes.
Lesson 30: Animation: Graph Editor
In this lesson, students learn how the Graph Editor gives them deeper control over animation by showing how values change over time through F-Curves. They’ll practice adjusting handles, interpolation, easing, curve modifiers, and dynamic effects so they can create motion that feels more natural, weighted, and polished.
Lesson 12: Modeling: Useful Shapes
In this lesson, students learn how to create useful shapes and quick geometry in Blender, including sweep curves, custom curves, vector-based objects, circular arrays, path objects, and randomized object layouts. They’ll practice building flexible scene elements and simple props so they can become more self-sufficient when creating or modifying objects for animation projects.
Lesson 31: Effects: Effects & Physics
In this lesson, students get a broad introduction to Blender’s effects and physics tools, including rigid bodies, particles, forces, soft bodies, cloth, dynamic paint, fluids, fire, smoke, and ocean simulations. They’ll learn how procedural systems can create complex natural motion that would be difficult to keyframe by hand, giving them a better sense of what’s possible for enhancing 3D animation projects.
Lesson 13: Modeling: Sculpting Tools
In this lesson, students get introduced to Blender’s Sculpt Mode and learn how different brush tools can push, pull, smooth, paint, mask, and deform geometry. They’ll experiment with sculpting brushes and Dyntopo so they can better understand how mesh can be shaped more organically, even if modeling is not their main focus as animators.
Lesson 32: Cameras: Cameras
In this lesson, students learn how cameras work in Blender and how framing, focal length, depth of field, safe areas, and camera views shape the way an animation is presented. They’ll practice positioning cameras, adjusting lens settings, and exploring different angles so they can use camerawork to strengthen storytelling, scale, and visual impact.
Lesson 14: Shaders & Textures: Shader Editor
In this lesson, students are introduced to Blender’s Shader Editor and learn how materials, nodes, viewport shading modes, image textures, world shaders, and render engines work together to define the look of 3D objects. They’ll experiment with nodes like Principled BSDF, image textures, color controls, bump, displacement, and other shader types so they can start building their own materials with more confidence.
Lesson 33: Cameras: Movement
In this lesson, students learn how to animate cameras in Blender and use shot types, camera rigs, camera switching, walk/fly navigation, and motion tracking concepts to create more dynamic scenes. They’ll practice building camera angles and cuts for an animated sequence so the final presentation feels more cinematic and intentional.
Lesson 15: Shaders & Textures: Texture Tools
In this lesson, students learn how to control and apply image textures, normal maps, bump maps, and procedural textures inside Blender. They’ll also explore BlenderKit as a resource for finding ready-made materials, helping them create better-looking scenes faster without needing to build every shader from scratch.
Lesson 34: Rendering: Settings
In this lesson, students learn how rendering works in Blender and how Workbench, Eevee, and Cycles each create different types of final images. They’ll explore key render settings, lighting behavior, sampling, ray tracing, motion blur, culling, and third-party render engines so they can start producing cleaner, more polished renders for their animation projects.
Lesson 16: Shaders & Textures: Unwrapping
In this lesson, students learn how UV unwrapping works in Blender and how 2D texture maps connect to 3D geometry. They’ll practice using seams, projection methods, UV editing tools, and texture coordinates so they can place, adjust, and control textures more accurately on their models.
Lesson 35: Rendering: Passes & Output
In this lesson, students learn how to render final image sequences from Blender using passes, Multi-Layer EXR files, high-res PNGs, playblasts, and export settings for compositing in After Effects. They’ll also explore render regions, metadata, 3D data export, and render farms so they understand how Blender output fits into a professional post-production pipeline.
Lesson 17: Shaders & Textures: Texture Painting
In this lesson, students learn how to use Blender’s Texture Paint workflow to paint directly onto 3D models and their UV maps. They’ll practice setting up paintable textures, using brushes, masks, local view, and texture-based brush settings so they can add more custom detail to organic models.
Lesson 36: Rendering: Styles
In this lesson, students explore different render styles in Blender, including Freestyle outlines, toon shaders, comic-style shaders, and low-poly looks. They’ll experiment with stylized rendering tools and artist-made shader resources so they can create more unique visual directions beyond standard realistic renders.
Lesson 18: Lighting: Light & Shadow
In this lesson, students learn how Blender’s different light types work and how each one affects the mood, visibility, and shadows in a scene. They’ll experiment with point, spot, area, and sun lights while adjusting real-time shadow settings to better understand how lighting can support storytelling and visual clarity.
Lesson 37: Software Parallels: Maya
In this lesson, students get a beginner-friendly comparison of Autodesk Maya and Blender so they can see how familiar 3D fundamentals carry across different software. They’ll explore Maya’s interface, navigation, modeling, shaders, rigging, animation, dynamics, rendering, and cross-platform file formats so Maya feels less intimidating if they encounter it in a studio workflow.
Lesson 19: Lighting: Lighting Setups
In this lesson, students learn how to create practical lighting setups in Blender, starting with classic three-point lighting and expanding into more dramatic scene-based approaches. They’ll practice lighting single characters, multiple characters, and full environments so they can use light and shadow to guide attention, set mood, and support storytelling.
Lesson 38: Software Parallels: Cinema 4D
In this lesson, students get a beginner-friendly comparison of Cinema 4D and Blender so they can see how the same 3D fundamentals carry across different software. They’ll explore Cinema 4D’s interface, navigation, modeling, materials, animation, dynamics, MoGraph, rendering, and file-sharing options so the software feels more familiar and less intimidating.
Lesson 1: Blender Intro
This lesson introduces Blender as the main 3D software used throughout the curriculum and explains why it’s such a powerful, accessible tool for animation students. Students will learn how Blender fits into the larger 3D pipeline, why its free and open-source structure matters, and how to download and install it before moving forward.
Lesson 2: Basics: Interface Overview
This lesson gives students a guided tour of Blender’s interface, key panels, hotkeys, and workspace setup so the software feels less overwhelming from the start. It also walks through recommended keymap and tablet/mouse settings to make navigating, transforming objects, and following future lessons much easier.
Lesson 3: Basics: Viewport Navigation
In this lesson, students learn how to confidently move around Blender’s 3D Viewport using tools like orbit, pan, zoom, camera view, orthographic views, Quad View, the numpad, and the 3D cursor. They’ll practice navigating both simple objects and a house model so working in 3D space starts to feel more natural.
Lesson 4: Basics: Selecting & Transforming
In this lesson, students learn how to select objects in Blender and transform them using move, rotate, scale, snapping, pivot points, transform orientations, and the 3D cursor. They’ll practice manipulating objects in a table scene so they can get comfortable with the core tools used to position and organize anything in 3D space.
Lesson 5: Basics: Object Manipulation
In this lesson, students learn how to manipulate objects in Blender by editing vertices, edges, faces, curves, surfaces, metaballs, and text. They’ll explore key tools like Edit Mode, proportional editing, selection menus, deleting, extruding, merging, and curve controls so they can start reshaping objects with more confidence.
Lesson 6: Basics: Collections
In this lesson, students learn how to use Collections in Blender to organize objects, manage visibility, control render settings, and keep complex scenes easier to work with. They’ll explore the Outliner, collection options, restriction toggles, and filtering tools so their projects stay clean and manageable as they grow.
Lesson 7: Basics: Working w/ Workspaces
In this lesson, students get a guided tour of Blender’s different workspaces and how each layout supports a specific part of the 3D production pipeline, from modeling and sculpting to shading, animation, rendering, and compositing. They’ll learn which workspaces matter most for animation while getting a basic understanding of how the rest of Blender’s tools fit into the bigger picture.
Lesson 8: Modeling: Toolbox
In this lesson, students are introduced to Blender’s core modeling tools and learn how to use features like extrude, inset, bevel, loop cut, knife, smooth, and more to shape and refine geometry. They’ll experiment with these tools on different objects and set up a TurboSquid account so they can begin working with real 3D models in future lessons.
Lesson 9: Modeling: Advanced Tools
In this lesson, students go beyond Blender’s basic modeling toolbox and explore more advanced tools found in the Vertex, Edge, and Face menus. They’ll experiment with techniques like beveling, bridging, subdividing, filling, triangulating, booleans, smoothing, and creasing so they can better understand different ways to modify and refine 3D models.
Lesson 10: Modeling: Construct & Deconstruct
In this lesson, students apply Blender’s modeling tools to a more complex excavator model, practicing how to construct, adjust, and deconstruct geometry using techniques like deleting, ripping, bridging, beveling, booleans, and proportional editing. They’ll also learn the difference between hard-surface and organic modeling while building a better understanding of topology and how clean geometry affects a 3D model.
Lesson 11: Modeling: Modifiers
In this lesson, students learn how Blender modifiers work as flexible, non-destructive tools for editing, generating, deforming, and refining objects. They’ll explore a wide range of modifiers through hands-on examples so they can better understand how to create complex effects, clean up geometry, and build more capable animation-ready scenes.
Lesson 12: Modeling: Useful Shapes
In this lesson, students learn how to create useful shapes and quick geometry in Blender, including sweep curves, custom curves, vector-based objects, circular arrays, path objects, and randomized object layouts. They’ll practice building flexible scene elements and simple props so they can become more self-sufficient when creating or modifying objects for animation projects.
Lesson 13: Modeling: Sculpting Tools
In this lesson, students get introduced to Blender’s Sculpt Mode and learn how different brush tools can push, pull, smooth, paint, mask, and deform geometry. They’ll experiment with sculpting brushes and Dyntopo so they can better understand how mesh can be shaped more organically, even if modeling is not their main focus as animators.
Lesson 14: Shaders & Textures: Shader Editor
In this lesson, students are introduced to Blender’s Shader Editor and learn how materials, nodes, viewport shading modes, image textures, world shaders, and render engines work together to define the look of 3D objects. They’ll experiment with nodes like Principled BSDF, image textures, color controls, bump, displacement, and other shader types so they can start building their own materials with more confidence.
Lesson 15: Shaders & Textures: Texture Tools
In this lesson, students learn how to control and apply image textures, normal maps, bump maps, and procedural textures inside Blender. They’ll also explore BlenderKit as a resource for finding ready-made materials, helping them create better-looking scenes faster without needing to build every shader from scratch.
Lesson 16: Shaders & Textures: Unwrapping
In this lesson, students learn how UV unwrapping works in Blender and how 2D texture maps connect to 3D geometry. They’ll practice using seams, projection methods, UV editing tools, and texture coordinates so they can place, adjust, and control textures more accurately on their models.
Lesson 17: Shaders & Textures: Texture Painting
In this lesson, students learn how to use Blender’s Texture Paint workflow to paint directly onto 3D models and their UV maps. They’ll practice setting up paintable textures, using brushes, masks, local view, and texture-based brush settings so they can add more custom detail to organic models.
Lesson 18: Lighting: Light & Shadow
In this lesson, students learn how Blender’s different light types work and how each one affects the mood, visibility, and shadows in a scene. They’ll experiment with point, spot, area, and sun lights while adjusting real-time shadow settings to better understand how lighting can support storytelling and visual clarity.
Lesson 19: Lighting: Lighting Setups
In this lesson, students learn how to create practical lighting setups in Blender, starting with classic three-point lighting and expanding into more dramatic scene-based approaches. They’ll practice lighting single characters, multiple characters, and full environments so they can use light and shadow to guide attention, set mood, and support storytelling.
Lesson 20: Rigging: Parenting & Constraints
In this lesson, students are introduced to rigging fundamentals in Blender through parenting and constraints, learning how objects can control, follow, limit, or influence one another. They’ll practice building simple parent-child relationships and experimenting with different constraints so they can start understanding the systems behind object-based animation.
Lesson 21: Rigging: Armatures
In this lesson, students learn how Blender armatures and bones work as the foundation for more advanced rigging and character control. They’ll explore bone structure, display options, envelopes, FK vs. IK, bone constraints, custom controls, pole targets, Spline IK, bone collections, and color organization so they can better understand how complex rigs are built and animated.
Lesson 22: Rigging: Skinning & Weights
In this lesson, students learn how skinning and weight painting connect a mesh to an armature so characters and organic objects can deform naturally. They’ll practice automatic weights, vertex groups, brush tools, falloff settings, and cleanup techniques so they can better understand how rigs influence geometry during animation.
Lesson 23: Rigging: Meta-Rigs
In this lesson, students learn how Blender’s Meta-Rigs and Rigify system make character rigging faster by providing ready-made bone structures and controls for humans, animals, and other characters. They’ll explore body movement, joint types, bone placement, rest poses, rig generation, automatic weights, and common setup issues so they can understand the full process of turning a character model into an animatable rig.
Lesson 24: Rigging: Controls & Customizations
In this lesson, students learn how Rigify controllers work and how they make character animation much easier by organizing complex bone systems into usable controls. They’ll explore controller properties, FK/IK switching, rig layers, custom bone shapes, color sets, and the main control groups so they feel more prepared to animate a fully rigged character.
Lesson 25: Rigging: Character Rigging
In this lesson, students bring together the full rigging workflow by fitting a Meta-Rig to a character, generating controls, connecting separate elements like eyes, teeth, tongue, and hair, and customizing the rig for easier animation. They’ll also refine the character through weight painting and final control adjustments so the finished rig is ready for animation.
Lesson 26: Animation: Frame Rate & Time
In this lesson, students are introduced to animation timing in Blender by learning how frame rate, playback settings, and the timeline work together to create motion. They’ll explore 24fps, timeline controls, audio importing, markers, frame ranges, and playback options so they’re ready to start keyframing in the next lesson.
Lesson 27: Animation: Keyframes
In this lesson, students learn what keyframes are and how they are used in Blender to create animation over time. They’ll practice setting, deleting, copying, moving, labeling, and auto-keying keyframes so they can start building simple animated motion with confidence.
Lesson 28: Animation: Dope Sheet
In this lesson, students learn how the Dope Sheet gives them a deeper way to view, organize, and edit keyframes beyond the basic timeline. They’ll practice working with channels, interpolation, handle types, actions, and a bouncing ball exercise so they can better control timing and animation data in Blender.
Lesson 29: Animation: Nonlinear Animation Editor
In this lesson, students learn how Blender’s Nonlinear Animation Editor lets them organize, layer, blend, and reuse multiple animations as editable action strips. They’ll practice creating separate actions, pushing them into the NLA Editor, adjusting timing, mixing tracks, and baking animation so they can better manage more complex animated sequences.
Lesson 30: Animation: Graph Editor
In this lesson, students learn how the Graph Editor gives them deeper control over animation by showing how values change over time through F-Curves. They’ll practice adjusting handles, interpolation, easing, curve modifiers, and dynamic effects so they can create motion that feels more natural, weighted, and polished.
Lesson 31: Effects: Effects & Physics
In this lesson, students get a broad introduction to Blender’s effects and physics tools, including rigid bodies, particles, forces, soft bodies, cloth, dynamic paint, fluids, fire, smoke, and ocean simulations. They’ll learn how procedural systems can create complex natural motion that would be difficult to keyframe by hand, giving them a better sense of what’s possible for enhancing 3D animation projects.
Lesson 32: Cameras: Cameras
In this lesson, students learn how cameras work in Blender and how framing, focal length, depth of field, safe areas, and camera views shape the way an animation is presented. They’ll practice positioning cameras, adjusting lens settings, and exploring different angles so they can use camerawork to strengthen storytelling, scale, and visual impact.
Lesson 33: Cameras: Movement
In this lesson, students learn how to animate cameras in Blender and use shot types, camera rigs, camera switching, walk/fly navigation, and motion tracking concepts to create more dynamic scenes. They’ll practice building camera angles and cuts for an animated sequence so the final presentation feels more cinematic and intentional.
Lesson 34: Rendering: Settings
In this lesson, students learn how rendering works in Blender and how Workbench, Eevee, and Cycles each create different types of final images. They’ll explore key render settings, lighting behavior, sampling, ray tracing, motion blur, culling, and third-party render engines so they can start producing cleaner, more polished renders for their animation projects.
Lesson 35: Rendering: Passes & Output
In this lesson, students learn how to render final image sequences from Blender using passes, Multi-Layer EXR files, high-res PNGs, playblasts, and export settings for compositing in After Effects. They’ll also explore render regions, metadata, 3D data export, and render farms so they understand how Blender output fits into a professional post-production pipeline.
Lesson 36: Rendering: Styles
In this lesson, students explore different render styles in Blender, including Freestyle outlines, toon shaders, comic-style shaders, and low-poly looks. They’ll experiment with stylized rendering tools and artist-made shader resources so they can create more unique visual directions beyond standard realistic renders.
Lesson 37: Software Parallels: Maya
In this lesson, students get a beginner-friendly comparison of Autodesk Maya and Blender so they can see how familiar 3D fundamentals carry across different software. They’ll explore Maya’s interface, navigation, modeling, shaders, rigging, animation, dynamics, rendering, and cross-platform file formats so Maya feels less intimidating if they encounter it in a studio workflow.
Lesson 38: Software Parallels: Cinema 4D
In this lesson, students get a beginner-friendly comparison of Cinema 4D and Blender so they can see how the same 3D fundamentals carry across different software. They’ll explore Cinema 4D’s interface, navigation, modeling, materials, animation, dynamics, MoGraph, rendering, and file-sharing options so the software feels more familiar and less intimidating.
Module 3: Intro to 3D Animation (Level I)
Estimated completion time: 6-8 weeks
This module introduces the fundamentals of 3D animation in Blender, shifting the focus from general tools and workflows to the core principles of animation itself.
Students learn how objects behave, move, and react through concepts like physics, weight, timing, anticipation, arcs, follow-through, and exaggeration.
Through lessons covering classic animation principles such as Squash & Stretch, Pose-to-Pose, and Slow-In/Slow-Out, learners develop the skills needed to create believable and visually engaging motion. The techniques taught apply across both 2D and 3D animation, providing a strong foundation for becoming a skilled animator.
Lesson 1: 3D Animation Overview
In this lesson, students are introduced to the Intro to 3D Animation module and get a clear preview of the animation principles they’ll be learning next. They’ll begin shifting from general Blender tools into core animation concepts like physics, timing, squash and stretch, anticipation, arcs, exaggeration, and appeal.
Lesson 7: Principles of Animation: Arc
In this lesson, students learn how arcs make animation feel more natural, dynamic, and believable by reflecting the way objects move under gravity. They’ll animate cannonballs fired at different angles so they can practice creating realistic curved motion paths with proper timing and spacing.
Lesson 2: Physical Properties
In this lesson, students learn how an object’s physical properties, like mass, volume, density, weight, shape, hardness, elasticity, and material, affect the way it should move in animation. They’ll study different Blender examples to better understand how observing real-world behavior helps create motion that feels believable and intentional.
Lesson 8: Principles of Animation: Follow-Through & Overlapping Action
In this lesson, students learn how follow-through and overlapping action help create believable momentum by showing that different parts of an object or character do not all move at the same speed. They’ll animate both a hard-surface Bumba Box and a flexible flower so they can practice creating motion that feels weighted, delayed, and more natural.
Lesson 3: Object Physics
In this lesson, students learn how different forces, like gravity, friction, applied force, tension, spring motion, drag, magnetism, buoyancy, and muscular force, affect the way objects move. They’ll practice animating these forces in Blender so they can create more believable motion based on real-world physics and observation.
Lesson 9: Principles of Animation: Squash & Stretch
In this lesson, students learn how squash and stretch helps animation feel more alive by showing weight, flexibility, gravity, and impact. They’ll use the Escargot rig to practice deforming a character as it moves across a log, building on the classic bouncing ball exercise in a more character-driven way.
Lesson 4: Principles of Animation: Slow-In & Slow-Out
In this lesson, students begin exploring the principles of animation in 3D by focusing on slow-in and slow-out, which creates the feeling of acceleration and deceleration. They’ll use the Bumba rig, a ramp animation, the Graph Editor, and onion skinning tools to better understand spacing and make their motion feel more natural and appealing.
Lesson 10: Principles of Animation: Anticipation
In this lesson, students learn how anticipation prepares the audience for an upcoming action and helps motion feel more believable, weighted, and intentional. They’ll animate the Bumba rig descending a series of platforms while using anticipation, squash and stretch, arcs, and basic physics to create stronger animated movement.
Lesson 5: Principles of Animation: Straight Ahead Action & Pose-to-Pose
In this lesson, students learn the difference between straight-ahead action and pose-to-pose animation, and when each method is most useful. They’ll practice using the Bumba Box rig to animate one box between key poses and another frame-by-frame so they can better understand how different techniques create different types of motion.
Lesson 11: Principles of Animation: Exaggeration
In this lesson, students learn how exaggeration can push animation beyond realism to make actions feel more entertaining, intense, and memorable. They’ll use the Puffer rig to animate an exaggerated blow-up and shrinking motion while experimenting with the animation principles they’ve learned so far.
Lesson 6: Principles of Animation: Timing
In this lesson, students learn how timing affects the way an audience perceives motion, weight, force, and believability in animation. They’ll use the Bumba Box rig to animate two boxes pushing crates with different timing so one feels light and easy to move while the other feels heavier and more resistant.
Lesson 12: Principles of Animation: Appeal
In this lesson, students learn how appeal brings personality, creativity, and visual interest to animation once the core mechanics are working. They’ll animate a race between two Escargot rigs, using their own ideas to make the motion feel fun, surprising, and engaging.
Lesson 1: 3D Animation Overview
In this lesson, students are introduced to the Intro to 3D Animation module and get a clear preview of the animation principles they’ll be learning next. They’ll begin shifting from general Blender tools into core animation concepts like physics, timing, squash and stretch, anticipation, arcs, exaggeration, and appeal.
Lesson 2: Physical Properties
In this lesson, students learn how an object’s physical properties, like mass, volume, density, weight, shape, hardness, elasticity, and material, affect the way it should move in animation. They’ll study different Blender examples to better understand how observing real-world behavior helps create motion that feels believable and intentional.
Lesson 3: Object Physics
In this lesson, students learn how different forces, like gravity, friction, applied force, tension, spring motion, drag, magnetism, buoyancy, and muscular force, affect the way objects move. They’ll practice animating these forces in Blender so they can create more believable motion based on real-world physics and observation.
Lesson 4: Principles of Animation: Slow-In & Slow-Out
In this lesson, students begin exploring the principles of animation in 3D by focusing on slow-in and slow-out, which creates the feeling of acceleration and deceleration. They’ll use the Bumba rig, a ramp animation, the Graph Editor, and onion skinning tools to better understand spacing and make their motion feel more natural and appealing.
Lesson 5: Principles of Animation: Straight Ahead Action & Pose-to-Pose
In this lesson, students learn the difference between straight-ahead action and pose-to-pose animation, and when each method is most useful. They’ll practice using the Bumba Box rig to animate one box between key poses and another frame-by-frame so they can better understand how different techniques create different types of motion.
Lesson 6: Principles of Animation: Timing
In this lesson, students learn how timing affects the way an audience perceives motion, weight, force, and believability in animation. They’ll use the Bumba Box rig to animate two boxes pushing crates with different timing so one feels light and easy to move while the other feels heavier and more resistant.
Lesson 7: Principles of Animation: Arc
In this lesson, students learn how arcs make animation feel more natural, dynamic, and believable by reflecting the way objects move under gravity. They’ll animate cannonballs fired at different angles so they can practice creating realistic curved motion paths with proper timing and spacing.
Lesson 8: Principles of Animation: Follow-Through & Overlapping Action
In this lesson, students learn how follow-through and overlapping action help create believable momentum by showing that different parts of an object or character do not all move at the same speed. They’ll animate both a hard-surface Bumba Box and a flexible flower so they can practice creating motion that feels weighted, delayed, and more natural.
Lesson 9: Principles of Animation: Squash & Stretch
In this lesson, students learn how squash and stretch helps animation feel more alive by showing weight, flexibility, gravity, and impact. They’ll use the Escargot rig to practice deforming a character as it moves across a log, building on the classic bouncing ball exercise in a more character-driven way.
Lesson 10: Principles of Animation: Anticipation
In this lesson, students learn how anticipation prepares the audience for an upcoming action and helps motion feel more believable, weighted, and intentional. They’ll animate the Bumba rig descending a series of platforms while using anticipation, squash and stretch, arcs, and basic physics to create stronger animated movement.
Lesson 11: Principles of Animation: Exaggeration
In this lesson, students learn how exaggeration can push animation beyond realism to make actions feel more entertaining, intense, and memorable. They’ll use the Puffer rig to animate an exaggerated blow-up and shrinking motion while experimenting with the animation principles they’ve learned so far.
Lesson 12: Principles of Animation: Appeal
In this lesson, students learn how appeal brings personality, creativity, and visual interest to animation once the core mechanics are working. They’ll animate a race between two Escargot rigs, using their own ideas to make the motion feel fun, surprising, and engaging.
Module 4: Fundamental Character Animation (Level II)
Estimated completion time: 6-8 weeks
In this module, you’ll transition from animating objects to bringing fully rigged characters to life in Blender.
You’ll learn how character rigs and controls work, practice posing, explore blocking techniques, and create walk & run cycles that evolve from simple lower-body movement to full-body animation with personality and polish.
By the end, you’ll have a strong foundation in character animation and the confidence to apply these techniques to a variety of character rigs.
Lesson 1: Character Animation Overview
In this lesson, students are introduced to the Fundamental Character Animation module, where they’ll shift from animating objects to bringing character rigs to life. They’ll learn rig controls, posing, blocking, walk cycles, run cycles, personality, and polish so they can build stronger character animation skills in Blender.
Lesson 5: Lower Body Walk Cycle
In this lesson, students learn how to build a lower body walk cycle by focusing on contact poses, transfer poses, timing, hip movement, foot placement, and clean looping mechanics. They’ll refine the walk in the Graph Editor with details like foot slap, leg swing, hip sway, and subtle offsets so the character’s movement feels more natural and believable.
Lesson 2: Working w/ Rigs
In this lesson, students get reacquainted with character rigs and explore how different rigs are used throughout The Animation Society curriculum. They’ll review Blender Studio rigs, learn about the TAS character lineup, and begin working with the customizable Poly twins as their main rigs for posing, walk cycles, run cycles, and portfolio practice.
Lesson 6: Full Body Walk Cycle
In this lesson, students build on the lower body walk cycle by animating the arms, torso, head, and full-body weight shifts to create a complete character walk. They’ll refine arcs, offsets, follow-through, looping, timing, and forward translation so the walk feels balanced, natural, and ready to use in more complex character animation.
Lesson 3: Poses
In this lesson, students learn how strong character poses start with clear silhouettes that communicate action, balance, personality, and appeal from the camera’s point of view. They’ll create multiple poses with the Poly rigs, refine them through a silhouette view.
Lesson 7: Run Cycle
In this lesson, students learn how to create a run cycle by building the key poses that make running different from walking, including contact, kickoff, transfer, and up poses. They’ll refine the torso, hands, head, ponytail, looping, NLA setup, and forward translation so the run feels energetic, balanced, and believable.
Lesson 4: Blocking
In this lesson, students learn how blocking helps them plan character animation by laying out key poses, breakdowns, timing, and camera framing before refining the final motion. They’ll practice using stepped keyframes to rough out action scenes so they can experiment with ideas, solve timing issues early, and build a stronger animation foundation.
Lesson 8: Personality & Polish
In this lesson, students learn how to add personality and polish to walk and run cycles so character movement feels more unique, expressive, and story-driven. They’ll explore reference, exaggeration, cycle reuse, animation copying, and NLA layering to turn basic locomotion into portfolio-worthy character performance.
Lesson 1: Character Animation Overview
In this lesson, students are introduced to the Fundamental Character Animation module, where they’ll shift from animating objects to bringing character rigs to life. They’ll learn rig controls, posing, blocking, walk cycles, run cycles, personality, and polish so they can build stronger character animation skills in Blender.
Lesson 2: Working w/ Rigs
In this lesson, students get reacquainted with character rigs and explore how different rigs are used throughout The Animation Society curriculum. They’ll review Blender Studio rigs, learn about the TAS character lineup, and begin working with the customizable Poly twins as their main rigs for posing, walk cycles, run cycles, and portfolio practice.
Lesson 3: Poses
In this lesson, students learn how strong character poses start with clear silhouettes that communicate action, balance, personality, and appeal from the camera’s point of view. They’ll create multiple poses with the Poly rigs, refine them through a silhouette view.
Lesson 4: Blocking
In this lesson, students learn how blocking helps them plan character animation by laying out key poses, breakdowns, timing, and camera framing before refining the final motion. They’ll practice using stepped keyframes to rough out action scenes so they can experiment with ideas, solve timing issues early, and build a stronger animation foundation.
Lesson 5: Lower Body Walk Cycle
In this lesson, students learn how to build a lower body walk cycle by focusing on contact poses, transfer poses, timing, hip movement, foot placement, and clean looping mechanics. They’ll refine the walk in the Graph Editor with details like foot slap, leg swing, hip sway, and subtle offsets so the character’s movement feels more natural and believable.
Lesson 6: Full Body Walk Cycle
In this lesson, students build on the lower body walk cycle by animating the arms, torso, head, and full-body weight shifts to create a complete character walk. They’ll refine arcs, offsets, follow-through, looping, timing, and forward translation so the walk feels balanced, natural, and ready to use in more complex character animation.
Lesson 7: Run Cycle
In this lesson, students learn how to create a run cycle by building the key poses that make running different from walking, including contact, kickoff, transfer, and up poses. They’ll refine the torso, hands, head, ponytail, looping, NLA setup, and forward translation so the run feels energetic, balanced, and believable.
Lesson 8: Personality & Polish
In this lesson, students learn how to add personality and polish to walk and run cycles so character movement feels more unique, expressive, and story-driven. They’ll explore reference, exaggeration, cycle reuse, animation copying, and NLA layering to turn basic locomotion into portfolio-worthy character performance.
Module 5: Advanced Body Mechanics (Level II)
Estimated completion time: 6-8 weeks
This module focuses on refining your character animation skills by applying core animation principles to more complex and dynamic movements.
You’ll learn how to use references, improve poses with squash and stretch, create believable motion through anticipation, follow-through, arcs, timing, and secondary action, while also exploring staging, exaggeration, appeal, and dynamic camera work.
Throughout the module, you’ll animate characters in a variety of scenarios to better understand realistic body movement, culminating in a portfolio project that showcases your advanced character animation abilities.
Lesson 1: Body Mechanics Overview
In this lesson, students are introduced to the Advanced Body Mechanics module, where they’ll deepen their character animation skills by applying the animation principles to more complex body movement. They’ll work with new character rigs, explore reference, posing, timing, staging, secondary action, exaggeration, appeal, and dynamic camera movement, then apply those skills to a portfolio-focused body mechanics project.
Lesson 9: Advanced Principles: Timing
In this lesson, students learn how timing can completely change the perceived scale and weight of a character’s movement. They’ll animate a Godzilla-style character moving through a city, using slower timing, keyframe adjustments, camera shake, and Graph Editor cleanup to make the character feel massive and powerful.
Lesson 2: The Power of References
In this lesson, students learn why reference material is essential for creating believable and appealing character animation. They’ll explore how video references help with posing, timing, weight, arcs, secondary action, and personality, while also learning how to create their own timecoded reference footage for future animation work.
Lesson 10: Advanced Principles: Exaggeration
In this lesson, students learn how exaggeration can push character animation beyond realism to make emotions, reactions, and poses feel more entertaining and expressive. They’ll animate a full-body “eeek!” reaction using reference, strong key poses, timing, Graph Editor cleanup, and pushed rig poses to create a more cartoony and memorable performance.
Lesson 3: Advanced Principles: Arc
In this lesson, students learn how arcs improve character animation by following the natural curved paths created by the body’s joints and range of motion. They’ll use the Quinn rig, reference footage, onion skinning, and the Graph Editor to animate a yoga sequence with smoother, more believable body movement.
Lesson 11: Advanced Principles: Straight Ahead Action & Pose-to-Pose
In this lesson, students learn when to use pose-to-pose animation versus straight-ahead action for more complex character movement. They’ll animate a martial arts sequence with the Aldo rig, using blocking, speed ramps, slow motion, Graph Editor cleanup, and even faux motion blur to create a more dynamic action performance.
Lesson 4: Advanced Principles: Anticipation
In this lesson, students learn how anticipation helps prepare the audience for a character’s next action by showing a build-up of energy before the movement happens. They’ll animate Bruno sitting, standing, stretching, and sitting back down while using reference, breakdown poses, and Graph Editor cleanup to make the performance feel more believable and expressive.
Lesson 12: Advanced Principles: Appeal
In this lesson, students learn how appeal helps make animation more interesting, expressive, and memorable, even when the scene itself is simple. They’ll animate a bus stop scenario using reference, creative character choices, blocking, breakdowns, and Graph Editor cleanup to turn an ordinary moment into a more engaging performance.
Lesson 5: Advanced Principles: Slow In / Slow Out
In this lesson, students learn how slow-in and slow-out helps character animation feel more realistic by showing acceleration, deceleration, and the buildup and release of momentum. They’ll animate a forward jump using reference, key poses, breakdowns, and Graph Editor cleanup so the character’s takeoff and landing feel believable and controlled.
Lesson 13: Advanced Principles: Staging
In this lesson, students learn how staging guides the viewer’s attention by controlling where characters, objects, action, and cameras are placed within a scene. They’ll practice both framing scenes with camera shots and arranging characters or scenery inside existing shots so each moment is clear, readable, and visually engaging.
Lesson 6: Advanced Principles: Squash & Stretch
In this lesson, students learn how squash and stretch can make character animation feel more organic, flexible, and visually expressive. They’ll animate a sneaky burglar performance using the Manny rig, pushing poses and maintaining volume to create motion that feels dynamic, playful, and full of personality.
Lesson 14: Camera as a Character
In this lesson, students learn how to treat the camera as part of the performance, using lens choices, framing, depth of field, shot types, and movement to strengthen their animation. They’ll revisit work from the module and rework the camera to improve staging, focus, and overall portfolio presentation.
Lesson 7: Advanced Principles: Follow-Through & Overlapping Action
In this lesson, students learn how follow-through and overlapping action help character movement feel heavier, more forceful, and more believable. They’ll animate a boxing performance with the Quinn rig, using reference, blocking, curve cleanup, and delayed body motion to show how different parts of the body lead, drag, and react during a punch.
Portfolio Project: Hardcore Parkour
In this final portfolio project, students bring together everything they’ve learned in Advanced Body Mechanics by animating a short parkour sequence through an obstacle course. They’ll use character rigs, reference, staging, camera choices, and key animation principles like arcs, anticipation, timing, squash and stretch, follow-through, and appeal to create a dynamic piece for their portfolio.
Lesson 8: Advanced Principles: Secondary Action
In this lesson, students learn how secondary action adds personality, detail, and emotional context to a character’s main movement. They’ll animate a heavy lift performance, focusing first on believable body mechanics and then adding supporting actions that reveal the character’s effort, attitude, and thought process.
Lesson 1: Body Mechanics Overview
In this lesson, students are introduced to the Advanced Body Mechanics module, where they’ll deepen their character animation skills by applying the animation principles to more complex body movement. They’ll work with new character rigs, explore reference, posing, timing, staging, secondary action, exaggeration, appeal, and dynamic camera movement, then apply those skills to a portfolio-focused body mechanics project.
Lesson 2: The Power of References
In this lesson, students learn why reference material is essential for creating believable and appealing character animation. They’ll explore how video references help with posing, timing, weight, arcs, secondary action, and personality, while also learning how to create their own timecoded reference footage for future animation work.
Lesson 3: Advanced Principles: Arc
In this lesson, students learn how arcs improve character animation by following the natural curved paths created by the body’s joints and range of motion. They’ll use the Quinn rig, reference footage, onion skinning, and the Graph Editor to animate a yoga sequence with smoother, more believable body movement.
Lesson 4: Advanced Principles: Anticipation
In this lesson, students learn how anticipation helps prepare the audience for a character’s next action by showing a build-up of energy before the movement happens. They’ll animate Bruno sitting, standing, stretching, and sitting back down while using reference, breakdown poses, and Graph Editor cleanup to make the performance feel more believable and expressive.
Lesson 5: Advanced Principles: Slow In / Slow Out
In this lesson, students learn how slow-in and slow-out helps character animation feel more realistic by showing acceleration, deceleration, and the buildup and release of momentum. They’ll animate a forward jump using reference, key poses, breakdowns, and Graph Editor cleanup so the character’s takeoff and landing feel believable and controlled.
Lesson 6: Advanced Principles: Squash & Stretch
In this lesson, students learn how squash and stretch can make character animation feel more organic, flexible, and visually expressive. They’ll animate a sneaky burglar performance using the Manny rig, pushing poses and maintaining volume to create motion that feels dynamic, playful, and full of personality.
Lesson 7: Advanced Principles: Follow-Through & Overlapping Action
In this lesson, students learn how follow-through and overlapping action help character movement feel heavier, more forceful, and more believable. They’ll animate a boxing performance with the Quinn rig, using reference, blocking, curve cleanup, and delayed body motion to show how different parts of the body lead, drag, and react during a punch.
Lesson 8: Advanced Principles: Secondary Action
In this lesson, students learn how secondary action adds personality, detail, and emotional context to a character’s main movement. They’ll animate a heavy lift performance, focusing first on believable body mechanics and then adding supporting actions that reveal the character’s effort, attitude, and thought process.
Lesson 9: Advanced Principles: Timing
In this lesson, students learn how timing can completely change the perceived scale and weight of a character’s movement. They’ll animate a Godzilla-style character moving through a city, using slower timing, keyframe adjustments, camera shake, and Graph Editor cleanup to make the character feel massive and powerful.
Lesson 10: Advanced Principles: Exaggeration
In this lesson, students learn how exaggeration can push character animation beyond realism to make emotions, reactions, and poses feel more entertaining and expressive. They’ll animate a full-body “eeek!” reaction using reference, strong key poses, timing, Graph Editor cleanup, and pushed rig poses to create a more cartoony and memorable performance.
Lesson 11: Advanced Principles: Straight Ahead Action & Pose-to-Pose
In this lesson, students learn when to use pose-to-pose animation versus straight-ahead action for more complex character movement. They’ll animate a martial arts sequence with the Aldo rig, using blocking, speed ramps, slow motion, Graph Editor cleanup, and even faux motion blur to create a more dynamic action performance.
Lesson 12: Advanced Principles: Appeal
In this lesson, students learn how appeal helps make animation more interesting, expressive, and memorable, even when the scene itself is simple. They’ll animate a bus stop scenario using reference, creative character choices, blocking, breakdowns, and Graph Editor cleanup to turn an ordinary moment into a more engaging performance.
Lesson 13: Advanced Principles: Staging
In this lesson, students learn how staging guides the viewer’s attention by controlling where characters, objects, action, and cameras are placed within a scene. They’ll practice both framing scenes with camera shots and arranging characters or scenery inside existing shots so each moment is clear, readable, and visually engaging.
Lesson 14: Camera as a Character
In this lesson, students learn how to treat the camera as part of the performance, using lens choices, framing, depth of field, shot types, and movement to strengthen their animation. They’ll revisit work from the module and rework the camera to improve staging, focus, and overall portfolio presentation.
Portfolio Project: Hardcore Parkour
In this final portfolio project, students bring together everything they’ve learned in Advanced Body Mechanics by animating a short parkour sequence through an obstacle course. They’ll use character rigs, reference, staging, camera choices, and key animation principles like arcs, anticipation, timing, squash and stretch, follow-through, and appeal to create a dynamic piece for their portfolio.
Lesson Block 6:
Skillset: Motion Graphics
Our Motion Graphics Curriculum teaches students how to create animated visual content for commercial media such as advertising, film, social media, and corporate content, while emphasizing the importance of becoming versatile and capable of solving creative problems using multiple techniques.
Through a progression of 3 skill levels, students learn everything from After Effects-based 2.5D workflows and advanced Cinema 4D techniques, to mixed media integration and complex animation systems, ultimately culminating in a polished demo reel designed to impress employers and clients.
The program encourages experimentation, creativity, and long-term skill development while preparing aspiring Motion Graphics Artists for freelance, studio, or corporate careers.
*Requires Adobe Creative Cloud Pro & Maxon Cinema 4D subscription (sold separately)
Lessons available for:
Module 1: Overview
This first module summarizes up everything you will be learning within the Motion Graphics Curriculum.
Covering what is and is not included if you are enrolled in one of our tailored Journeys, as well as details around what you will be learning at each skill level, the assignments ahead, and expected outcomes for your portfolio.
Module 2: After Effects for Motion Graphics (Level I)
Estimated completion time: 6-8 weeks
This module teaches the essential skills needed to begin a professional career in motion graphics. We focus on industry-standard techniques like text animation, greenscreen keying, motion tracking, shot stabilization, and creating dynamic visual graphics.
Throughout the lessons, students will build a versatile creative skill set while producing strong portfolio pieces that demonstrate their ability to solve a wide range of visual challenges for clients, studios, and agencies.
The ultimate goal is to help students become adaptable, in-demand Motion Graphics Artists capable of handling professional projects from concept to completion.
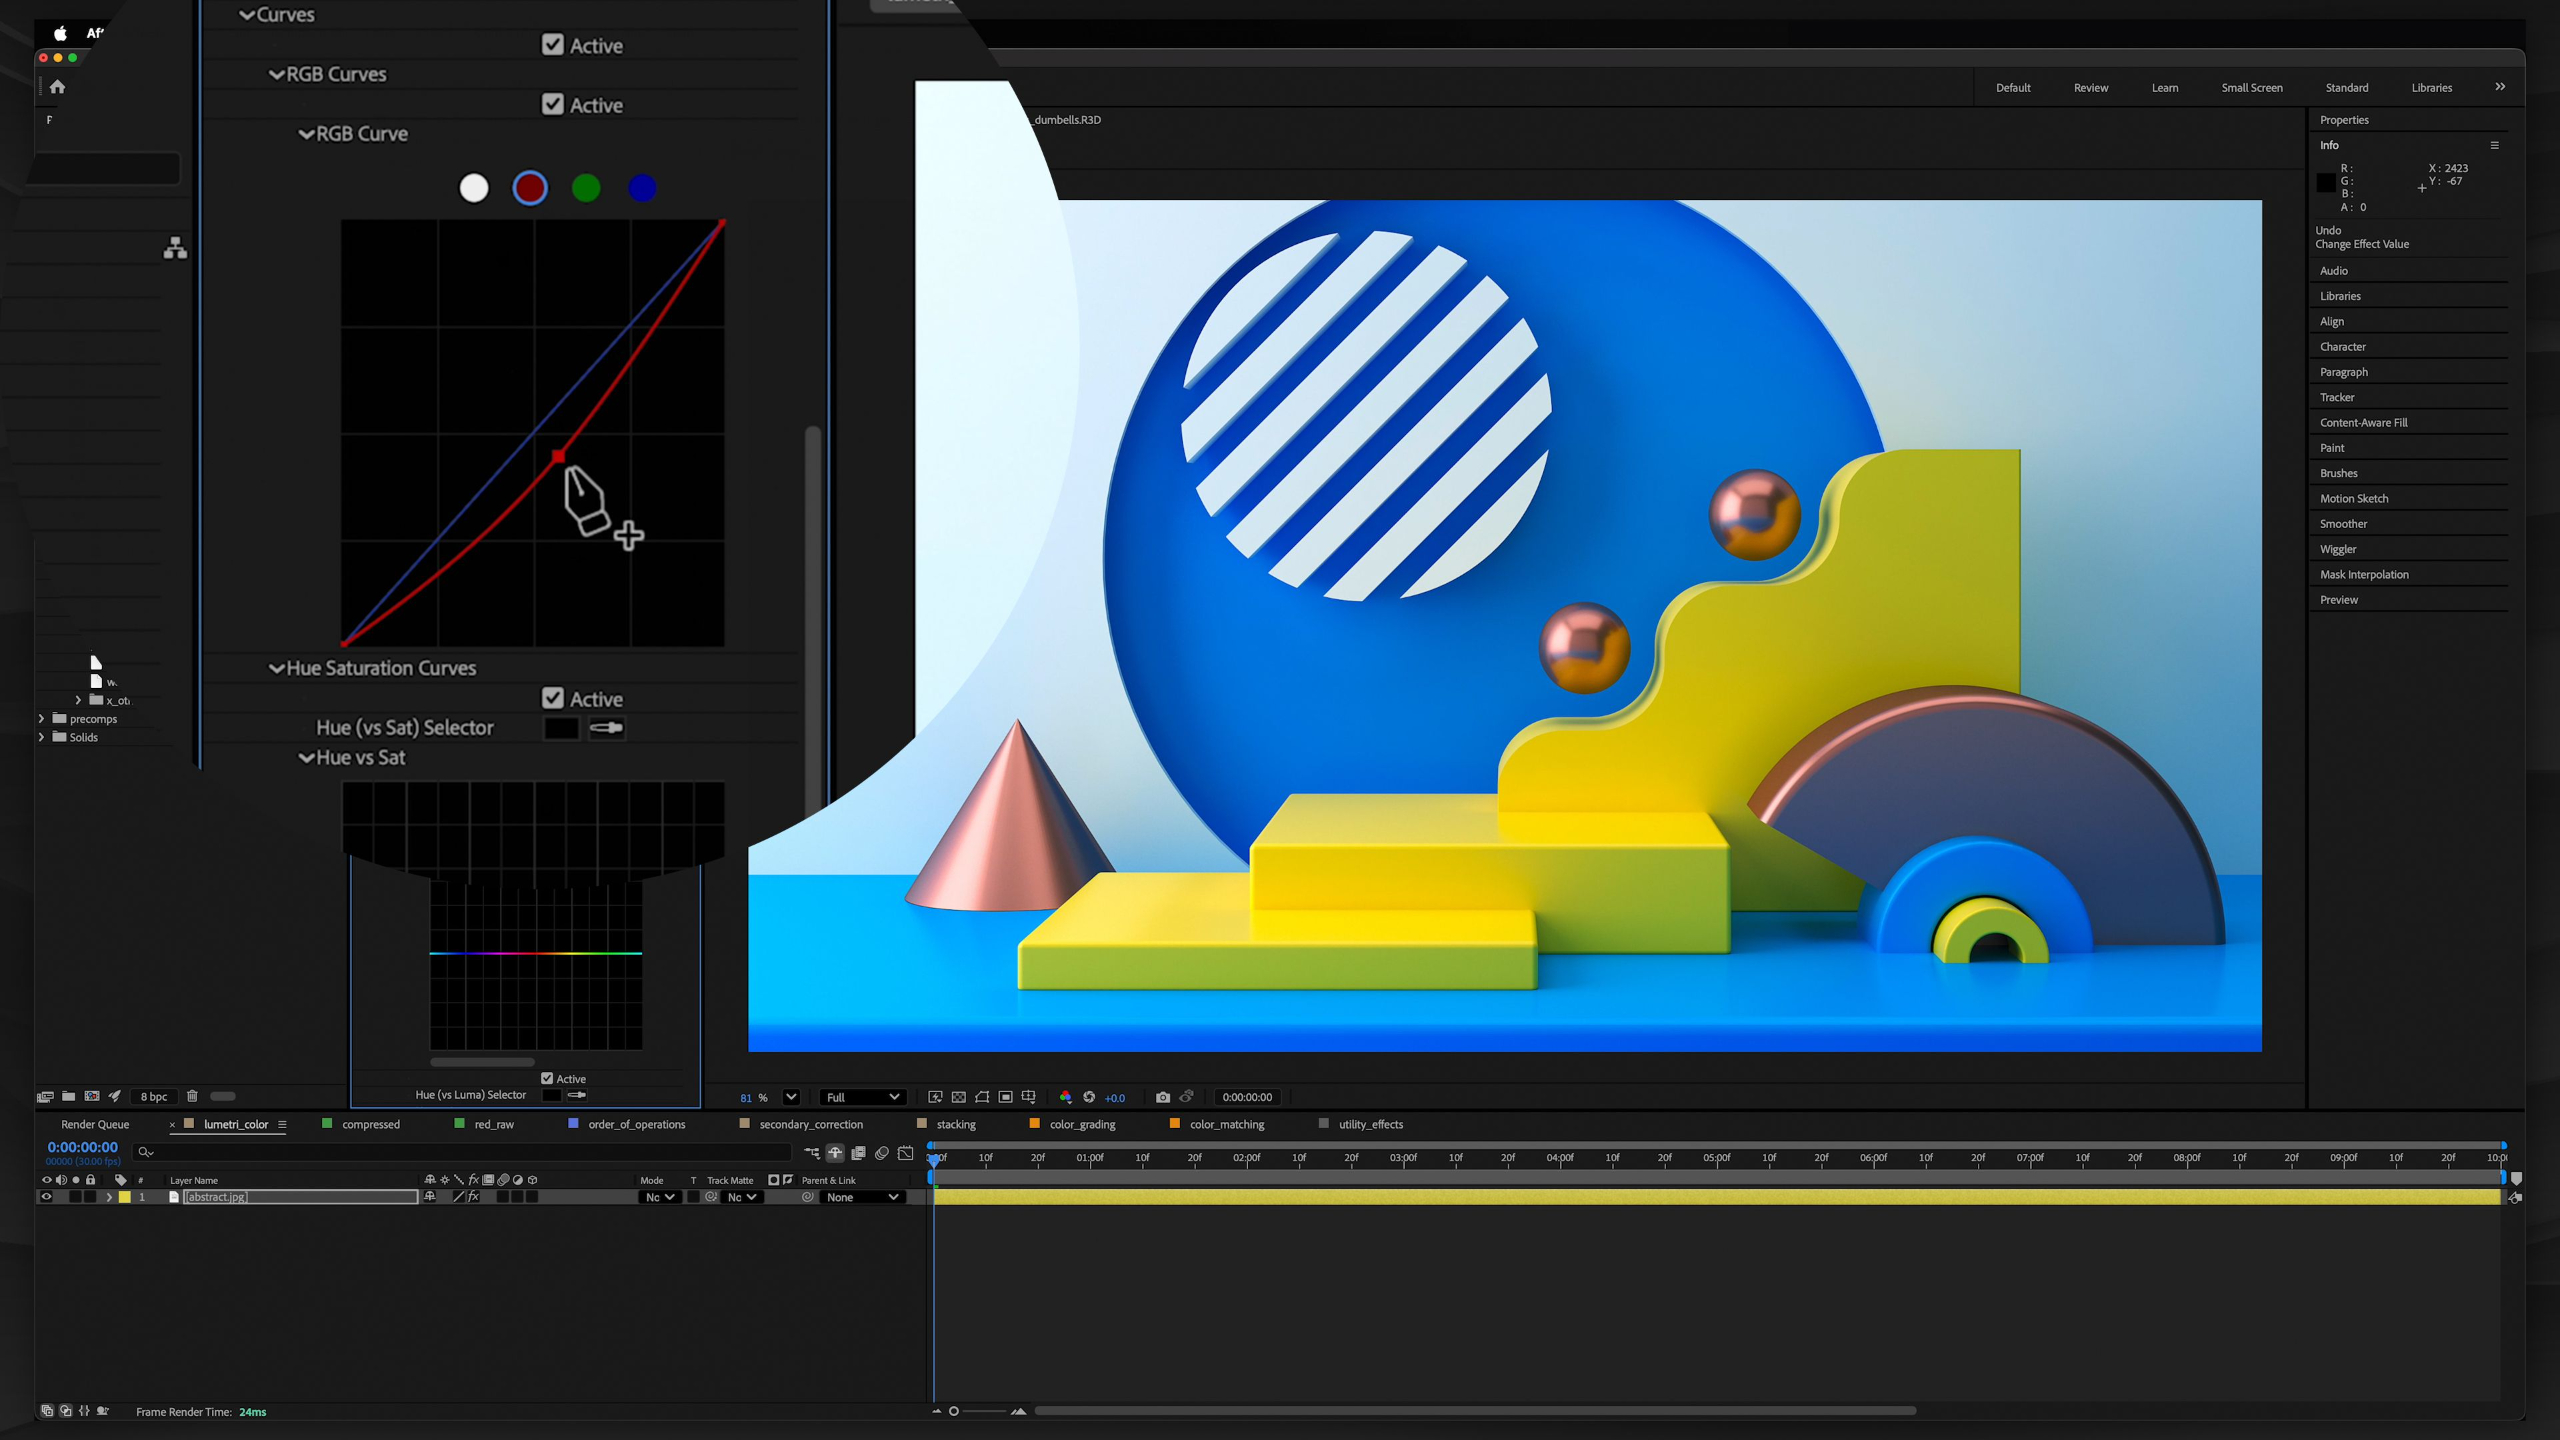
Lesson 1: After Effects Overview
This lesson introduces the After Effects for Motion Graphics module, where students begin building the essential skills used in real client and studio work, including text animation, greenscreen keying, stabilization, tracking, and integrating graphics with video. Students will also set up a free Pexels account so they can access unique footage for assignments and start creating portfolio-ready motion graphics projects.
Lesson 7: Transitions
This lesson introduces transitions in After Effects, showing students how to move creatively from one shot or scene to another using wipes, pans, zooms, shapes, glitches, parallax, 3D moves, textures, particles, and more. Students will study a wide range of transition techniques and then create five original transition sequences using different styles.
Lesson 2: Color Control
This lesson introduces color control in After Effects, covering the difference between color correction and color grading while teaching students how to use Lumetri Color to adjust exposure, white balance, contrast, LUTs, and stylized looks. Students will experiment with provided footage to practice building a clean color-correction workflow and create more polished, professional-looking motion graphics projects.
Lesson 8: Collages
This lesson introduces collages in motion graphics, showing students how to combine images, videos, tiles, camera movement, 3D space, scripts, and particle systems to tell richer visual stories in a short amount of time. Students will practice building and animating their own collage using custom visuals, tile systems, camera moves, and motion techniques inside After Effects.
Lesson 3: Chroma Key
This lesson introduces chroma keying in After Effects, showing students how to remove green or blue screen backgrounds and composite footage, graphics, and environments together using tools like Keylight. Students will practice creating clean keys in common real-world scenarios, including low-resolution footage, fine hair, motion blur, shallow focus, inconsistent backgrounds, and screen replacements.
Lesson 9: Parallax
This lesson teaches students how to bring still images to life using parallax, creating the illusion of depth by separating artwork into layers and moving closer objects faster than those farther away. Students will practice both the Null Method and Camera Method, then build their own layered parallax animation for their portfolio.
Lesson 4: Tracking
This lesson introduces tracking in After Effects, showing students how to extract motion, rotation, scale, and camera movement from live-action footage so graphics feel naturally integrated into the scene. Students will practice using Track Motion, Boris FX Mocha, Corner Pin, the Smoother panel, and Camera Tracking to attach text, screens, effects, and 3D-style elements to moving footage.
Lesson 10: Effects & Tools
This lesson gives students a broader look at advanced After Effects effects and popular third-party tools used throughout the motion graphics industry, including simulation effects, VR tools, Magic Bullet, Trapcode, Video Copilot, Plexus, and RSMB. While there is no formal assignment, students are encouraged to explore the project file as a reference library and start identifying which tools may become useful in their own creative workflow.
Lesson 5: Masking
This lesson introduces masking in After Effects as one of the most essential motion graphics techniques for hiding, revealing, compositing, and placing graphics or effects into live-action footage. Students will practice practical masking, rotoscoping, Auto-Trace, Roto Brush, Refine Edge, and tracking-based workflows to solve real creative challenges in post-production.
Portfolio Project: Tourism Campaign
This portfolio lesson challenges students to create a 15–20 second tourism campaign ad using real footage and images, while applying the key After Effects skills from the module like color control, tracking, masking, stabilization, and transitions. Students can also push the project further by adding a collage or parallax shot, giving them a polished portfolio piece that shows they can combine multiple techniques into a professional-looking motion graphics project.
Lesson 6: Stabilization
This lesson introduces stabilization in After Effects, showing students how to smooth shaky footage, remove unwanted camera movement, repair motion blur or rolling shutter issues, and prepare footage for cleaner motion graphics work. Students will practice using Stabilize Motion, Warp Stabilizer, Camera-Shake Deblur, Rolling Shutter Repair, and even add camera shake back in when it helps create more energy.
Portfolio Project: Motion GFX Kits
This lesson introduces 3 different After Effects kits:
The Award Ceremony Kit is a customizable After Effects template designed to help students quickly create elegant event graphics.
The Ultimate Maps Kit is a powerful template system that helps students quickly create animated maps with countries, states, cities, routes, markers and more.
The Whiteboard Starter Kit helps students create polished whiteboard-style animations.
Lesson 1: After Effects Overview
This lesson introduces the After Effects for Motion Graphics module, where students begin building the essential skills used in real client and studio work, including text animation, greenscreen keying, stabilization, tracking, and integrating graphics with video. Students will also set up a free Pexels account so they can access unique footage for assignments and start creating portfolio-ready motion graphics projects.
Lesson 2: Color Control
This lesson introduces color control in After Effects, covering the difference between color correction and color grading while teaching students how to use Lumetri Color to adjust exposure, white balance, contrast, LUTs, and stylized looks. Students will experiment with provided footage to practice building a clean color-correction workflow and create more polished, professional-looking motion graphics projects.
Lesson 3: Chroma Key
This lesson introduces chroma keying in After Effects, showing students how to remove green or blue screen backgrounds and composite footage, graphics, and environments together using tools like Keylight. Students will practice creating clean keys in common real-world scenarios, including low-resolution footage, fine hair, motion blur, shallow focus, inconsistent backgrounds, and screen replacements.
Lesson 4: Tracking
This lesson introduces tracking in After Effects, showing students how to extract motion, rotation, scale, and camera movement from live-action footage so graphics feel naturally integrated into the scene. Students will practice using Track Motion, Boris FX Mocha, Corner Pin, the Smoother panel, and Camera Tracking to attach text, screens, effects, and 3D-style elements to moving footage.
Lesson 5: Masking
This lesson introduces masking in After Effects as one of the most essential motion graphics techniques for hiding, revealing, compositing, and placing graphics or effects into live-action footage. Students will practice practical masking, rotoscoping, Auto-Trace, Roto Brush, Refine Edge, and tracking-based workflows to solve real creative challenges in post-production.
Lesson 6: Stabilization
This lesson introduces stabilization in After Effects, showing students how to smooth shaky footage, remove unwanted camera movement, repair motion blur or rolling shutter issues, and prepare footage for cleaner motion graphics work. Students will practice using Stabilize Motion, Warp Stabilizer, Camera-Shake Deblur, Rolling Shutter Repair, and even add camera shake back in when it helps create more energy.
Lesson 7: Transitions
This lesson introduces transitions in After Effects, showing students how to move creatively from one shot or scene to another using wipes, pans, zooms, shapes, glitches, parallax, 3D moves, textures, particles, and more. Students will study a wide range of transition techniques and then create five original transition sequences using different styles.
Lesson 8: Collages
This lesson introduces collages in motion graphics, showing students how to combine images, videos, tiles, camera movement, 3D space, scripts, and particle systems to tell richer visual stories in a short amount of time. Students will practice building and animating their own collage using custom visuals, tile systems, camera moves, and motion techniques inside After Effects.
Lesson 9: Parallax
This lesson teaches students how to bring still images to life using parallax, creating the illusion of depth by separating artwork into layers and moving closer objects faster than those farther away. Students will practice both the Null Method and Camera Method, then build their own layered parallax animation for their portfolio.
Lesson 10: Effects & Tools
This lesson gives students a broader look at advanced After Effects effects and popular third-party tools used throughout the motion graphics industry, including simulation effects, VR tools, Magic Bullet, Trapcode, Video Copilot, Plexus, and RSMB. While there is no formal assignment, students are encouraged to explore the project file as a reference library and start identifying which tools may become useful in their own creative workflow.
Portfolio Project: Tourism Campaign
This portfolio lesson challenges students to create a 15–20 second tourism campaign ad using real footage and images, while applying the key After Effects skills from the module like color control, tracking, masking, stabilization, and transitions. Students can also push the project further by adding a collage or parallax shot, giving them a polished portfolio piece that shows they can combine multiple techniques into a professional-looking motion graphics project.
Portfolio Project: Motion GFX Kits
This lesson introduces 3 different After Effects kits:
The Award Ceremony Kit is a customizable After Effects template designed to help students quickly create elegant event graphics.
The Ultimate Maps Kit is a powerful template system that helps students quickly create animated maps with countries, states, cities, routes, markers and more.
The Whiteboard Starter Kit helps students create polished whiteboard-style animations.
Module 3: Intro to Cinema 4D (Level II)
Estimated completion time: 6-8 weeks
This module provides an A to Z walkthrough of 3D software Cinema 4D. Students will learn to confidently navigate the software and create professional-quality motion graphics projects for their demo reel.
These lessons build strong foundations in the full 3D production pipeline by focusing on each specific discipline / feature within the platform. Including modeling, texturing, lighting, rigging, cameras, MoGraph, dynamics and more.
Whether coming from a 2D or 3D background or starting fresh, we explore how motion graphics uses conceptual imagery, animation, and sound to communicate ideas, promote brands, and tell visually compelling stories.
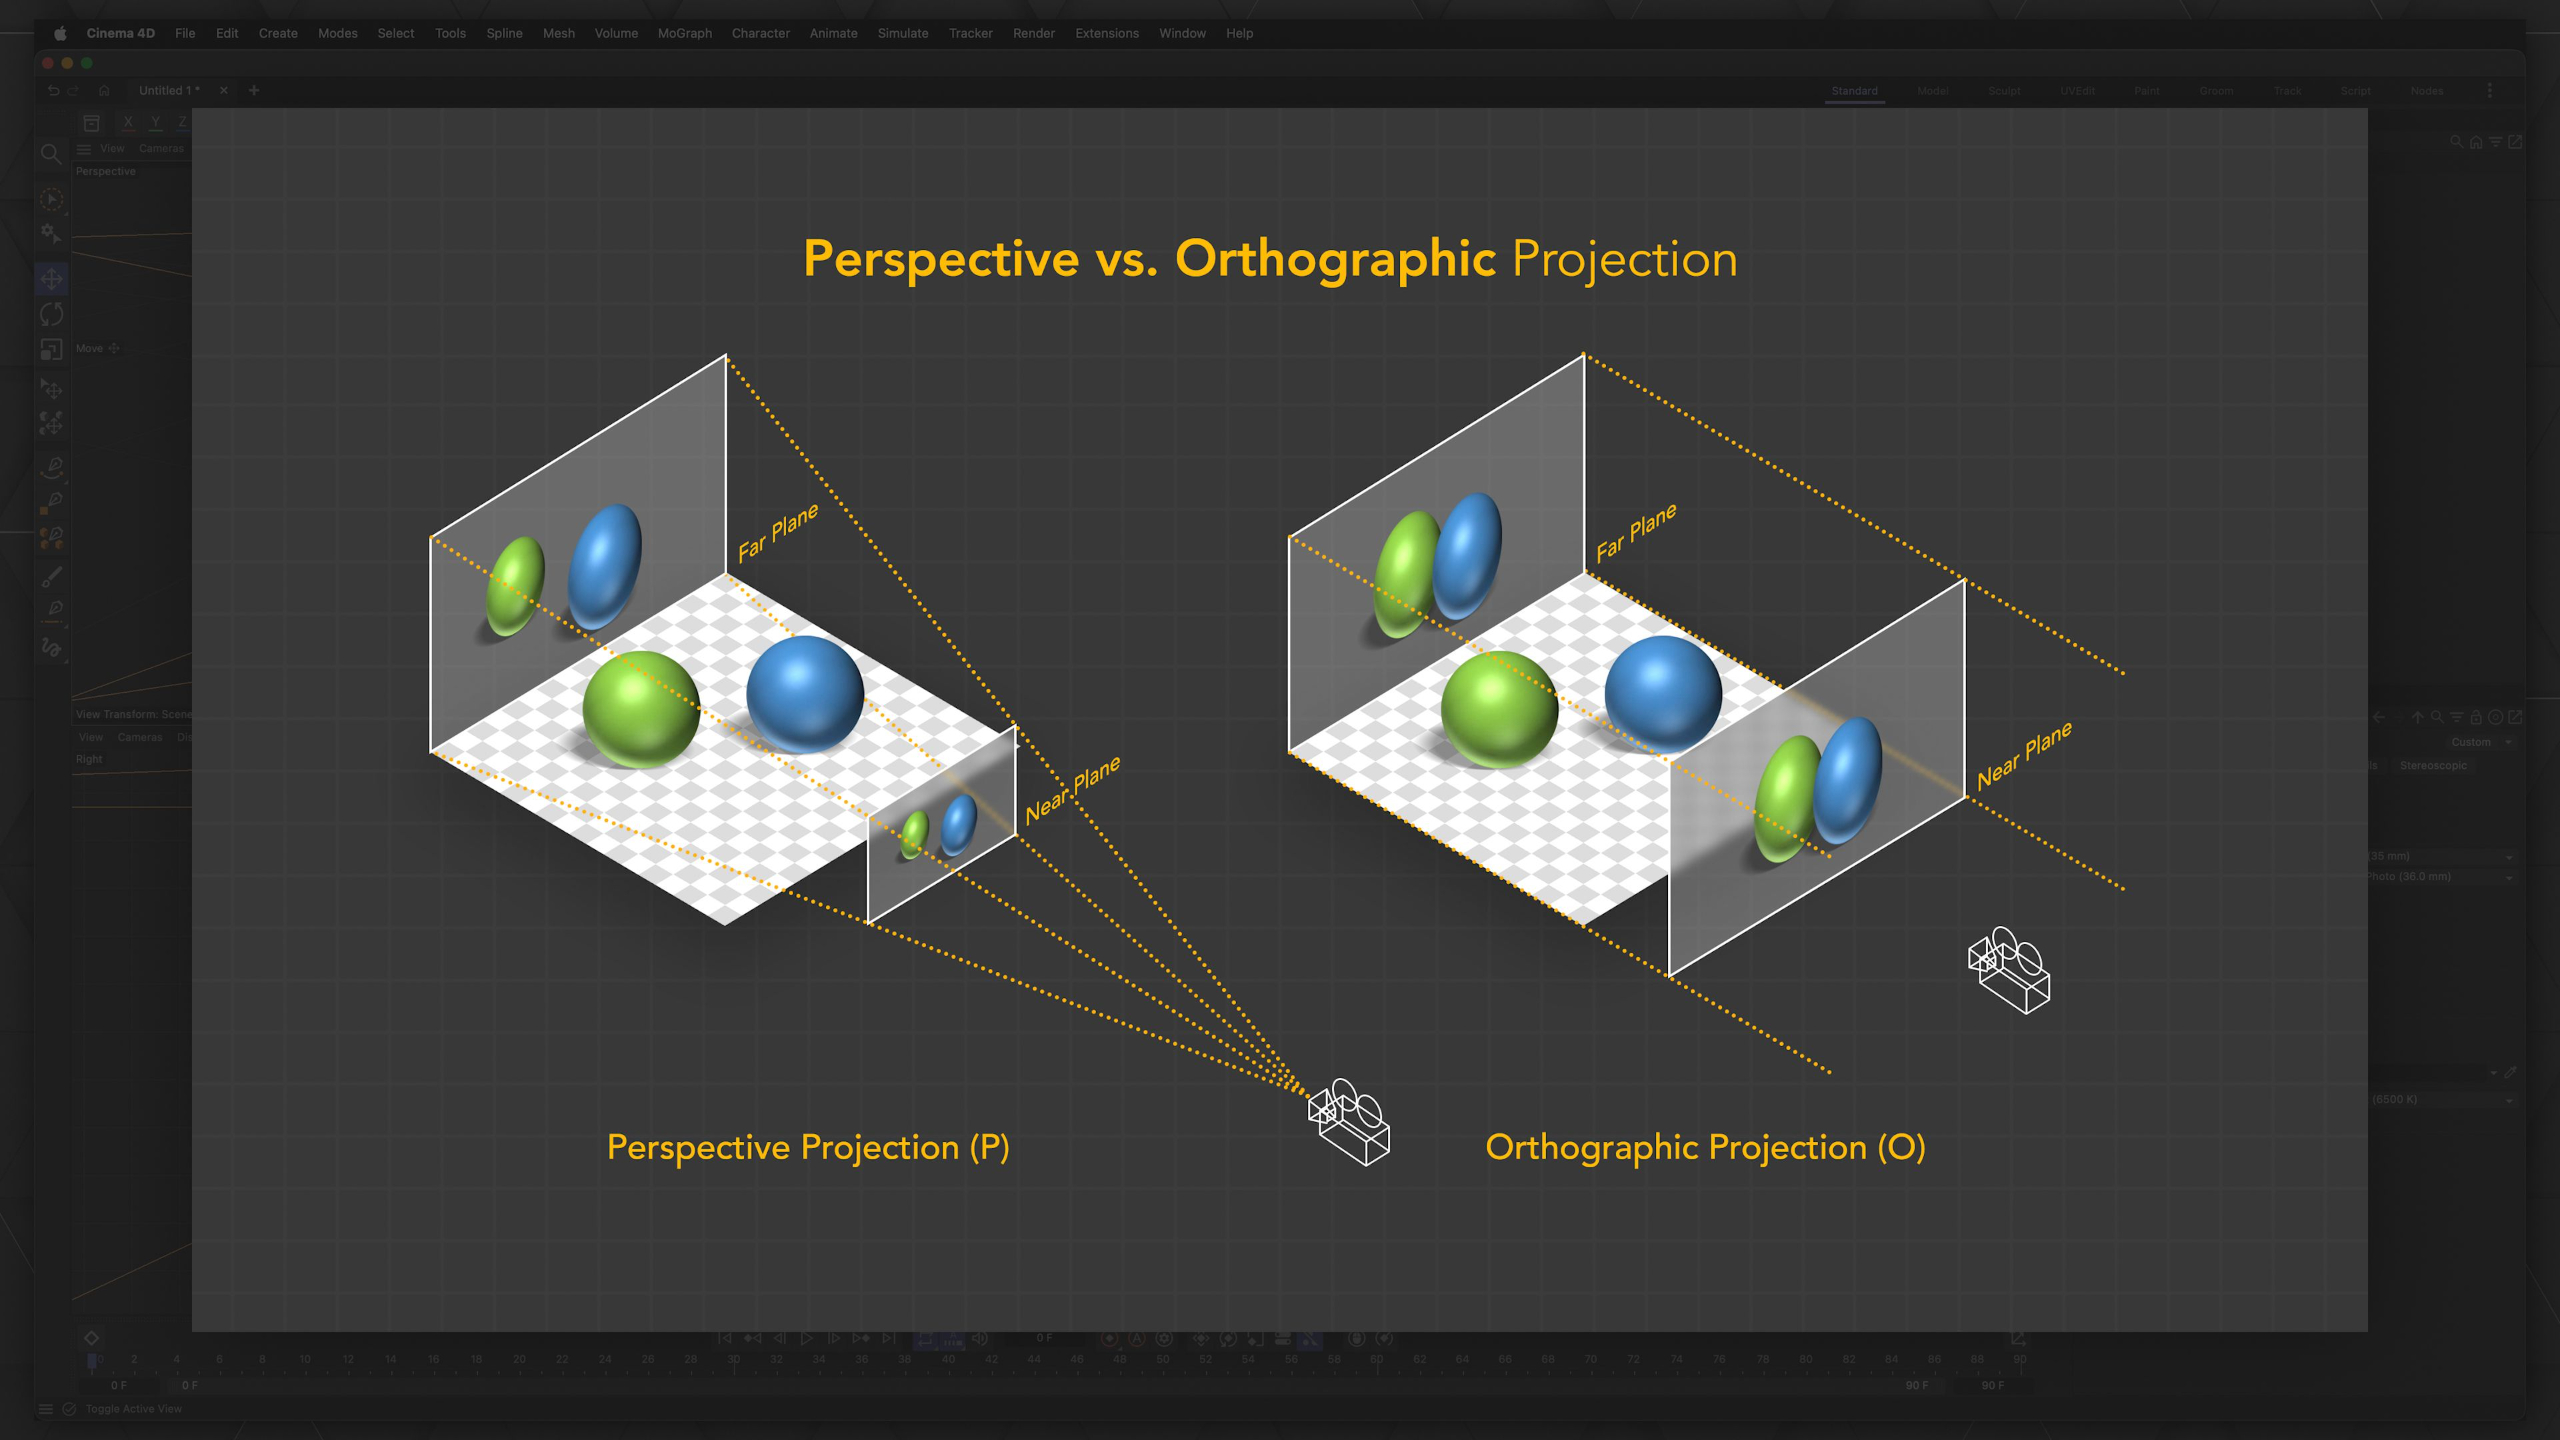
Lesson 1: Intro to Cinema 4D Overview
This lesson introduces the Intro to Cinema 4D module, where students begin learning the essential tools and workflow needed to create commercial, brand-focused motion graphics projects. Students will build on their animation foundation while learning how to navigate Cinema 4D and prepare for more polished, professional demo reel work.
Lesson 11: Lighting
This lesson introduces lighting in Cinema 4D, showing students how different light types, shadows, environmental objects, global illumination, visible light, caustics, and lighting setups can shape the mood and clarity of a scene. Students will practice lighting a smartphone, an animated fruit punch scene, and a complex junkyard environment to better understand how lighting supports both realism and stylized motion graphics.
Lesson 2: Interface
This lesson gives students a guided tour of the Cinema 4D interface, helping them understand the viewport, menus, Object Manager, Attribute Manager, timeline, materials, tools, modes, layers, and project tabs. Students will get comfortable navigating the software layout so the upcoming modeling, animation, and motion graphics lessons feel much easier to follow.
Lesson 12: Constraints
This lesson introduces constraints in Cinema 4D, showing students how to bind objects to other objects, paths, splines, axes, and animated controls to create more efficient and believable motion. Students will practice constraint tags, Align to Path, Align to Spline, and IK-Spline setups so they can build smarter animation systems for future motion graphics projects.
Lesson 3: Settings
This lesson walks students through the key Cinema 4D preferences and settings, including interface behavior, navigation, viewport quality, saving, auto-save, plugins, units, memory, materials, assets, and import/export options. Students will learn how to adjust the software to fit their workflow and use this lesson as a reference as they become more comfortable working in Cinema 4D.
Lesson 13: Rigging
This three-part rigging lesson introduces students to joints, IK/FK systems, constraints, binding, weight painting, and Cinema 4D’s character rig builders. Students will practice rigging hard-surface objects, organic models, characters, vehicles, and optional complex machinery so they can build smarter animation controls for future motion graphics projects.
Lesson 4: Viewport Navigation
This lesson teaches students how to navigate the Cinema 4D viewport, including moving, orbiting, zooming, using perspective and orthographic views, changing panel layouts, and configuring viewport display settings. Students will practice these navigation tools so they can move comfortably through 3D space and work more efficiently in future Cinema 4D lessons.
Lesson 14: Animation
This three-part animation lesson teaches students how to animate in Cinema 4D using keyframes, frame rate, the timeline, Dope Sheet, F-Curve Editor, and interpolation controls to create more believable motion. Students will also explore Mixamo motion capture workflows, learning how to auto-rig characters, apply mocap animation, import it back into Cinema 4D, and add controls for faster character animation.
Lesson 5: Objects
This lesson teaches students how to select, organize, group, hide, solo, combine, and manage objects inside Cinema 4D’s viewport and Object Manager. Students will also explore parent-child relationships and useful tags, giving them a stronger foundation for building clean, organized 3D scenes.
Lesson 15: Cameras
This lesson introduces cameras in Cinema 4D, showing students how to plan shots, use camera types and rigs, adjust focal length, depth of field, lens effects, composition guides, and create camera cuts with the Stage object. Students will practice animating cameras and building storyboard-driven shot sequences so their 3D motion graphics feel more cinematic and professionally directed.
Lesson 6: Transforms
This lesson teaches students how to transform objects in Cinema 4D by moving, rotating, scaling, duplicating, arranging, randomizing, placing, and projecting objects within a 3D scene. Students will also learn how axis controls, coordinates, freeze transformations, and dynamic placement tools help create cleaner, more flexible motion graphics workflows.
Lesson 16: MoGraph
This lesson introduces Cinema 4D’s MoGraph toolset, showing students how to use cloners, effectors, fields, matrices, fractures, tracers, MoSplines, MoInstances, MoExtrude, and PolyFX to create dynamic multi-object animations and abstract motion graphics. Students will experiment with the provided project files to better understand how MoGraph can generate complex, flexible visuals quickly while still being applied to real client-focused work.
Lesson 7: Modeling
This three-part modeling lesson introduces students to the core Cinema 4D modeling workflows, including hard-surface modeling, organic sculpting, spline creation, and generator-based geometry. Students will practice building a planetary rover, sculpting terrain and character details, and using splines and generators to create more complex 3D objects for motion graphics projects.
Lesson 17: Dynamics
This three-part dynamics lesson introduces students to Cinema 4D’s physics-based animation tools, including rigid bodies, soft bodies, cloth, rope, emitters, forces, Voronoi fractures, Pyro, connectors, springs, and motors. Students will experiment with simulations like bowling pins, bouncing soft bodies, cloth, particles, destruction, vehicles, and bobbleheads to understand how dynamics can create realistic motion that would be difficult to animate by hand.
Lesson 8: Deformers
This lesson introduces deformers in Cinema 4D, showing students how to non-destructively bend, twist, stretch, melt, shatter, wrap, displace, and reshape objects or splines in creative ways. Students will practice applying different deformers to understand how they can speed up modeling, enhance animation, and add more dynamic motion graphics effects to their projects.
Lesson 18: Rendering
This three-part rendering lesson introduces students to Cinema 4D’s rendering workflow, including viewport previews, the Picture Viewer, Render Queue, render settings, image sequences, multi-passes, transparency, anti-aliasing, motion blur, global illumination, Sketch & Toon, and render effects. Students will also learn practical production considerations like render times, cloud render farms, and third-party render engines so they can make smarter creative and technical decisions when finishing their motion graphics projects.
Lesson 9: Materials
This lesson introduces materials in Cinema 4D, showing students how shaders control the color, texture, reflectivity, transparency, glow, depth, and overall visual style of 3D objects. Students will practice creating and applying materials in a fish bowl scene while learning how to use the Material Manager, Material Editor, and Asset Browser to build more polished and believable renders.
Lesson 19: Compositing
This lesson teaches students how to composite Cinema 4D renders in After Effects using multi-passes, EXR files, alpha channels, motion vector passes, Cineware, and exported 3D camera/null data. Students will also complete a final Cinema 4D portfolio project by creating a short product-focused animation that combines modeling, materials, lighting, animation, rendering, and compositing into one polished piece.
Lesson 10: Texturing
This lesson teaches students how to texture objects in Cinema 4D using projection mapping, UV unwrapping, and BodyPaint 3D. Students will practice applying images to objects, creating clean UV layouts, and painting directly onto 3D models so their scenes feel more detailed, customized, and production-ready.
Lesson 1: Intro to Cinema 4D Overview
This lesson introduces the Intro to Cinema 4D module, where students begin learning the essential tools and workflow needed to create commercial, brand-focused motion graphics projects. Students will build on their animation foundation while learning how to navigate Cinema 4D and prepare for more polished, professional demo reel work.
Lesson 2: Interface
This lesson gives students a guided tour of the Cinema 4D interface, helping them understand the viewport, menus, Object Manager, Attribute Manager, timeline, materials, tools, modes, layers, and project tabs. Students will get comfortable navigating the software layout so the upcoming modeling, animation, and motion graphics lessons feel much easier to follow.
Lesson 3: Settings
This lesson walks students through the key Cinema 4D preferences and settings, including interface behavior, navigation, viewport quality, saving, auto-save, plugins, units, memory, materials, assets, and import/export options. Students will learn how to adjust the software to fit their workflow and use this lesson as a reference as they become more comfortable working in Cinema 4D.
Lesson 4: Viewport Navigation
This lesson teaches students how to navigate the Cinema 4D viewport, including moving, orbiting, zooming, using perspective and orthographic views, changing panel layouts, and configuring viewport display settings. Students will practice these navigation tools so they can move comfortably through 3D space and work more efficiently in future Cinema 4D lessons.
Lesson 5: Objects
This lesson teaches students how to select, organize, group, hide, solo, combine, and manage objects inside Cinema 4D’s viewport and Object Manager. Students will also explore parent-child relationships and useful tags, giving them a stronger foundation for building clean, organized 3D scenes.
Lesson 6: Transforms
This lesson teaches students how to transform objects in Cinema 4D by moving, rotating, scaling, duplicating, arranging, randomizing, placing, and projecting objects within a 3D scene. Students will also learn how axis controls, coordinates, freeze transformations, and dynamic placement tools help create cleaner, more flexible motion graphics workflows.
Lesson 7: Modeling
This three-part modeling lesson introduces students to the core Cinema 4D modeling workflows, including hard-surface modeling, organic sculpting, spline creation, and generator-based geometry. Students will practice building a planetary rover, sculpting terrain and character details, and using splines and generators to create more complex 3D objects for motion graphics projects.
Lesson 8: Deformers
This lesson introduces deformers in Cinema 4D, showing students how to non-destructively bend, twist, stretch, melt, shatter, wrap, displace, and reshape objects or splines in creative ways. Students will practice applying different deformers to understand how they can speed up modeling, enhance animation, and add more dynamic motion graphics effects to their projects.
Lesson 9: Materials
This lesson introduces materials in Cinema 4D, showing students how shaders control the color, texture, reflectivity, transparency, glow, depth, and overall visual style of 3D objects. Students will practice creating and applying materials in a fish bowl scene while learning how to use the Material Manager, Material Editor, and Asset Browser to build more polished and believable renders.
Lesson 10: Texturing
This lesson teaches students how to texture objects in Cinema 4D using projection mapping, UV unwrapping, and BodyPaint 3D. Students will practice applying images to objects, creating clean UV layouts, and painting directly onto 3D models so their scenes feel more detailed, customized, and production-ready.
Lesson 11: Lighting
This lesson introduces lighting in Cinema 4D, showing students how different light types, shadows, environmental objects, global illumination, visible light, caustics, and lighting setups can shape the mood and clarity of a scene. Students will practice lighting a smartphone, an animated fruit punch scene, and a complex junkyard environment to better understand how lighting supports both realism and stylized motion graphics.
Lesson 12: Constraints
This lesson introduces constraints in Cinema 4D, showing students how to bind objects to other objects, paths, splines, axes, and animated controls to create more efficient and believable motion. Students will practice constraint tags, Align to Path, Align to Spline, and IK-Spline setups so they can build smarter animation systems for future motion graphics projects.
Lesson 13: Rigging
This three-part rigging lesson introduces students to joints, IK/FK systems, constraints, binding, weight painting, and Cinema 4D’s character rig builders. Students will practice rigging hard-surface objects, organic models, characters, vehicles, and optional complex machinery so they can build smarter animation controls for future motion graphics projects.
Lesson 14: Animation
This three-part animation lesson teaches students how to animate in Cinema 4D using keyframes, frame rate, the timeline, Dope Sheet, F-Curve Editor, and interpolation controls to create more believable motion. Students will also explore Mixamo motion capture workflows, learning how to auto-rig characters, apply mocap animation, import it back into Cinema 4D, and add controls for faster character animation.
Lesson 15: Cameras
This lesson introduces cameras in Cinema 4D, showing students how to plan shots, use camera types and rigs, adjust focal length, depth of field, lens effects, composition guides, and create camera cuts with the Stage object. Students will practice animating cameras and building storyboard-driven shot sequences so their 3D motion graphics feel more cinematic and professionally directed.
Lesson 16: MoGraph
This lesson introduces Cinema 4D’s MoGraph toolset, showing students how to use cloners, effectors, fields, matrices, fractures, tracers, MoSplines, MoInstances, MoExtrude, and PolyFX to create dynamic multi-object animations and abstract motion graphics. Students will experiment with the provided project files to better understand how MoGraph can generate complex, flexible visuals quickly while still being applied to real client-focused work.
Lesson 17: Dynamics
This three-part dynamics lesson introduces students to Cinema 4D’s physics-based animation tools, including rigid bodies, soft bodies, cloth, rope, emitters, forces, Voronoi fractures, Pyro, connectors, springs, and motors. Students will experiment with simulations like bowling pins, bouncing soft bodies, cloth, particles, destruction, vehicles, and bobbleheads to understand how dynamics can create realistic motion that would be difficult to animate by hand.
Lesson 18: Rendering
This three-part rendering lesson introduces students to Cinema 4D’s rendering workflow, including viewport previews, the Picture Viewer, Render Queue, render settings, image sequences, multi-passes, transparency, anti-aliasing, motion blur, global illumination, Sketch & Toon, and render effects. Students will also learn practical production considerations like render times, cloud render farms, and third-party render engines so they can make smarter creative and technical decisions when finishing their motion graphics projects.
Lesson 19: Compositing
This lesson teaches students how to composite Cinema 4D renders in After Effects using multi-passes, EXR files, alpha channels, motion vector passes, Cineware, and exported 3D camera/null data. Students will also complete a final Cinema 4D portfolio project by creating a short product-focused animation that combines modeling, materials, lighting, animation, rendering, and compositing into one polished piece.
Module 4: Mixed-Media Motion Graphics (Level II)
Estimated completion time: 6-8 weeks
In this module, we go beyond technical training and focus on developing the creative and professional soft skills that help motion graphics artists succeed long-term, including problem-solving, organization, adaptability, and critical thinking.
Building on your 2D and 3D animation experience, you’ll learn how to combine both mediums into advanced mixed-media projects, create abstract and conceptual animations, and develop data visualizations that communicate ideas clearly and effectively. Whether that means teaching, informing, selling a product, or creating emotional impact.
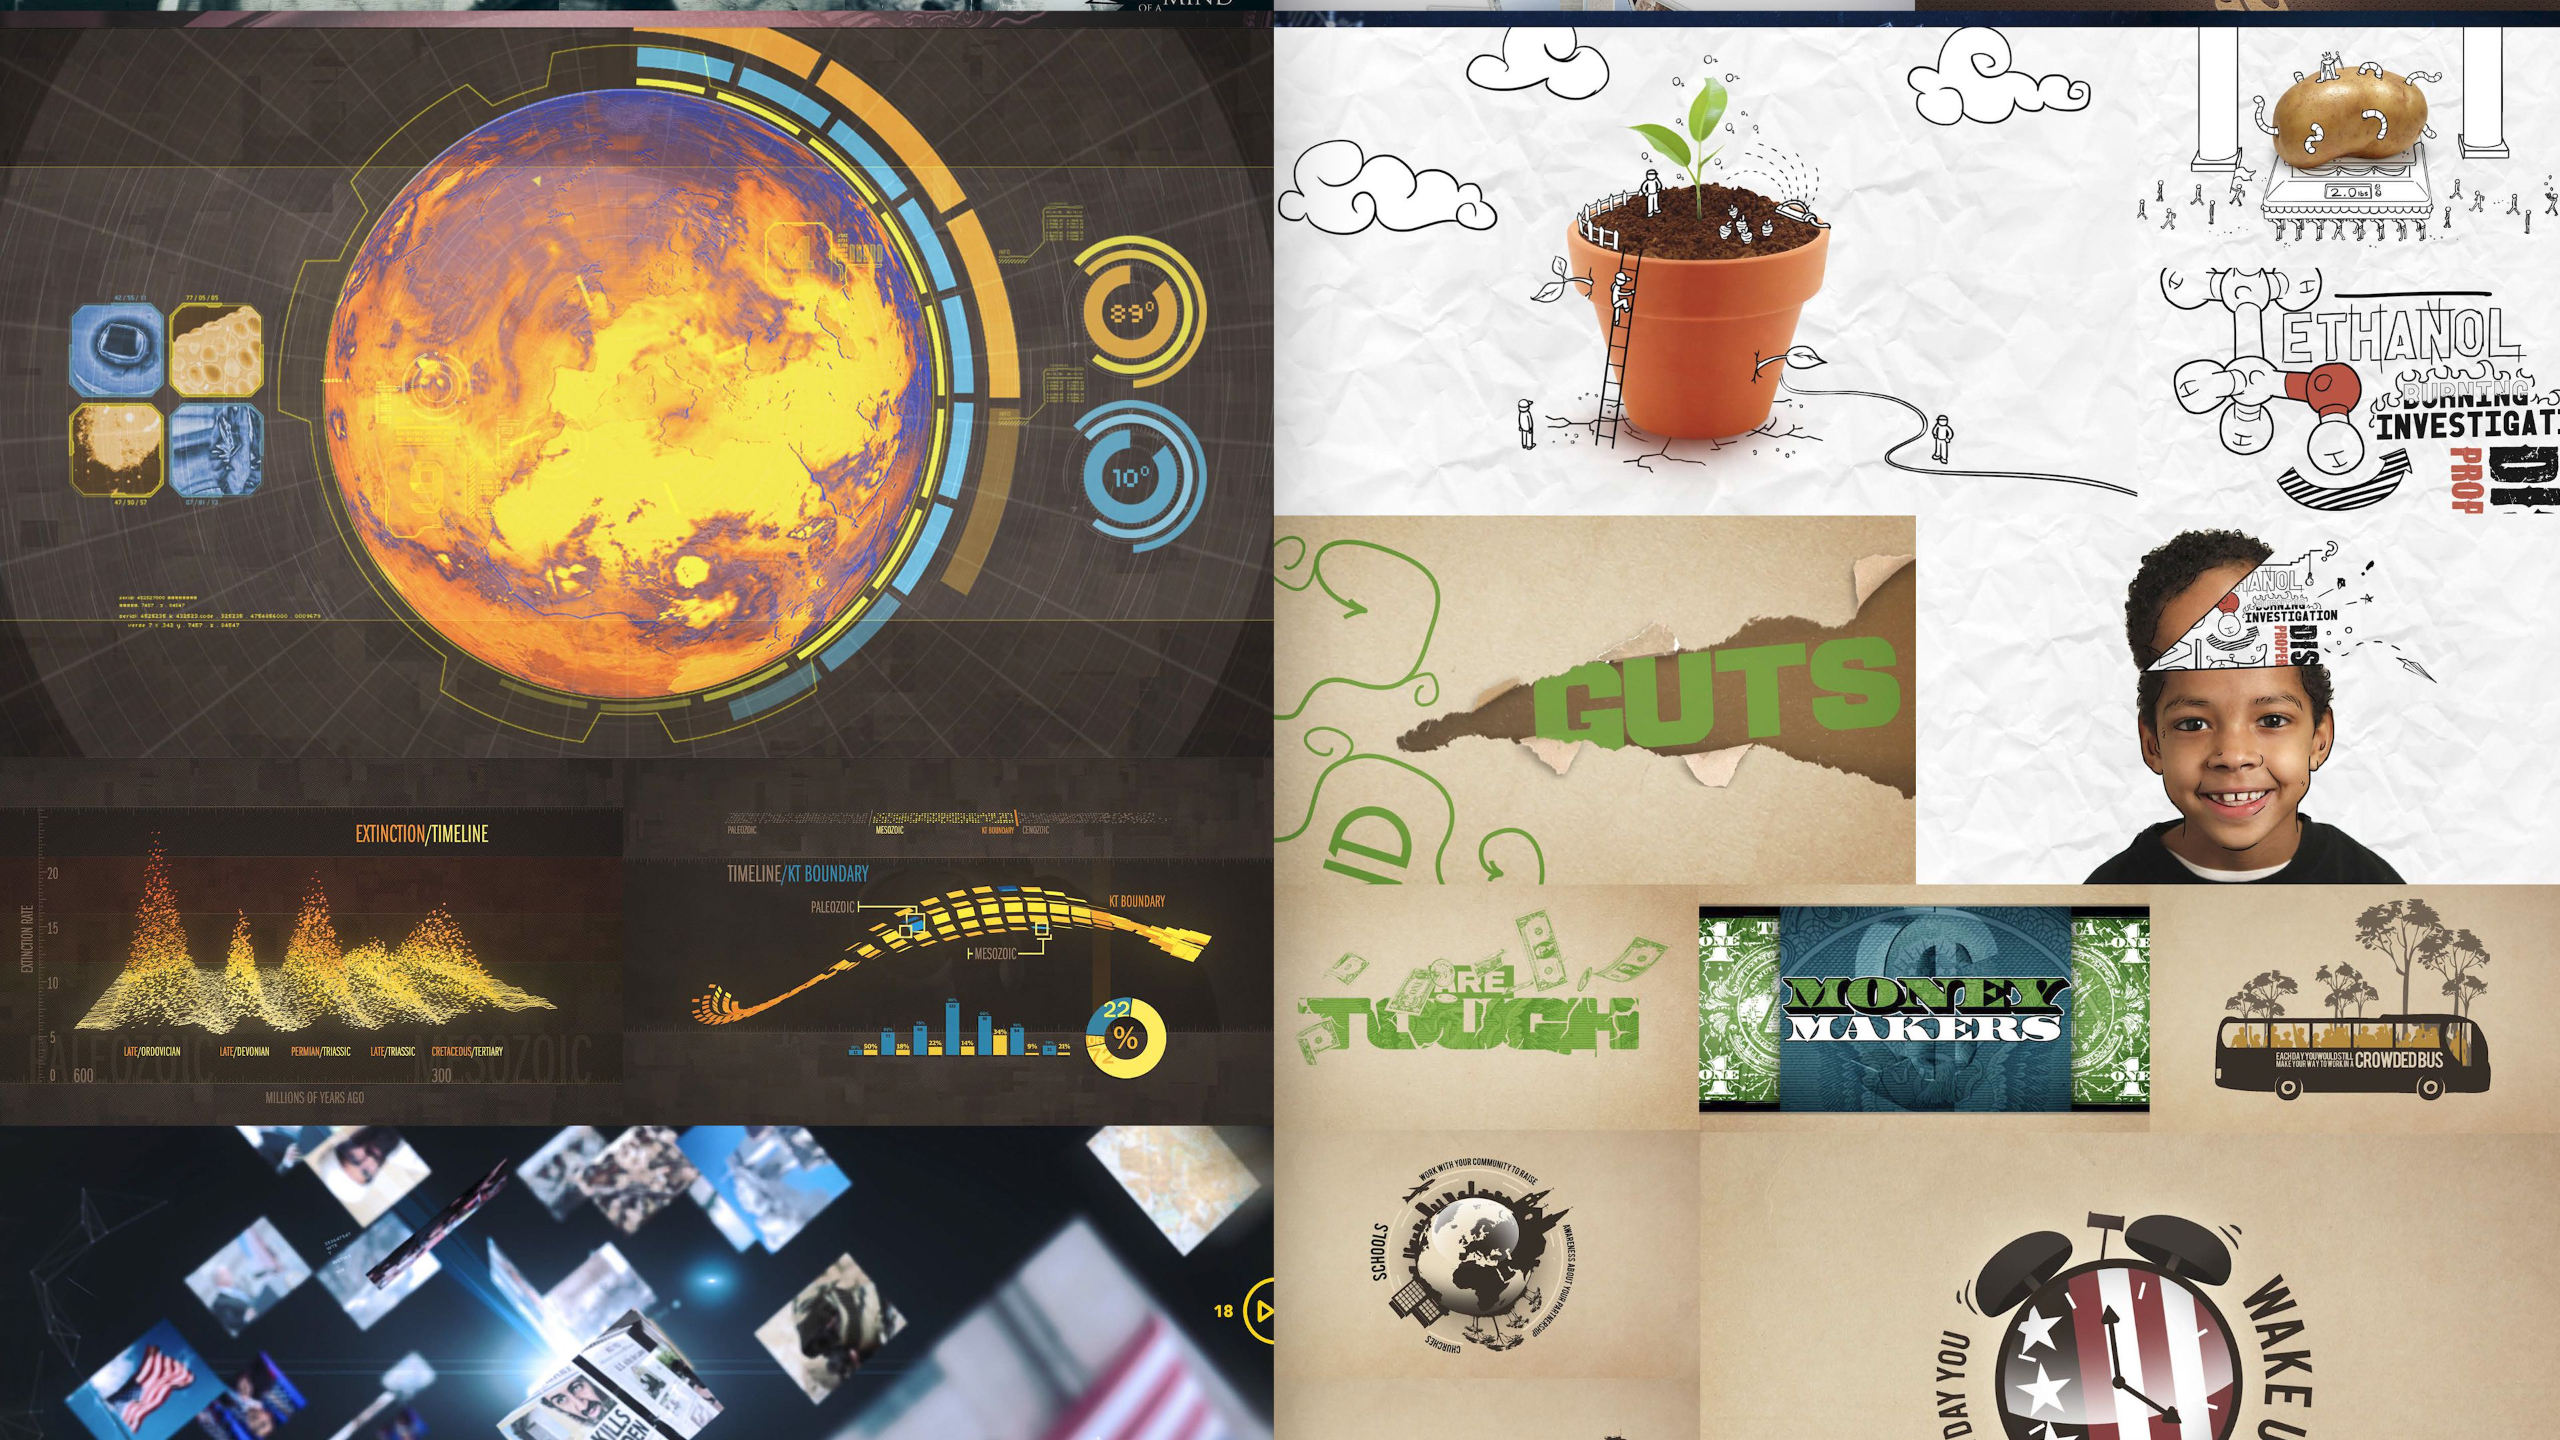
Lesson 1: Mixed-Media Motion Graphics Overview
This lesson introduces the Mixed-Media Motion Graphics module, where students begin combining 2D and 3D animation skills while also developing the creative and professional soft skills needed for client work. Students will explore concept-driven design, 3D-to-After Effects workflows, abstract animation, data visualization, infographics, and portfolio-focused mixed-media projects.
Lesson 5: Getting Abstract
This lesson challenges students to create abstract tour visuals inspired by music, using 2D, 3D, or mixed-media techniques to build short, eye-catching portfolio clips. Students will study sample concert visuals and Cinema 4D project files, then experiment with tools like displacement, MoGraph, fields, forces, and simulations to create visuals driven more by feeling, rhythm, and mood than traditional storytelling.
Lesson 2: Building Off A Concept
This lesson teaches students how to build motion graphics projects from a strong concept, showing how abstract ideas, visual themes, references, and creative constraints guide the final design and animation style. Students will study real project examples to understand how professional motion graphics artists turn central ideas into clear, memorable, and client-ready visuals.
Lesson 6: Data Visualization
This lesson introduces data visualization as a practical and valuable motion graphics skill, showing students how charts, maps, interfaces, numbers, and abstract data can be transformed into engaging animated visuals. Students will study professional examples, then create two short data-driven animations using provided Illustrator assets in After Effects, Cinema 4D, or both.
Lesson 3: Cinema 4D to AFX
This lesson teaches students how to move 3D data from Cinema 4D into After Effects using Cineware, camera data, nulls, baked animation, passes, masks, and pre-rendered sequences. Students will study real mixed-media workflows and practice combining 3D renders with flexible 2D elements so they can make client-friendly changes faster and create more polished composite animations.
Portfolio Project: New Product
This portfolio lesson challenges students to create a 10–15 second mixed-media product commercial using Cinema 4D and After Effects. Students will choose a product, highlight key features, animate cameras or objects, render passes, composite labels and effects, and output a polished commercial-style portfolio piece.
Lesson 4: Blending 2D & 3D
This lesson teaches students how to blend 2D and 3D styles by using Cinema 4D tools like Sketch & Toon, flat materials, alpha textures, layered scenes, and After Effects compositing to create a cohesive illustrated look. Students will study professional mixed-media examples, then create their own portfolio-ready piece by making a 3D object fit believably inside a 2D environment.
Portfolio Project: Motion GFX Kits
This lesson introduces 3 different After Effects kits:
The Neon Studio Kit is a template for creating glowing neon signs from text or images using either native 2D tools or a 3D Element 3D workflow.
The Phone Gestures Kit is used to create polished smartphone animations, app demos, text conversations, social media screens, keyboards, and cinematic phone moves.
The Storybook Scenes Kit helps students quickly turn images and text into dynamic visual stories using pre-built 2D and 3D scene structures.
Lesson 1: Mixed-Media Motion Graphics Overview
This lesson introduces the Mixed-Media Motion Graphics module, where students begin combining 2D and 3D animation skills while also developing the creative and professional soft skills needed for client work. Students will explore concept-driven design, 3D-to-After Effects workflows, abstract animation, data visualization, infographics, and portfolio-focused mixed-media projects.
Lesson 2: Building Off A Concept
This lesson teaches students how to build motion graphics projects from a strong concept, showing how abstract ideas, visual themes, references, and creative constraints guide the final design and animation style. Students will study real project examples to understand how professional motion graphics artists turn central ideas into clear, memorable, and client-ready visuals.
Lesson 3: Cinema 4D to AFX
This lesson teaches students how to move 3D data from Cinema 4D into After Effects using Cineware, camera data, nulls, baked animation, passes, masks, and pre-rendered sequences. Students will study real mixed-media workflows and practice combining 3D renders with flexible 2D elements so they can make client-friendly changes faster and create more polished composite animations.
Lesson 4: Blending 2D & 3D
This lesson teaches students how to blend 2D and 3D styles by using Cinema 4D tools like Sketch & Toon, flat materials, alpha textures, layered scenes, and After Effects compositing to create a cohesive illustrated look. Students will study professional mixed-media examples, then create their own portfolio-ready piece by making a 3D object fit believably inside a 2D environment.
Lesson 5: Getting Abstract
This lesson challenges students to create abstract tour visuals inspired by music, using 2D, 3D, or mixed-media techniques to build short, eye-catching portfolio clips. Students will study sample concert visuals and Cinema 4D project files, then experiment with tools like displacement, MoGraph, fields, forces, and simulations to create visuals driven more by feeling, rhythm, and mood than traditional storytelling.
Lesson 6: Data Visualization
This lesson introduces data visualization as a practical and valuable motion graphics skill, showing students how charts, maps, interfaces, numbers, and abstract data can be transformed into engaging animated visuals. Students will study professional examples, then create two short data-driven animations using provided Illustrator assets in After Effects, Cinema 4D, or both.
Portfolio Project: New Product
This portfolio lesson challenges students to create a 10–15 second mixed-media product commercial using Cinema 4D and After Effects. Students will choose a product, highlight key features, animate cameras or objects, render passes, composite labels and effects, and output a polished commercial-style portfolio piece.
Portfolio Project: Motion GFX Kits
This lesson introduces 3 different After Effects kits:
The Neon Studio Kit is a template for creating glowing neon signs from text or images using either native 2D tools or a 3D Element 3D workflow.
The Phone Gestures Kit is used to create polished smartphone animations, app demos, text conversations, social media screens, keyboards, and cinematic phone moves.
The Storybook Scenes Kit helps students quickly turn images and text into dynamic visual stories using pre-built 2D and 3D scene structures.
Module 5: Advanced Motion Graphics (Level III)
Estimated completion time: 6-8 weeks
This module guides students through the complete motion graphics production pipeline by having them create a cinematic title sequence from start to finish.
We cover every major stage of production, from ideation, storyboarding, and styleframes to asset creation, animation, rendering, compositing, sound design, and final delivery — while teaching students how professional motion graphics projects are organized and executed.
These lessons emphasize creative problem-solving, portfolio development, and building a repeatable workflow that students can continue using throughout their careers, whether freelancing or working in a studio environment.
Lesson 1: Project Overview
This lesson introduces the Advanced Motion Graphics module, where students begin a capstone cinematic title sequence project by following a professional motion graphics pipeline from concept to final output. Students will learn how each stage—ideation, storyboards, styleframes, asset building, animation, rendering, compositing, sound design, and formatting—works together to create a polished portfolio piece.
Lesson 7: Animation
This lesson focuses on the animation stage of the title sequence pipeline, where students bring their scenes to life through object animation, camera movement, transitions, procedural effects, and timing choices. Students will use their storyboard as a guide while applying motion principles, reference material, and graph editor refinements to create a sequence that feels dynamic, polished, and engaging.
Lesson 2: Source Material & Ideation
This lesson guides students through the ideation stage of their cinematic title sequence project, helping them brainstorm a fictional film or show concept, gather references, and explore visual directions. Students will study common title sequence formats, watch a real brainstorming process, and use the provided idea template to develop a concept they can carry into the next stage of production.
Lesson 8: Rendering & Passes
This lesson walks students through preparing their finished Cinema 4D scenes for rendering by reviewing scene elements, environments, lighting, camera settings, render settings, passes, and output formats. Students will learn how to set up image sequences and render passes for compositing, while also considering render time, quality, file organization, and renderfarm options.
Lesson 3: Creating Storyboards
This lesson teaches students how to turn their title sequence concept into a clear storyboard that acts as the blueprint for the rest of the project. Students will learn how to use a professional storyboard template, create rough thumbnails, refine panels, organize shot information, and export their boards as a clean PDF for review.
Lesson 9: Compositing
AThis lesson teaches students how to composite their rendered 3D sequences in After Effects by importing image sequences, render passes, 3D data, and any added 2D elements. Students will fine-tune color, enhance passes, add effects, make edits, and prerender their work so the visual side of their title sequence feels polished and ready for sound design.
Lesson 4: Creating Styleframes
This lesson teaches students how to create styleframes, which are polished still images that prove the visual direction, tone, and technical approach of their title sequence before full production begins. Students will study professional examples, explore style choices and technical challenges, then create two different styleframes from their storyboard to test what look works best.
Lesson 10: Sound Design
This two-part lesson introduces sound design for motion graphics, covering the basics of Adobe Audition, recording and editing audio, working with voiceover, music, sound effects, and exporting clean audio for animation projects. Students will then apply sound design to their title sequence by choosing a soundtrack, adding optional sound effects, editing clips to match the visuals, and mixing everything so the final piece feels more polished and emotionally engaging.
Lesson 5: Asset Building
This lesson walks students through the asset-building stage of the motion graphics pipeline, where they create or gather the 2D and 3D elements needed to bring their storyboard and styleframes to life. Students will study real project examples, plan which assets belong in Photoshop, Illustrator, Cinema 4D, or After Effects, and begin building the raw materials for their title sequence before moving into scene assembly.
Lesson 11: Formatting & Output
This lesson shows students how to finalize their title sequence by working through the post-production checklist, including post-effects, prerendering, quality control, and final export. Students will learn how to check for visual or technical errors, choose the right render format, use Adobe Media Encoder, and output a polished portfolio-ready video.
Lesson 6: Scene Setup
This lesson moves students into the scene setup stage, where they arrange their finished assets into the world of their title sequence and prepare everything for animation. Students will build out their 3D scenes, apply materials and lighting, plan for 2D elements, and rig or constrain anything that needs to move before the animation process begins.
Portfolio Project: Portfolio Building
This final lesson helps students understand how to keep building their motion graphics portfolio after completing the curriculum, using the professional pipeline they practiced throughout the module. Students will explore different portfolio directions, including marketing videos, title sequences, title packages, maps, animated infographics, logo animations, and raw skill pieces, while learning to treat their body of work as a long-term creative catalog.
Lesson 1: Project Overview
This lesson introduces the Advanced Motion Graphics module, where students begin a capstone cinematic title sequence project by following a professional motion graphics pipeline from concept to final output. Students will learn how each stage—ideation, storyboards, styleframes, asset building, animation, rendering, compositing, sound design, and formatting—works together to create a polished portfolio piece.
Lesson 2: Source Material & Ideation
This lesson guides students through the ideation stage of their cinematic title sequence project, helping them brainstorm a fictional film or show concept, gather references, and explore visual directions. Students will study common title sequence formats, watch a real brainstorming process, and use the provided idea template to develop a concept they can carry into the next stage of production.
Lesson 3: Creating Storyboards
This lesson teaches students how to turn their title sequence concept into a clear storyboard that acts as the blueprint for the rest of the project. Students will learn how to use a professional storyboard template, create rough thumbnails, refine panels, organize shot information, and export their boards as a clean PDF for review.
Lesson 4: Creating Styleframes
This lesson teaches students how to create styleframes, which are polished still images that prove the visual direction, tone, and technical approach of their title sequence before full production begins. Students will study professional examples, explore style choices and technical challenges, then create two different styleframes from their storyboard to test what look works best.
Lesson 5: Asset Building
This lesson walks students through the asset-building stage of the motion graphics pipeline, where they create or gather the 2D and 3D elements needed to bring their storyboard and styleframes to life. Students will study real project examples, plan which assets belong in Photoshop, Illustrator, Cinema 4D, or After Effects, and begin building the raw materials for their title sequence before moving into scene assembly.
Lesson 6: Scene Setup
This lesson moves students into the scene setup stage, where they arrange their finished assets into the world of their title sequence and prepare everything for animation. Students will build out their 3D scenes, apply materials and lighting, plan for 2D elements, and rig or constrain anything that needs to move before the animation process begins.
Lesson 7: Animation
This lesson focuses on the animation stage of the title sequence pipeline, where students bring their scenes to life through object animation, camera movement, transitions, procedural effects, and timing choices. Students will use their storyboard as a guide while applying motion principles, reference material, and graph editor refinements to create a sequence that feels dynamic, polished, and engaging.
Lesson 8: Rendering & Passes
This lesson walks students through preparing their finished Cinema 4D scenes for rendering by reviewing scene elements, environments, lighting, camera settings, render settings, passes, and output formats. Students will learn how to set up image sequences and render passes for compositing, while also considering render time, quality, file organization, and renderfarm options.
Lesson 9: Compositing
AThis lesson teaches students how to composite their rendered 3D sequences in After Effects by importing image sequences, render passes, 3D data, and any added 2D elements. Students will fine-tune color, enhance passes, add effects, make edits, and prerender their work so the visual side of their title sequence feels polished and ready for sound design.
Lesson 10: Sound Design
This two-part lesson introduces sound design for motion graphics, covering the basics of Adobe Audition, recording and editing audio, working with voiceover, music, sound effects, and exporting clean audio for animation projects. Students will then apply sound design to their title sequence by choosing a soundtrack, adding optional sound effects, editing clips to match the visuals, and mixing everything so the final piece feels more polished and emotionally engaging.
Lesson 11: Formatting & Output
This lesson shows students how to finalize their title sequence by working through the post-production checklist, including post-effects, prerendering, quality control, and final export. Students will learn how to check for visual or technical errors, choose the right render format, use Adobe Media Encoder, and output a polished portfolio-ready video.
Portfolio Project: Portfolio Building
This final lesson helps students understand how to keep building their motion graphics portfolio after completing the curriculum, using the professional pipeline they practiced throughout the module. Students will explore different portfolio directions, including marketing videos, title sequences, title packages, maps, animated infographics, logo animations, and raw skill pieces, while learning to treat their body of work as a long-term creative catalog.
Universal Module: Demo Reel
Estimated completion time: 1-2 weeks
This module guides students through the process of creating a professional demo reel to showcase their skills for studios, employers, or freelance clients.
Students will learn the basics of Adobe Premiere Pro to organize and edit their best work, select strong portfolio pieces, add titles and sound design, and export a polished final video that functions as a visual resume.
Lesson 1: Demo Reel Overview
This lesson introduces the Demo Reel module, where students begin organizing their completed portfolio work into a clean, concise video that can be shared with studios, employers, or clients. Students will learn how to select their strongest pieces, edit them in Adobe Premiere Pro, add labels and contact information, handle audio, export properly, and keep their reel updated over time.
Lesson 5: Title Card & Labels
This lesson teaches students how to add clear title cards, end cards, and project labels to their demo reel so reviewers can quickly understand who they are, what they do, and how to contact them. Students will also learn how to label individual pieces with project names, software, techniques, and personal contributions so their reel feels professional, organized, and easy to review.
Lesson 2: Software Walkthrough: Premiere Pro
This lesson gives students a practical walkthrough of Adobe Premiere Pro, focusing on the interface, panels, timeline, tools, menus, settings, and export workflow needed to build a demo reel. Students will get comfortable navigating the software so they can import their finished work, edit clips together, manage audio, and prepare their reel for final output.
Lesson 6: Sound Design
This lesson explains how to handle sound design in a demo reel without distracting from the work itself. Students will learn when to use subtle background music, when to avoid it, how to fade around dialogue or existing audio, and why clean, low-volume sound choices can help keep the reviewer focused on the visuals.
Lesson 3: Shot Selection
This lesson teaches students how to choose the strongest and most relevant work for their demo reel based on the type of job, studio, or client they want to attract. Students will learn how to order their pieces strategically, keep the reel short and focused, and tailor shot selections for 2D animation, 3D character animation, or motion graphics.
Lesson 7: Export & Format
This lesson shows students how to export their completed demo reel from Premiere Pro using the right format, codec, audio settings, and quality options for professional playback. Students will also learn where to host or upload their reel, including Vimeo, YouTube, personal websites, or direct application portals, so their work is easy to share with employers and clients.
Lesson 4: Editing & Flow
This lesson walks students through setting up their demo reel project in Adobe Premiere Pro, importing their selected work, checking sequence settings, and arranging clips into a clean, effective edit. Students will learn how to shape the flow of a 2D, 3D, or motion graphics reel so their strongest work grabs attention while the overall presentation stays focused, polished, and easy to update.
Lesson 8: Final Thoughts & Upkeep
This final lesson wraps up the Demo Reel module with advice on keeping your reel updated, continuing to create new work, and staying competitive as your animation career grows. Students are encouraged to keep improving, pursue opportunities from a position of strength, and use their demo reel as an evolving tool for employment, freelancing, or future creative goals.
Lesson 1: Demo Reel Overview
This lesson introduces the Demo Reel module, where students begin organizing their completed portfolio work into a clean, concise video that can be shared with studios, employers, or clients. Students will learn how to select their strongest pieces, edit them in Adobe Premiere Pro, add labels and contact information, handle audio, export properly, and keep their reel updated over time.
Lesson 2: Software Walkthrough: Premiere Pro
This lesson gives students a practical walkthrough of Adobe Premiere Pro, focusing on the interface, panels, timeline, tools, menus, settings, and export workflow needed to build a demo reel. Students will get comfortable navigating the software so they can import their finished work, edit clips together, manage audio, and prepare their reel for final output.
Lesson 3: Shot Selection
This lesson teaches students how to choose the strongest and most relevant work for their demo reel based on the type of job, studio, or client they want to attract. Students will learn how to order their pieces strategically, keep the reel short and focused, and tailor shot selections for 2D animation, 3D character animation, or motion graphics.
Lesson 4: Editing & Flow
This lesson walks students through setting up their demo reel project in Adobe Premiere Pro, importing their selected work, checking sequence settings, and arranging clips into a clean, effective edit. Students will learn how to shape the flow of a 2D, 3D, or motion graphics reel so their strongest work grabs attention while the overall presentation stays focused, polished, and easy to update.
Lesson 5: Title Card & Labels
This lesson teaches students how to add clear title cards, end cards, and project labels to their demo reel so reviewers can quickly understand who they are, what they do, and how to contact them. Students will also learn how to label individual pieces with project names, software, techniques, and personal contributions so their reel feels professional, organized, and easy to review.
Lesson 6: Sound Design
This lesson explains how to handle sound design in a demo reel without distracting from the work itself. Students will learn when to use subtle background music, when to avoid it, how to fade around dialogue or existing audio, and why clean, low-volume sound choices can help keep the reviewer focused on the visuals.
Lesson 7: Export & Format
This lesson shows students how to export their completed demo reel from Premiere Pro using the right format, codec, audio settings, and quality options for professional playback. Students will also learn where to host or upload their reel, including Vimeo, YouTube, personal websites, or direct application portals, so their work is easy to share with employers and clients.
Lesson 8: Final Thoughts & Upkeep
This final lesson wraps up the Demo Reel module with advice on keeping your reel updated, continuing to create new work, and staying competitive as your animation career grows. Students are encouraged to keep improving, pursue opportunities from a position of strength, and use their demo reel as an evolving tool for employment, freelancing, or future creative goals.
Lesson Block 8:
Freelancer Toolkit
The Freelancer Toolkit is designed to guide aspiring creatives from traditional employment into successful independent freelancing by focusing only on the most relevant business, branding, financial, and professional skills needed to sustain a creative career.
Through 9 interconnected modules, the toolkit covers everything from building confidence & defining goals, branding, client acquisition, taxes, pricing & contracts, networking, project management, and eventually scaling beyond freelancing.
Take the next step from artist to business owner with the Freelancer Toolkit.
Lessons available for:

Module 1: Intro & Principles
This module introduces The Freelancer Toolkit and sets the tone for becoming a financially stable freelance creator. It focuses on the mindset, confidence, planning, and financial awareness needed to start building a freelance life on your own terms.
Lesson 1: Welcome
This welcome lesson introduces the Freelancer Toolkit, a business-focused course designed to help creative professionals turn their skills into a sustainable freelance career. Students will get an overview of the modules ahead, including planning, branding, legal setup, pricing, websites, networking, client management, productivity, and long-term growth.
Lesson 5: Moonlighting
This lesson introduces moonlighting as a practical transition strategy for freelancers who want to build income, expand their portfolio, grow their network, or develop a client roster while still working a full-time job. Students will learn how to balance side work carefully, avoid burnout, and use freelancing on the side as a safer path toward eventually working for themselves full-time.
Lesson 2: Making The Leap
This lesson helps students understand what it really means to make the leap into freelancing, from leaving traditional employment behind to building stability through action, discipline, and multiple client relationships. Students will reflect on their motivations, mindset, support system, and future goals so they can begin freelancing with more clarity and purpose.
Lesson 6: Putting A Plan Into Place
This lesson helps students put a real plan in place for freelancing by creating structure, routines, goals, and discipline around a career path that no longer comes with a built-in rulebook. Students will learn why persistence, professionalism, punctuality, balance, and self-management are essential to building a sustainable freelance life.
Lesson 3: Know Your Why
This lesson helps students define their personal “why” for pursuing freelance work, connecting their deeper motivations to the freedom, control, and purpose that can come with working for themselves. Students will reflect on what they want their life to look like, what sacrifices they want to stop making, and what internal drive will keep them moving when freelancing gets difficult.
Lesson 7: Making The Numbers Work
This lesson helps students understand the financial reality of becoming a freelancer by calculating their expenses, cost of living, and income goals before making the leap. Students will complete a Financial Outline so they can determine whether they are ready to freelance full-time or need to build momentum while still employed.
Lesson 4: Confidence
This lesson helps students build the confidence needed to succeed as freelancers by reflecting on past wins, reframing failure, and visualizing the future they want to create. Students will explore practical tools like affirmations, comfort-zone challenges, goal tracking, self-care, perspective, and managing their inner critic so they can grow personally, creatively, and professionally.
Lesson 1: Welcome
This welcome lesson introduces the Freelancer Toolkit, a business-focused course designed to help creative professionals turn their skills into a sustainable freelance career. Students will get an overview of the modules ahead, including planning, branding, legal setup, pricing, websites, networking, client management, productivity, and long-term growth.
Lesson 2: Making The Leap
This lesson helps students understand what it really means to make the leap into freelancing, from leaving traditional employment behind to building stability through action, discipline, and multiple client relationships. Students will reflect on their motivations, mindset, support system, and future goals so they can begin freelancing with more clarity and purpose.
Lesson 3: Know Your Why
This lesson helps students define their personal “why” for pursuing freelance work, connecting their deeper motivations to the freedom, control, and purpose that can come with working for themselves. Students will reflect on what they want their life to look like, what sacrifices they want to stop making, and what internal drive will keep them moving when freelancing gets difficult.
Lesson 4: Confidence
This lesson helps students build the confidence needed to succeed as freelancers by reflecting on past wins, reframing failure, and visualizing the future they want to create. Students will explore practical tools like affirmations, comfort-zone challenges, goal tracking, self-care, perspective, and managing their inner critic so they can grow personally, creatively, and professionally.
Lesson 5: Moonlighting
This lesson introduces moonlighting as a practical transition strategy for freelancers who want to build income, expand their portfolio, grow their network, or develop a client roster while still working a full-time job. Students will learn how to balance side work carefully, avoid burnout, and use freelancing on the side as a safer path toward eventually working for themselves full-time.
Lesson 6: Putting A Plan Into Place
This lesson helps students put a real plan in place for freelancing by creating structure, routines, goals, and discipline around a career path that no longer comes with a built-in rulebook. Students will learn why persistence, professionalism, punctuality, balance, and self-management are essential to building a sustainable freelance life.
Lesson 7: Making The Numbers Work
This lesson helps students understand the financial reality of becoming a freelancer by calculating their expenses, cost of living, and income goals before making the leap. Students will complete a Financial Outline so they can determine whether they are ready to freelance full-time or need to build momentum while still employed.
Module 2: Business Mindset
This module helps freelance artists shift from simply making creative work to thinking like commercial problem-solvers who create value for clients. It covers how to find market demand, build multiple streams of work, leverage your strengths, and stay accountable as you grow your freelance business.
Lesson 1: Becoming A Commercial Artist
This lesson helps students shift from thinking like artists to thinking like commercial artists who solve real business problems through creative work. Students will learn why purpose-driven content, market demand, entrepreneurial skills, community, and technical mastery are essential for building a profitable freelance career.
Lesson 5: Search For Market Demand
This lesson teaches students how to search for market demand by identifying what businesses actually need and positioning their creative skills around real problems, goals, and buying decisions. Students will learn how to think beyond obvious entertainment work, explore underserved industries, present their projects through clear case studies, and create content that entertains, educates, persuades, or converts.
Lesson 2: Professionalism & Accountability
This lesson teaches students how to hold themselves accountable as freelancers by creating structure, routines, and professional habits when no boss or schedule is forcing them forward. Students will learn how to manage their time through different stages of freelance growth, from hustling for new clients to nurturing repeat business and building a reputation that keeps work coming in.
Lesson 6: Leverage Your Strengths
This lesson helps students identify their strongest creative and professional traits so they can build a freelance business around what they naturally do best. Students will learn how to connect those strengths to real business needs, position themselves more clearly to clients, and create a system that supports their own personality, goals, and style of working.
Lesson 3: An Abundance Mentality
This lesson introduces the abundance mentality, helping students understand that the growing demand for digital content creates more opportunity than scarcity for freelance creators. Students will learn how to challenge limiting beliefs, separate emotions from business decisions, and recognize that long-term success comes from staying open, adaptable, and persistent.
Lesson 7: Manifesting Opportunities
This lesson teaches students how to actively create freelance opportunities instead of waiting for permission, luck, or the perfect job posting to appear. Students will learn why consistent outreach, bold action, relevant portfolio work, and connecting with the right decision makers can open doors in the industries they want to work in.
Lesson 4: Stacking & Cycles
This lesson introduces “stacking,” the strategy of building financial stability as a freelancer by working with multiple clients whose projects and payment cycles overlap over time. Students will learn how to identify client patterns, balance short- and long-term opportunities, stay organized, and create a more reliable income stream without depending on one source of work.
Lesson 1: Becoming A Commercial Artist
This lesson helps students shift from thinking like artists to thinking like commercial artists who solve real business problems through creative work. Students will learn why purpose-driven content, market demand, entrepreneurial skills, community, and technical mastery are essential for building a profitable freelance career.
Lesson 2: Professionalism & Accountability
This lesson teaches students how to hold themselves accountable as freelancers by creating structure, routines, and professional habits when no boss or schedule is forcing them forward. Students will learn how to manage their time through different stages of freelance growth, from hustling for new clients to nurturing repeat business and building a reputation that keeps work coming in.
Lesson 3: An Abundance Mentality
This lesson introduces the abundance mentality, helping students understand that the growing demand for digital content creates more opportunity than scarcity for freelance creators. Students will learn how to challenge limiting beliefs, separate emotions from business decisions, and recognize that long-term success comes from staying open, adaptable, and persistent.
Lesson 4: Stacking & Cycles
This lesson introduces “stacking,” the strategy of building financial stability as a freelancer by working with multiple clients whose projects and payment cycles overlap over time. Students will learn how to identify client patterns, balance short- and long-term opportunities, stay organized, and create a more reliable income stream without depending on one source of work.
Lesson 5: Search For Market Demand
This lesson teaches students how to search for market demand by identifying what businesses actually need and positioning their creative skills around real problems, goals, and buying decisions. Students will learn how to think beyond obvious entertainment work, explore underserved industries, present their projects through clear case studies, and create content that entertains, educates, persuades, or converts.
Lesson 6: Leverage Your Strengths
This lesson helps students identify their strongest creative and professional traits so they can build a freelance business around what they naturally do best. Students will learn how to connect those strengths to real business needs, position themselves more clearly to clients, and create a system that supports their own personality, goals, and style of working.
Lesson 7: Manifesting Opportunities
This lesson teaches students how to actively create freelance opportunities instead of waiting for permission, luck, or the perfect job posting to appear. Students will learn why consistent outreach, bold action, relevant portfolio work, and connecting with the right decision makers can open doors in the industries they want to work in.
Module 3: Technical & Creative
This module focuses on developing complementary skills, positioning your work strategically, and using the right tools and resources to stay competitive. It also emphasizes treating yourself like a brand and learning to switch between creative, technical, and business thinking.
Lesson 1: Be Your Brand
This lesson helps students understand that their freelance brand is more than a logo or website—it is the story, personality, professionalism, and consistency clients use to decide whether they want to work with them. Students will learn how to define a brand that reflects who they are, helps them stand out, feels memorable, and positions them as a trustworthy creative partner.
Lesson 4: Positioning Your Work
This lesson teaches students how to position their work so potential clients quickly understand what they do, why it matters, and how it connects to their business needs. Students will learn how to organize portfolios, create targeted project pages, write stronger case studies, and use client feedback to present themselves as a more capable and professional creative partner.
Lesson 2: Nimble Mind
This lesson teaches students how to manage the mental and emotional demands of freelancing, especially when switching between creative work, business decisions, client communication, and daily responsibilities. Students will learn why multitasking can hurt productivity and how to use better focus habits, task management, and transition techniques to stay efficient without burning out.
Lesson 5: Tools Of The Trade
This lesson gives students an overview of the essential tools, software, hardware, and equipment needed to work professionally across design, photography, videography, 2D animation, motion graphics, 3D animation, and visual effects. Students will learn what they need to invest in, what can stay cost-efficient, and how the right setup helps them deliver higher-quality work more reliably as freelancers.
Lesson 3: Complimentary Skillsets
This lesson teaches students why freelancers need complementary skill sets to stay flexible, avoid slow periods, and create more income opportunities across different types of clients. Students will learn how adding secondary creative or technical skills can help them ride multiple waves of demand, future-proof their business, and eventually specialize from a stronger position.
Lesson 6: Resource Vault
This lesson introduces the Resource Vault, a growing collection of creative assets like templates, sound effects, brushes, fonts, 3D models, and other tools students can use to save time and money. Students will learn why organizing and reusing assets is essential for working efficiently as freelancers, while also keeping an eye on licensing for commercial use.
Lesson 1: Be Your Brand
This lesson helps students understand that their freelance brand is more than a logo or website—it is the story, personality, professionalism, and consistency clients use to decide whether they want to work with them. Students will learn how to define a brand that reflects who they are, helps them stand out, feels memorable, and positions them as a trustworthy creative partner.
Lesson 2: Nimble Mind
This lesson teaches students how to manage the mental and emotional demands of freelancing, especially when switching between creative work, business decisions, client communication, and daily responsibilities. Students will learn why multitasking can hurt productivity and how to use better focus habits, task management, and transition techniques to stay efficient without burning out.
Lesson 3: Complimentary Skillsets
This lesson teaches students why freelancers need complementary skill sets to stay flexible, avoid slow periods, and create more income opportunities across different types of clients. Students will learn how adding secondary creative or technical skills can help them ride multiple waves of demand, future-proof their business, and eventually specialize from a stronger position.
Lesson 4: Positioning Your Work
This lesson teaches students how to position their work so potential clients quickly understand what they do, why it matters, and how it connects to their business needs. Students will learn how to organize portfolios, create targeted project pages, write stronger case studies, and use client feedback to present themselves as a more capable and professional creative partner.
Lesson 5: Tools Of The Trade
This lesson gives students an overview of the essential tools, software, hardware, and equipment needed to work professionally across design, photography, videography, 2D animation, motion graphics, 3D animation, and visual effects. Students will learn what they need to invest in, what can stay cost-efficient, and how the right setup helps them deliver higher-quality work more reliably as freelancers.
Lesson 6: Resource Vault
This lesson introduces the Resource Vault, a growing collection of creative assets like templates, sound effects, brushes, fonts, 3D models, and other tools students can use to save time and money. Students will learn why organizing and reusing assets is essential for working efficiently as freelancers, while also keeping an eye on licensing for commercial use.
Module 4: Entities, Taxes & Legal
This module breaks down tax basics freelancers need to understand, including quarterly estimated taxes, self-employment taxes, deductions, expenses, and 1099 forms. It helps make the less glamorous side of freelancing feel more manageable by showing how to track your numbers and stay prepared.
Lesson 1: Corporations & LLC's
This lesson walks students through the basics of setting up a legal business entity as a freelancer, including sole proprietorships, LLCs, S-Corps, taxes, liability protection, business names, registered agents, operating agreements, and EINs. Students will learn why forming an LLC can help protect their personal assets, strengthen their credibility, and create a more professional foundation for their freelance business.
Lesson 3: Pay It Smart
This lesson teaches students how to manage freelance taxes more intelligently by staying organized, tracking income and expenses, saving for taxes, and knowing when to bring in a CPA. Students will learn how better financial systems can reduce stress, prevent costly mistakes, and let them focus more energy on their creative work.
Lesson 2: Death & Taxes
This lesson gives students a practical overview of how taxes work for freelancers, including federal, state, local, self-employment, and quarterly estimated tax payments. Students will learn how to track income, expenses, deductions, W-9s, and 1099s so they can stay organized, avoid surprises, and manage their freelance finances more confidently.
Lesson 1: Corporations & LLC's
This lesson walks students through the basics of setting up a legal business entity as a freelancer, including sole proprietorships, LLCs, S-Corps, taxes, liability protection, business names, registered agents, operating agreements, and EINs. Students will learn why forming an LLC can help protect their personal assets, strengthen their credibility, and create a more professional foundation for their freelance business.
Lesson 2: Death & Taxes
This lesson gives students a practical overview of how taxes work for freelancers, including federal, state, local, self-employment, and quarterly estimated tax payments. Students will learn how to track income, expenses, deductions, W-9s, and 1099s so they can stay organized, avoid surprises, and manage their freelance finances more confidently.
Lesson 3: Pay It Smart
This lesson teaches students how to manage freelance taxes more intelligently by staying organized, tracking income and expenses, saving for taxes, and knowing when to bring in a CPA. Students will learn how better financial systems can reduce stress, prevent costly mistakes, and let them focus more energy on their creative work.
Module 5: Management
This module helps freelancers build the systems they need to stay organized, manage their time, track projects, and keep their money under control. It also covers profitability, healthier work habits, benefits, and the importance of creating structure so your freelance business can run smoothly.
Lesson 1: Setup Business Cloud
This lesson teaches students how to set up a professional business cloud system using tools like Gmail, Google Drive, Docs, Sheets, and Calendar. Students will learn how a business email and organized cloud workspace can make their freelance operation feel more legitimate, efficient, and easy to manage from anywhere.
Lesson 5: Money Management
This lesson teaches students how to manage freelance income by separating business and personal accounts, setting aside tax money, tracking cash flow, and understanding where their money should go. Students will also learn the basics of saving, retirement options, business banking, and smart purchase habits so they can build a more stable financial foundation.
Lesson 2: Layers of Behavior Change
This lesson teaches students how lasting behavior change happens by building identity-based habits instead of relying on willpower, motivation, or short-term goals alone. Students will learn how small, consistent improvements can reshape their routines, strengthen discipline, and help them grow into the kind of freelancer they want to become.
Lesson 6: Being Profitable
This lesson teaches students how to measure and improve profitability by looking beyond income alone and factoring in clients, pricing, expenses, time, and profit margins. Students will learn how to use their Client Roster to compare projects, identify their most valuable clients, cut unnecessary costs, and make smarter business decisions based on real data.
Lesson 3: Time Management
This lesson teaches students how to manage their time more intentionally as freelancers by focusing on the tasks that actually move their business and creative goals forward. Students will learn practical strategies like organization, batching, workspace cleanup, morning routines, distraction control, and schedule flexibility so they can work more efficiently without burning out.
Lesson 7: Health & Benefits
This lesson helps students understand the health insurance and benefits responsibilities that come with freelancing, including medical coverage, supplemental plans, retirement, disability, and other protections they no longer receive from an employer. Students will learn how to research coverage options, budget for benefits, and make smart decisions that protect their health, income, and long-term stability.
Lesson 4: Project Management
This lesson teaches students how to manage freelance projects, clients, deadlines, files, deliverables, and communication in a consistent, organized way. Students will learn how tools like a client roster, templated folder structure, versioning system, delivery workflow, and clear boundaries help them stay efficient, professional, and in control as their workload grows.
Lesson 1: Setup Business Cloud
This lesson teaches students how to set up a professional business cloud system using tools like Gmail, Google Drive, Docs, Sheets, and Calendar. Students will learn how a business email and organized cloud workspace can make their freelance operation feel more legitimate, efficient, and easy to manage from anywhere.
Lesson 2: Layers of Behavior Change
This lesson teaches students how lasting behavior change happens by building identity-based habits instead of relying on willpower, motivation, or short-term goals alone. Students will learn how small, consistent improvements can reshape their routines, strengthen discipline, and help them grow into the kind of freelancer they want to become.
Lesson 3: Time Management
This lesson teaches students how to manage their time more intentionally as freelancers by focusing on the tasks that actually move their business and creative goals forward. Students will learn practical strategies like organization, batching, workspace cleanup, morning routines, distraction control, and schedule flexibility so they can work more efficiently without burning out.
Lesson 4: Project Management
This lesson teaches students how to manage freelance projects, clients, deadlines, files, deliverables, and communication in a consistent, organized way. Students will learn how tools like a client roster, templated folder structure, versioning system, delivery workflow, and clear boundaries help them stay efficient, professional, and in control as their workload grows.
Lesson 5: Money Management
This lesson teaches students how to manage freelance income by separating business and personal accounts, setting aside tax money, tracking cash flow, and understanding where their money should go. Students will also learn the basics of saving, retirement options, business banking, and smart purchase habits so they can build a more stable financial foundation.
Lesson 6: Being Profitable
This lesson teaches students how to measure and improve profitability by looking beyond income alone and factoring in clients, pricing, expenses, time, and profit margins. Students will learn how to use their Client Roster to compare projects, identify their most valuable clients, cut unnecessary costs, and make smarter business decisions based on real data.
Lesson 7: Health & Benefits
This lesson helps students understand the health insurance and benefits responsibilities that come with freelancing, including medical coverage, supplemental plans, retirement, disability, and other protections they no longer receive from an employer. Students will learn how to research coverage options, budget for benefits, and make smart decisions that protect their health, income, and long-term stability.
Module 6: Pricing, Contracts, Invoicing
This module teaches freelancers how to price their work, negotiate with clients, and protect themselves with clear contracts before starting a project. It also breaks down estimates, invoices, retainers, and different rate structures so getting paid feels less awkward and more professional.
Lesson 1: Negotiation & Contracts
This lesson teaches students how to negotiate creative work with more confidence by understanding budgets, asking the right questions, explaining value, and setting prices that reflect the time, quality, and effort involved. Students will learn why strong communication, clear contracts, and knowing their own worth are essential for protecting themselves and building a profitable freelance business.
Lesson 3: Estimates - Scope of Work
This lesson teaches students how to create professional estimates and scopes of work that clearly define pricing, deliverables, timelines, payment terms, revisions, and protections before a project begins. Students will learn how to break down costs, present pricing options, manage scope creep, and use contract templates to protect their time, money, and creative work.
Lesson 2: Hourly, Day & Flat Rates
This lesson teaches students how to choose between hourly, day, and flat-rate pricing based on the type of creative work, client expectations, project scope, and their own experience level. Students will learn how to use industry rate cards, sample contracts, budget breakdowns, and project templates to price their services with more confidence and professionalism.
Lesson 4: Invoicing & Getting Paid
This lesson teaches students how to invoice clients, request payment professionally, and make sure money is actually received before or after creative work is delivered. Students will learn different payment methods, when to ask for retainers or upfront payments, how to follow up, and why clear payment expectations are essential for protecting their freelance income.
Lesson 1: Negotiation & Contracts
This lesson teaches students how to negotiate creative work with more confidence by understanding budgets, asking the right questions, explaining value, and setting prices that reflect the time, quality, and effort involved. Students will learn why strong communication, clear contracts, and knowing their own worth are essential for protecting themselves and building a profitable freelance business.
Lesson 2: Hourly, Day & Flat Rates
This lesson teaches students how to choose between hourly, day, and flat-rate pricing based on the type of creative work, client expectations, project scope, and their own experience level. Students will learn how to use industry rate cards, sample contracts, budget breakdowns, and project templates to price their services with more confidence and professionalism.
Lesson 3: Estimates - Scope of Work
This lesson teaches students how to create professional estimates and scopes of work that clearly define pricing, deliverables, timelines, payment terms, revisions, and protections before a project begins. Students will learn how to break down costs, present pricing options, manage scope creep, and use contract templates to protect their time, money, and creative work.
Lesson 4: Invoicing & Getting Paid
This lesson teaches students how to invoice clients, request payment professionally, and make sure money is actually received before or after creative work is delivered. Students will learn different payment methods, when to ask for retainers or upfront payments, how to follow up, and why clear payment expectations are essential for protecting their freelance income.
Module 7: Website & Portfolio
This module helps freelancers build a simple, focused website that acts as their home base for showing work, explaining what they do, and making it easy for clients to reach out. It also covers using subpages, company culture content, analytics, and basic SEO to present your work more strategically and attract the right opportunities.
Lesson 1: Establishing Home Base
This lesson teaches students how to create a simple, professional “home base” for their freelance business through a website that clearly shows their work, explains who they are, and makes it easy for clients to contact them. Students will learn why a focused, distraction-free portfolio site is more effective than an overcomplicated one, especially when potential clients are quickly deciding whether to hire them.
Lesson 3: Leveraging Subpages
This lesson teaches students how to use subpages on their website to organize different types of work and pitch more directly to specific clients. Students will learn how segmenting their portfolio makes their services feel more relevant, focused, and persuasive when reaching out for freelance opportunities.
Lesson 2: Analytics & SEO
This lesson teaches students how to use Google Analytics and basic SEO practices to understand how people find, navigate, and interact with their freelance website. Students will learn how tracking traffic, visitor behavior, demographics, and search visibility can help them make smarter decisions and improve their online presence over time.
Lesson 4: Company Culture
This lesson teaches students how to create a company culture video that communicates who they are, what they stand for, and why clients should trust them. Students will learn how storytelling, process footage, client pain points, testimonials, and personality can turn a short video into a powerful marketing tool for their freelance business.
Lesson 1: Establishing Home Base
This lesson teaches students how to create a simple, professional “home base” for their freelance business through a website that clearly shows their work, explains who they are, and makes it easy for clients to contact them. Students will learn why a focused, distraction-free portfolio site is more effective than an overcomplicated one, especially when potential clients are quickly deciding whether to hire them.
Lesson 2: Analytics & SEO
This lesson teaches students how to use Google Analytics and basic SEO practices to understand how people find, navigate, and interact with their freelance website. Students will learn how tracking traffic, visitor behavior, demographics, and search visibility can help them make smarter decisions and improve their online presence over time.
Lesson 3: Leveraging Subpages
This lesson teaches students how to use subpages on their website to organize different types of work and pitch more directly to specific clients. Students will learn how segmenting their portfolio makes their services feel more relevant, focused, and persuasive when reaching out for freelance opportunities.
Lesson 4: Company Culture
This lesson teaches students how to create a company culture video that communicates who they are, what they stand for, and why clients should trust them. Students will learn how storytelling, process footage, client pain points, testimonials, and personality can turn a short video into a powerful marketing tool for their freelance business.
Module 8: Networking & Prospecting
This module teaches freelancers how to find and connect with potential clients through decks, cold outreach, online visibility, and relationship-building. It emphasizes that landing work is less about impressing everyone and more about reaching the right people with the right message at the right time.
Lesson 1: The Deck
This lesson teaches students how to create a professional sales deck that introduces who they are, what services they offer, and why clients should hire them. Students will learn how a strong deck can replace a traditional resume, showcase their best work, and help potential clients quickly understand their value.
Lesson 4: Cold Contact
This lesson teaches students how to approach cold contact strategically by researching prospects, tailoring outreach, offering relevant value, and communicating like a professional. Students will learn how to use decks, case studies, email templates, follow-ups, and real-world examples to turn strangers into potential freelance clients.
Lesson 2: Who Are Your Clients?
This lesson helps students identify the types of clients and businesses that are most likely to hire freelancers, from agencies and production companies to startups, small businesses, and larger corporations. Students will learn how to think of client outreach as people-to-people relationship building, while using a two-pronged approach to find both industry-specific clients and broader creative opportunities.
Lesson 5: Be Everywhere
This lesson teaches students why increasing their digital footprint is essential for getting discovered by potential clients, employers, studios, and collaborators. Students will learn how to make their work easier to find across portfolio sites, social platforms, school pages, and industry-specific directories so more opportunities can come to them over time.
Lesson 3: Where Are Your Clients?
This lesson teaches students where to find potential freelance clients, both in person and online, by thinking strategically about proximity, networking, referrals, events, outreach, and digital visibility. Students will learn how to connect with decision makers, build meaningful relationships, and use their portfolio and communication skills to create more opportunities beyond job boards and freelancer platforms.
Lesson 1: The Deck
This lesson teaches students how to create a professional sales deck that introduces who they are, what services they offer, and why clients should hire them. Students will learn how a strong deck can replace a traditional resume, showcase their best work, and help potential clients quickly understand their value.
Lesson 2: Who Are Your Clients?
This lesson helps students identify the types of clients and businesses that are most likely to hire freelancers, from agencies and production companies to startups, small businesses, and larger corporations. Students will learn how to think of client outreach as people-to-people relationship building, while using a two-pronged approach to find both industry-specific clients and broader creative opportunities.
Lesson 3: Where Are Your Clients?
This lesson teaches students where to find potential freelance clients, both in person and online, by thinking strategically about proximity, networking, referrals, events, outreach, and digital visibility. Students will learn how to connect with decision makers, build meaningful relationships, and use their portfolio and communication skills to create more opportunities beyond job boards and freelancer platforms.
Lesson 4: Cold Contact
This lesson teaches students how to approach cold contact strategically by researching prospects, tailoring outreach, offering relevant value, and communicating like a professional. Students will learn how to use decks, case studies, email templates, follow-ups, and real-world examples to turn strangers into potential freelance clients.
Lesson 5: Be Everywhere
This lesson teaches students why increasing their digital footprint is essential for getting discovered by potential clients, employers, studios, and collaborators. Students will learn how to make their work easier to find across portfolio sites, social platforms, school pages, and industry-specific directories so more opportunities can come to them over time.
Module 9: Future & Expansion
This module looks at what happens once freelancing starts to grow, from protecting your work/life balance to deciding whether you want to delegate, expand, or stay solo. It helps you recognize when you’ve hit a ceiling and make thoughtful choices about what your next chapter should look like.
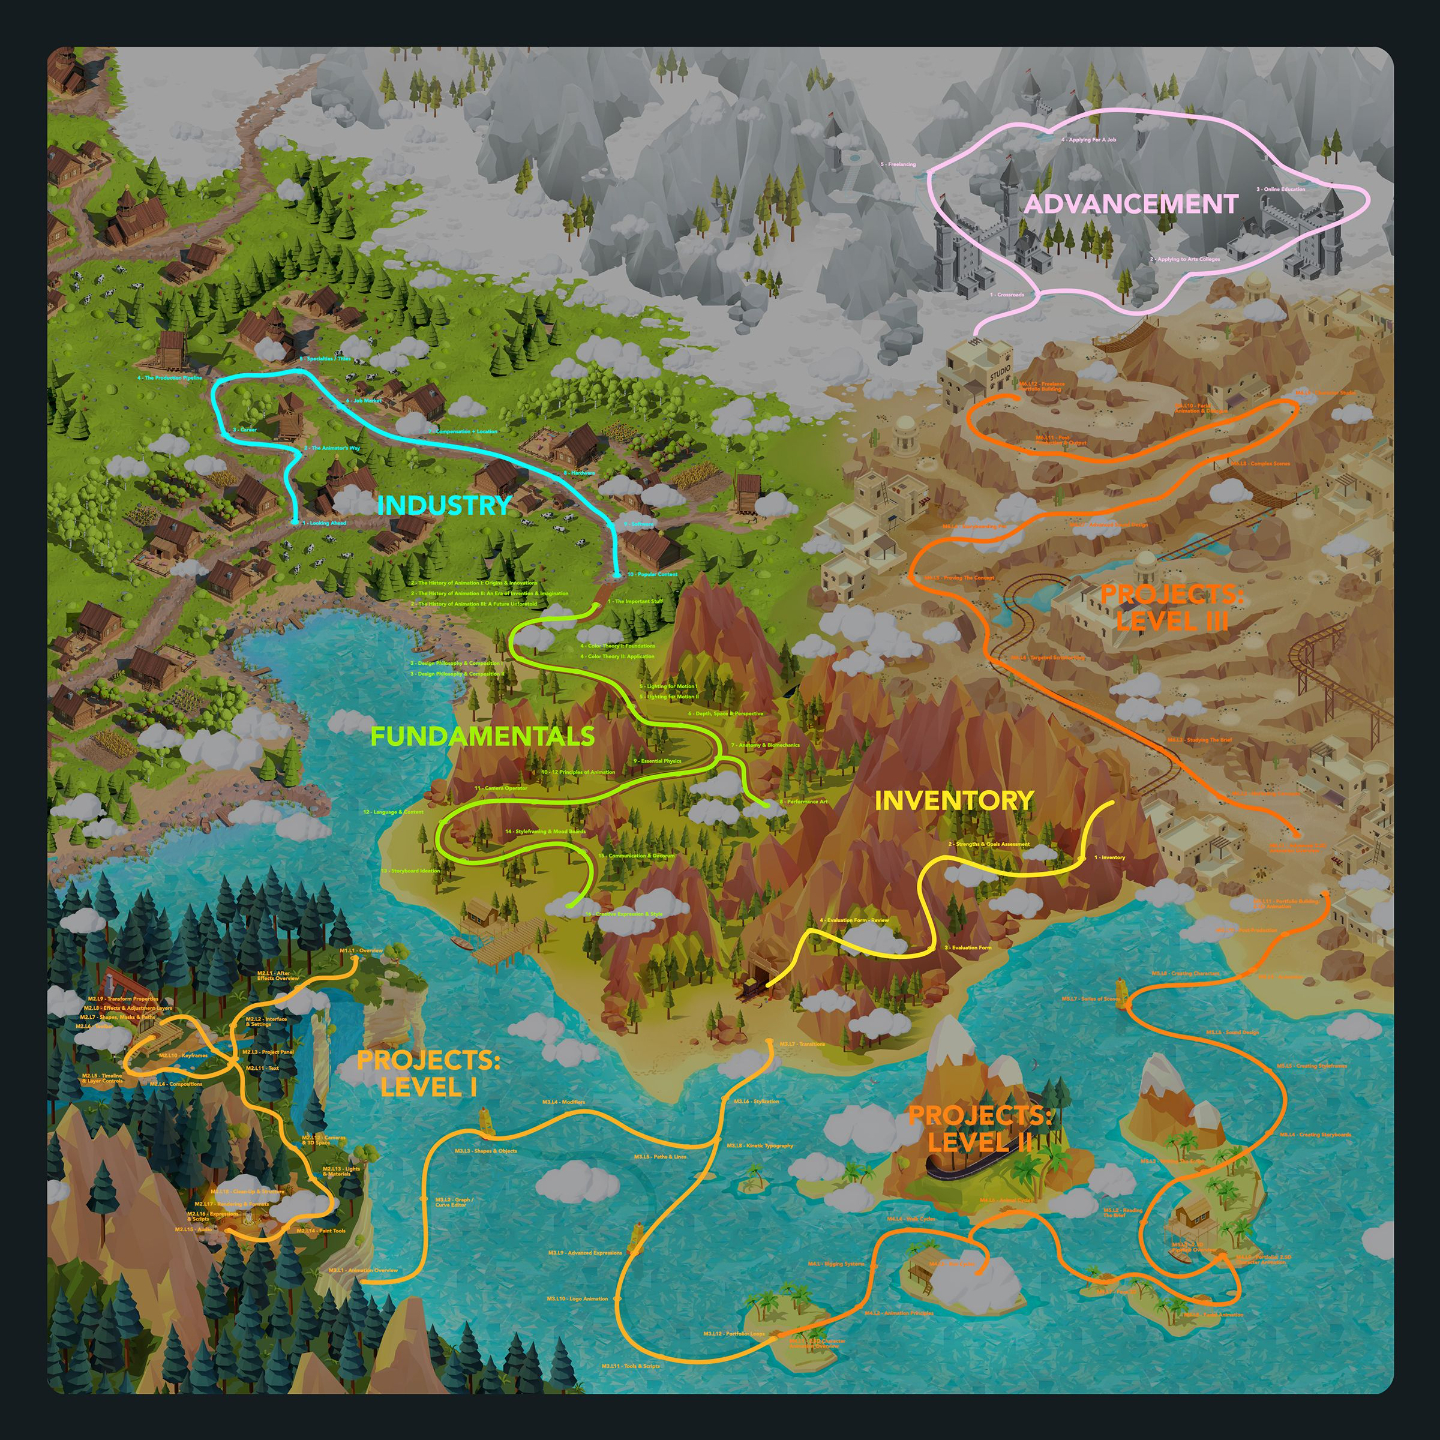
Lesson 1: Work - Life Balance
This lesson helps students understand how to maintain a healthier work/life balance while building a freelance career, especially during the intense early stages when work can easily take over. Students will learn how short-term habits, long-term breaks, relationships, personal fulfillment, and realistic boundaries all support a more sustainable creative business.
Lesson 3: Delegation & Expansion
This final lesson gives students a look at what it can mean to expand beyond freelancing into a contractor-based creative business. Students will explore the financial, managerial, marketing, artistic, and personal shifts involved in delegation, leadership, and building something larger while still staying flexible and profitable.
Lesson 2: The Ceiling
This lesson helps students recognize when they’ve hit a “ceiling” in their freelance career, whether that means too much demand, financial stability, burnout, or the need to make bigger decisions about their future. Students will learn how to reassess their client roster, protect their health and happiness, let go of poor-fit clients, and choose the next step that supports both their business and their life.
Lesson 1: Work - Life Balance
This lesson helps students understand how to maintain a healthier work/life balance while building a freelance career, especially during the intense early stages when work can easily take over. Students will learn how short-term habits, long-term breaks, relationships, personal fulfillment, and realistic boundaries all support a more sustainable creative business.
Lesson 2: The Ceiling
This lesson helps students recognize when they’ve hit a “ceiling” in their freelance career, whether that means too much demand, financial stability, burnout, or the need to make bigger decisions about their future. Students will learn how to reassess their client roster, protect their health and happiness, let go of poor-fit clients, and choose the next step that supports both their business and their life.
Lesson 3: Delegation & Expansion
This final lesson gives students a look at what it can mean to expand beyond freelancing into a contractor-based creative business. Students will explore the financial, managerial, marketing, artistic, and personal shifts involved in delegation, leadership, and building something larger while still staying flexible and profitable.