Intro To Cinema 4D
Estimated completion time: 6-8 weeks
Lessons are in video format with downloadable project files.
Intro To Cinema 4D
Estimated completion time:
6-8 weeks
Lessons are in video format with downloadable project files.
This module provides an A to Z walkthrough of 3D software Cinema 4D. Students will learn to confidently navigate the software and create professional-quality motion graphics projects for their demo reel.
These lessons build strong foundations in the full 3D production pipeline by focusing on each specific discipline / feature within the platform. Including modeling, texturing, lighting, rigging, cameras, MoGraph, dynamics and more.
Whether coming from a 2D or 3D background or starting fresh, we explore how motion graphics uses conceptual imagery, animation, and sound to communicate ideas, promote brands, and tell visually compelling stories.
Lesson 1: Intro to Cinema 4D Overview
This lesson introduces the Intro to Cinema 4D module, where students begin learning the essential tools and workflow needed to create commercial, brand-focused motion graphics projects. Students will build on their animation foundation while learning how to navigate Cinema 4D and prepare for more polished, professional demo reel work.
Lesson 11: Lighting
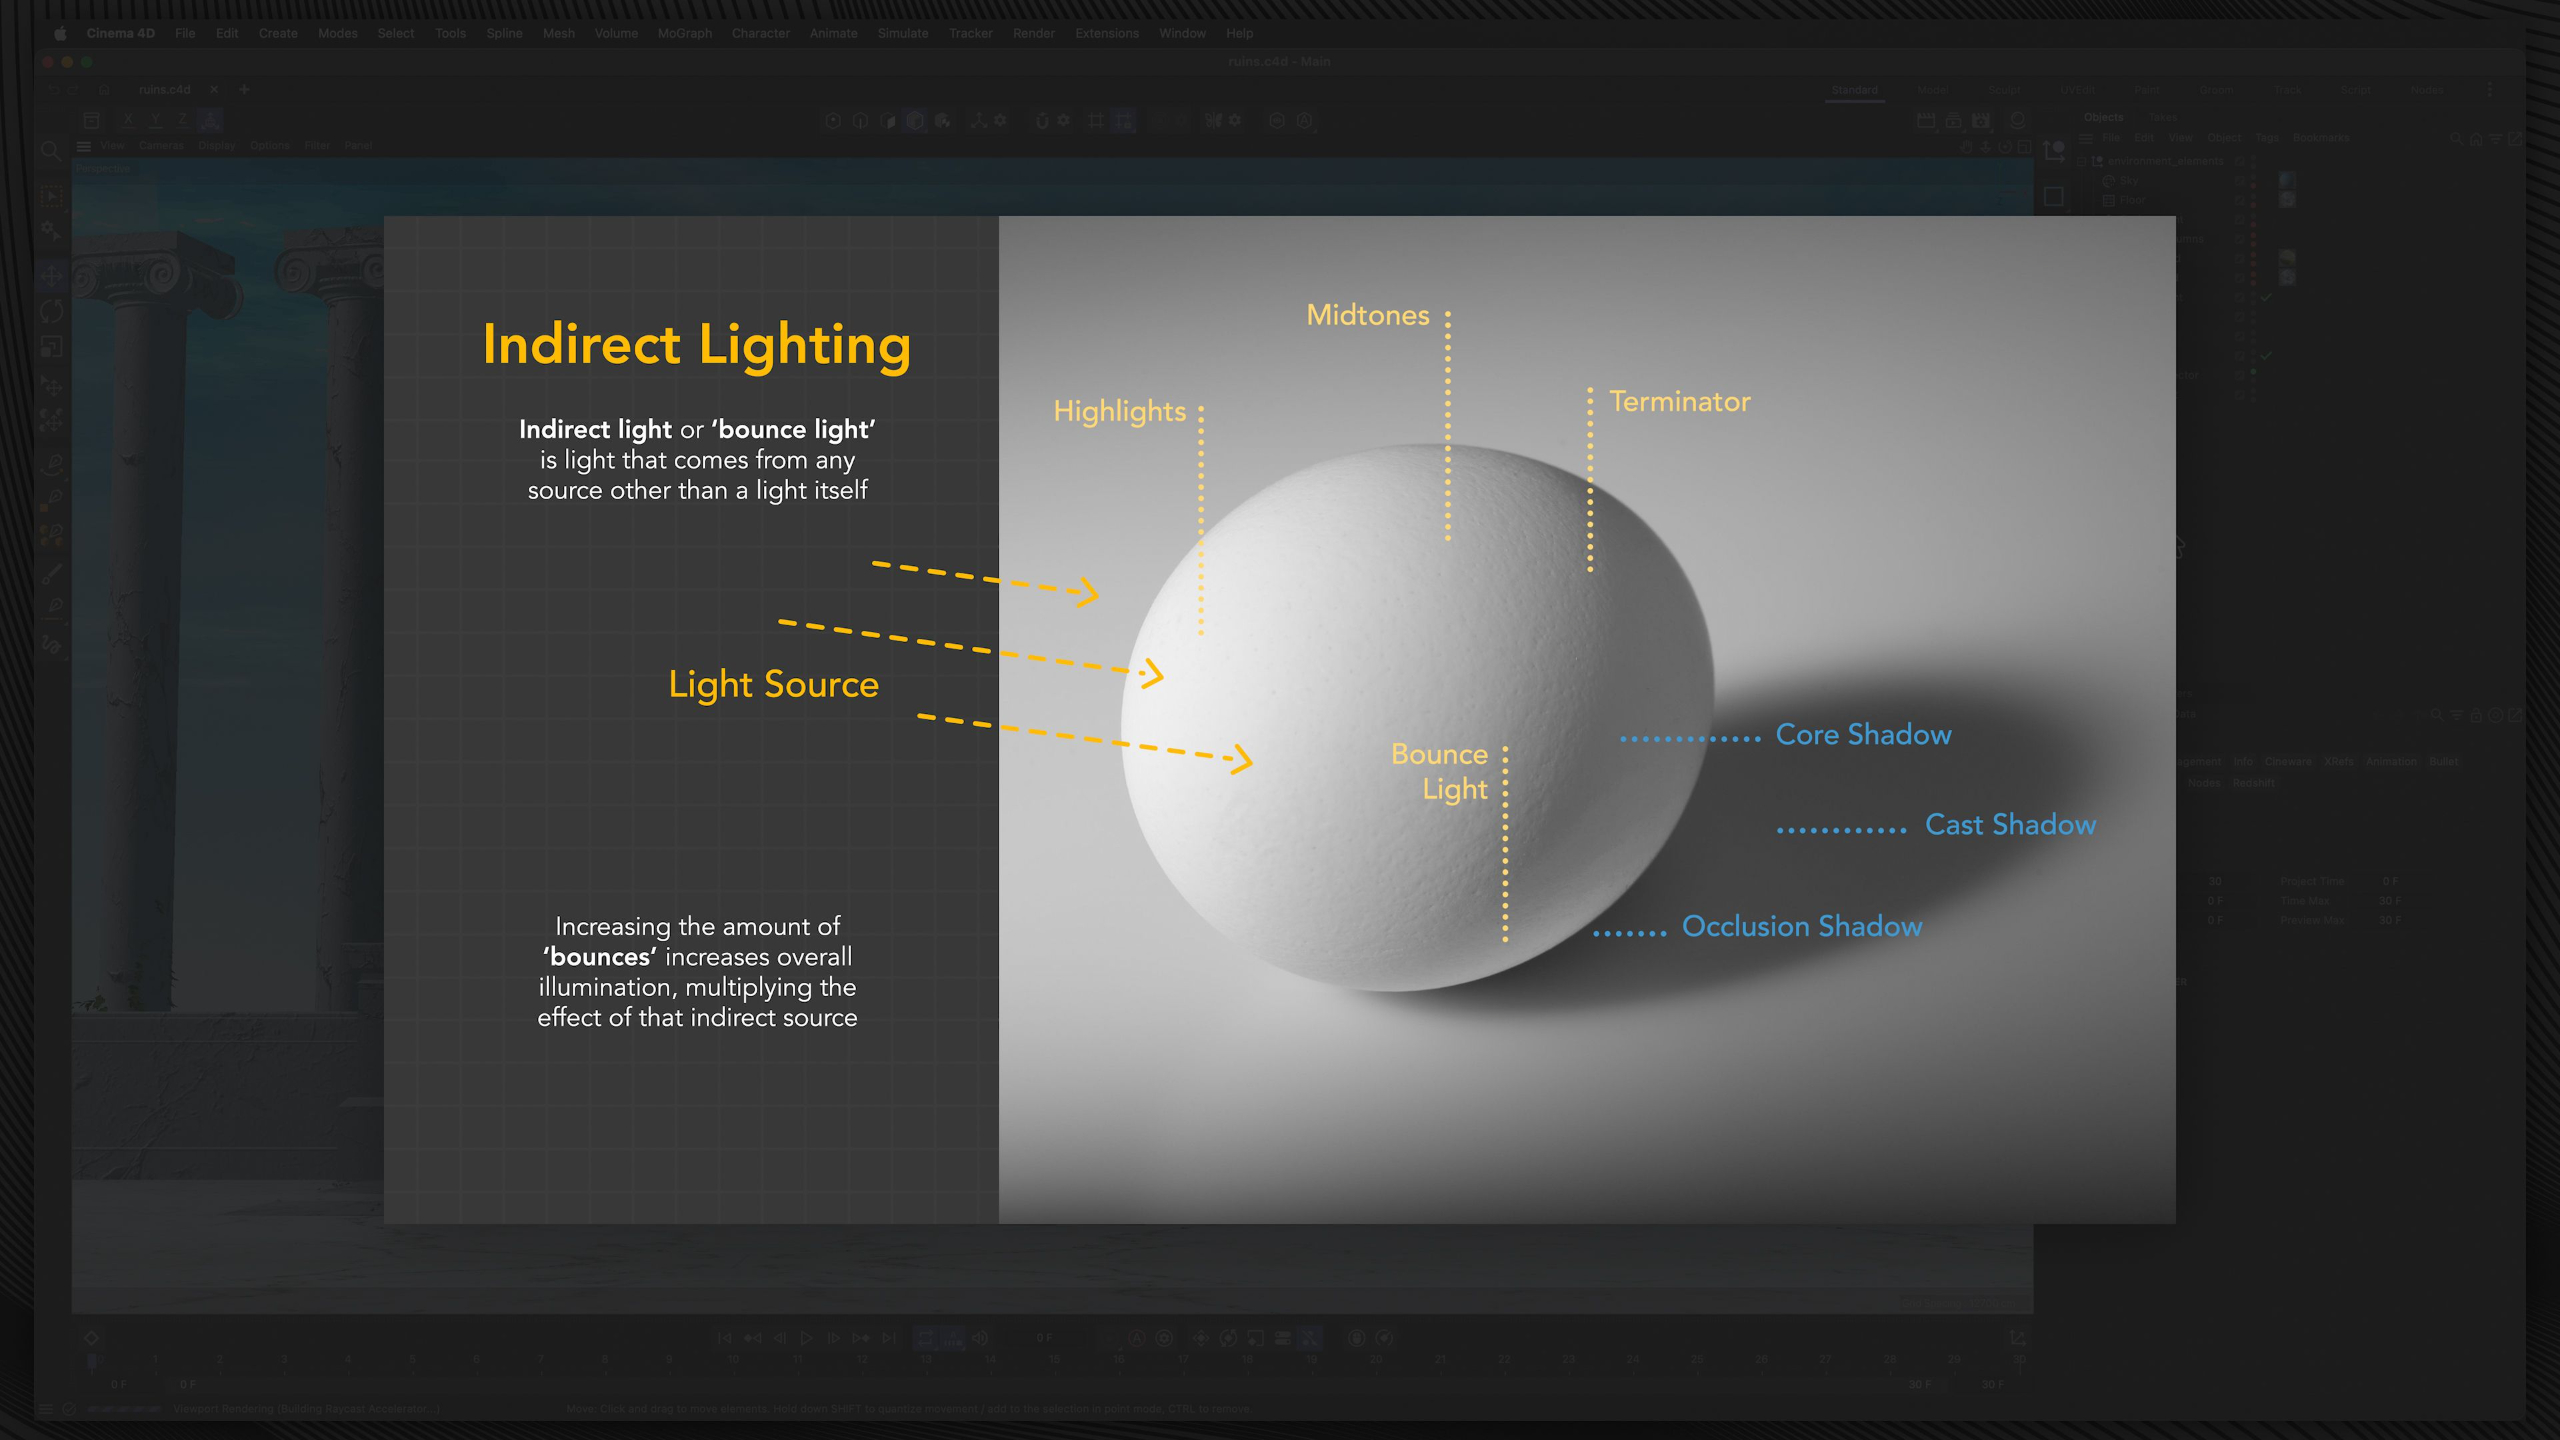
This lesson introduces lighting in Cinema 4D, showing students how different light types, shadows, environmental objects, global illumination, visible light, caustics, and lighting setups can shape the mood and clarity of a scene. Students will practice lighting a smartphone, an animated fruit punch scene, and a complex junkyard environment to better understand how lighting supports both realism and stylized motion graphics.
Lesson 2: Interface
This lesson gives students a guided tour of the Cinema 4D interface, helping them understand the viewport, menus, Object Manager, Attribute Manager, timeline, materials, tools, modes, layers, and project tabs. Students will get comfortable navigating the software layout so the upcoming modeling, animation, and motion graphics lessons feel much easier to follow.
Lesson 12: Constraints
This lesson introduces constraints in Cinema 4D, showing students how to bind objects to other objects, paths, splines, axes, and animated controls to create more efficient and believable motion. Students will practice constraint tags, Align to Path, Align to Spline, and IK-Spline setups so they can build smarter animation systems for future motion graphics projects.
Lesson 3: Settings
This lesson walks students through the key Cinema 4D preferences and settings, including interface behavior, navigation, viewport quality, saving, auto-save, plugins, units, memory, materials, assets, and import/export options. Students will learn how to adjust the software to fit their workflow and use this lesson as a reference as they become more comfortable working in Cinema 4D.
Lesson 13: Rigging
This three-part rigging lesson introduces students to joints, IK/FK systems, constraints, binding, weight painting, and Cinema 4D’s character rig builders. Students will practice rigging hard-surface objects, organic models, characters, vehicles, and optional complex machinery so they can build smarter animation controls for future motion graphics projects.
Lesson 4: Viewport Navigation
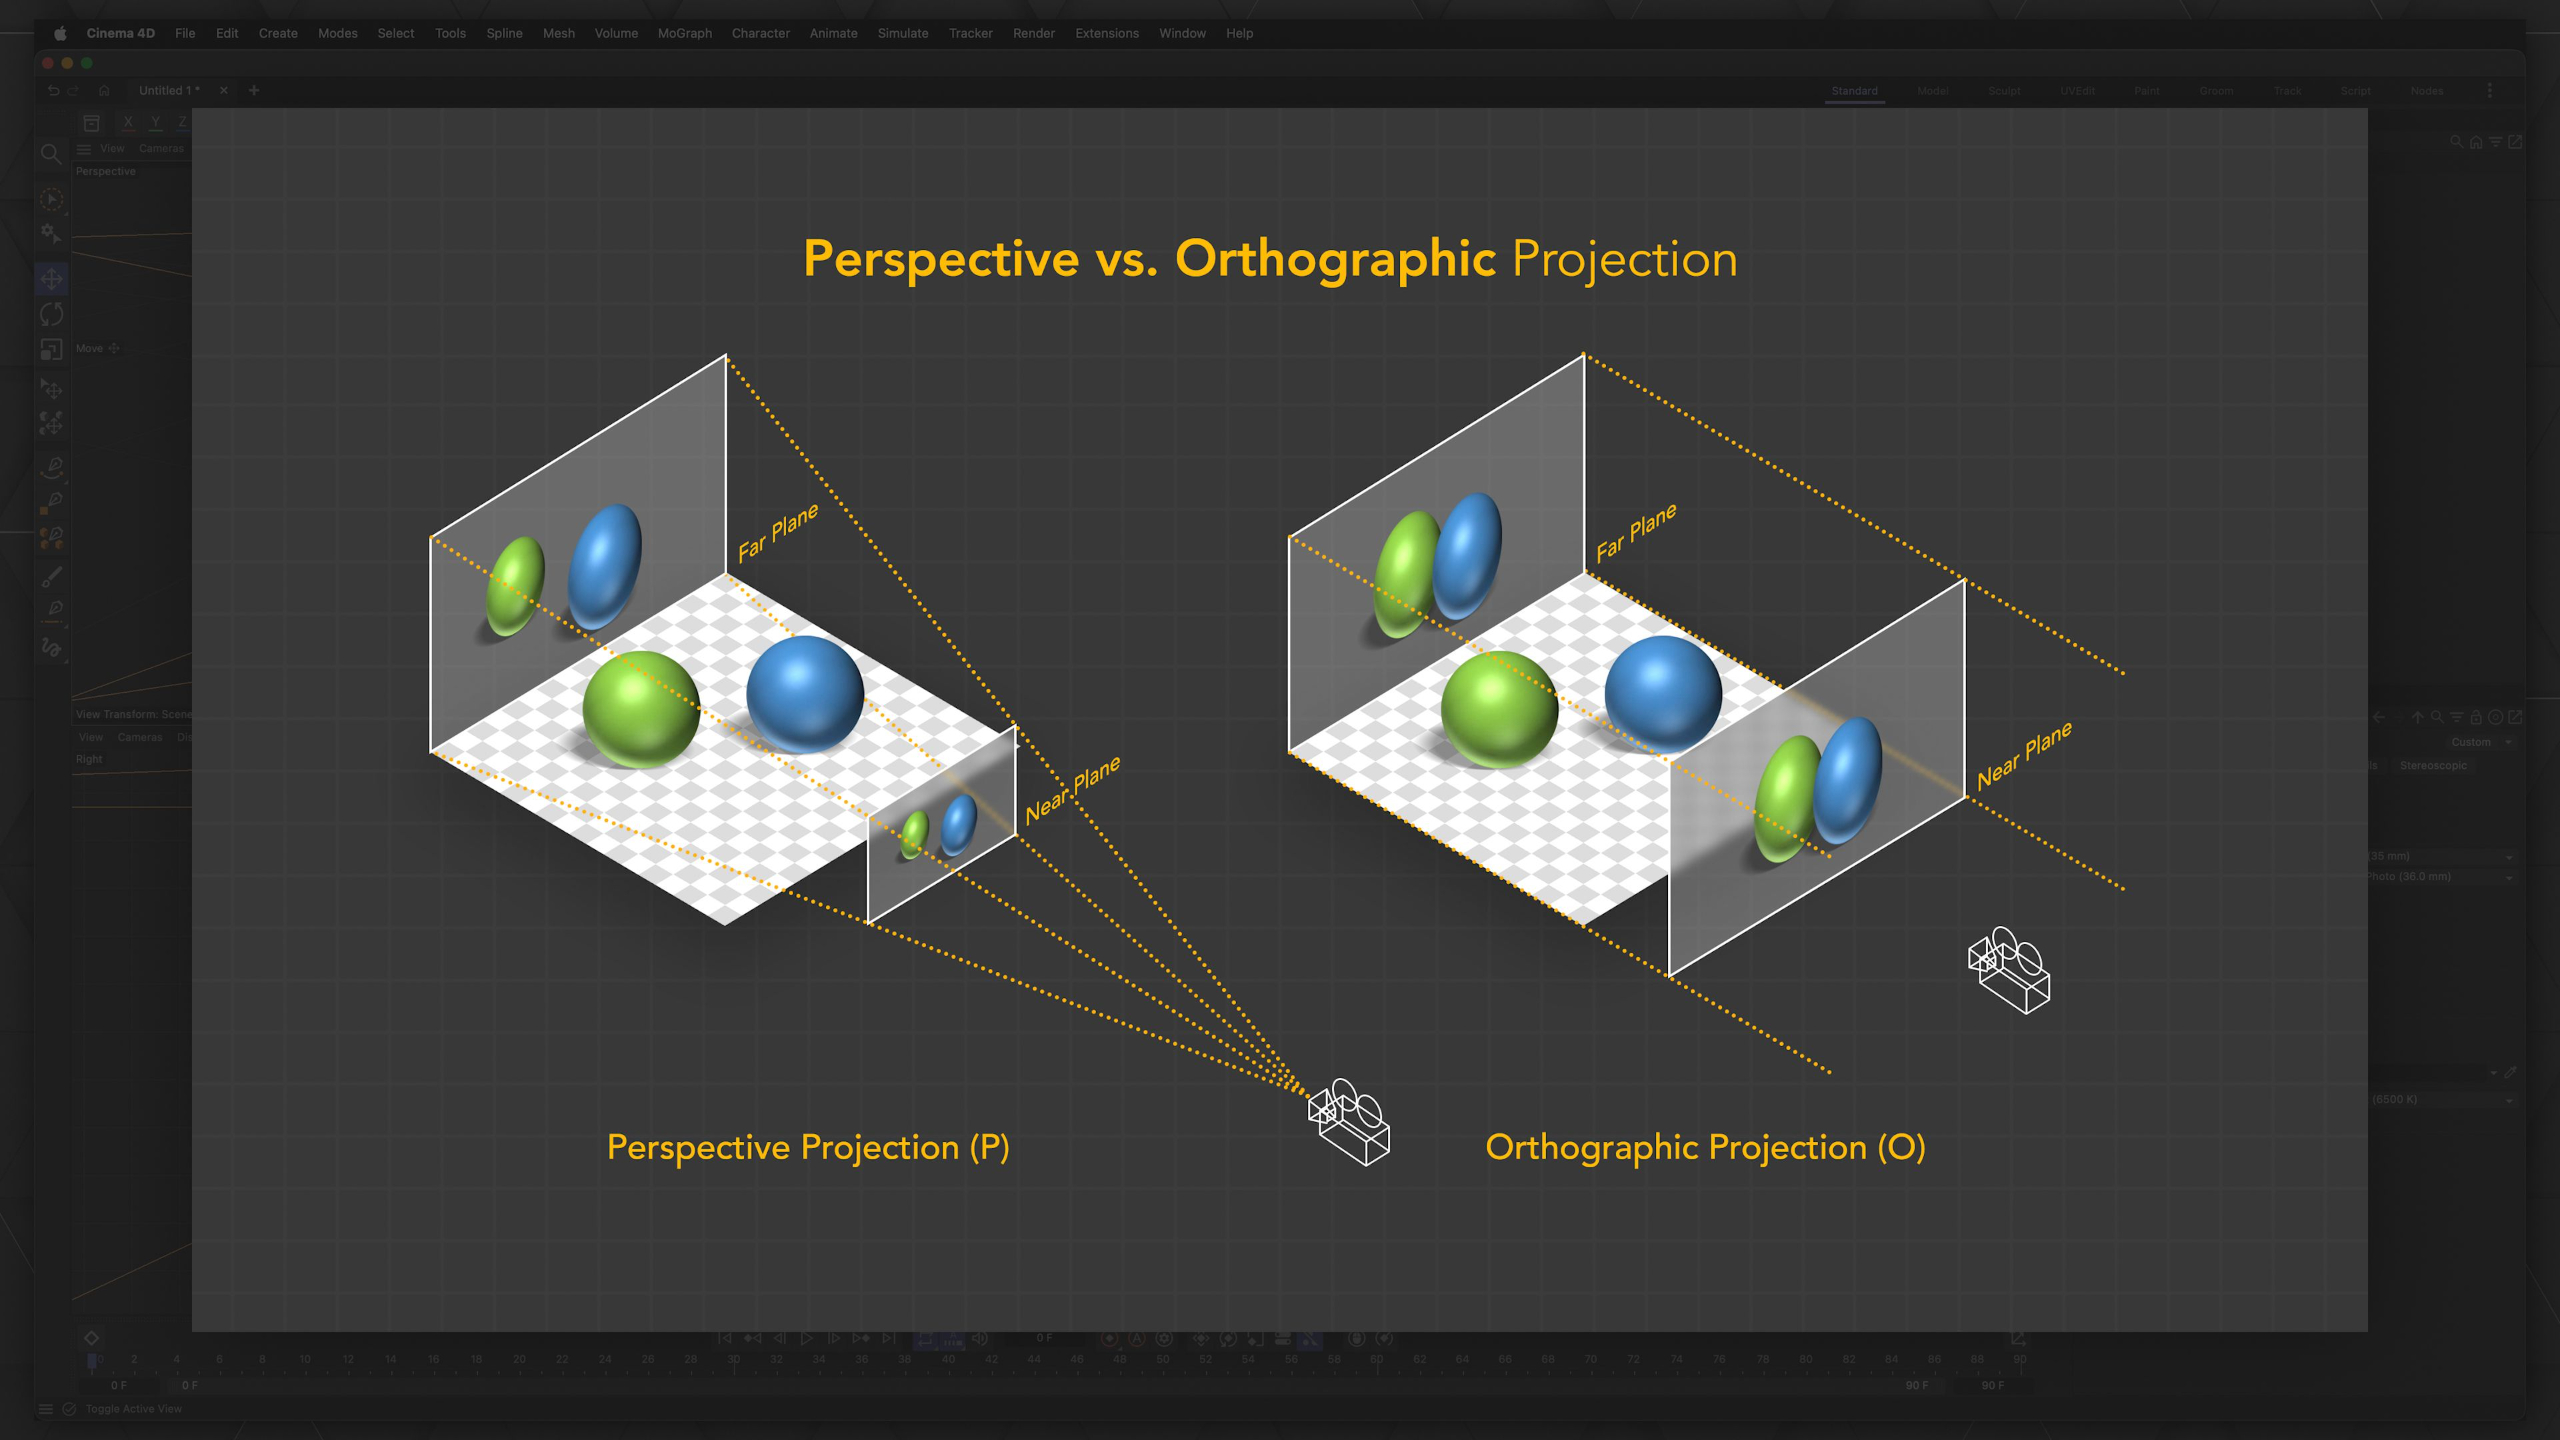
This lesson teaches students how to navigate the Cinema 4D viewport, including moving, orbiting, zooming, using perspective and orthographic views, changing panel layouts, and configuring viewport display settings. Students will practice these navigation tools so they can move comfortably through 3D space and work more efficiently in future Cinema 4D lessons.
Lesson 14: Animation
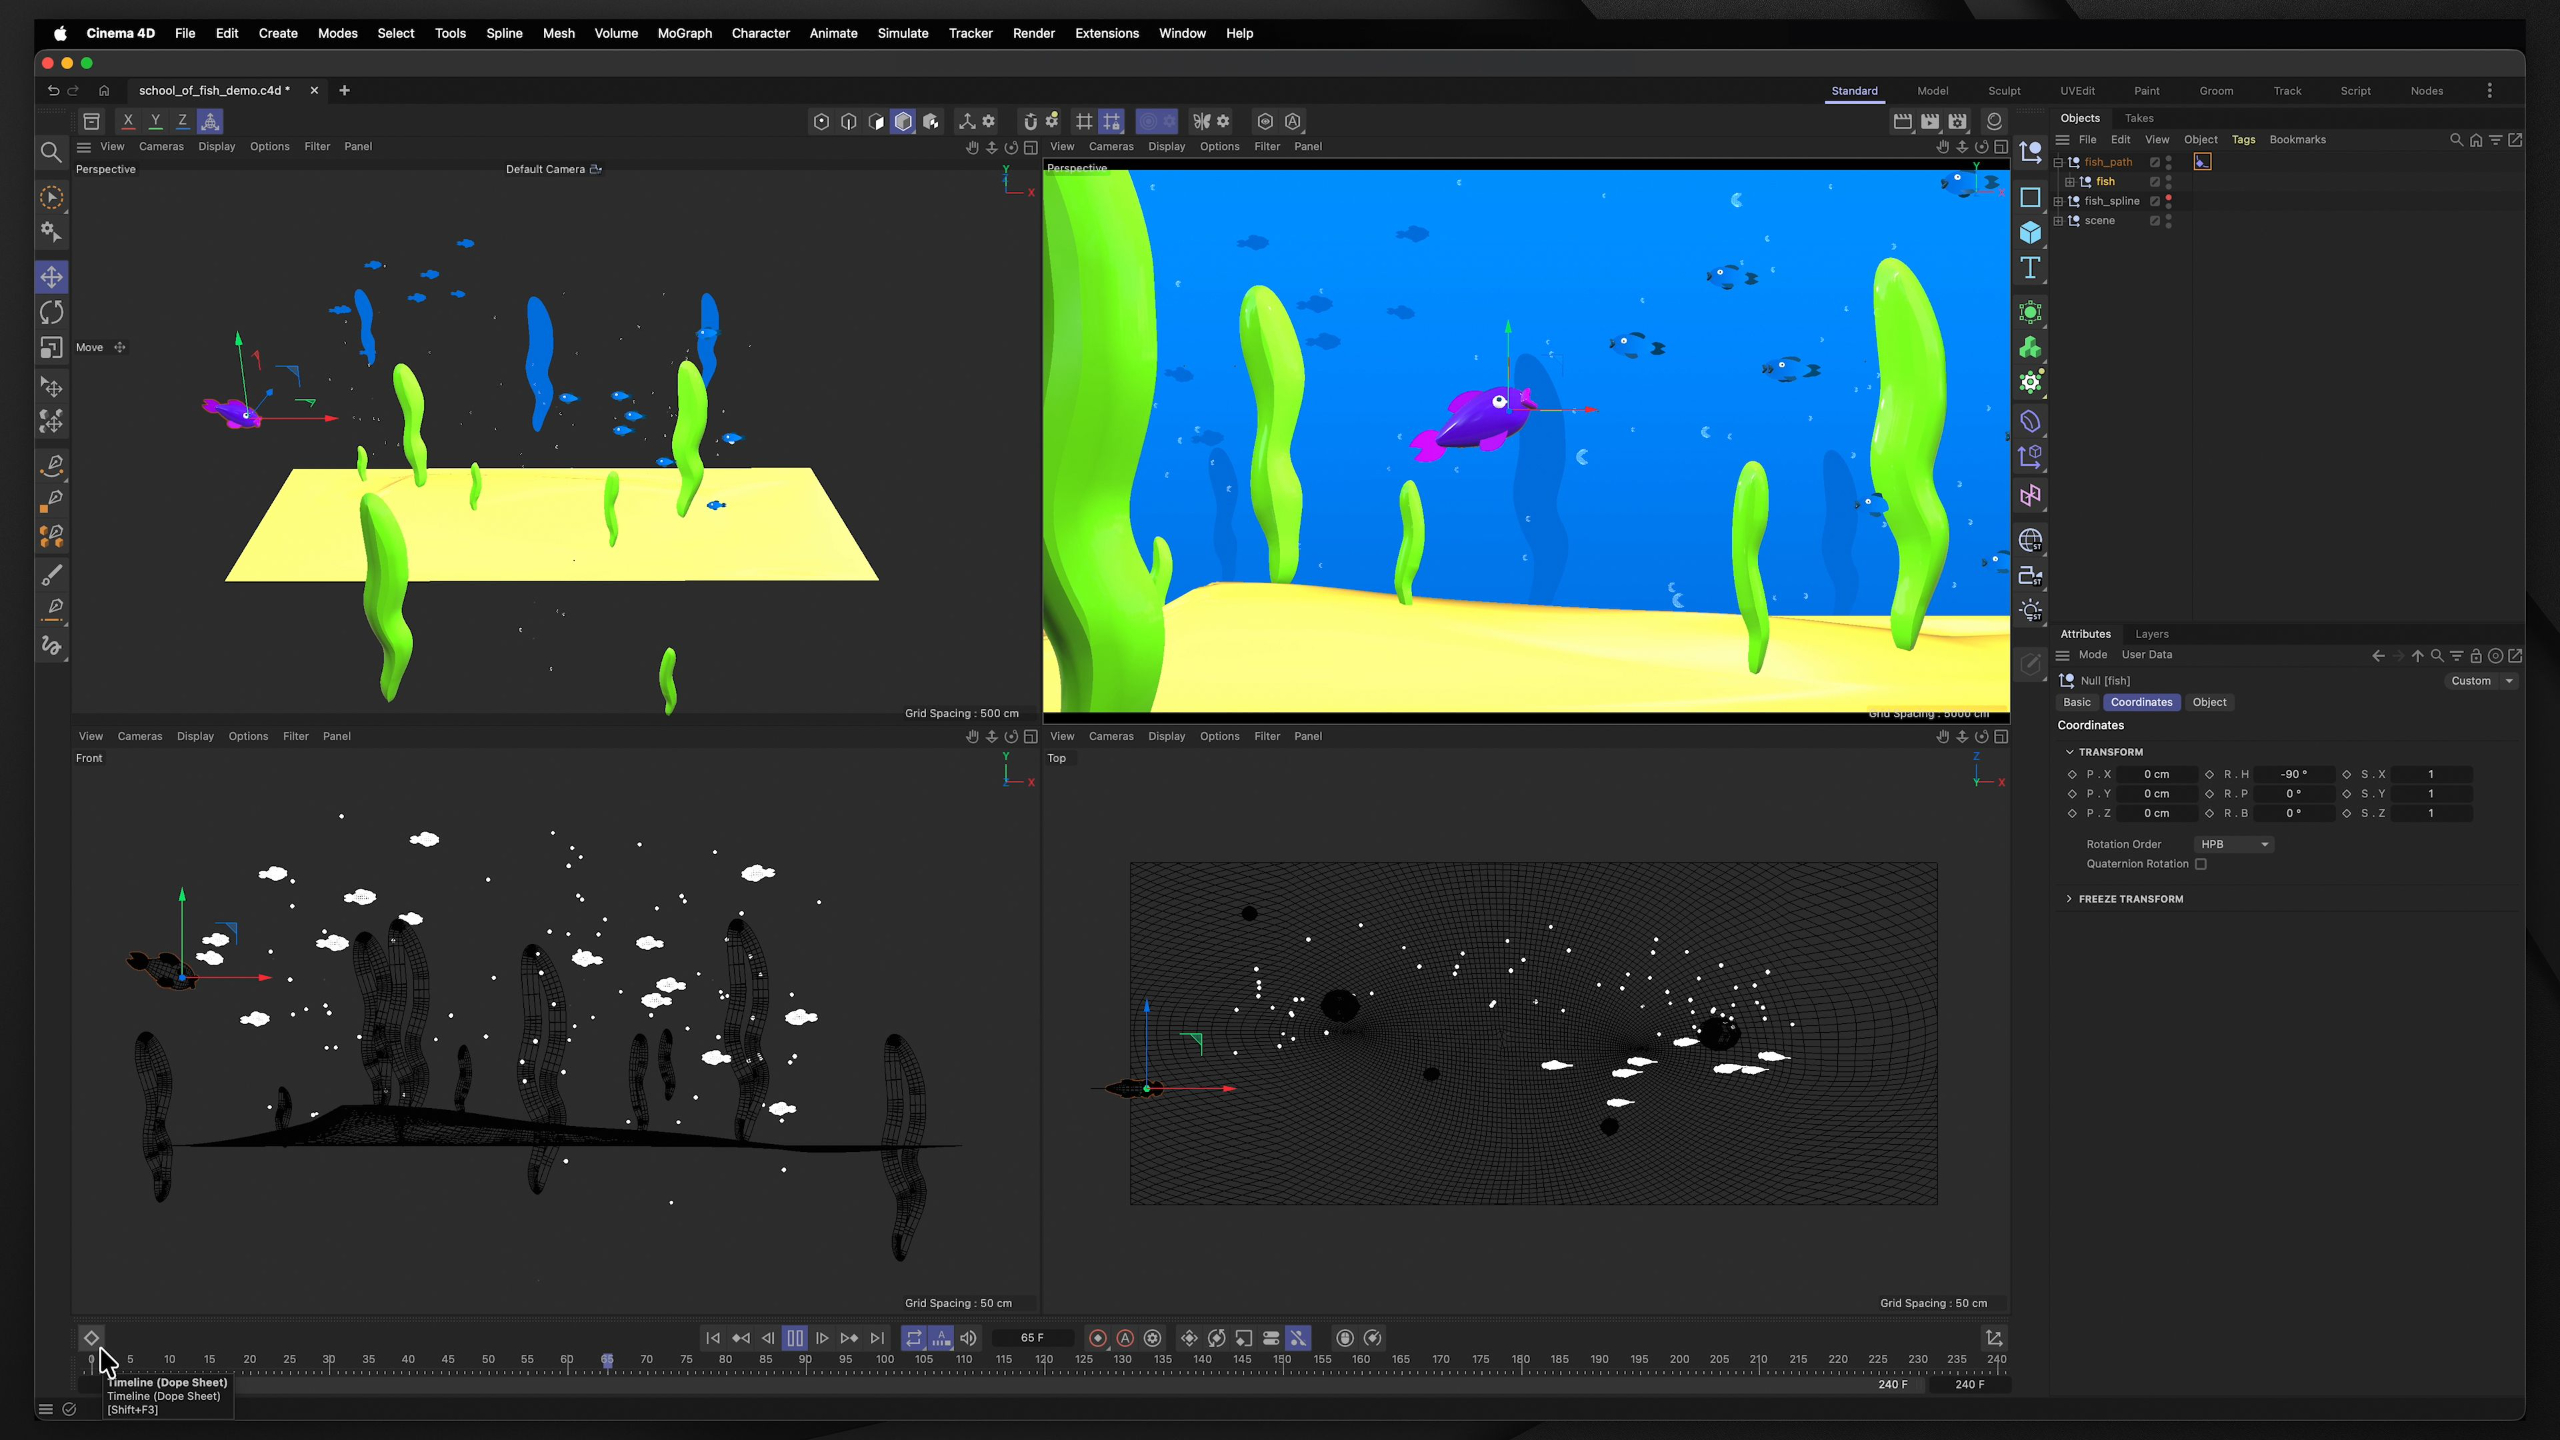
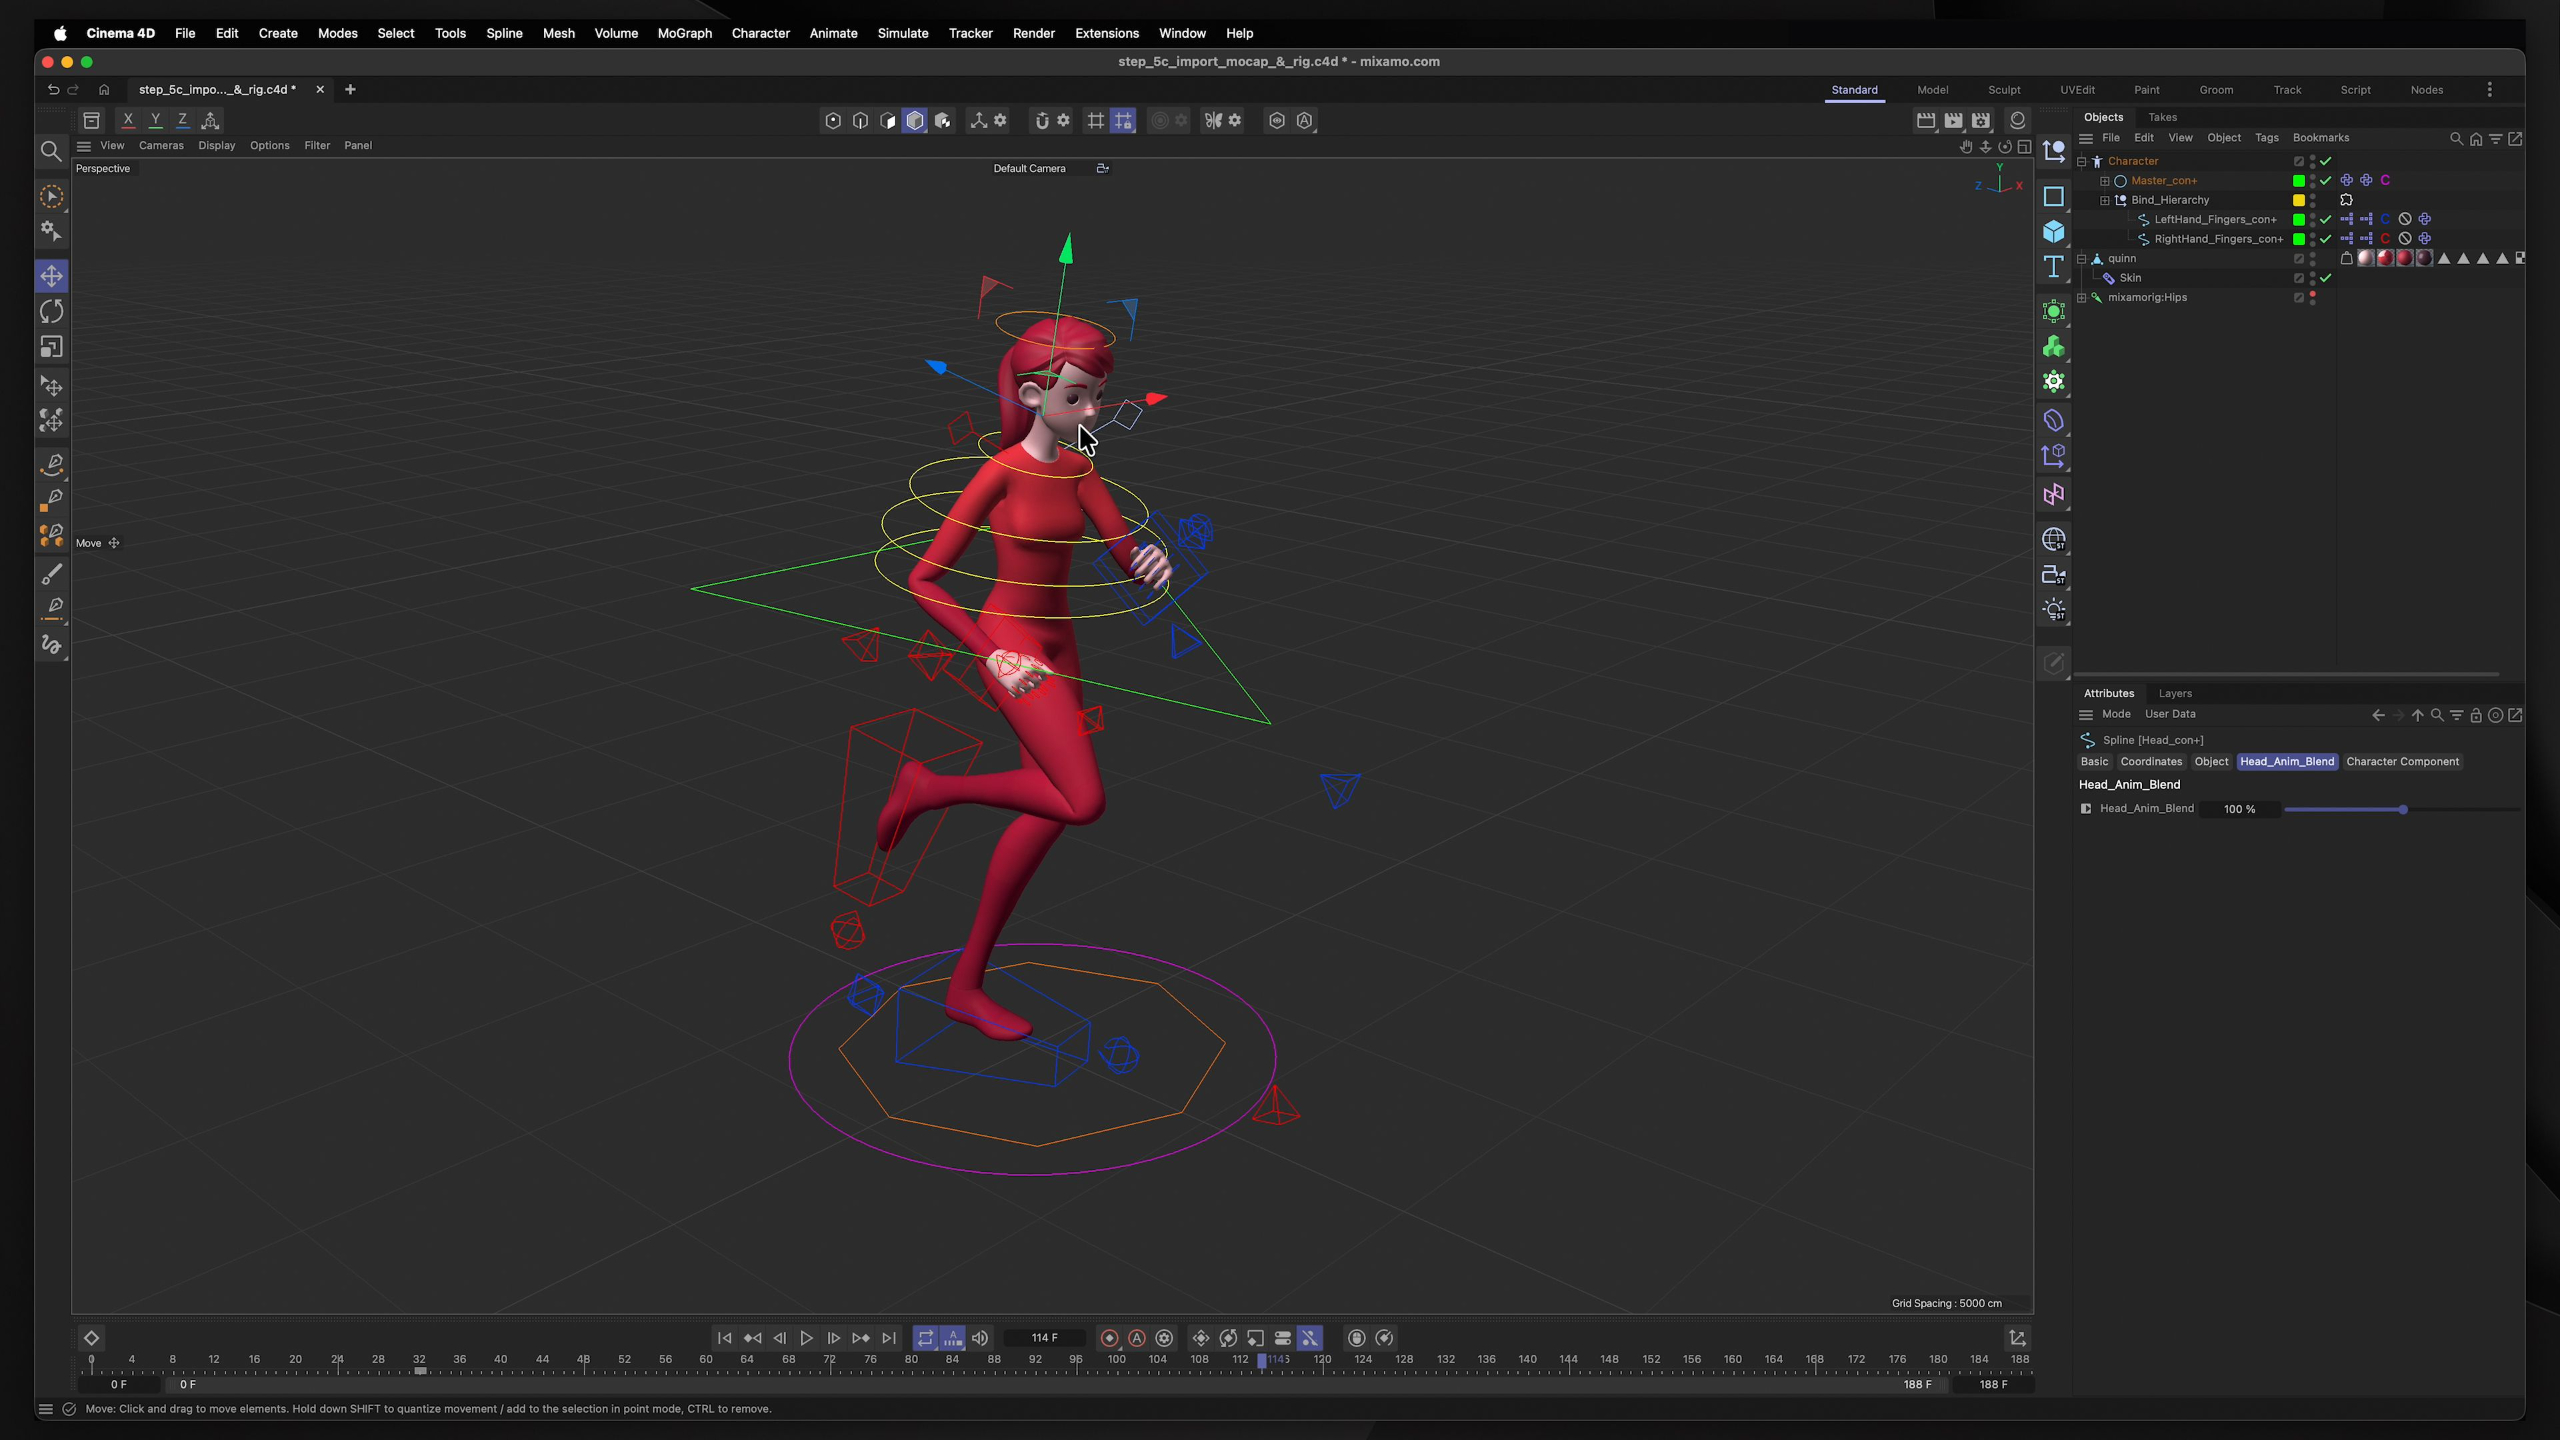
This three-part animation lesson teaches students how to animate in Cinema 4D using keyframes, frame rate, the timeline, Dope Sheet, F-Curve Editor, and interpolation controls to create more believable motion. Students will also explore Mixamo motion capture workflows, learning how to auto-rig characters, apply mocap animation, import it back into Cinema 4D, and add controls for faster character animation.
Lesson 5: Objects
This lesson teaches students how to select, organize, group, hide, solo, combine, and manage objects inside Cinema 4D’s viewport and Object Manager. Students will also explore parent-child relationships and useful tags, giving them a stronger foundation for building clean, organized 3D scenes.
Lesson 15: Cameras
This lesson introduces cameras in Cinema 4D, showing students how to plan shots, use camera types and rigs, adjust focal length, depth of field, lens effects, composition guides, and create camera cuts with the Stage object. Students will practice animating cameras and building storyboard-driven shot sequences so their 3D motion graphics feel more cinematic and professionally directed.
Lesson 6: Transforms
This lesson teaches students how to transform objects in Cinema 4D by moving, rotating, scaling, duplicating, arranging, randomizing, placing, and projecting objects within a 3D scene. Students will also learn how axis controls, coordinates, freeze transformations, and dynamic placement tools help create cleaner, more flexible motion graphics workflows.
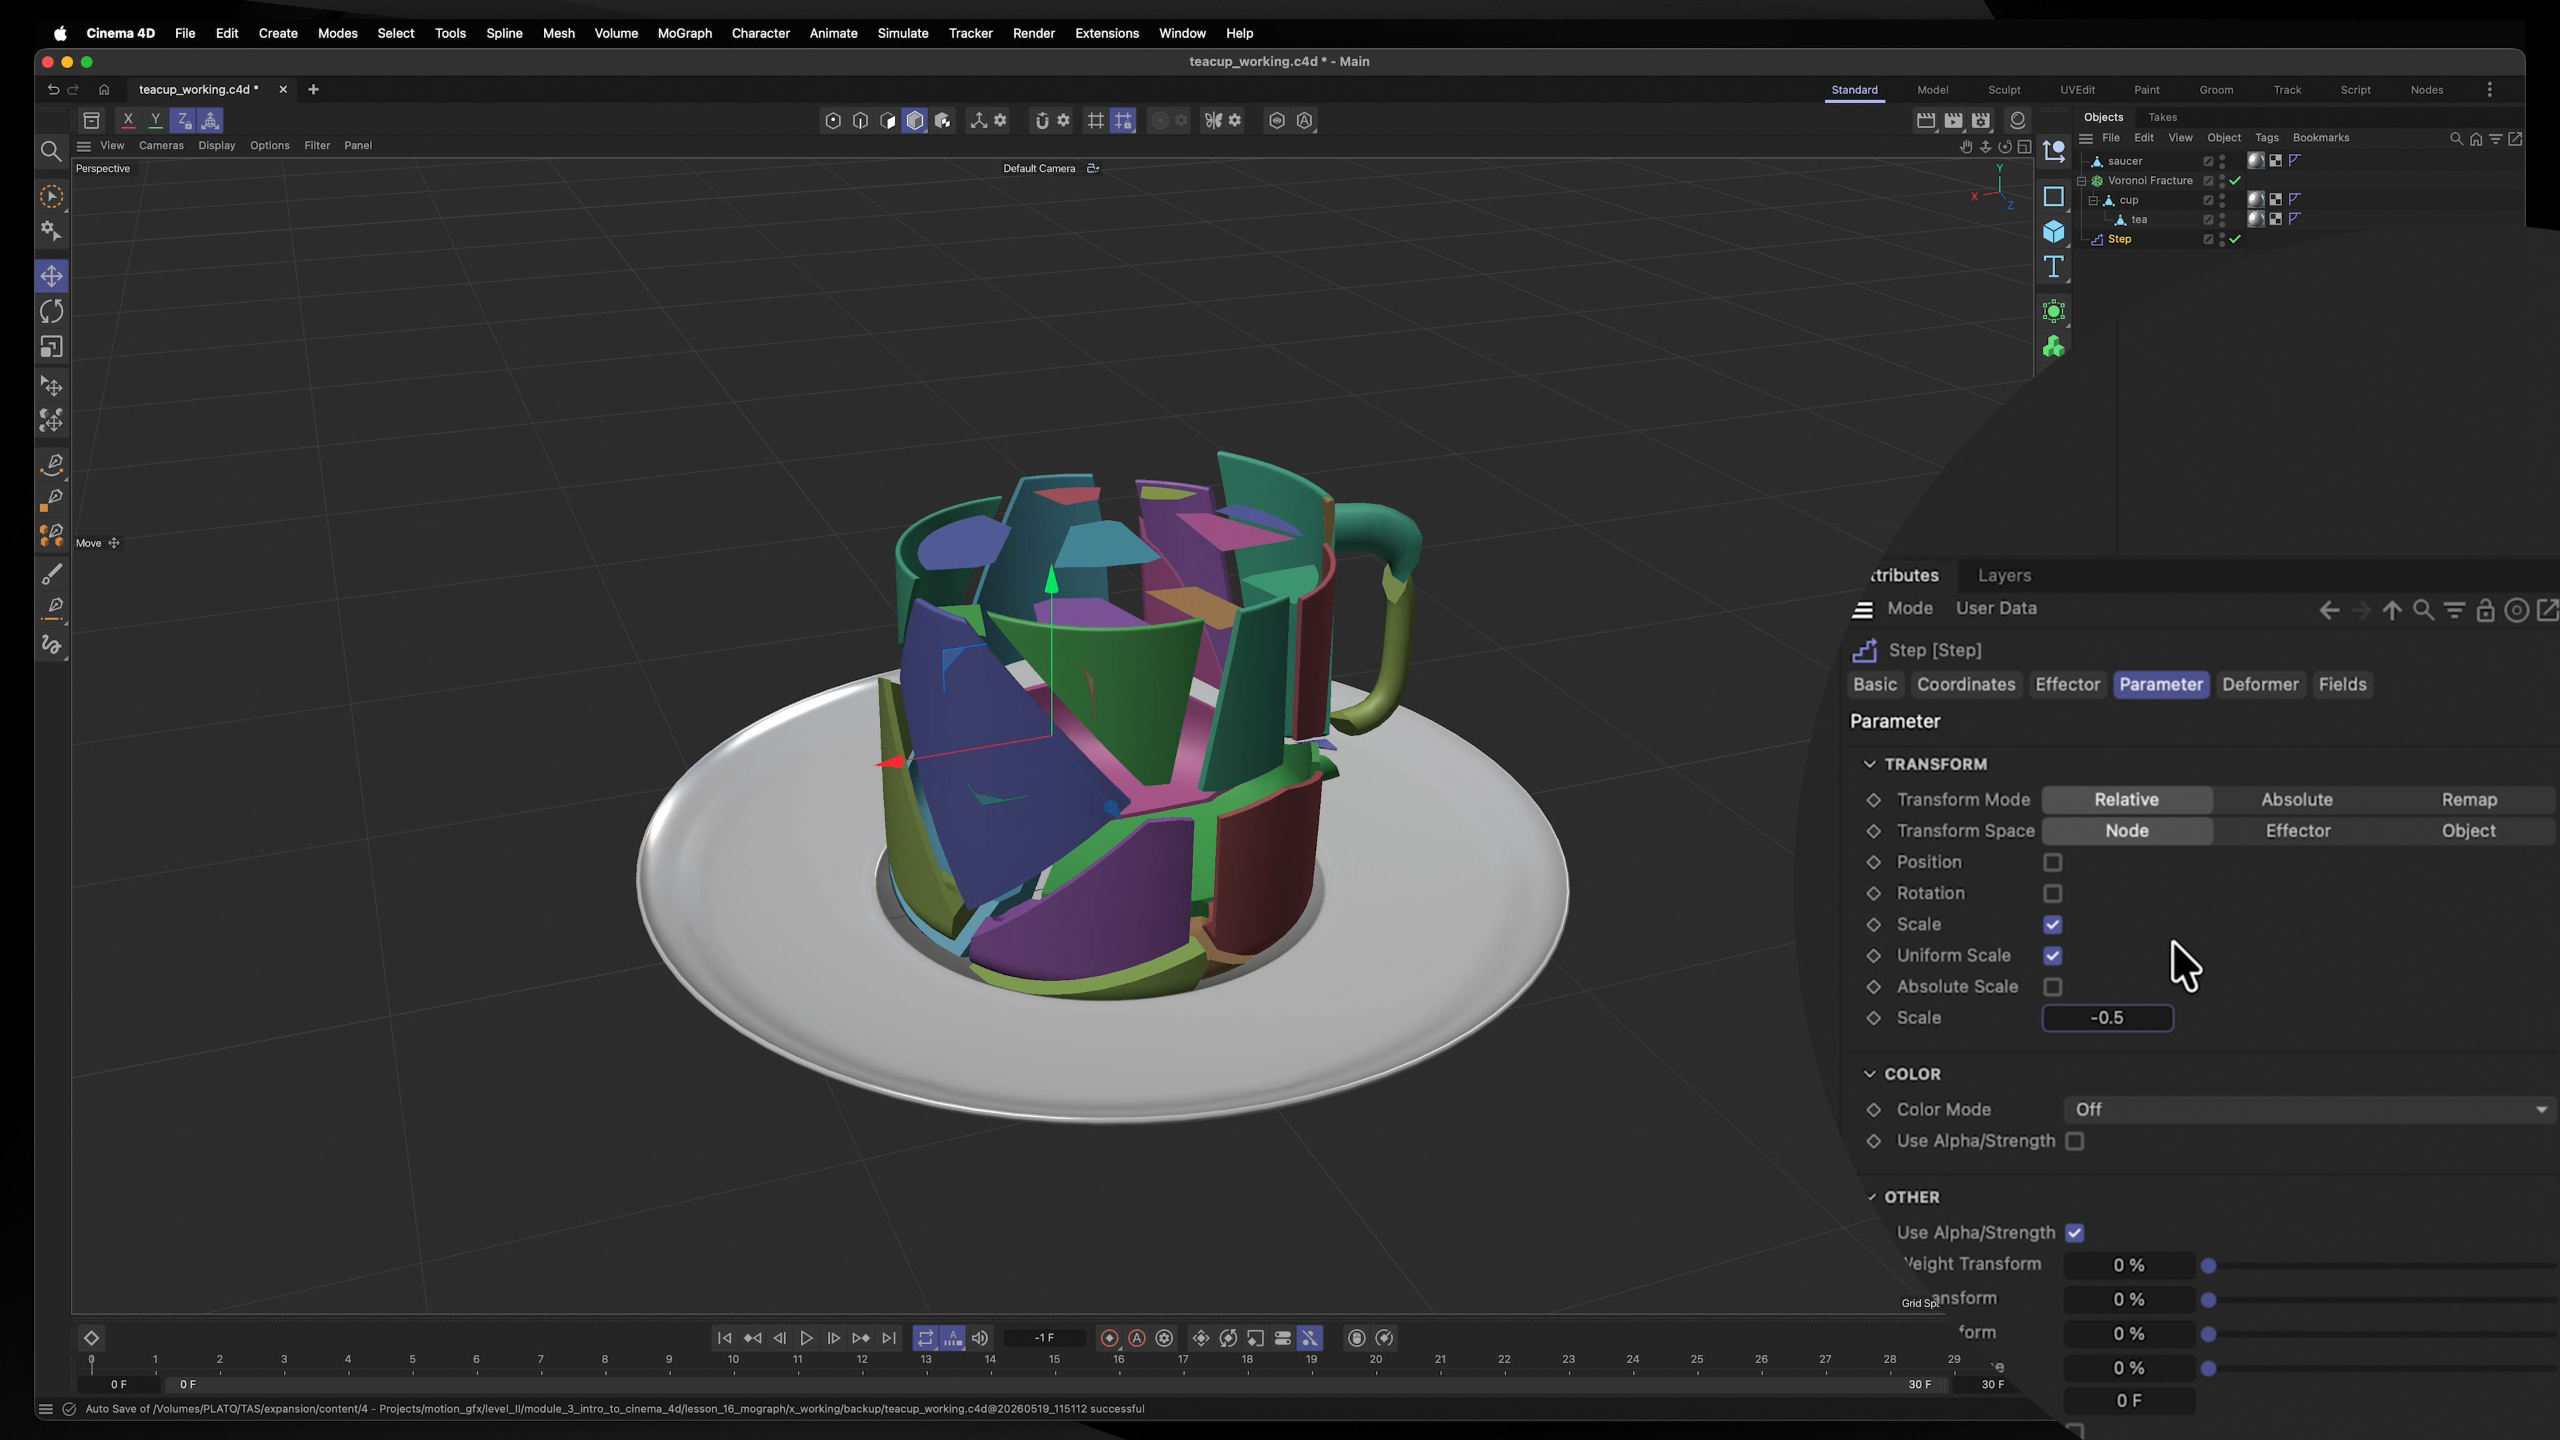
Lesson 16: MoGraph
This lesson introduces Cinema 4D’s MoGraph toolset, showing students how to use cloners, effectors, fields, matrices, fractures, tracers, MoSplines, MoInstances, MoExtrude, and PolyFX to create dynamic multi-object animations and abstract motion graphics. Students will experiment with the provided project files to better understand how MoGraph can generate complex, flexible visuals quickly while still being applied to real client-focused work.
Lesson 7: Modeling
This three-part modeling lesson introduces students to the core Cinema 4D modeling workflows, including hard-surface modeling, organic sculpting, spline creation, and generator-based geometry. Students will practice building a planetary rover, sculpting terrain and character details, and using splines and generators to create more complex 3D objects for motion graphics projects.
Lesson 17: Dynamics
This three-part dynamics lesson introduces students to Cinema 4D’s physics-based animation tools, including rigid bodies, soft bodies, cloth, rope, emitters, forces, Voronoi fractures, Pyro, connectors, springs, and motors. Students will experiment with simulations like bowling pins, bouncing soft bodies, cloth, particles, destruction, vehicles, and bobbleheads to understand how dynamics can create realistic motion that would be difficult to animate by hand.
Lesson 8: Deformers
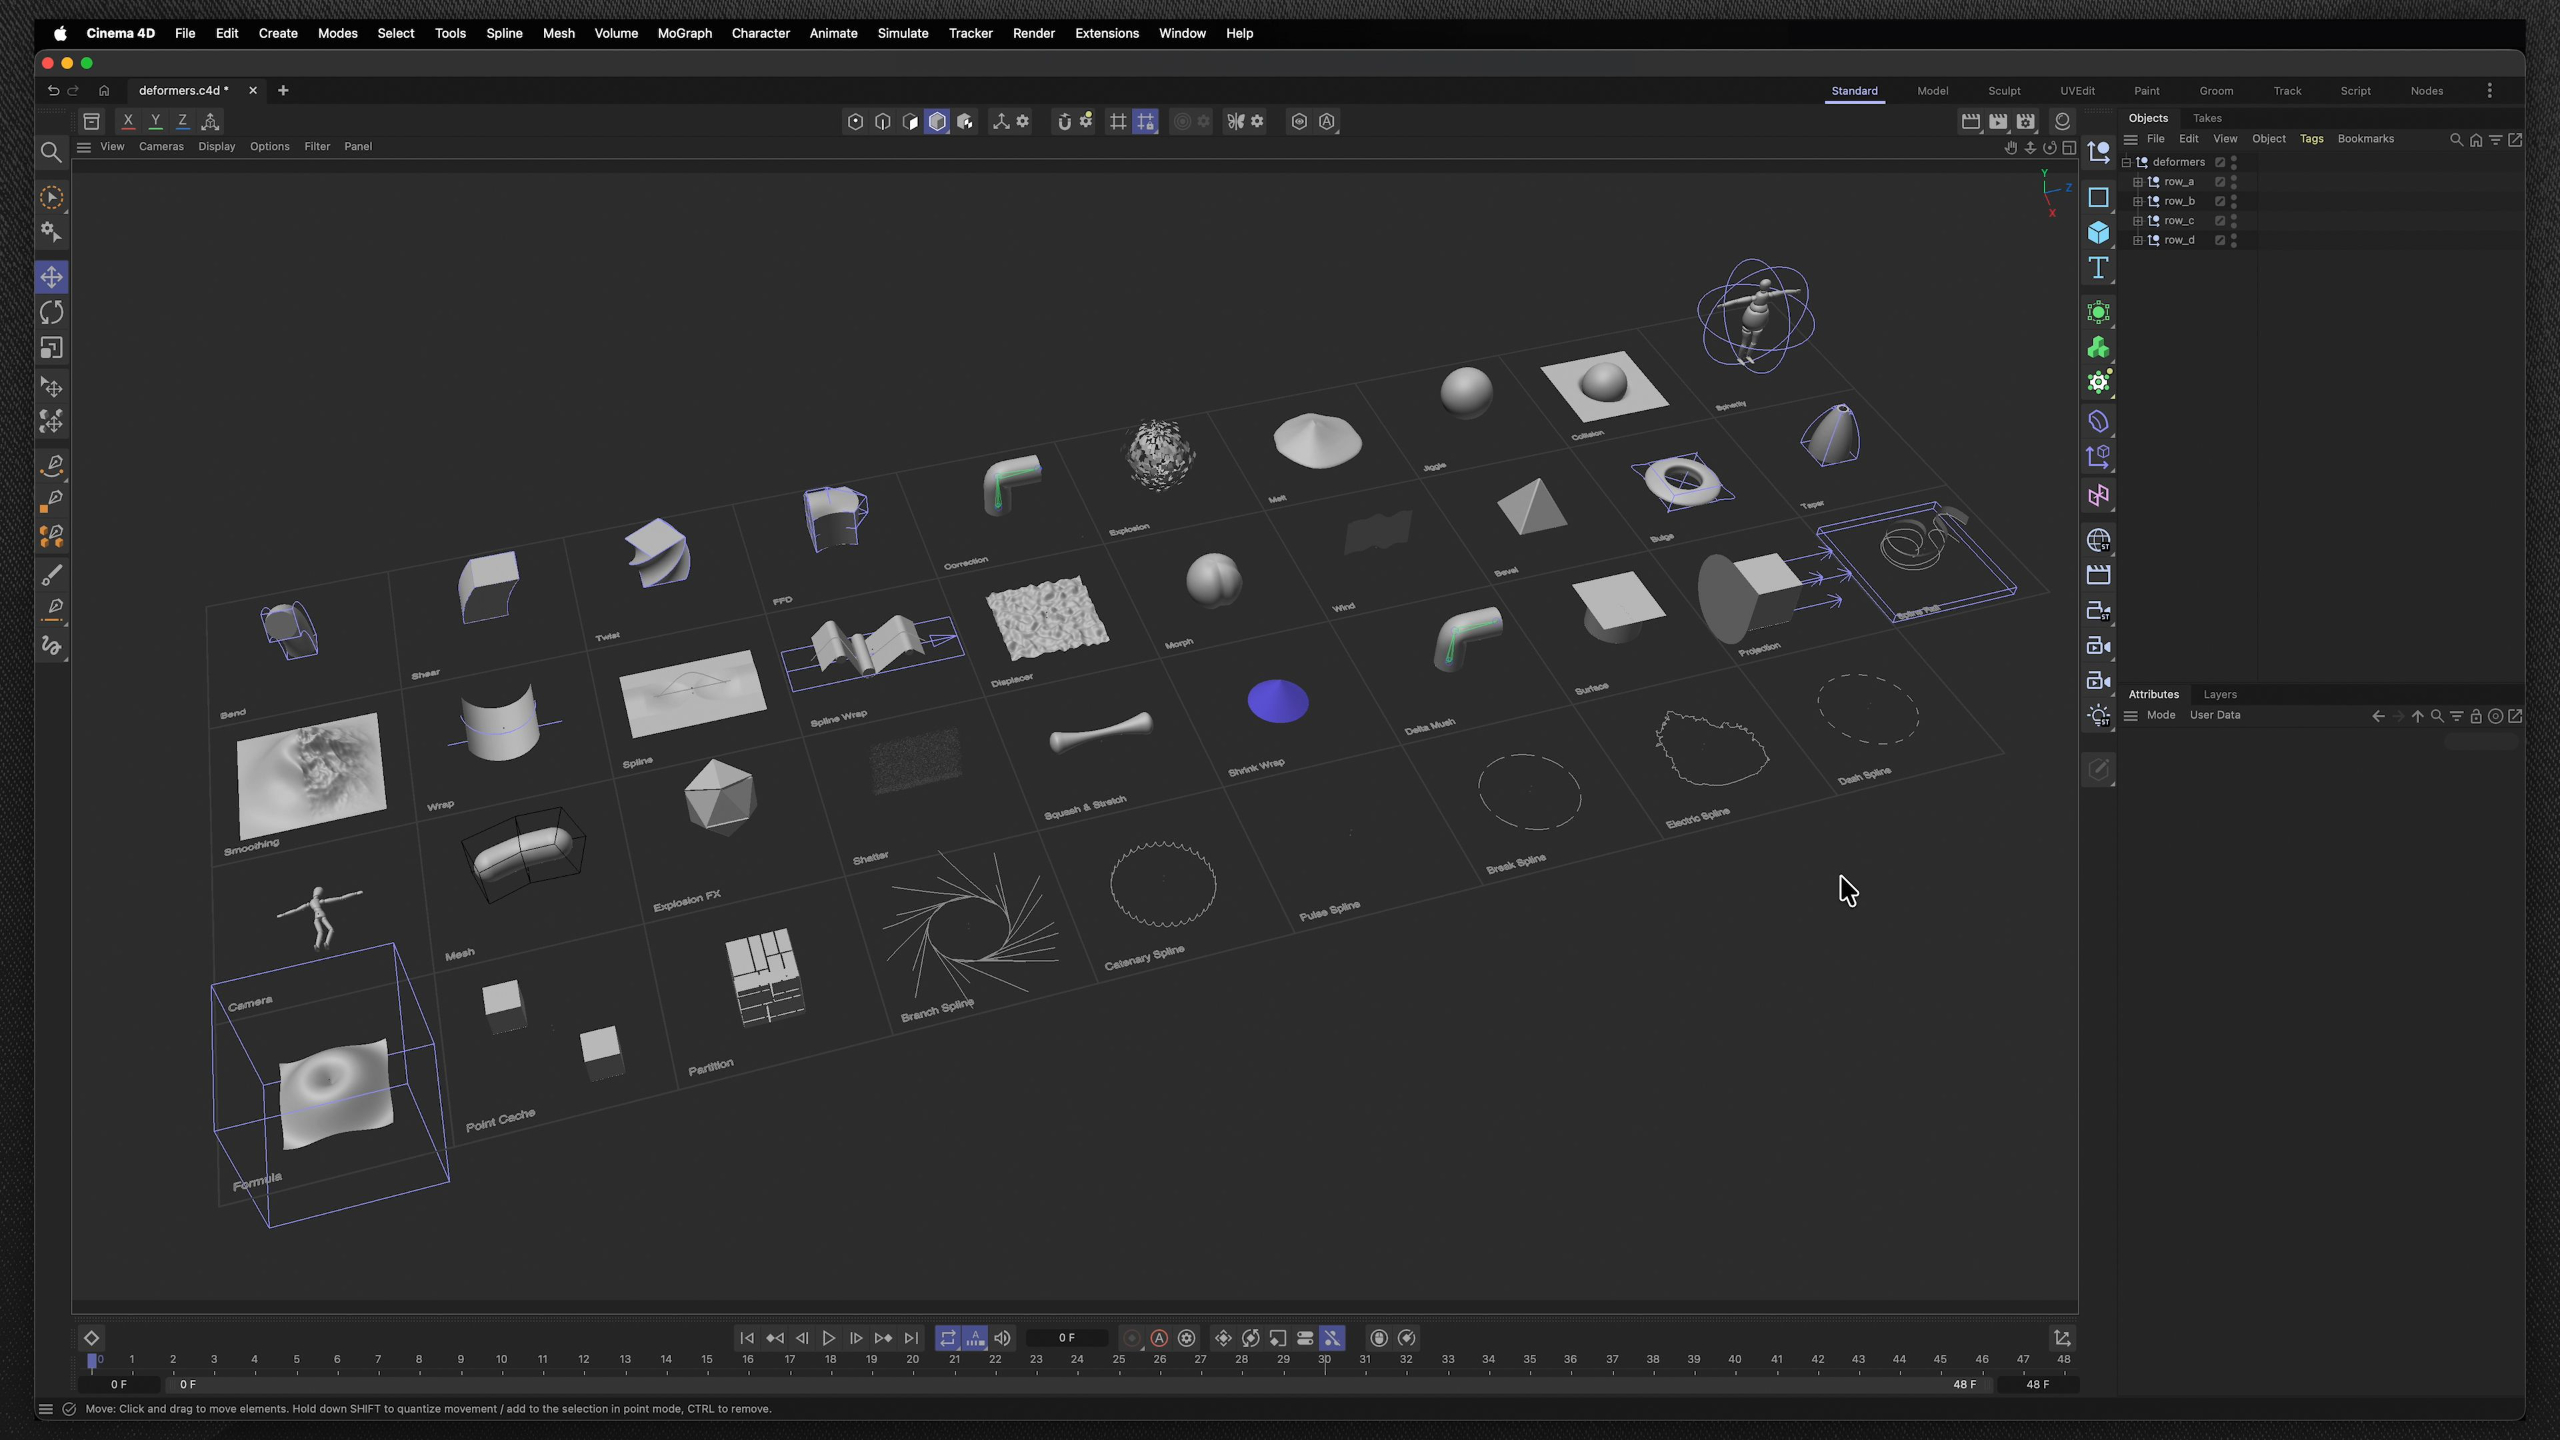
This lesson introduces deformers in Cinema 4D, showing students how to non-destructively bend, twist, stretch, melt, shatter, wrap, displace, and reshape objects or splines in creative ways. Students will practice applying different deformers to understand how they can speed up modeling, enhance animation, and add more dynamic motion graphics effects to their projects.
Lesson 18: Rendering
This three-part rendering lesson introduces students to Cinema 4D’s rendering workflow, including viewport previews, the Picture Viewer, Render Queue, render settings, image sequences, multi-passes, transparency, anti-aliasing, motion blur, global illumination, Sketch & Toon, and render effects. Students will also learn practical production considerations like render times, cloud render farms, and third-party render engines so they can make smarter creative and technical decisions when finishing their motion graphics projects.
Lesson 9: Materials
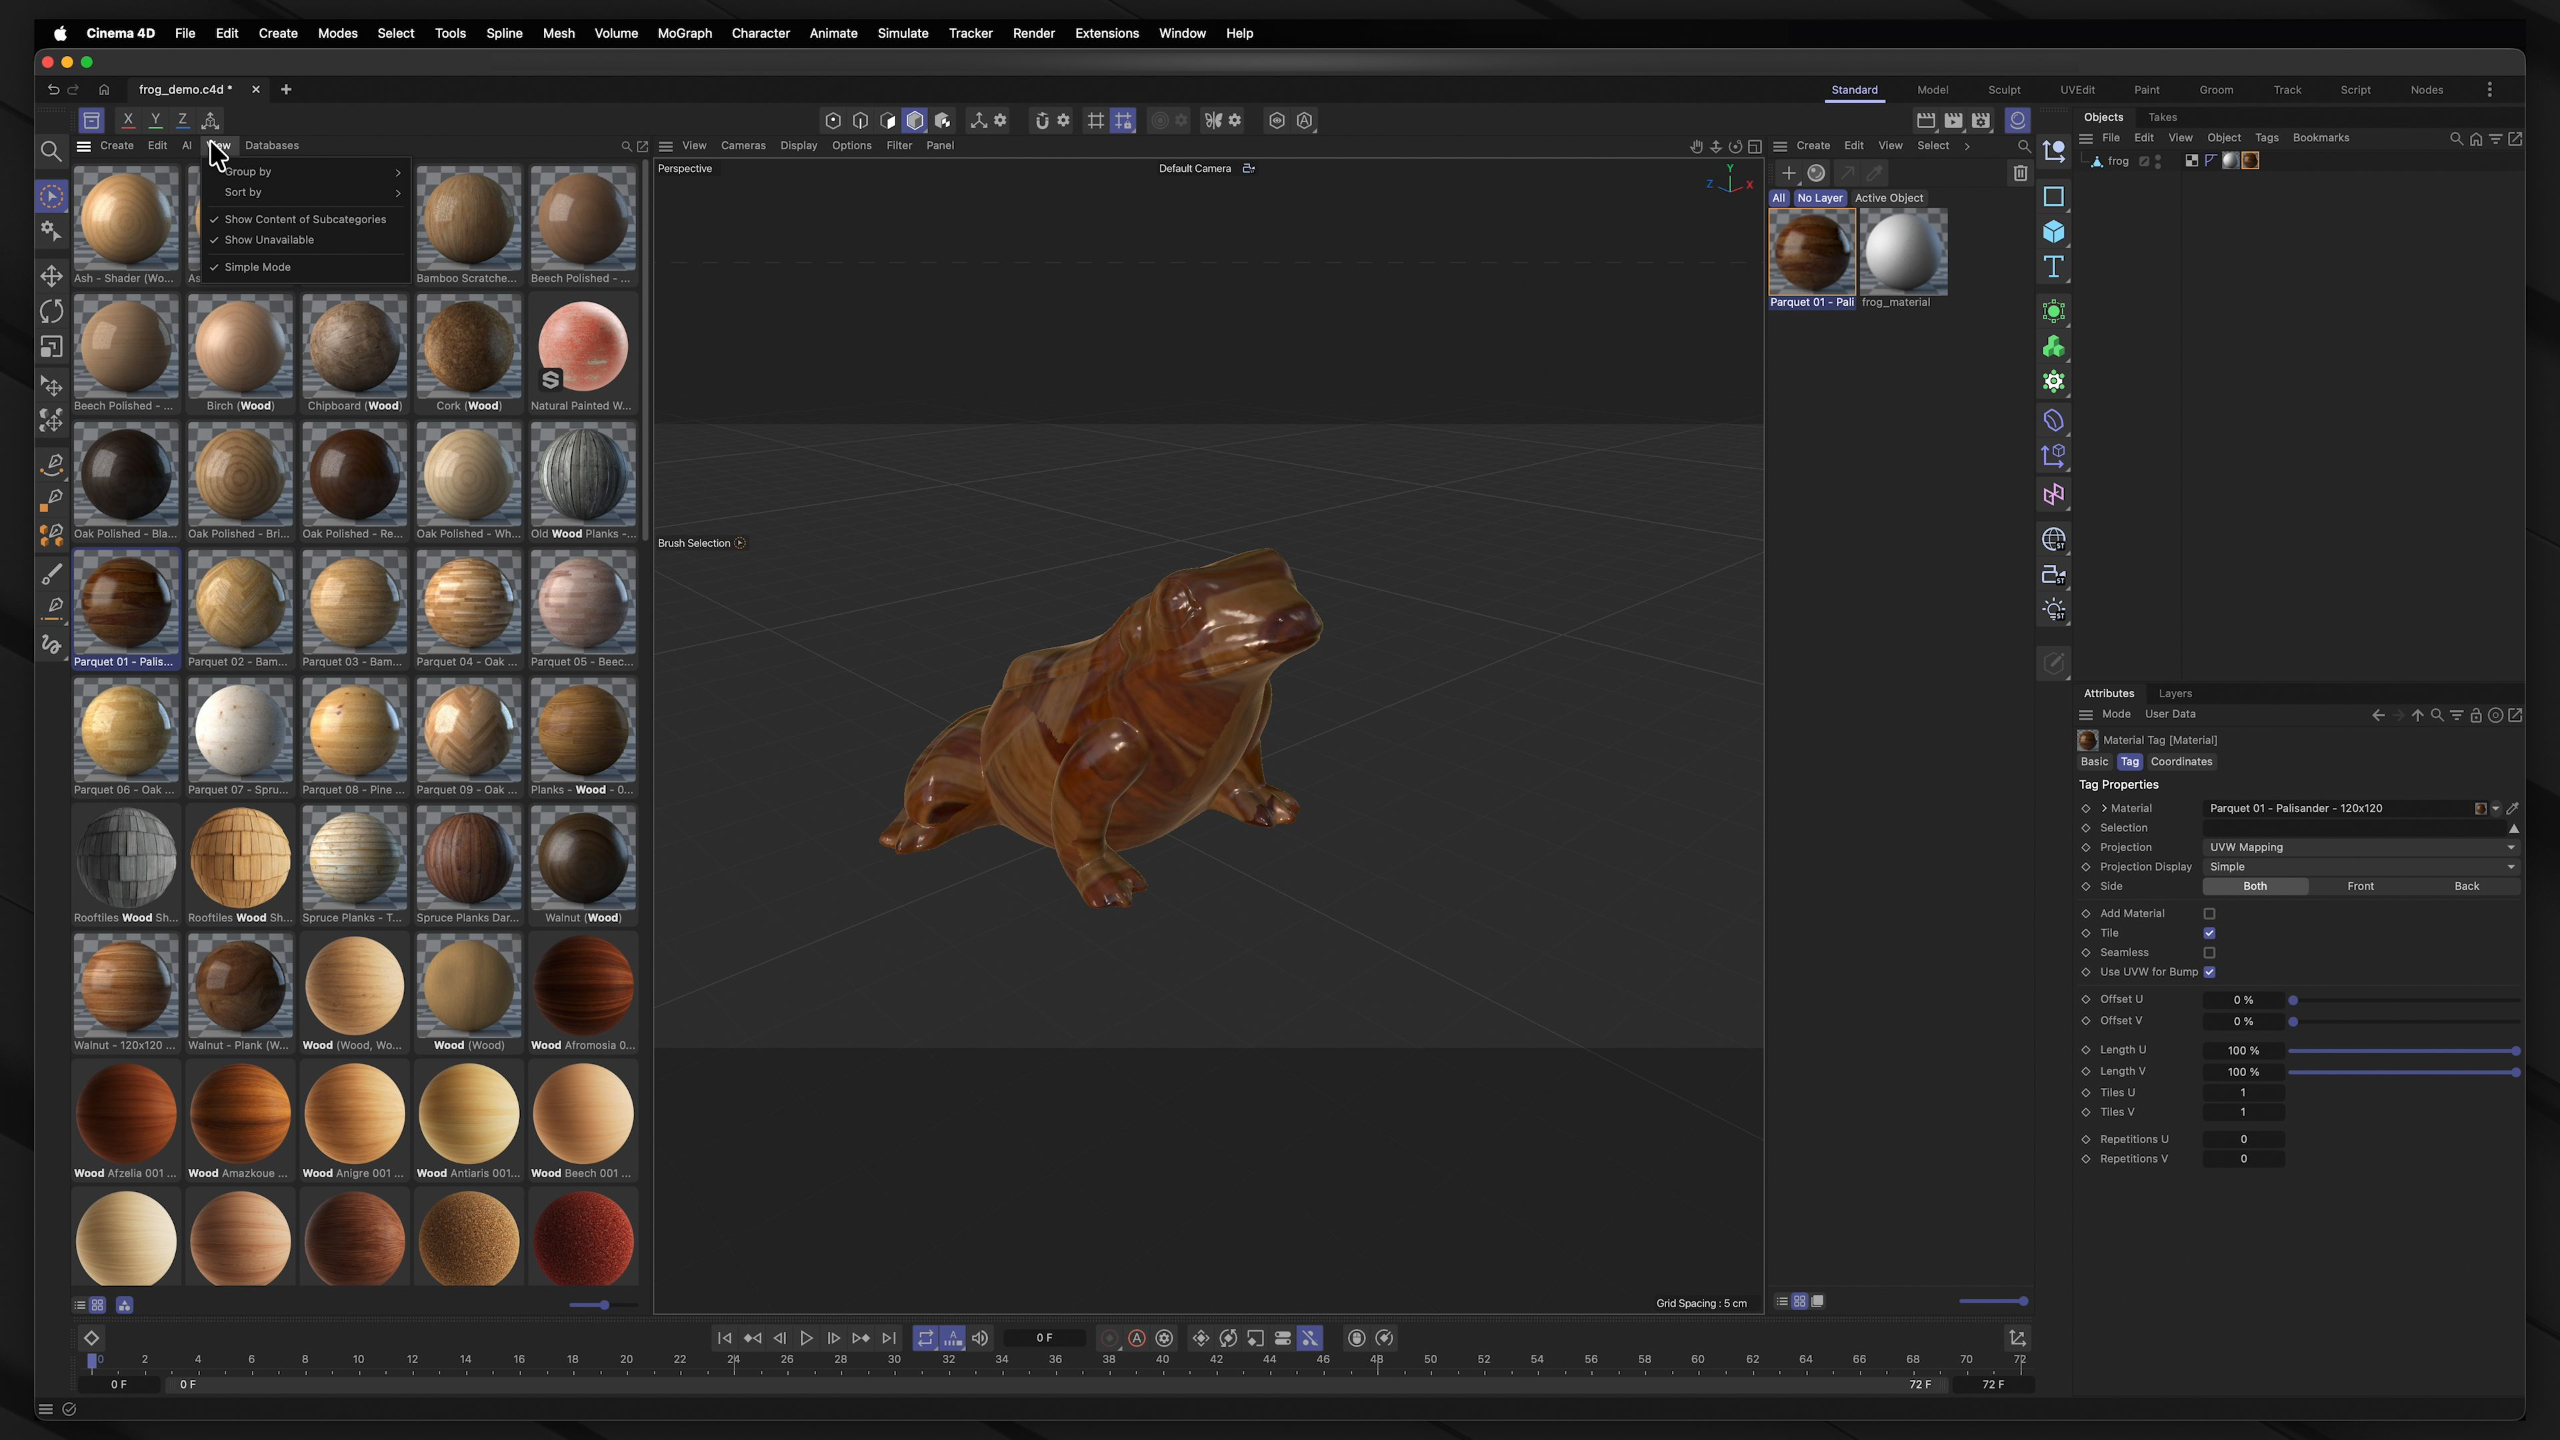
This lesson introduces materials in Cinema 4D, showing students how shaders control the color, texture, reflectivity, transparency, glow, depth, and overall visual style of 3D objects. Students will practice creating and applying materials in a fish bowl scene while learning how to use the Material Manager, Material Editor, and Asset Browser to build more polished and believable renders.
Lesson 19: Compositing
This lesson teaches students how to composite Cinema 4D renders in After Effects using multi-passes, EXR files, alpha channels, motion vector passes, Cineware, and exported 3D camera/null data. Students will also complete a final Cinema 4D portfolio project by creating a short product-focused animation that combines modeling, materials, lighting, animation, rendering, and compositing into one polished piece.
Lesson 10: Texturing
This lesson teaches students how to texture objects in Cinema 4D using projection mapping, UV unwrapping, and BodyPaint 3D. Students will practice applying images to objects, creating clean UV layouts, and painting directly onto 3D models so their scenes feel more detailed, customized, and production-ready.
Lesson 1: Intro to Cinema 4D Overview
This lesson introduces the Intro to Cinema 4D module, where students begin learning the essential tools and workflow needed to create commercial, brand-focused motion graphics projects. Students will build on their animation foundation while learning how to navigate Cinema 4D and prepare for more polished, professional demo reel work.
Lesson 2: Interface
This lesson gives students a guided tour of the Cinema 4D interface, helping them understand the viewport, menus, Object Manager, Attribute Manager, timeline, materials, tools, modes, layers, and project tabs. Students will get comfortable navigating the software layout so the upcoming modeling, animation, and motion graphics lessons feel much easier to follow.
Lesson 3: Settings
This lesson walks students through the key Cinema 4D preferences and settings, including interface behavior, navigation, viewport quality, saving, auto-save, plugins, units, memory, materials, assets, and import/export options. Students will learn how to adjust the software to fit their workflow and use this lesson as a reference as they become more comfortable working in Cinema 4D.
Lesson 4: Viewport Navigation
This lesson teaches students how to navigate the Cinema 4D viewport, including moving, orbiting, zooming, using perspective and orthographic views, changing panel layouts, and configuring viewport display settings. Students will practice these navigation tools so they can move comfortably through 3D space and work more efficiently in future Cinema 4D lessons.
Lesson 5: Objects
This lesson teaches students how to select, organize, group, hide, solo, combine, and manage objects inside Cinema 4D’s viewport and Object Manager. Students will also explore parent-child relationships and useful tags, giving them a stronger foundation for building clean, organized 3D scenes.
Lesson 6: Transforms
This lesson teaches students how to transform objects in Cinema 4D by moving, rotating, scaling, duplicating, arranging, randomizing, placing, and projecting objects within a 3D scene. Students will also learn how axis controls, coordinates, freeze transformations, and dynamic placement tools help create cleaner, more flexible motion graphics workflows.
Lesson 7: Modeling
This three-part modeling lesson introduces students to the core Cinema 4D modeling workflows, including hard-surface modeling, organic sculpting, spline creation, and generator-based geometry. Students will practice building a planetary rover, sculpting terrain and character details, and using splines and generators to create more complex 3D objects for motion graphics projects.
Lesson 8: Deformers
This lesson introduces deformers in Cinema 4D, showing students how to non-destructively bend, twist, stretch, melt, shatter, wrap, displace, and reshape objects or splines in creative ways. Students will practice applying different deformers to understand how they can speed up modeling, enhance animation, and add more dynamic motion graphics effects to their projects.
Lesson 9: Materials
This lesson introduces materials in Cinema 4D, showing students how shaders control the color, texture, reflectivity, transparency, glow, depth, and overall visual style of 3D objects. Students will practice creating and applying materials in a fish bowl scene while learning how to use the Material Manager, Material Editor, and Asset Browser to build more polished and believable renders.
Lesson 10: Texturing
This lesson teaches students how to texture objects in Cinema 4D using projection mapping, UV unwrapping, and BodyPaint 3D. Students will practice applying images to objects, creating clean UV layouts, and painting directly onto 3D models so their scenes feel more detailed, customized, and production-ready.
Lesson 11: Lighting
This lesson introduces lighting in Cinema 4D, showing students how different light types, shadows, environmental objects, global illumination, visible light, caustics, and lighting setups can shape the mood and clarity of a scene. Students will practice lighting a smartphone, an animated fruit punch scene, and a complex junkyard environment to better understand how lighting supports both realism and stylized motion graphics.
Lesson 12: Constraints
This lesson introduces constraints in Cinema 4D, showing students how to bind objects to other objects, paths, splines, axes, and animated controls to create more efficient and believable motion. Students will practice constraint tags, Align to Path, Align to Spline, and IK-Spline setups so they can build smarter animation systems for future motion graphics projects.
Lesson 13: Rigging
This three-part rigging lesson introduces students to joints, IK/FK systems, constraints, binding, weight painting, and Cinema 4D’s character rig builders. Students will practice rigging hard-surface objects, organic models, characters, vehicles, and optional complex machinery so they can build smarter animation controls for future motion graphics projects.
Lesson 14: Animation
This three-part animation lesson teaches students how to animate in Cinema 4D using keyframes, frame rate, the timeline, Dope Sheet, F-Curve Editor, and interpolation controls to create more believable motion. Students will also explore Mixamo motion capture workflows, learning how to auto-rig characters, apply mocap animation, import it back into Cinema 4D, and add controls for faster character animation.
Lesson 15: Cameras
This lesson introduces cameras in Cinema 4D, showing students how to plan shots, use camera types and rigs, adjust focal length, depth of field, lens effects, composition guides, and create camera cuts with the Stage object. Students will practice animating cameras and building storyboard-driven shot sequences so their 3D motion graphics feel more cinematic and professionally directed.
Lesson 16: MoGraph
This lesson introduces Cinema 4D’s MoGraph toolset, showing students how to use cloners, effectors, fields, matrices, fractures, tracers, MoSplines, MoInstances, MoExtrude, and PolyFX to create dynamic multi-object animations and abstract motion graphics. Students will experiment with the provided project files to better understand how MoGraph can generate complex, flexible visuals quickly while still being applied to real client-focused work.
Lesson 17: Dynamics
This three-part dynamics lesson introduces students to Cinema 4D’s physics-based animation tools, including rigid bodies, soft bodies, cloth, rope, emitters, forces, Voronoi fractures, Pyro, connectors, springs, and motors. Students will experiment with simulations like bowling pins, bouncing soft bodies, cloth, particles, destruction, vehicles, and bobbleheads to understand how dynamics can create realistic motion that would be difficult to animate by hand.
Lesson 18: Rendering
This three-part rendering lesson introduces students to Cinema 4D’s rendering workflow, including viewport previews, the Picture Viewer, Render Queue, render settings, image sequences, multi-passes, transparency, anti-aliasing, motion blur, global illumination, Sketch & Toon, and render effects. Students will also learn practical production considerations like render times, cloud render farms, and third-party render engines so they can make smarter creative and technical decisions when finishing their motion graphics projects.
Lesson 19: Compositing
This lesson teaches students how to composite Cinema 4D renders in After Effects using multi-passes, EXR files, alpha channels, motion vector passes, Cineware, and exported 3D camera/null data. Students will also complete a final Cinema 4D portfolio project by creating a short product-focused animation that combines modeling, materials, lighting, animation, rendering, and compositing into one polished piece.