Advanced Motion Graphics
Estimated completion time: 6-8 weeks
Lessons are in video format with downloadable project files.
Advanced Motion Graphics
Estimated completion time:
6-8 weeks
Lessons are in video format with downloadable project files.
This module guides students through the complete motion graphics production pipeline by having them create a cinematic title sequence from start to finish.
We cover every major stage of production, from ideation, storyboarding, and styleframes to asset creation, animation, rendering, compositing, sound design, and final delivery — while teaching students how professional motion graphics projects are organized and executed.
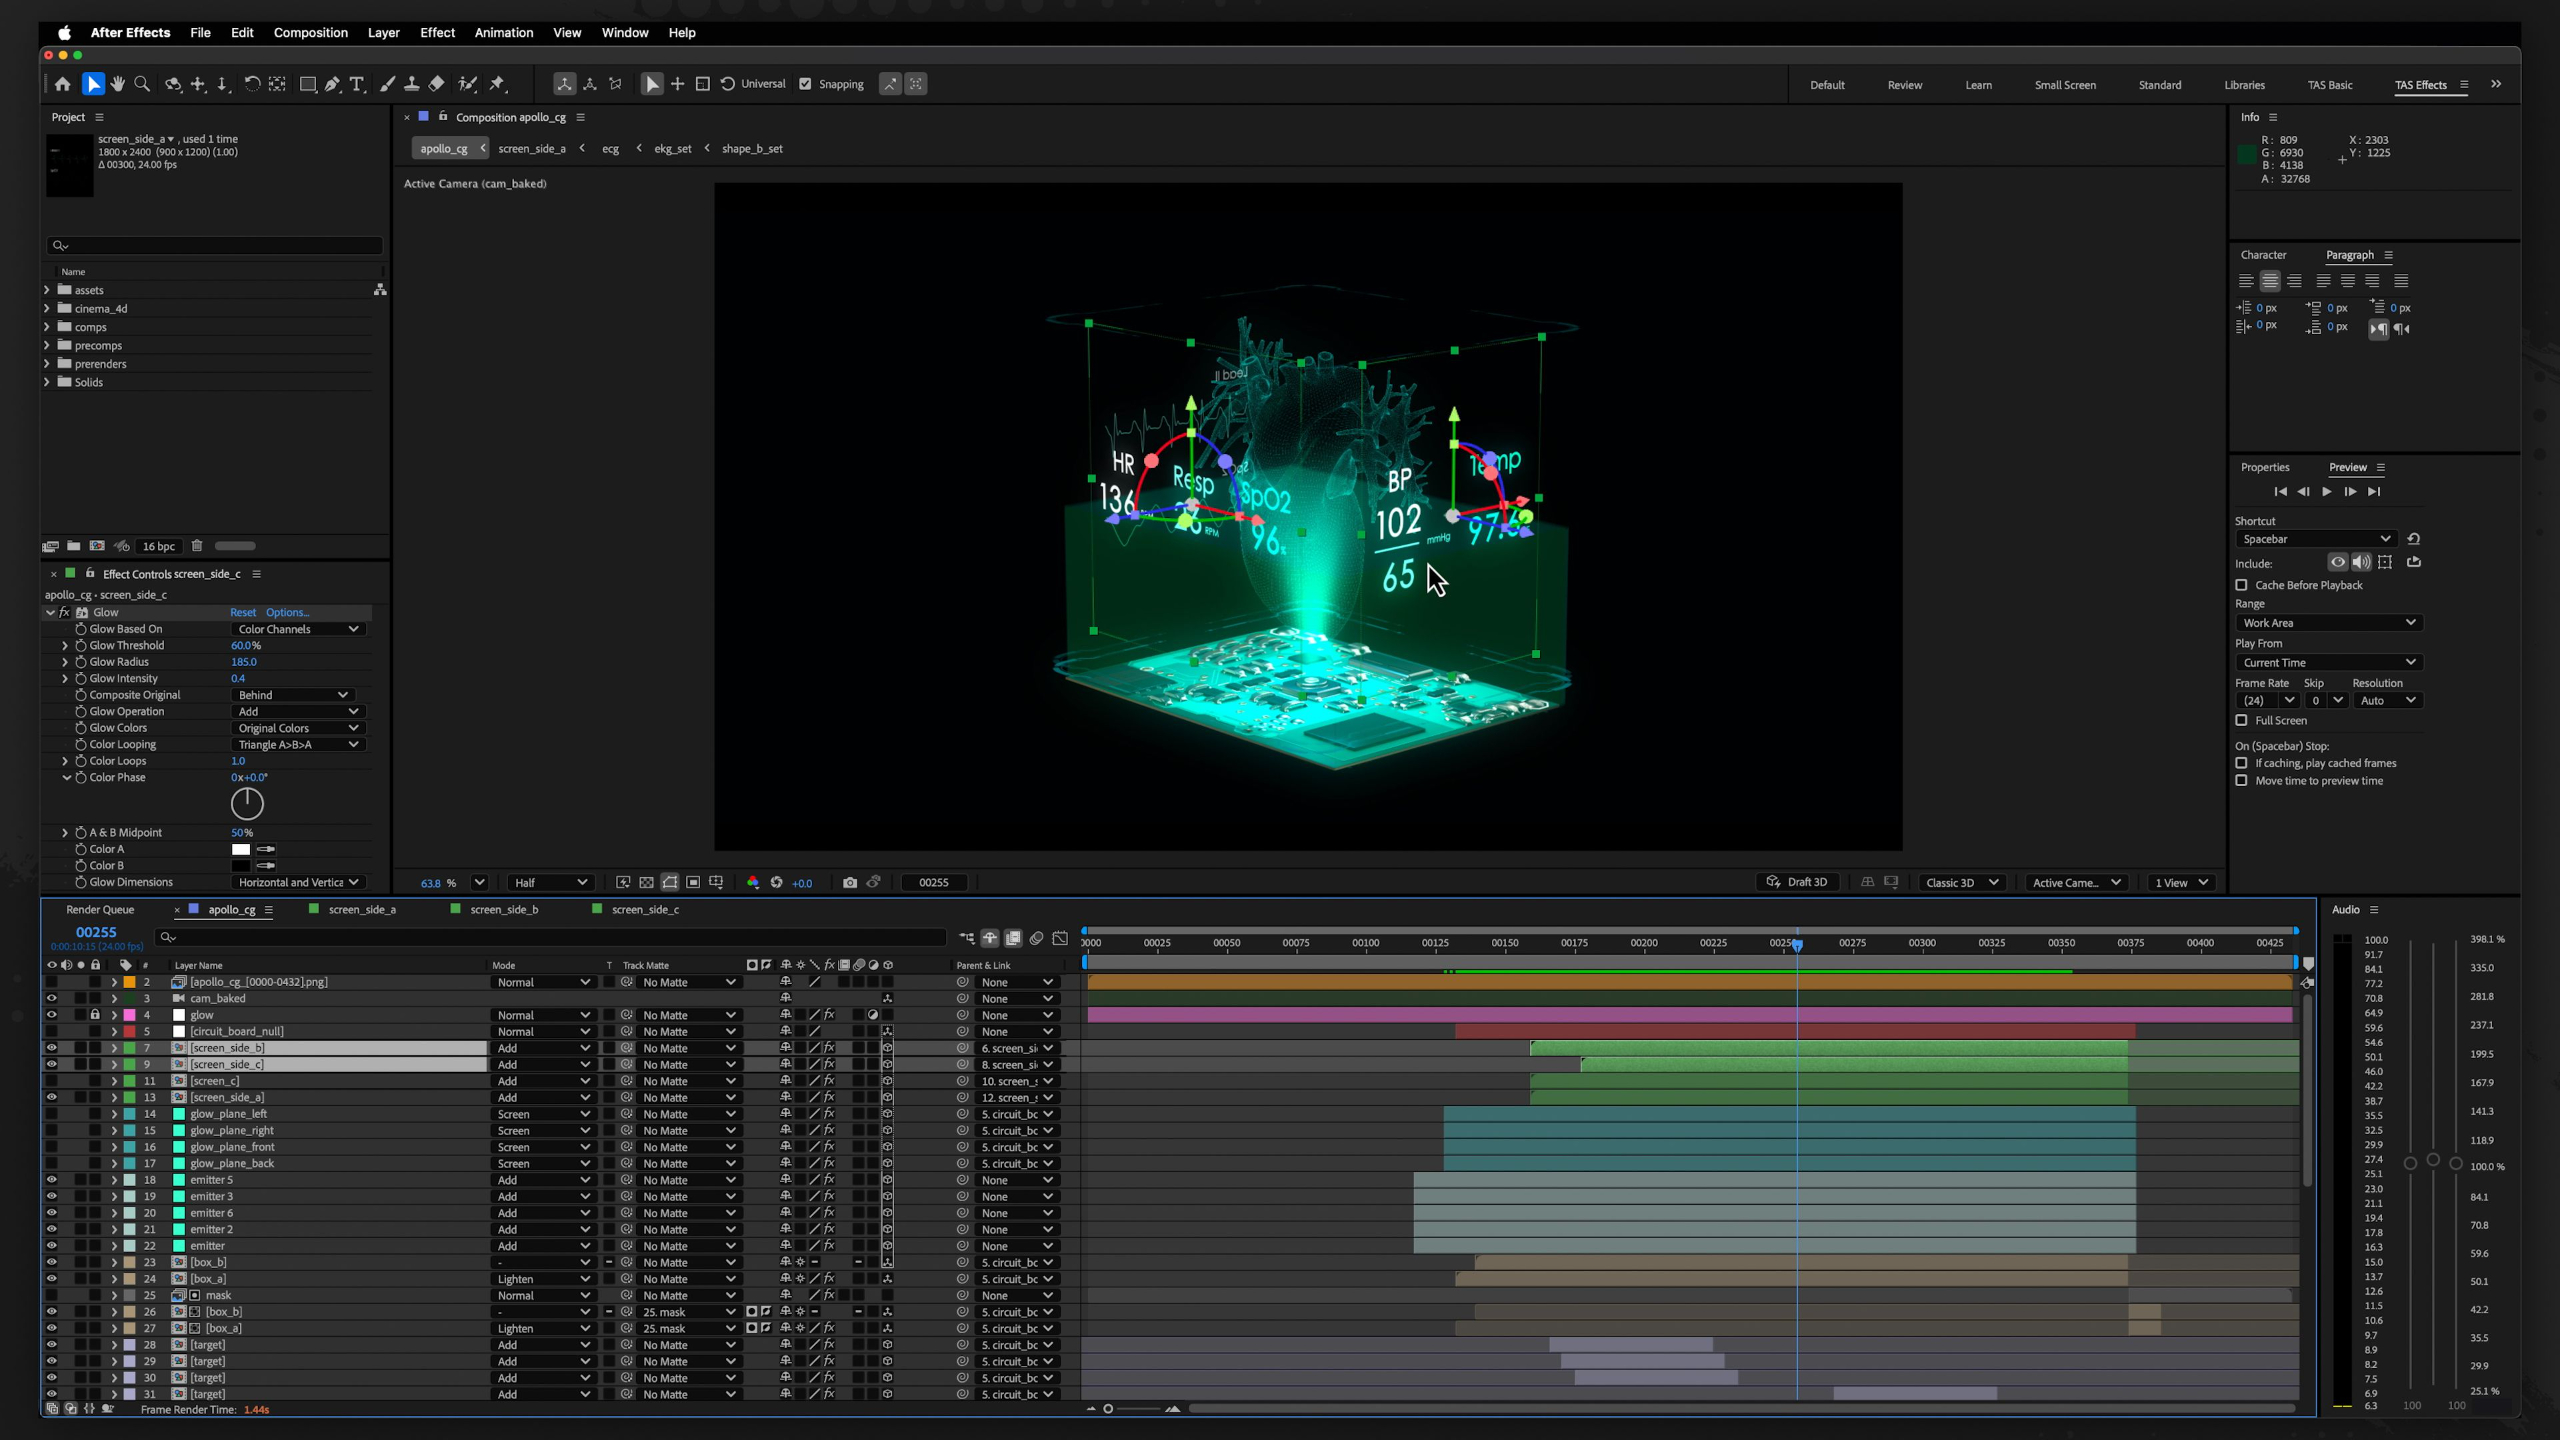
These lessons emphasize creative problem-solving, portfolio development, and building a repeatable workflow that students can continue using throughout their careers, whether freelancing or working in a studio environment.
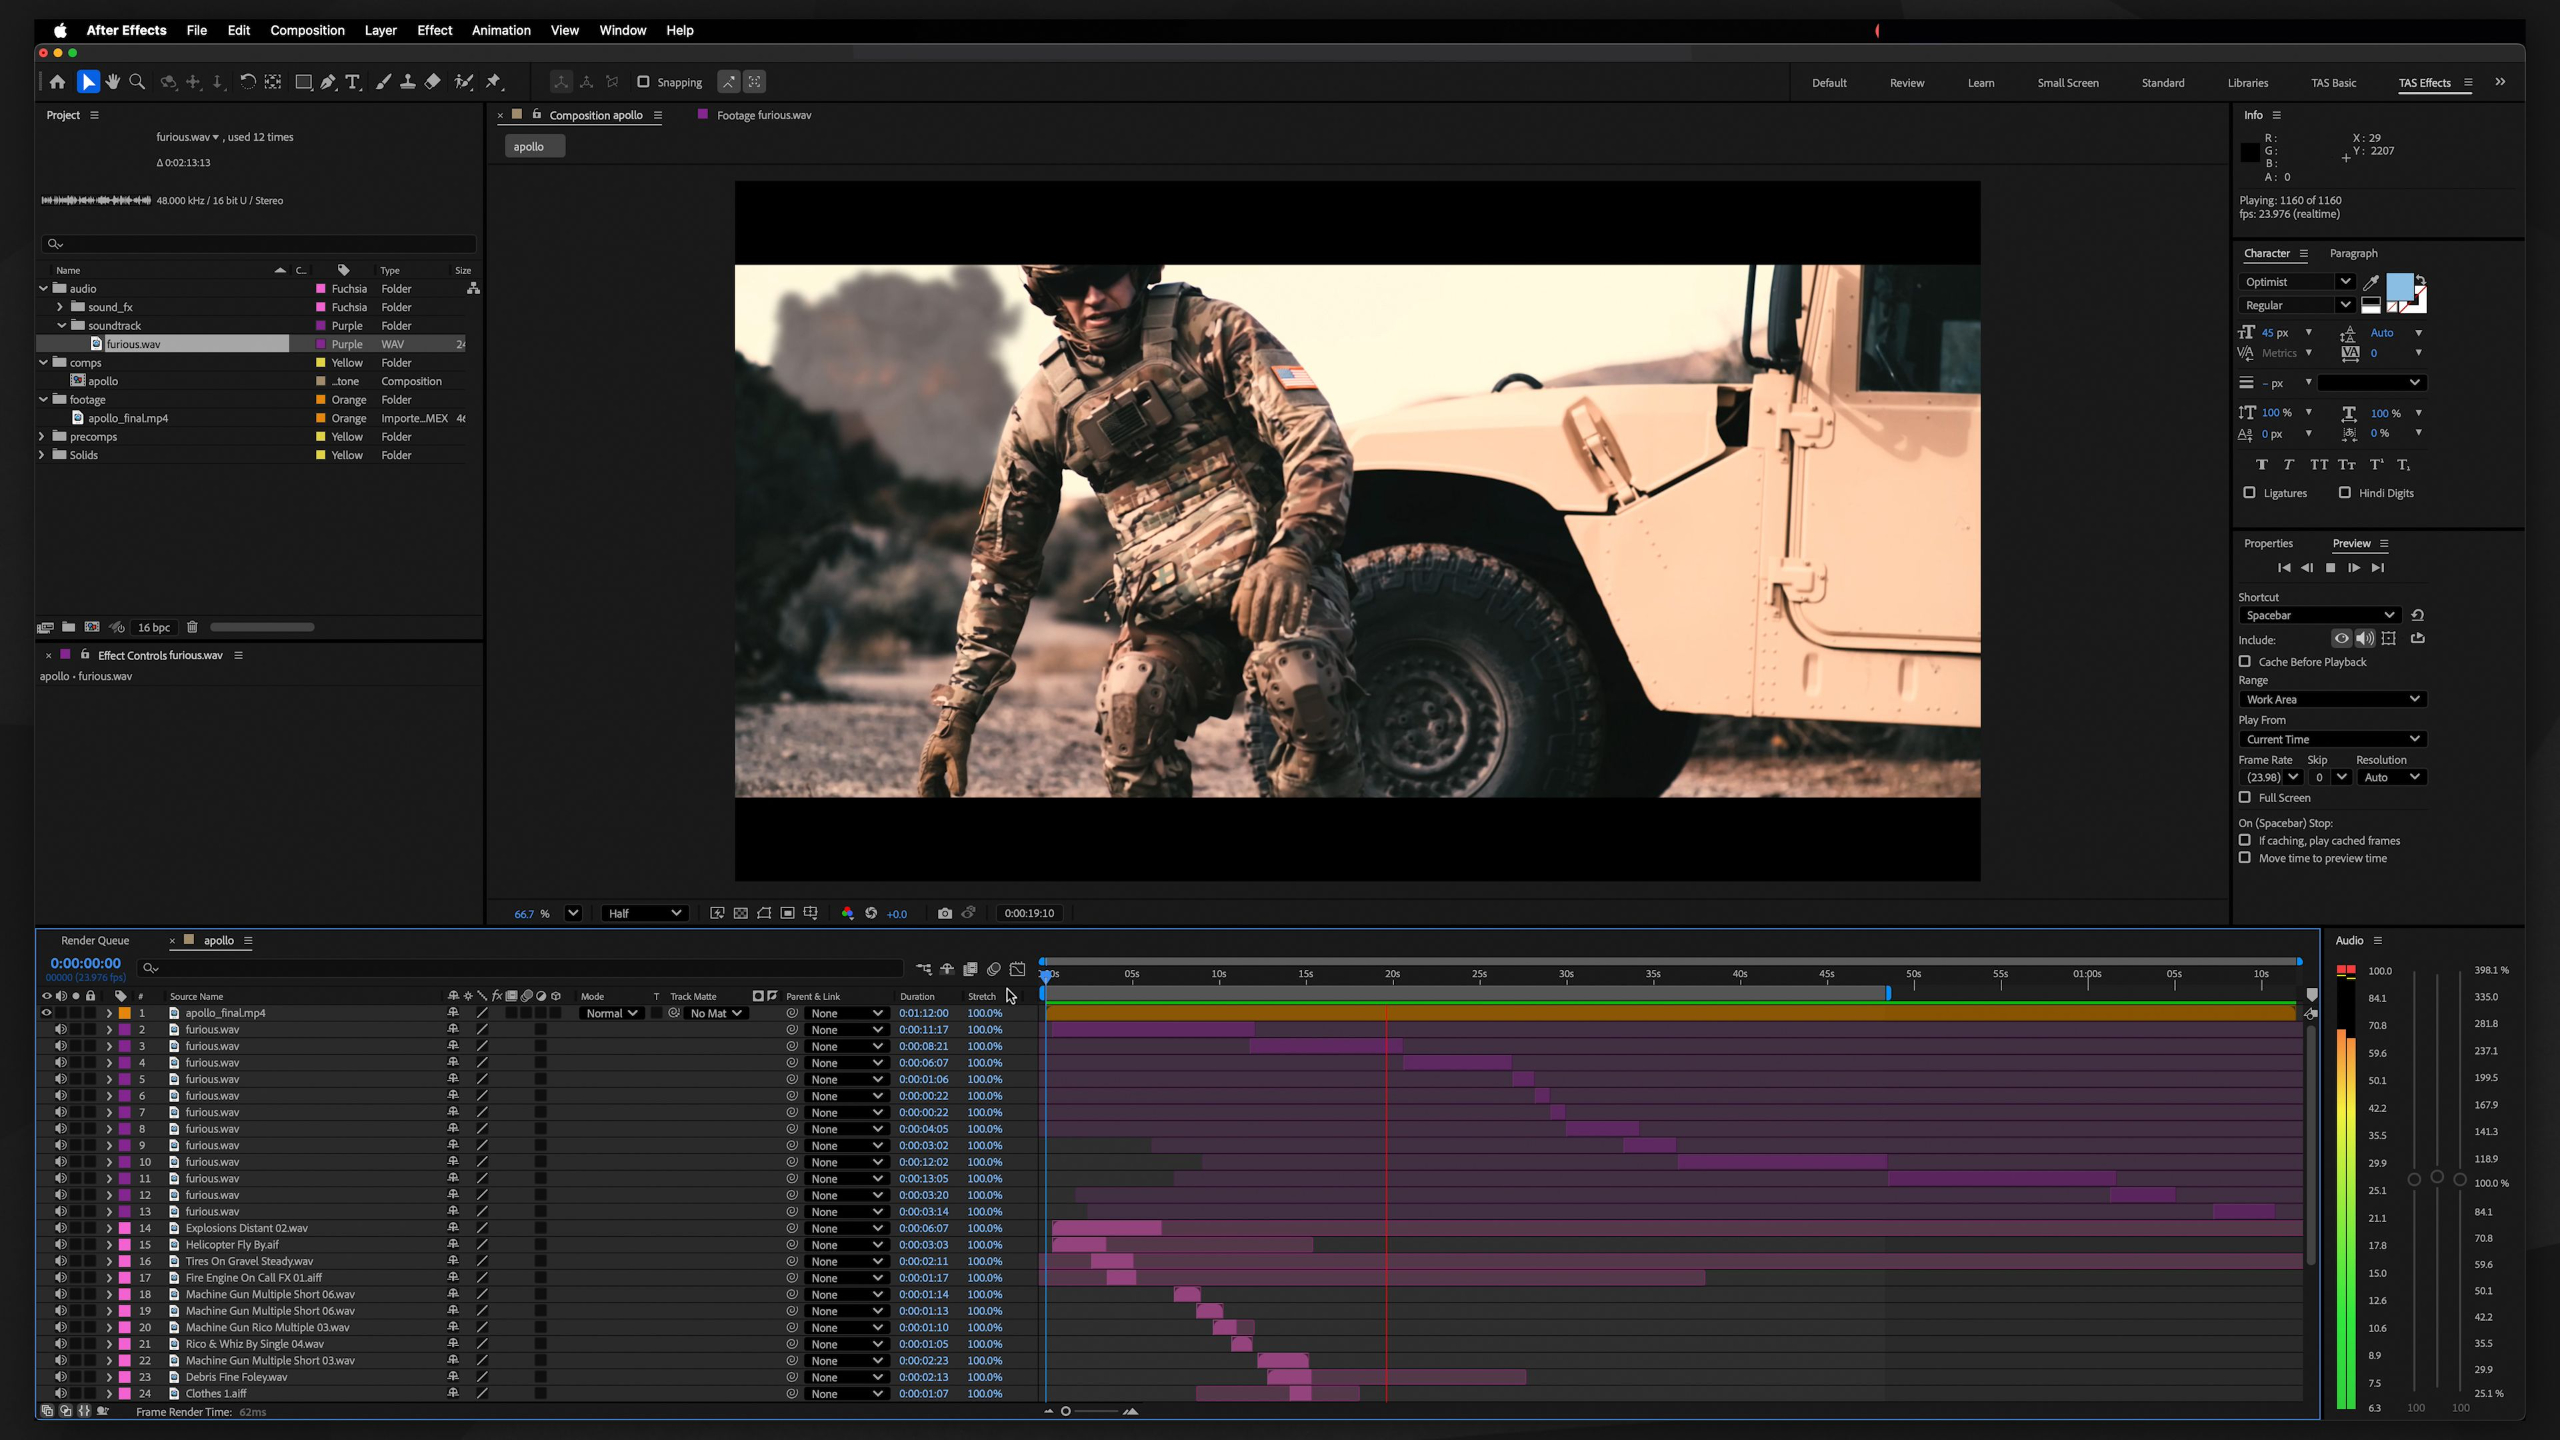
Lesson 1: Project Overview
This lesson introduces the Advanced Motion Graphics module, where students begin a capstone cinematic title sequence project by following a professional motion graphics pipeline from concept to final output. Students will learn how each stage—ideation, storyboards, styleframes, asset building, animation, rendering, compositing, sound design, and formatting—works together to create a polished portfolio piece.
Lesson 7: Animation
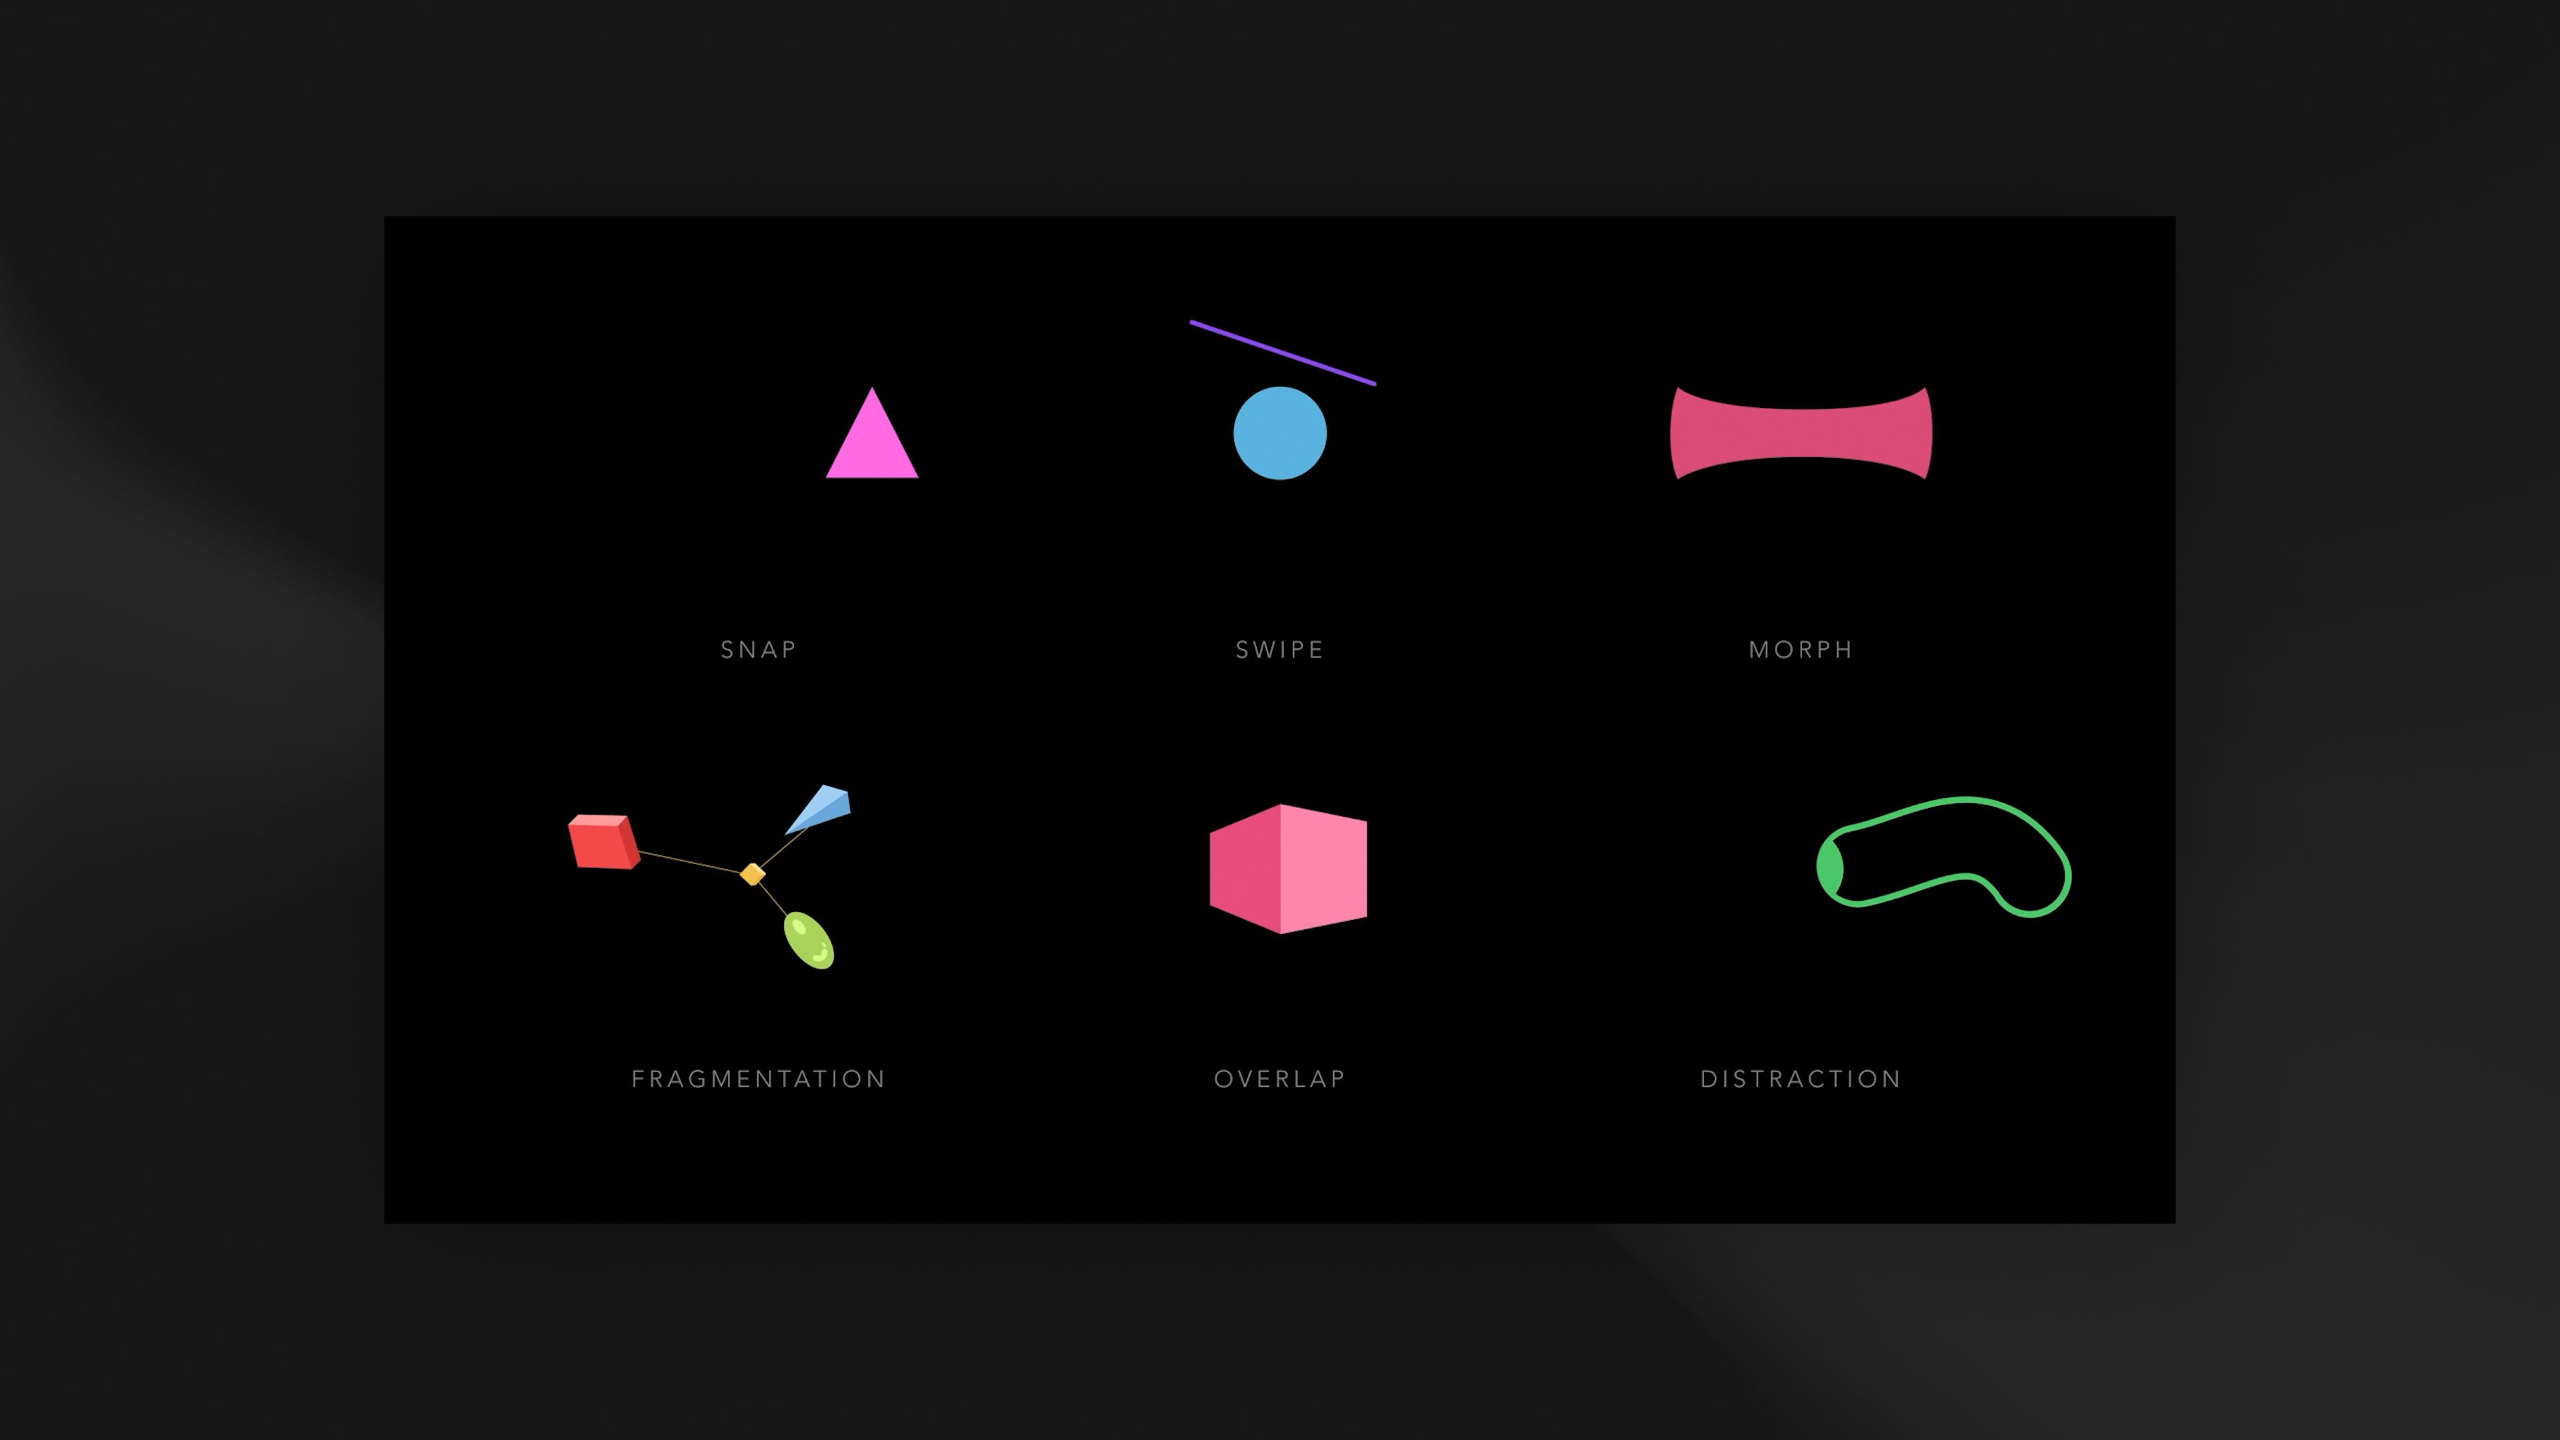
This lesson focuses on the animation stage of the title sequence pipeline, where students bring their scenes to life through object animation, camera movement, transitions, procedural effects, and timing choices. Students will use their storyboard as a guide while applying motion principles, reference material, and graph editor refinements to create a sequence that feels dynamic, polished, and engaging.
Lesson 2: Source Material & Ideation
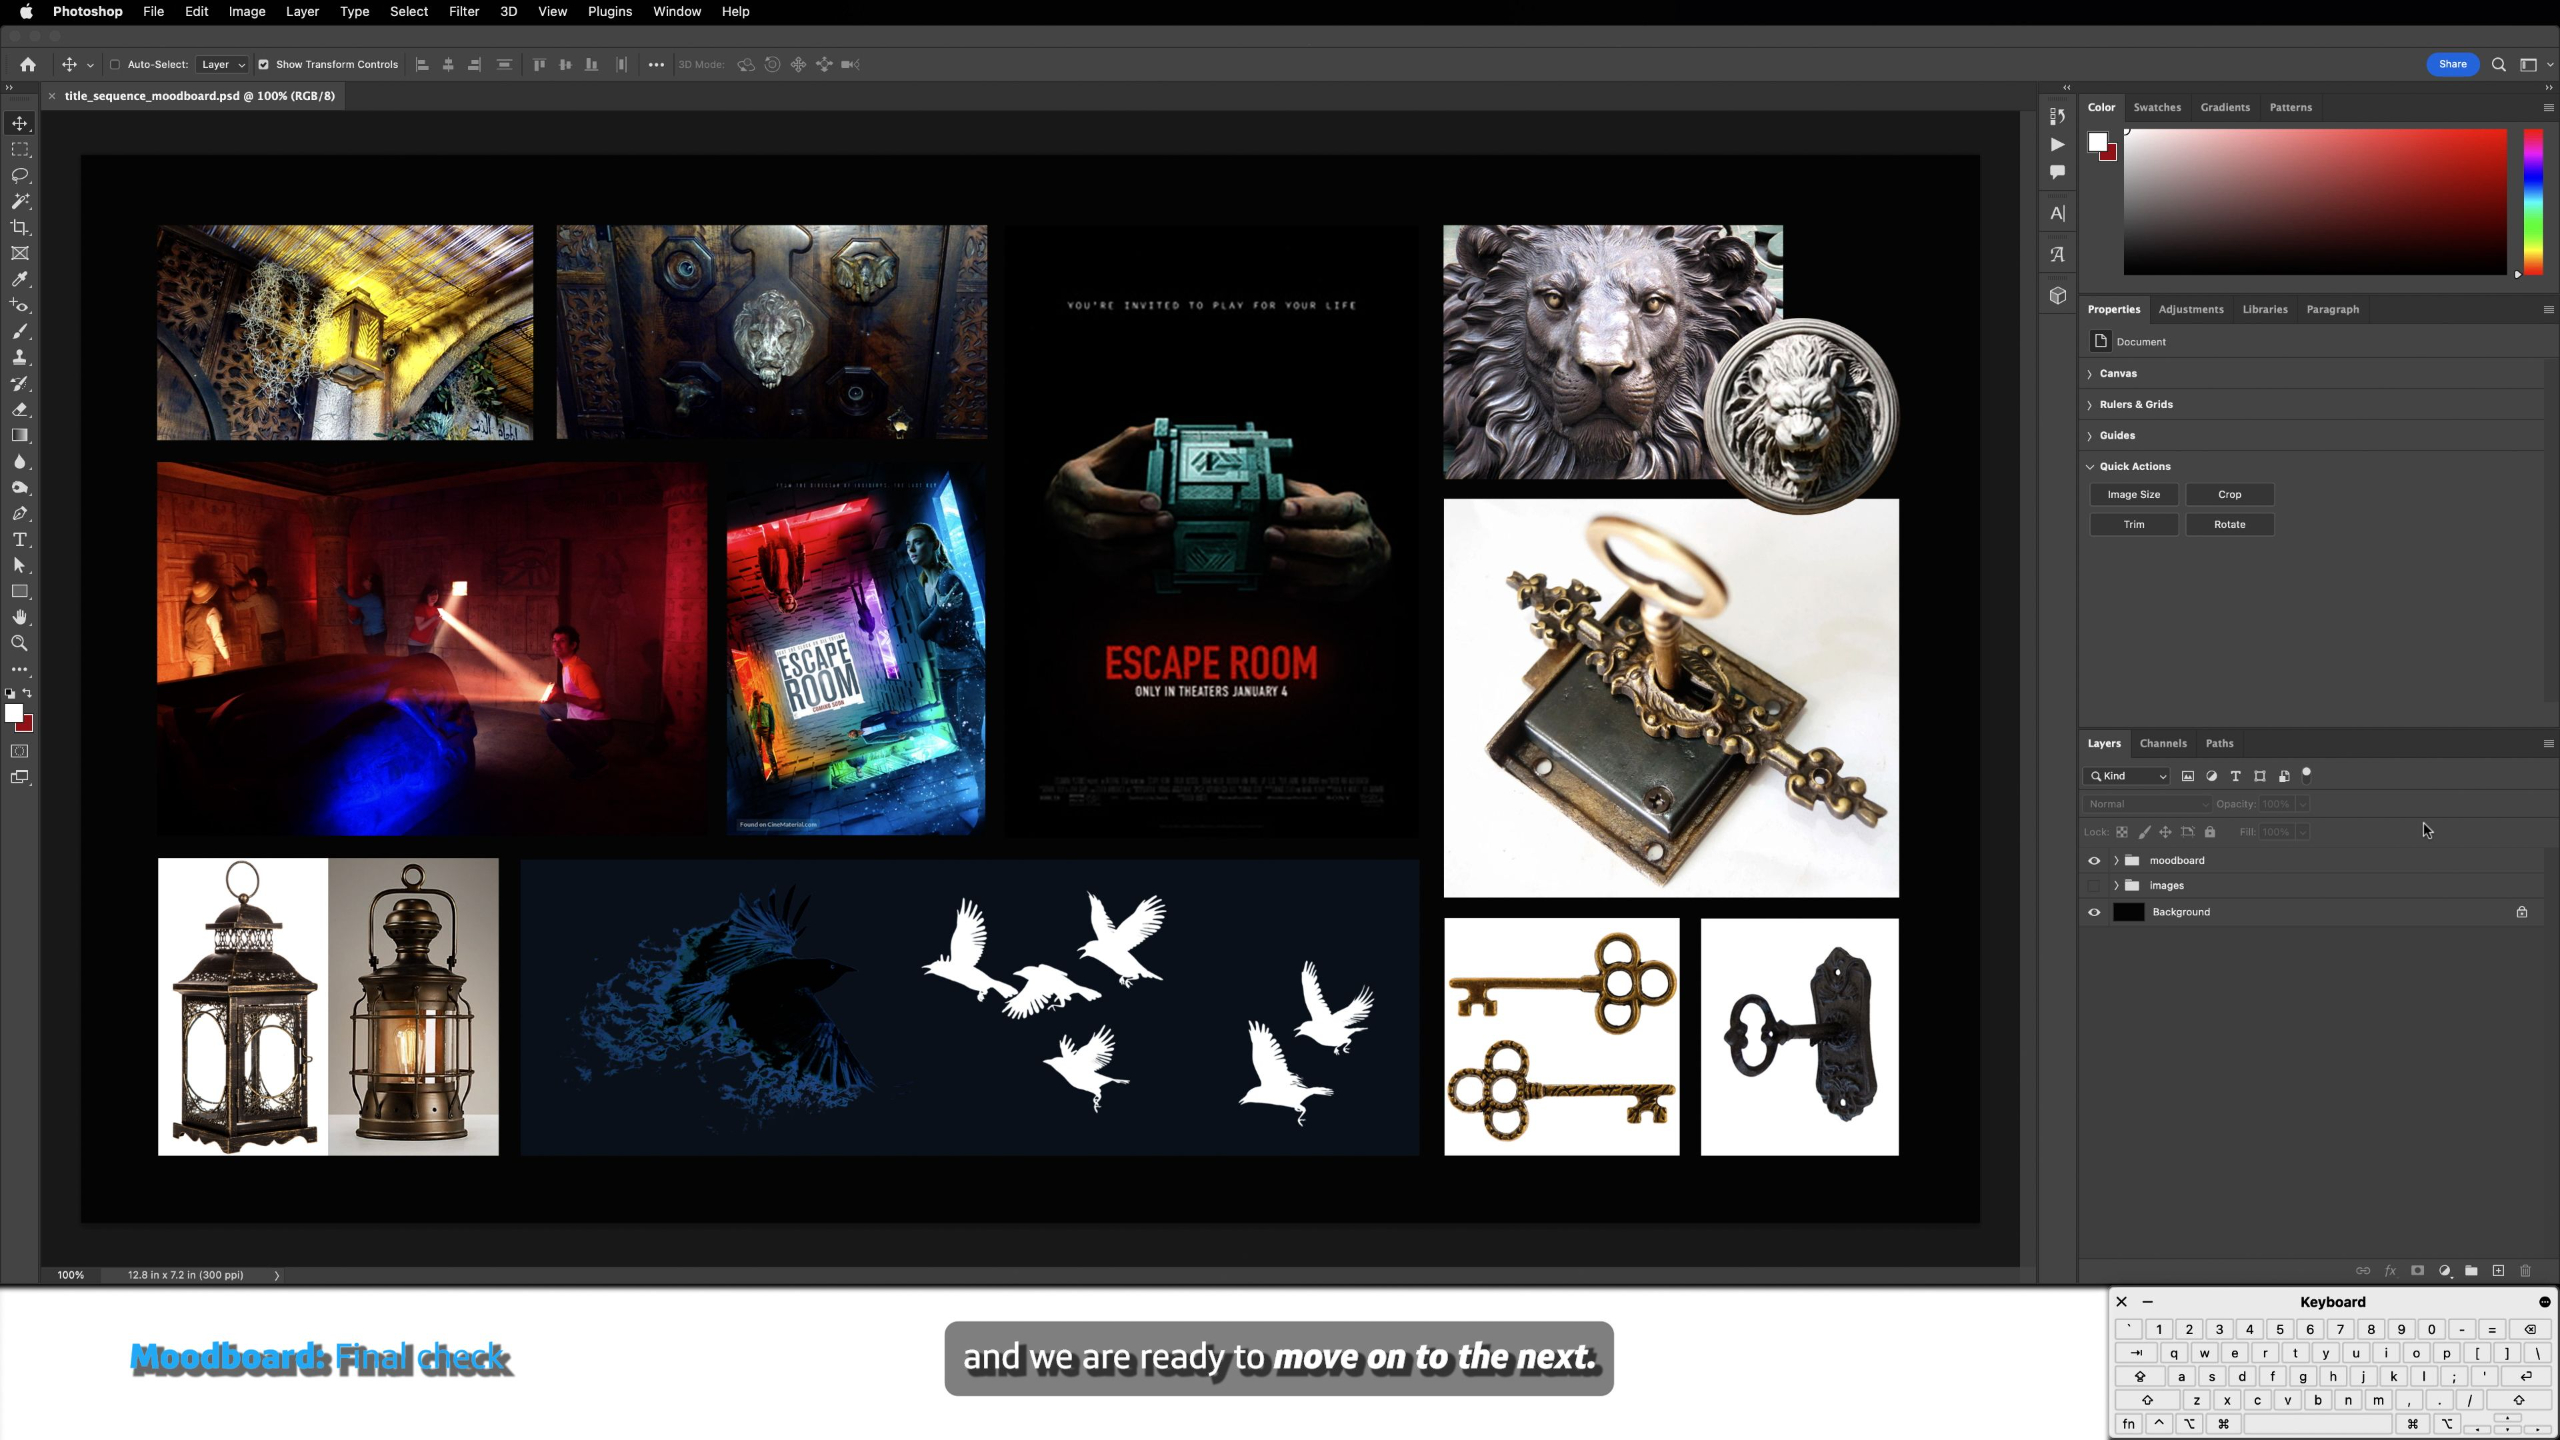
This lesson guides students through the ideation stage of their cinematic title sequence project, helping them brainstorm a fictional film or show concept, gather references, and explore visual directions. Students will study common title sequence formats, watch a real brainstorming process, and use the provided idea template to develop a concept they can carry into the next stage of production.
Lesson 8: Rendering & Passes
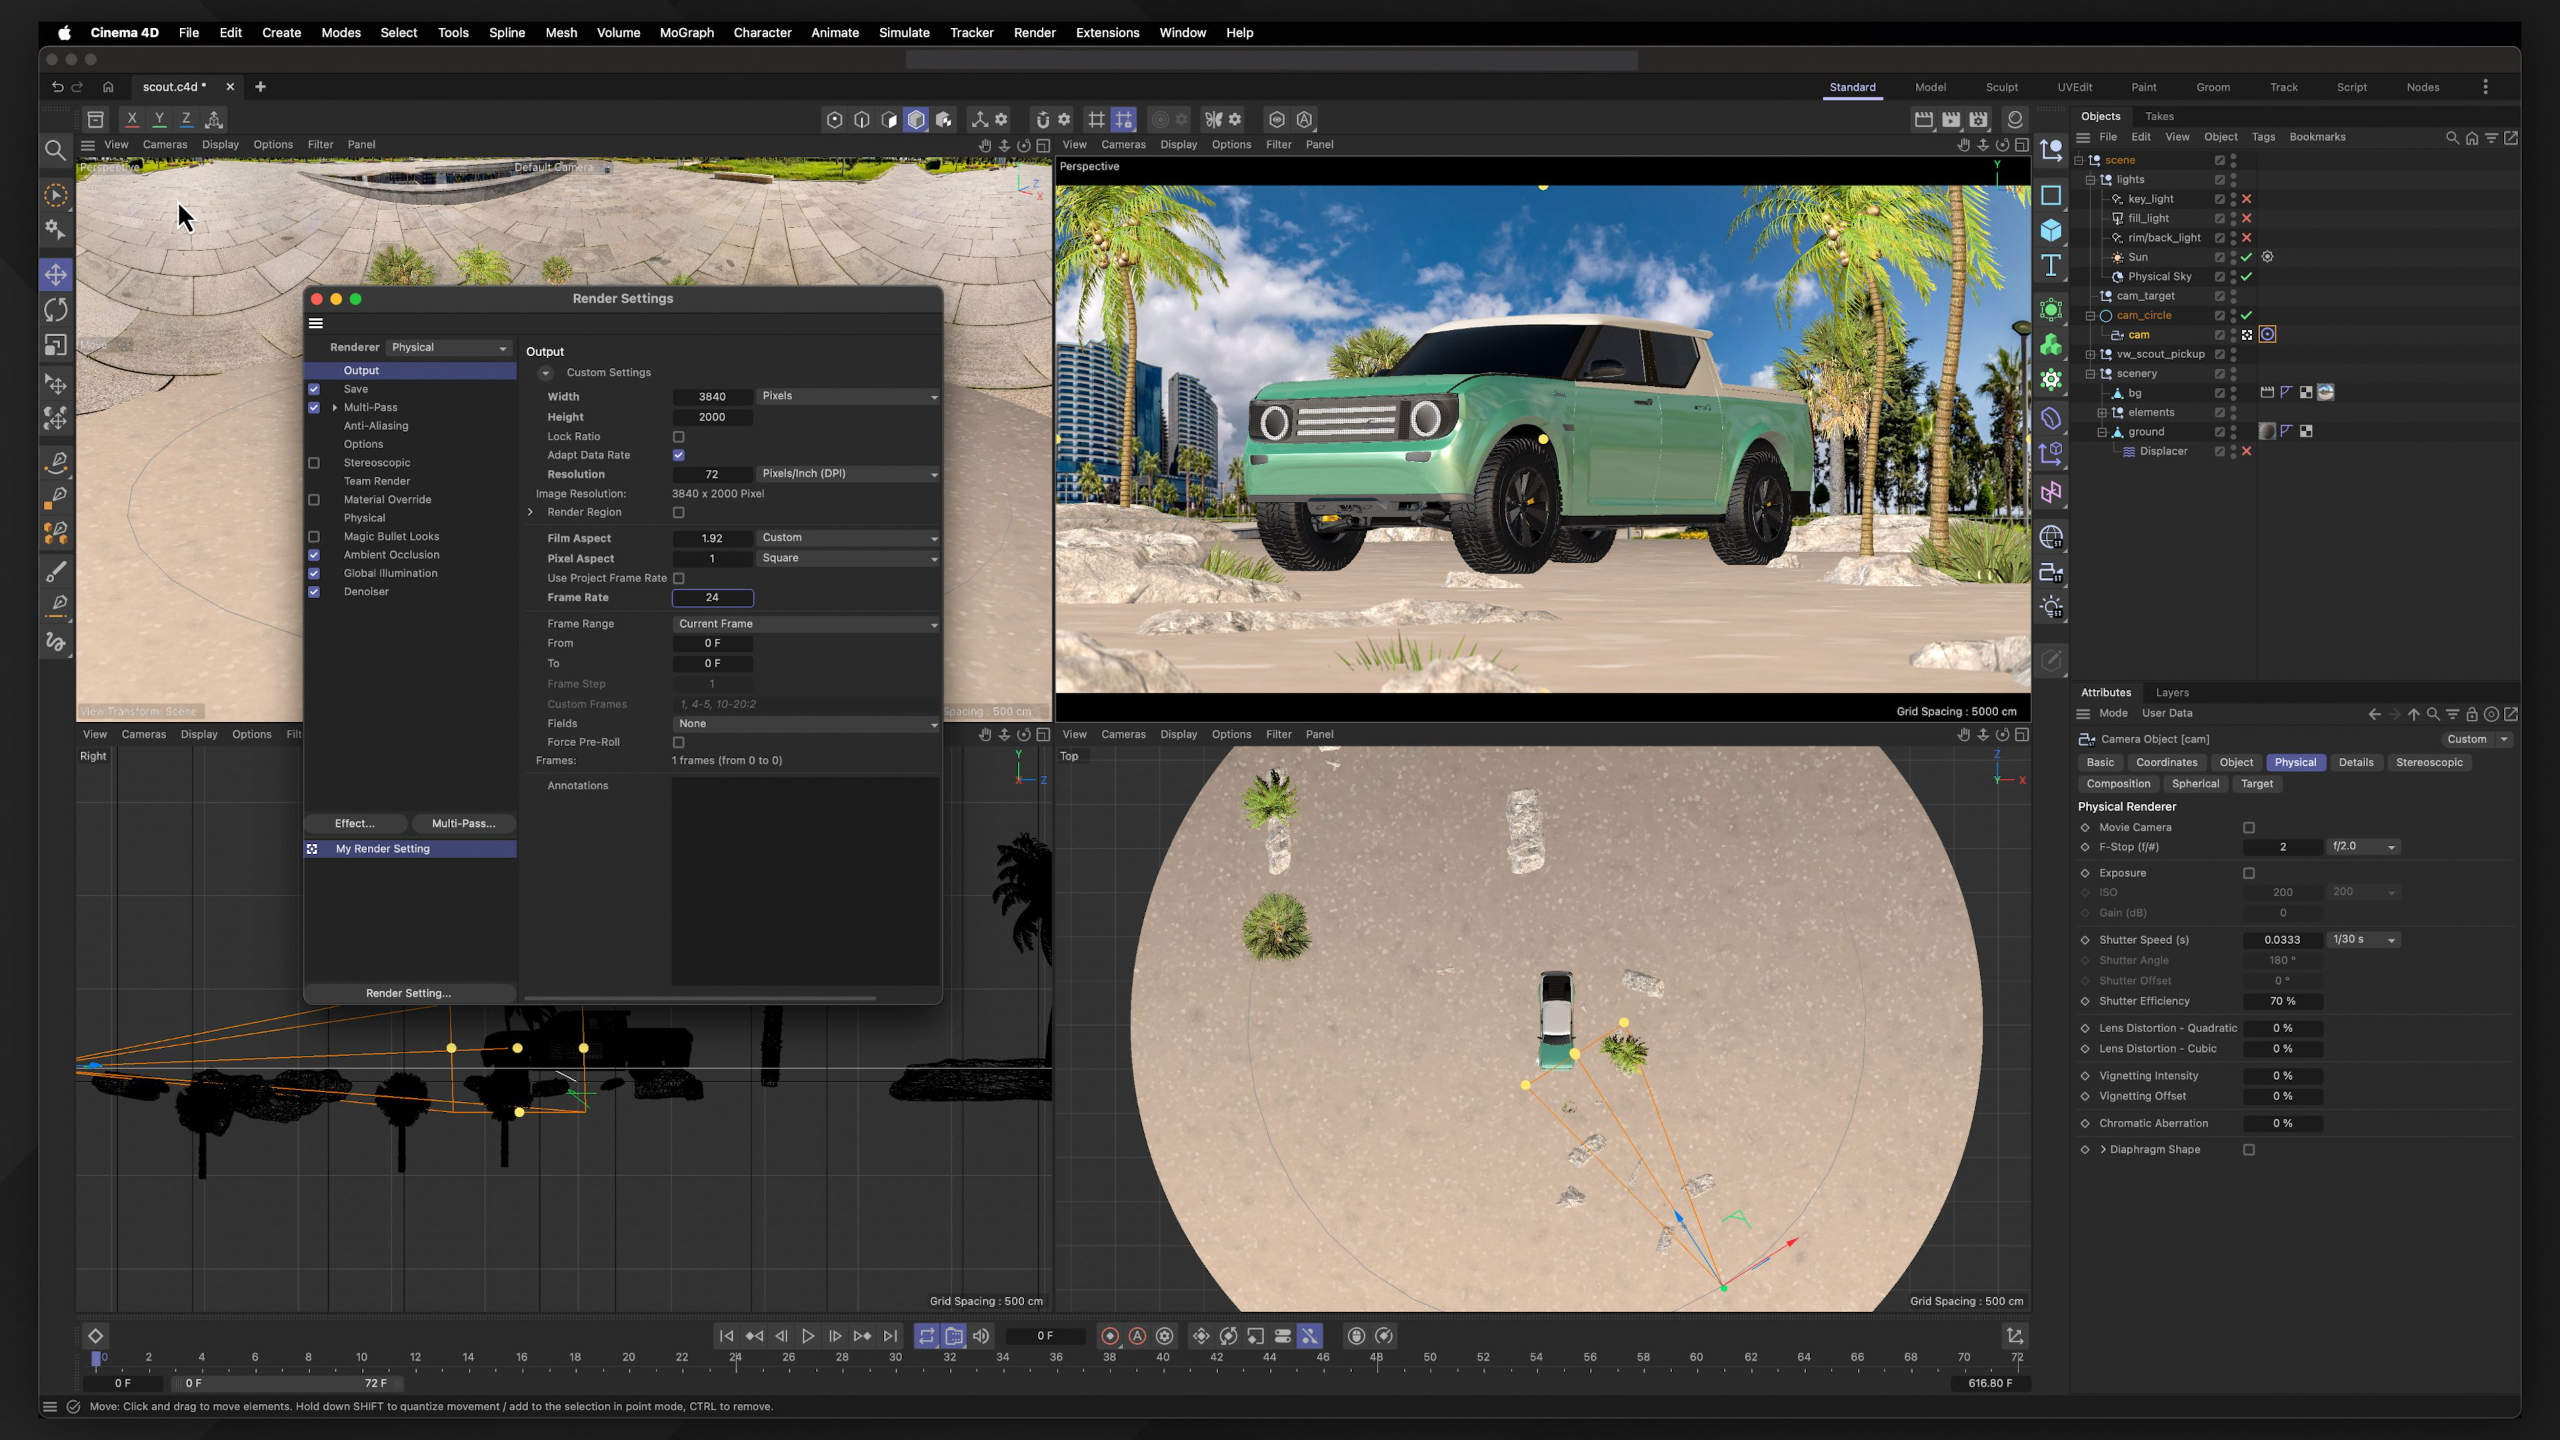
This lesson walks students through preparing their finished Cinema 4D scenes for rendering by reviewing scene elements, environments, lighting, camera settings, render settings, passes, and output formats. Students will learn how to set up image sequences and render passes for compositing, while also considering render time, quality, file organization, and renderfarm options.
Lesson 3: Creating Storyboards
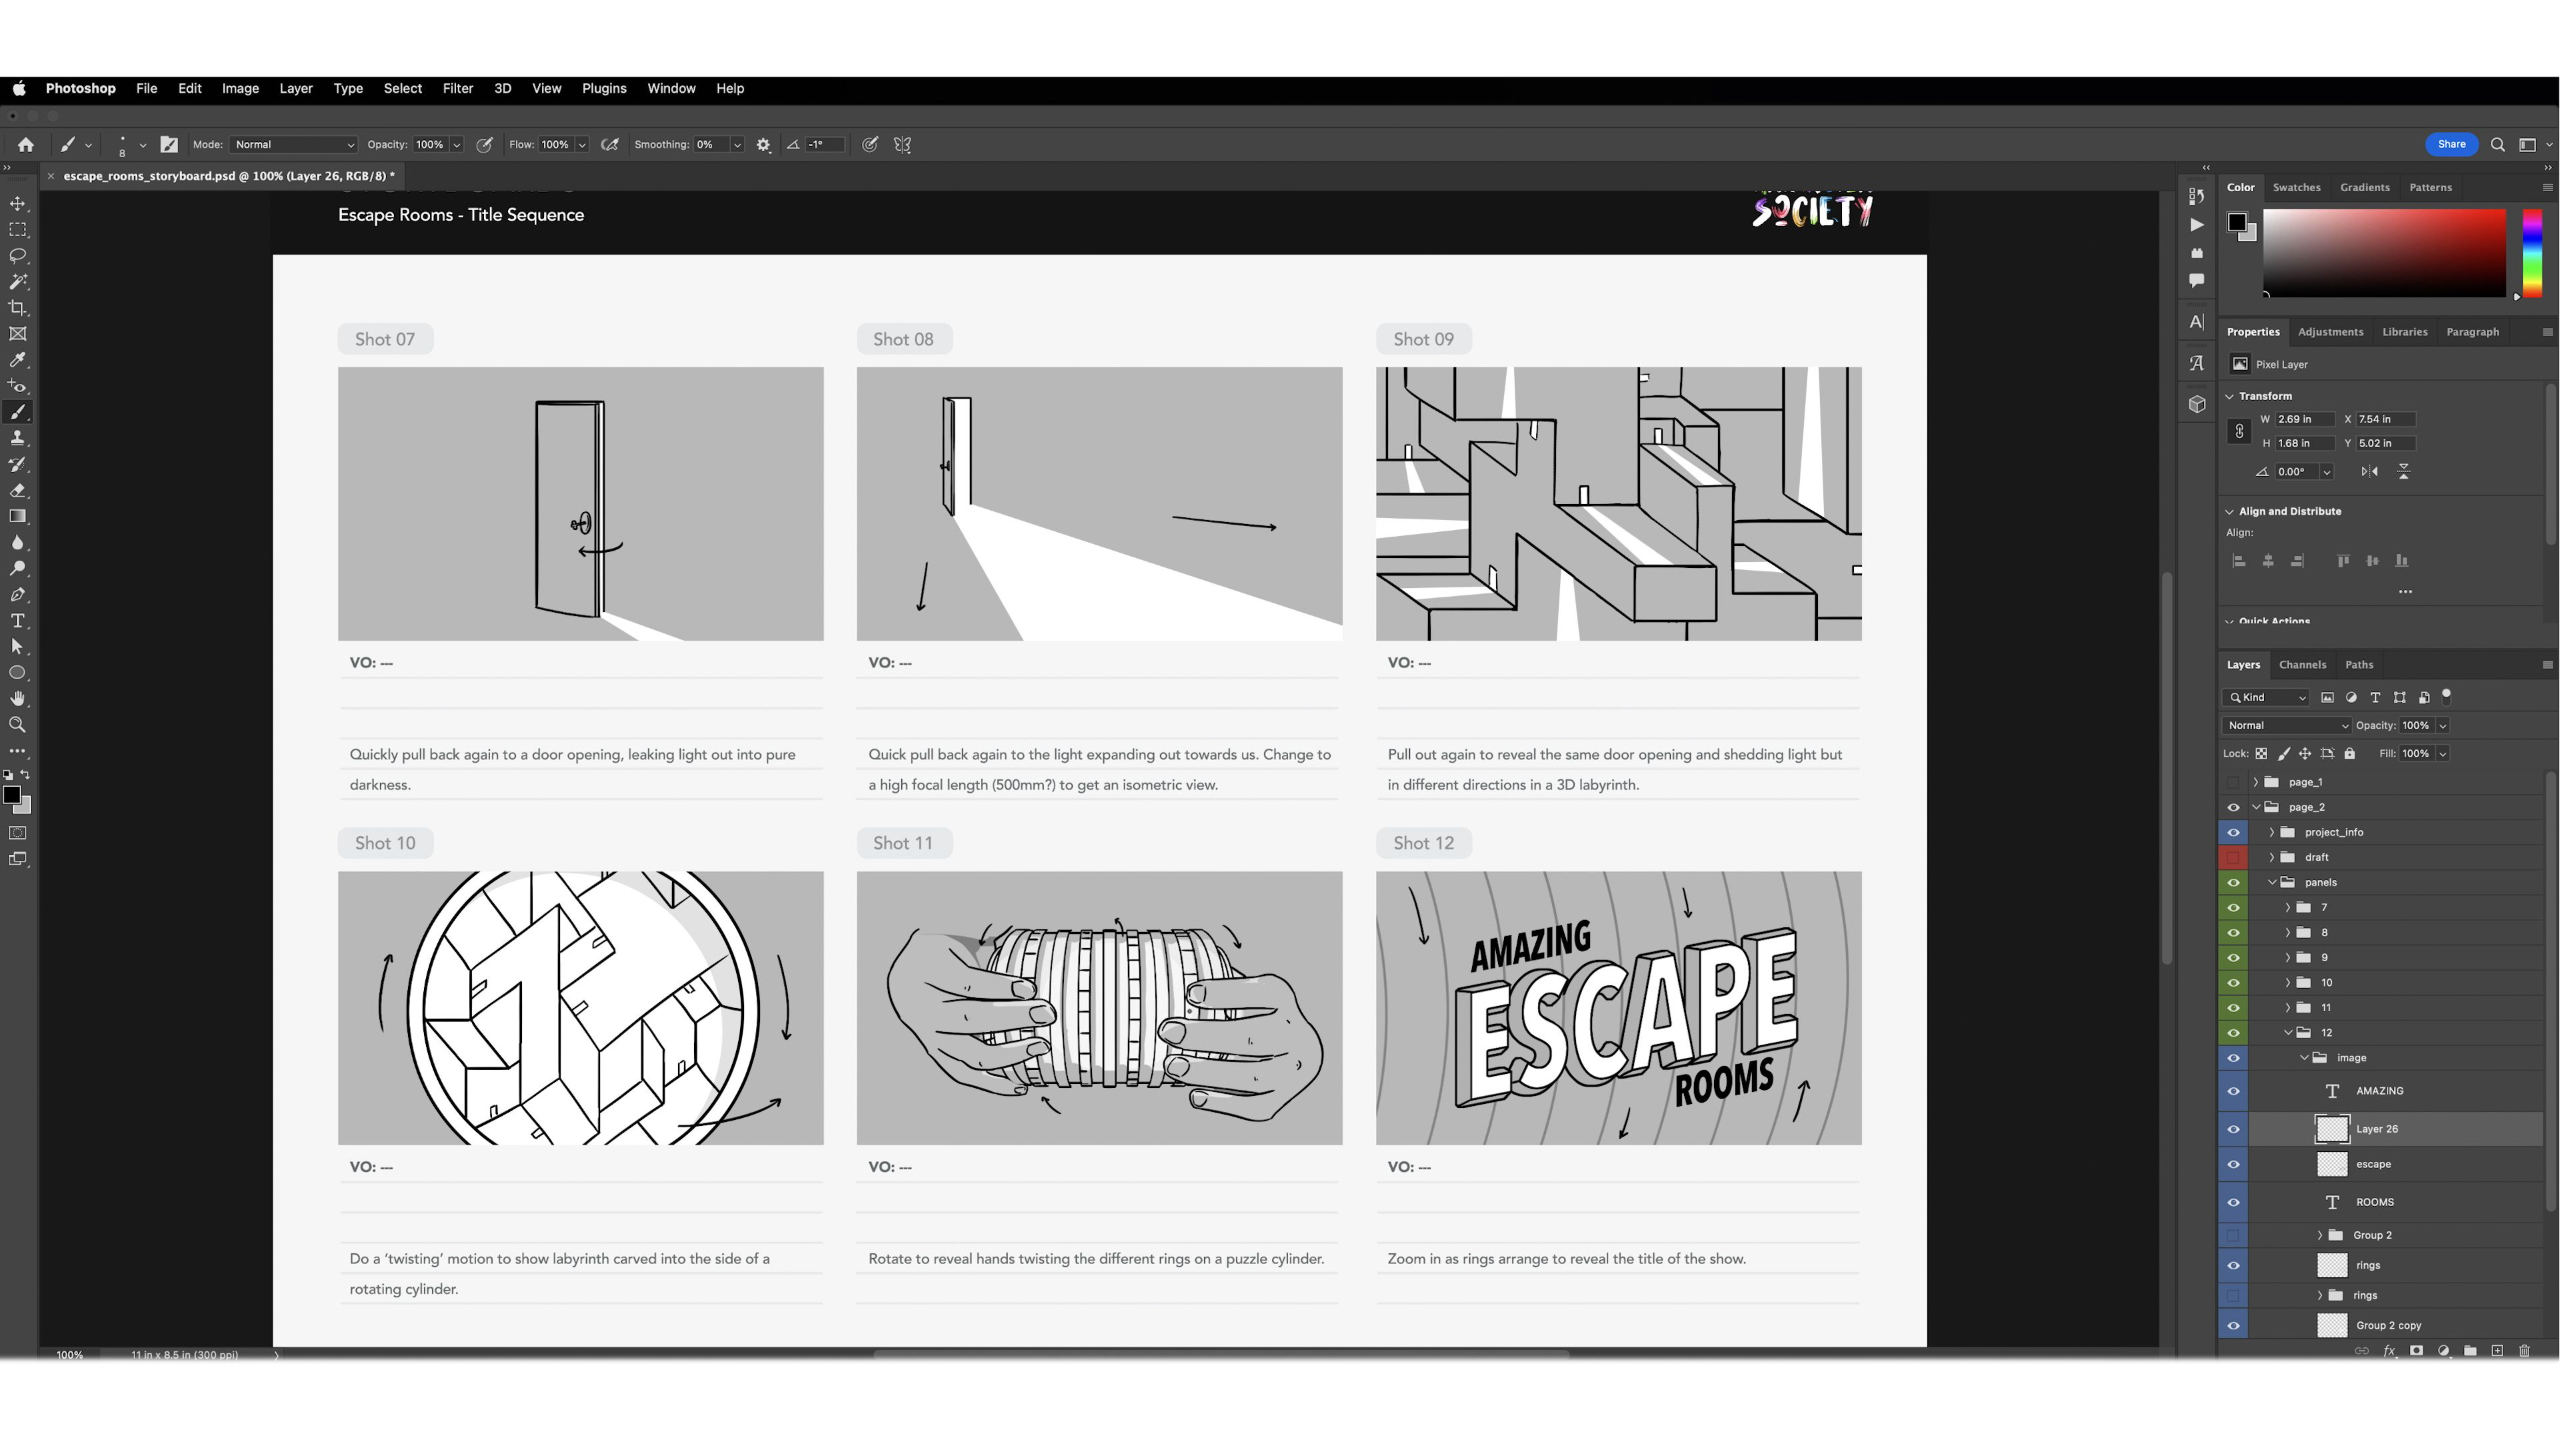
This lesson teaches students how to turn their title sequence concept into a clear storyboard that acts as the blueprint for the rest of the project. Students will learn how to use a professional storyboard template, create rough thumbnails, refine panels, organize shot information, and export their boards as a clean PDF for review.
Lesson 9: Compositing
AThis lesson teaches students how to composite their rendered 3D sequences in After Effects by importing image sequences, render passes, 3D data, and any added 2D elements. Students will fine-tune color, enhance passes, add effects, make edits, and prerender their work so the visual side of their title sequence feels polished and ready for sound design.
Lesson 4: Creating Styleframes
This lesson teaches students how to create styleframes, which are polished still images that prove the visual direction, tone, and technical approach of their title sequence before full production begins. Students will study professional examples, explore style choices and technical challenges, then create two different styleframes from their storyboard to test what look works best.
Lesson 10: Sound Design
This two-part lesson introduces sound design for motion graphics, covering the basics of Adobe Audition, recording and editing audio, working with voiceover, music, sound effects, and exporting clean audio for animation projects. Students will then apply sound design to their title sequence by choosing a soundtrack, adding optional sound effects, editing clips to match the visuals, and mixing everything so the final piece feels more polished and emotionally engaging.
Lesson 5: Asset Building
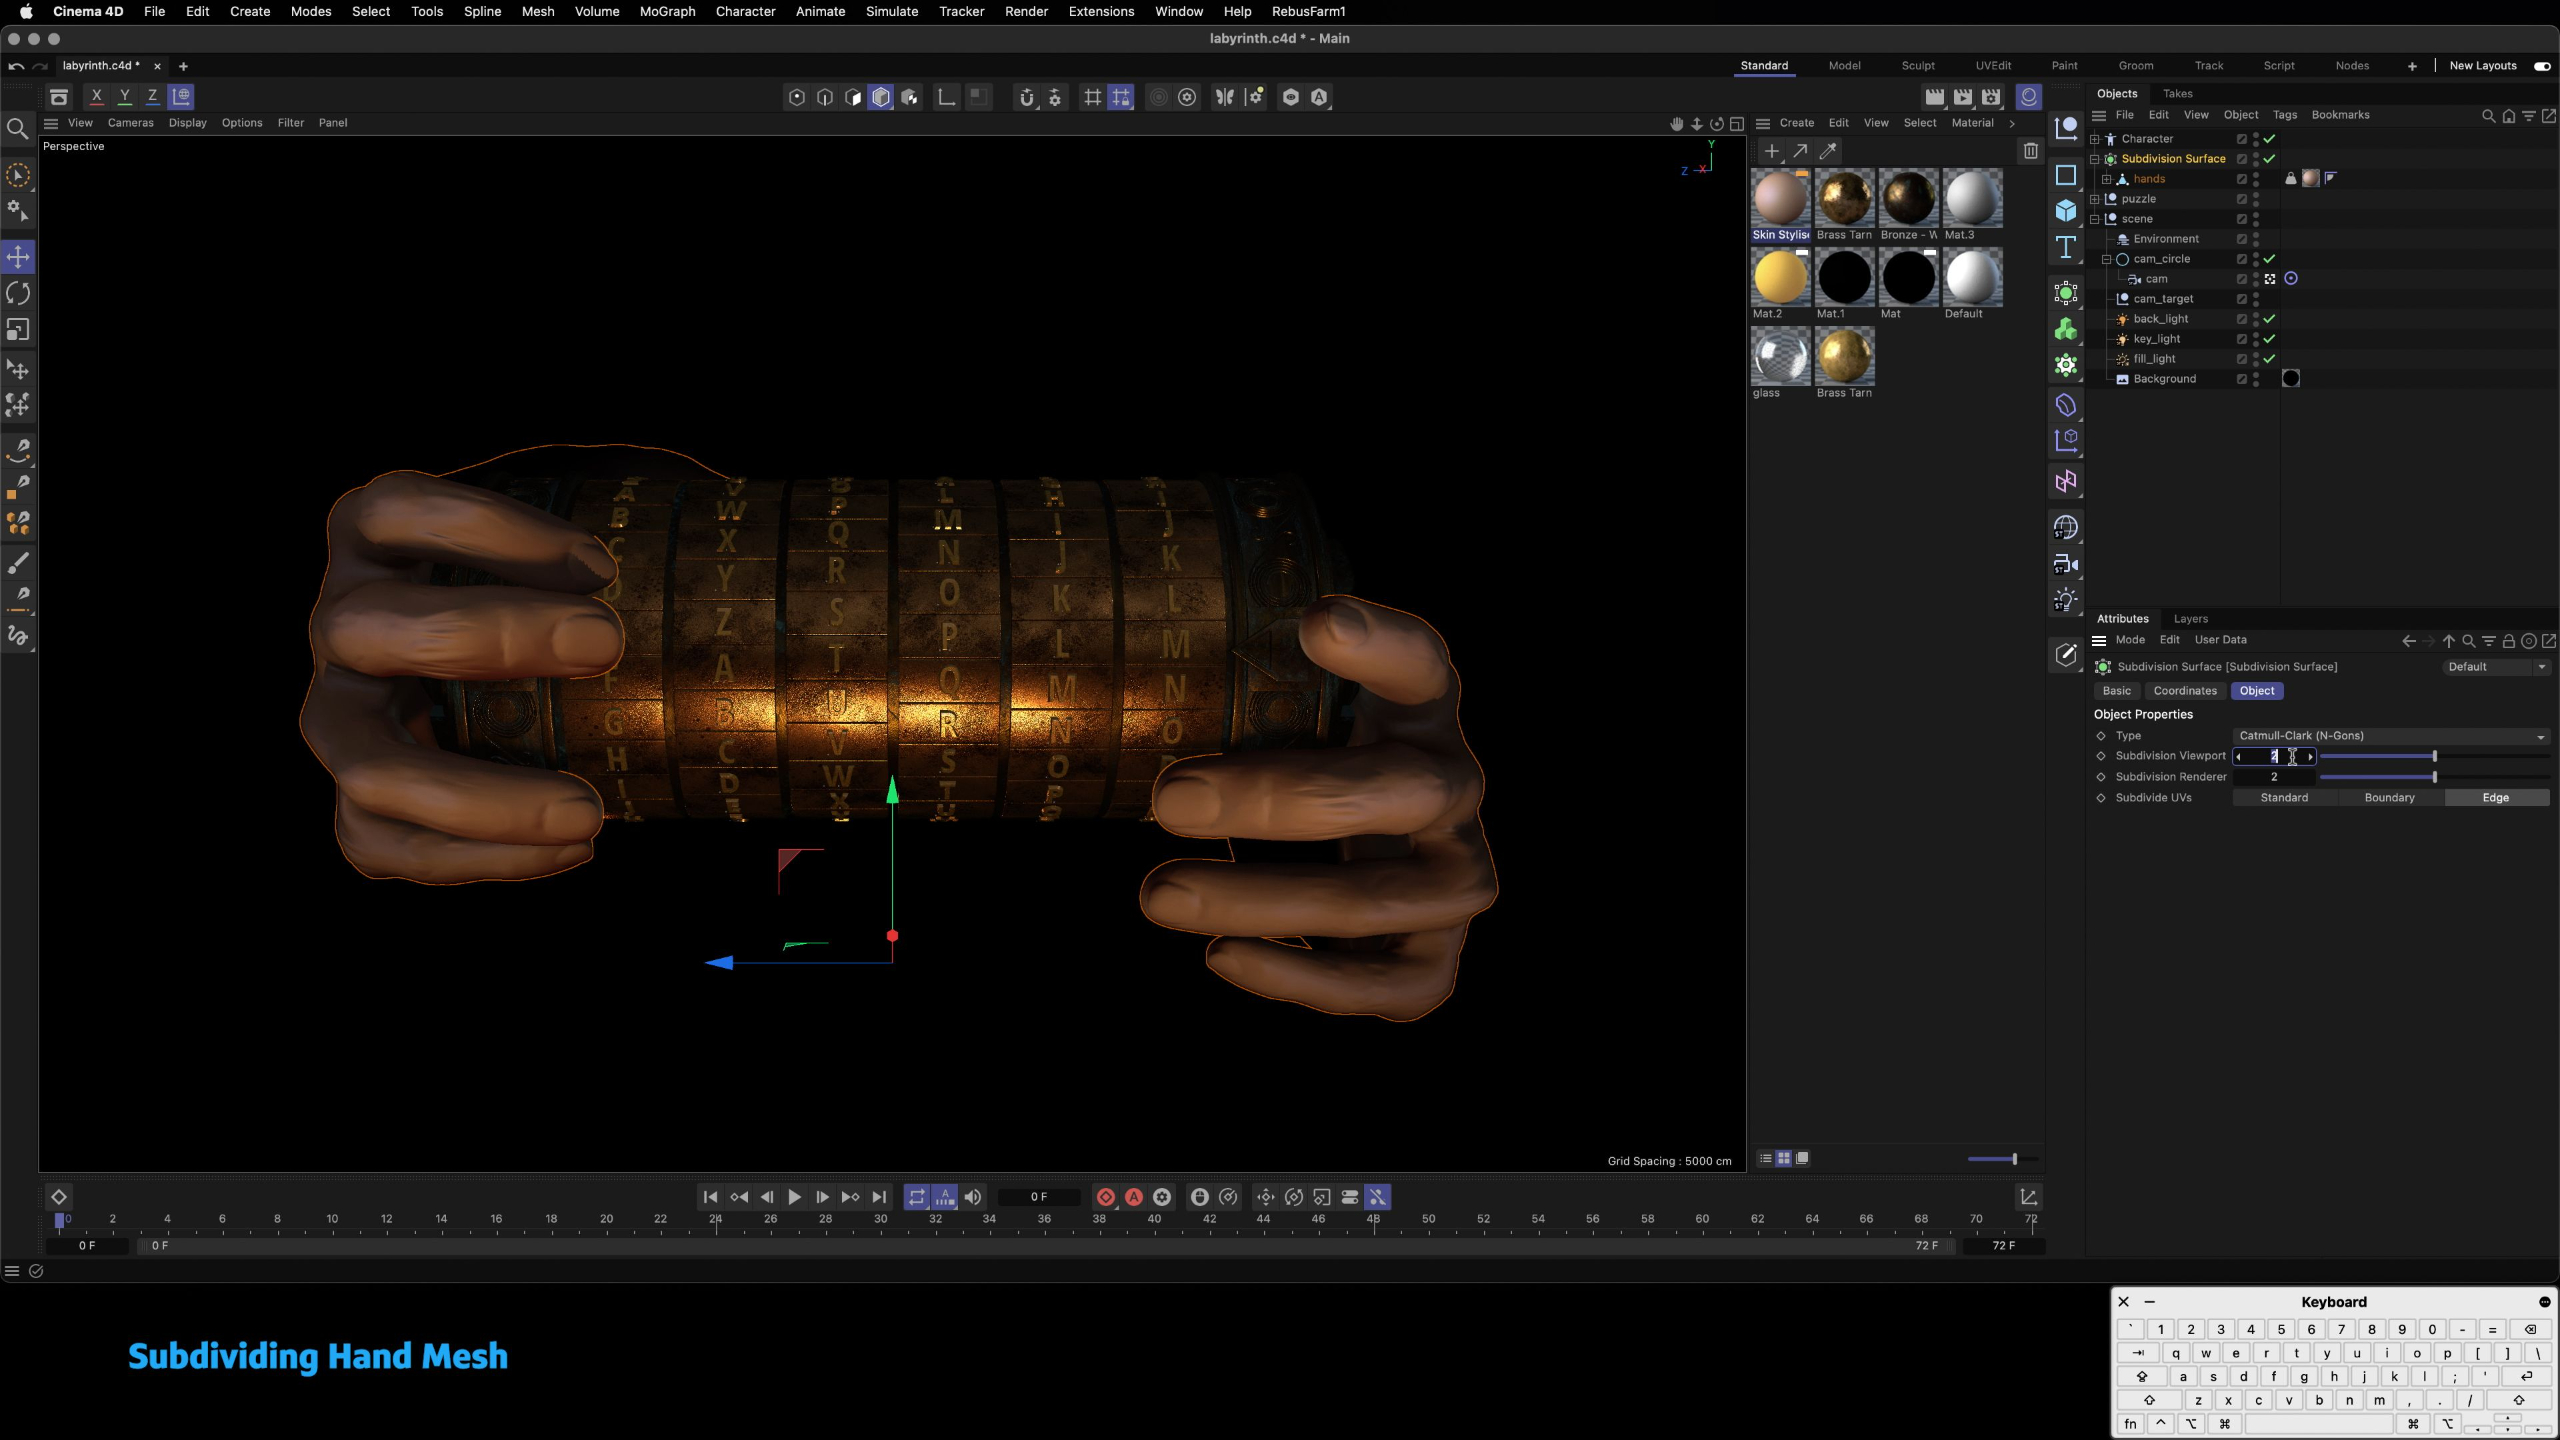
This lesson walks students through the asset-building stage of the motion graphics pipeline, where they create or gather the 2D and 3D elements needed to bring their storyboard and styleframes to life. Students will study real project examples, plan which assets belong in Photoshop, Illustrator, Cinema 4D, or After Effects, and begin building the raw materials for their title sequence before moving into scene assembly.
Lesson 11: Formatting & Output
This lesson shows students how to finalize their title sequence by working through the post-production checklist, including post-effects, prerendering, quality control, and final export. Students will learn how to check for visual or technical errors, choose the right render format, use Adobe Media Encoder, and output a polished portfolio-ready video.
Lesson 6: Scene Setup
This lesson moves students into the scene setup stage, where they arrange their finished assets into the world of their title sequence and prepare everything for animation. Students will build out their 3D scenes, apply materials and lighting, plan for 2D elements, and rig or constrain anything that needs to move before the animation process begins.
Portfolio Project: Portfolio Building
This final lesson helps students understand how to keep building their motion graphics portfolio after completing the curriculum, using the professional pipeline they practiced throughout the module. Students will explore different portfolio directions, including marketing videos, title sequences, title packages, maps, animated infographics, logo animations, and raw skill pieces, while learning to treat their body of work as a long-term creative catalog.
Lesson 1: Project Overview
This lesson introduces the Advanced Motion Graphics module, where students begin a capstone cinematic title sequence project by following a professional motion graphics pipeline from concept to final output. Students will learn how each stage—ideation, storyboards, styleframes, asset building, animation, rendering, compositing, sound design, and formatting—works together to create a polished portfolio piece.
Lesson 2: Source Material & Ideation
This lesson guides students through the ideation stage of their cinematic title sequence project, helping them brainstorm a fictional film or show concept, gather references, and explore visual directions. Students will study common title sequence formats, watch a real brainstorming process, and use the provided idea template to develop a concept they can carry into the next stage of production.
Lesson 3: Creating Storyboards
This lesson teaches students how to turn their title sequence concept into a clear storyboard that acts as the blueprint for the rest of the project. Students will learn how to use a professional storyboard template, create rough thumbnails, refine panels, organize shot information, and export their boards as a clean PDF for review.
Lesson 4: Creating Styleframes
This lesson teaches students how to create styleframes, which are polished still images that prove the visual direction, tone, and technical approach of their title sequence before full production begins. Students will study professional examples, explore style choices and technical challenges, then create two different styleframes from their storyboard to test what look works best.
Lesson 5: Asset Building
This lesson walks students through the asset-building stage of the motion graphics pipeline, where they create or gather the 2D and 3D elements needed to bring their storyboard and styleframes to life. Students will study real project examples, plan which assets belong in Photoshop, Illustrator, Cinema 4D, or After Effects, and begin building the raw materials for their title sequence before moving into scene assembly.
Lesson 6: Scene Setup
This lesson moves students into the scene setup stage, where they arrange their finished assets into the world of their title sequence and prepare everything for animation. Students will build out their 3D scenes, apply materials and lighting, plan for 2D elements, and rig or constrain anything that needs to move before the animation process begins.
Lesson 7: Animation
This lesson focuses on the animation stage of the title sequence pipeline, where students bring their scenes to life through object animation, camera movement, transitions, procedural effects, and timing choices. Students will use their storyboard as a guide while applying motion principles, reference material, and graph editor refinements to create a sequence that feels dynamic, polished, and engaging.
Lesson 8: Rendering & Passes
This lesson walks students through preparing their finished Cinema 4D scenes for rendering by reviewing scene elements, environments, lighting, camera settings, render settings, passes, and output formats. Students will learn how to set up image sequences and render passes for compositing, while also considering render time, quality, file organization, and renderfarm options.
Lesson 9: Compositing
AThis lesson teaches students how to composite their rendered 3D sequences in After Effects by importing image sequences, render passes, 3D data, and any added 2D elements. Students will fine-tune color, enhance passes, add effects, make edits, and prerender their work so the visual side of their title sequence feels polished and ready for sound design.
Lesson 10: Sound Design
This two-part lesson introduces sound design for motion graphics, covering the basics of Adobe Audition, recording and editing audio, working with voiceover, music, sound effects, and exporting clean audio for animation projects. Students will then apply sound design to their title sequence by choosing a soundtrack, adding optional sound effects, editing clips to match the visuals, and mixing everything so the final piece feels more polished and emotionally engaging.
Lesson 11: Formatting & Output
This lesson shows students how to finalize their title sequence by working through the post-production checklist, including post-effects, prerendering, quality control, and final export. Students will learn how to check for visual or technical errors, choose the right render format, use Adobe Media Encoder, and output a polished portfolio-ready video.
Portfolio Project: Portfolio Building
This final lesson helps students understand how to keep building their motion graphics portfolio after completing the curriculum, using the professional pipeline they practiced throughout the module. Students will explore different portfolio directions, including marketing videos, title sequences, title packages, maps, animated infographics, logo animations, and raw skill pieces, while learning to treat their body of work as a long-term creative catalog.