3D Animation Curriculum
Below lists out all modules and lessons included within this curriculum.
Lessons are in video format with downloadable project files.
3D Animation
Curriculum
Below lists out all modules and lessons included within this curriculum.
Lessons are in video format with downloadable project files.
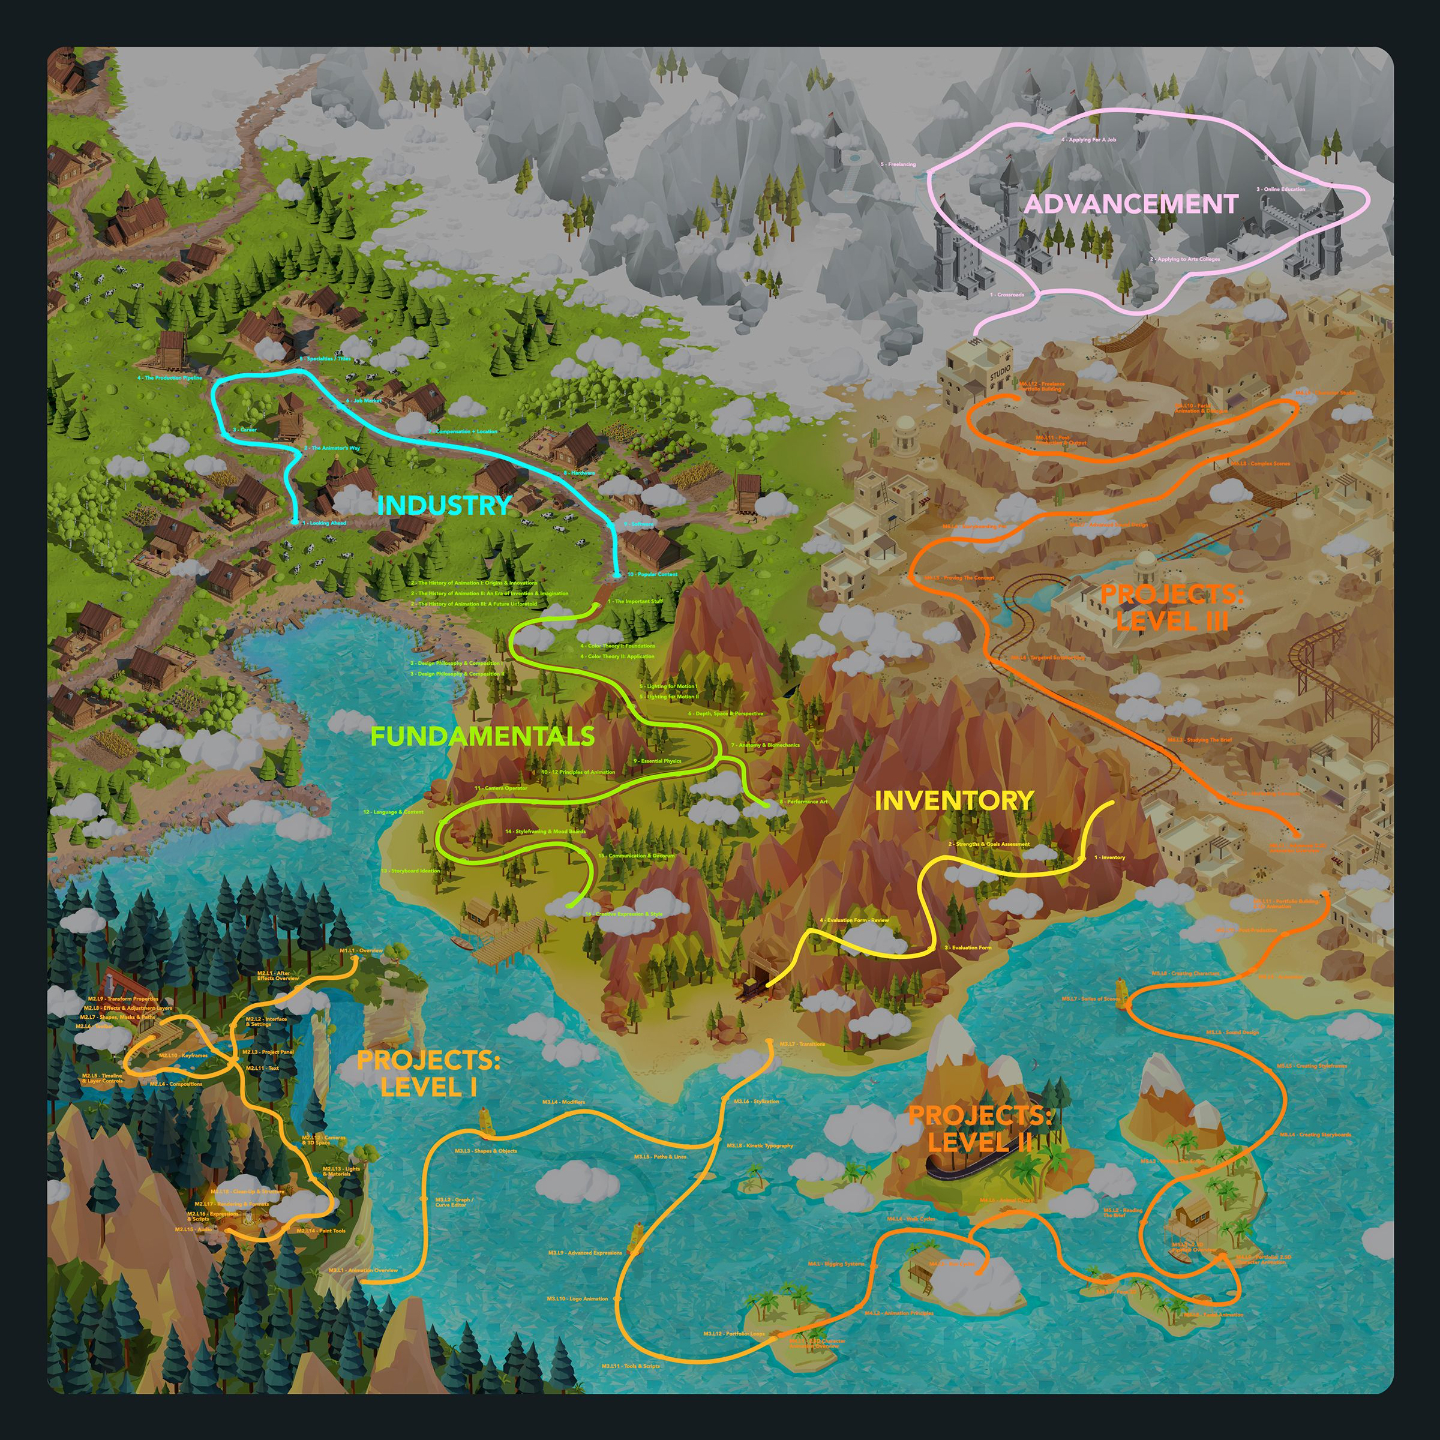
Our 3D Animation Curriculum is a progressive training program designed to guide students from foundational animation concepts to advanced 3D character and motion work using the Blender software.
Students progress through 3 defined skill levels that cover everything from software basics, modeling, rigging, and body mechanics to character acting, lip syncing, cinematography, creature animation, and advanced simulations.
*Requires Blender installation (free)
Available for:

*Includes lifetime access to lessons, future releases + community features
*Payment plans available at checkout
Buy Curriculum - $795Module 1: Overview
This first module summarizes up everything you will be learning within the 3D Animation Curriculum.
Covering what is and is not included if you are enrolled in one of our tailored Journeys, as well as details around what you will be learning at each skill level, the assignments ahead, and expected outcomes for your portfolio.
Module 2: Intro to Blender (Level I)
Estimated completion time: 6-8 weeks
This module provides an A to Z walkthrough of the free open-source 3D software Blender. These lessons focus not only on animation, but introduces students to all other parts of the 3D production pipeline. Such as modeling, texturing, lighting, rigging, and rendering to understand how productions work as a whole.
By the end, students will not simply be able to use the software, but they'll have a deep understanding of all it's capabilities for use in a variety of different industries.
Lesson 1: Blender Intro
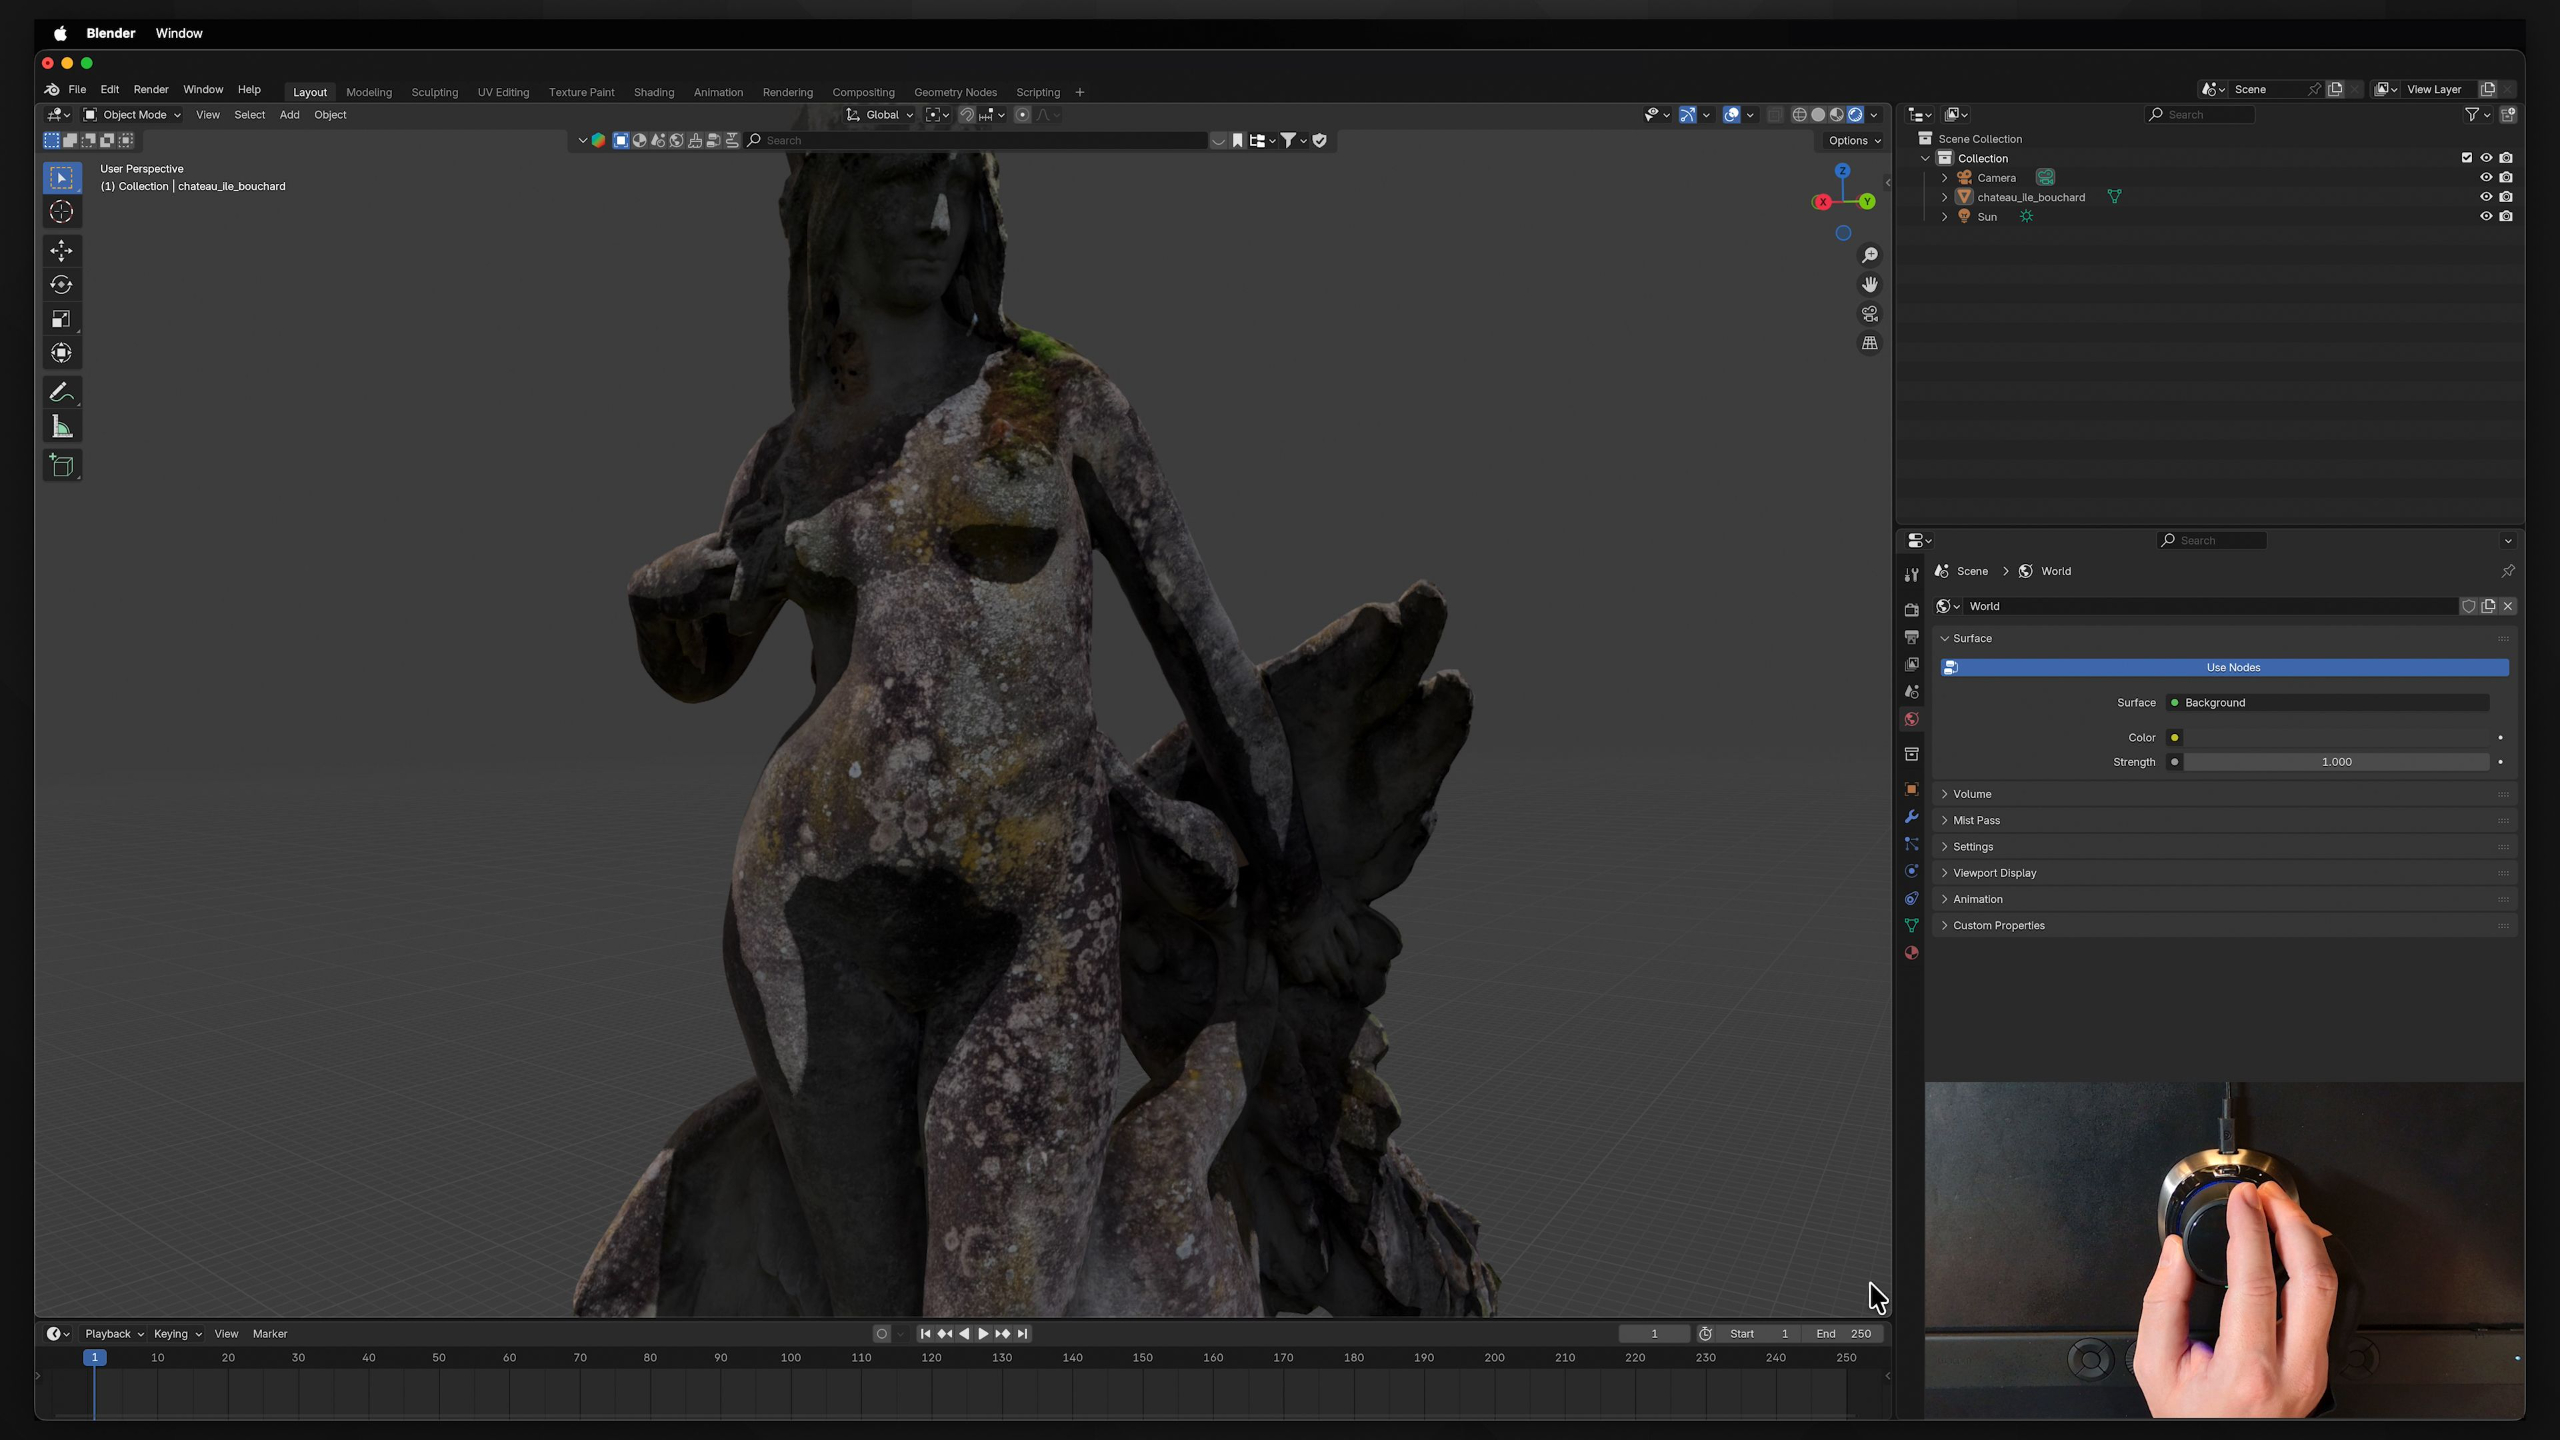
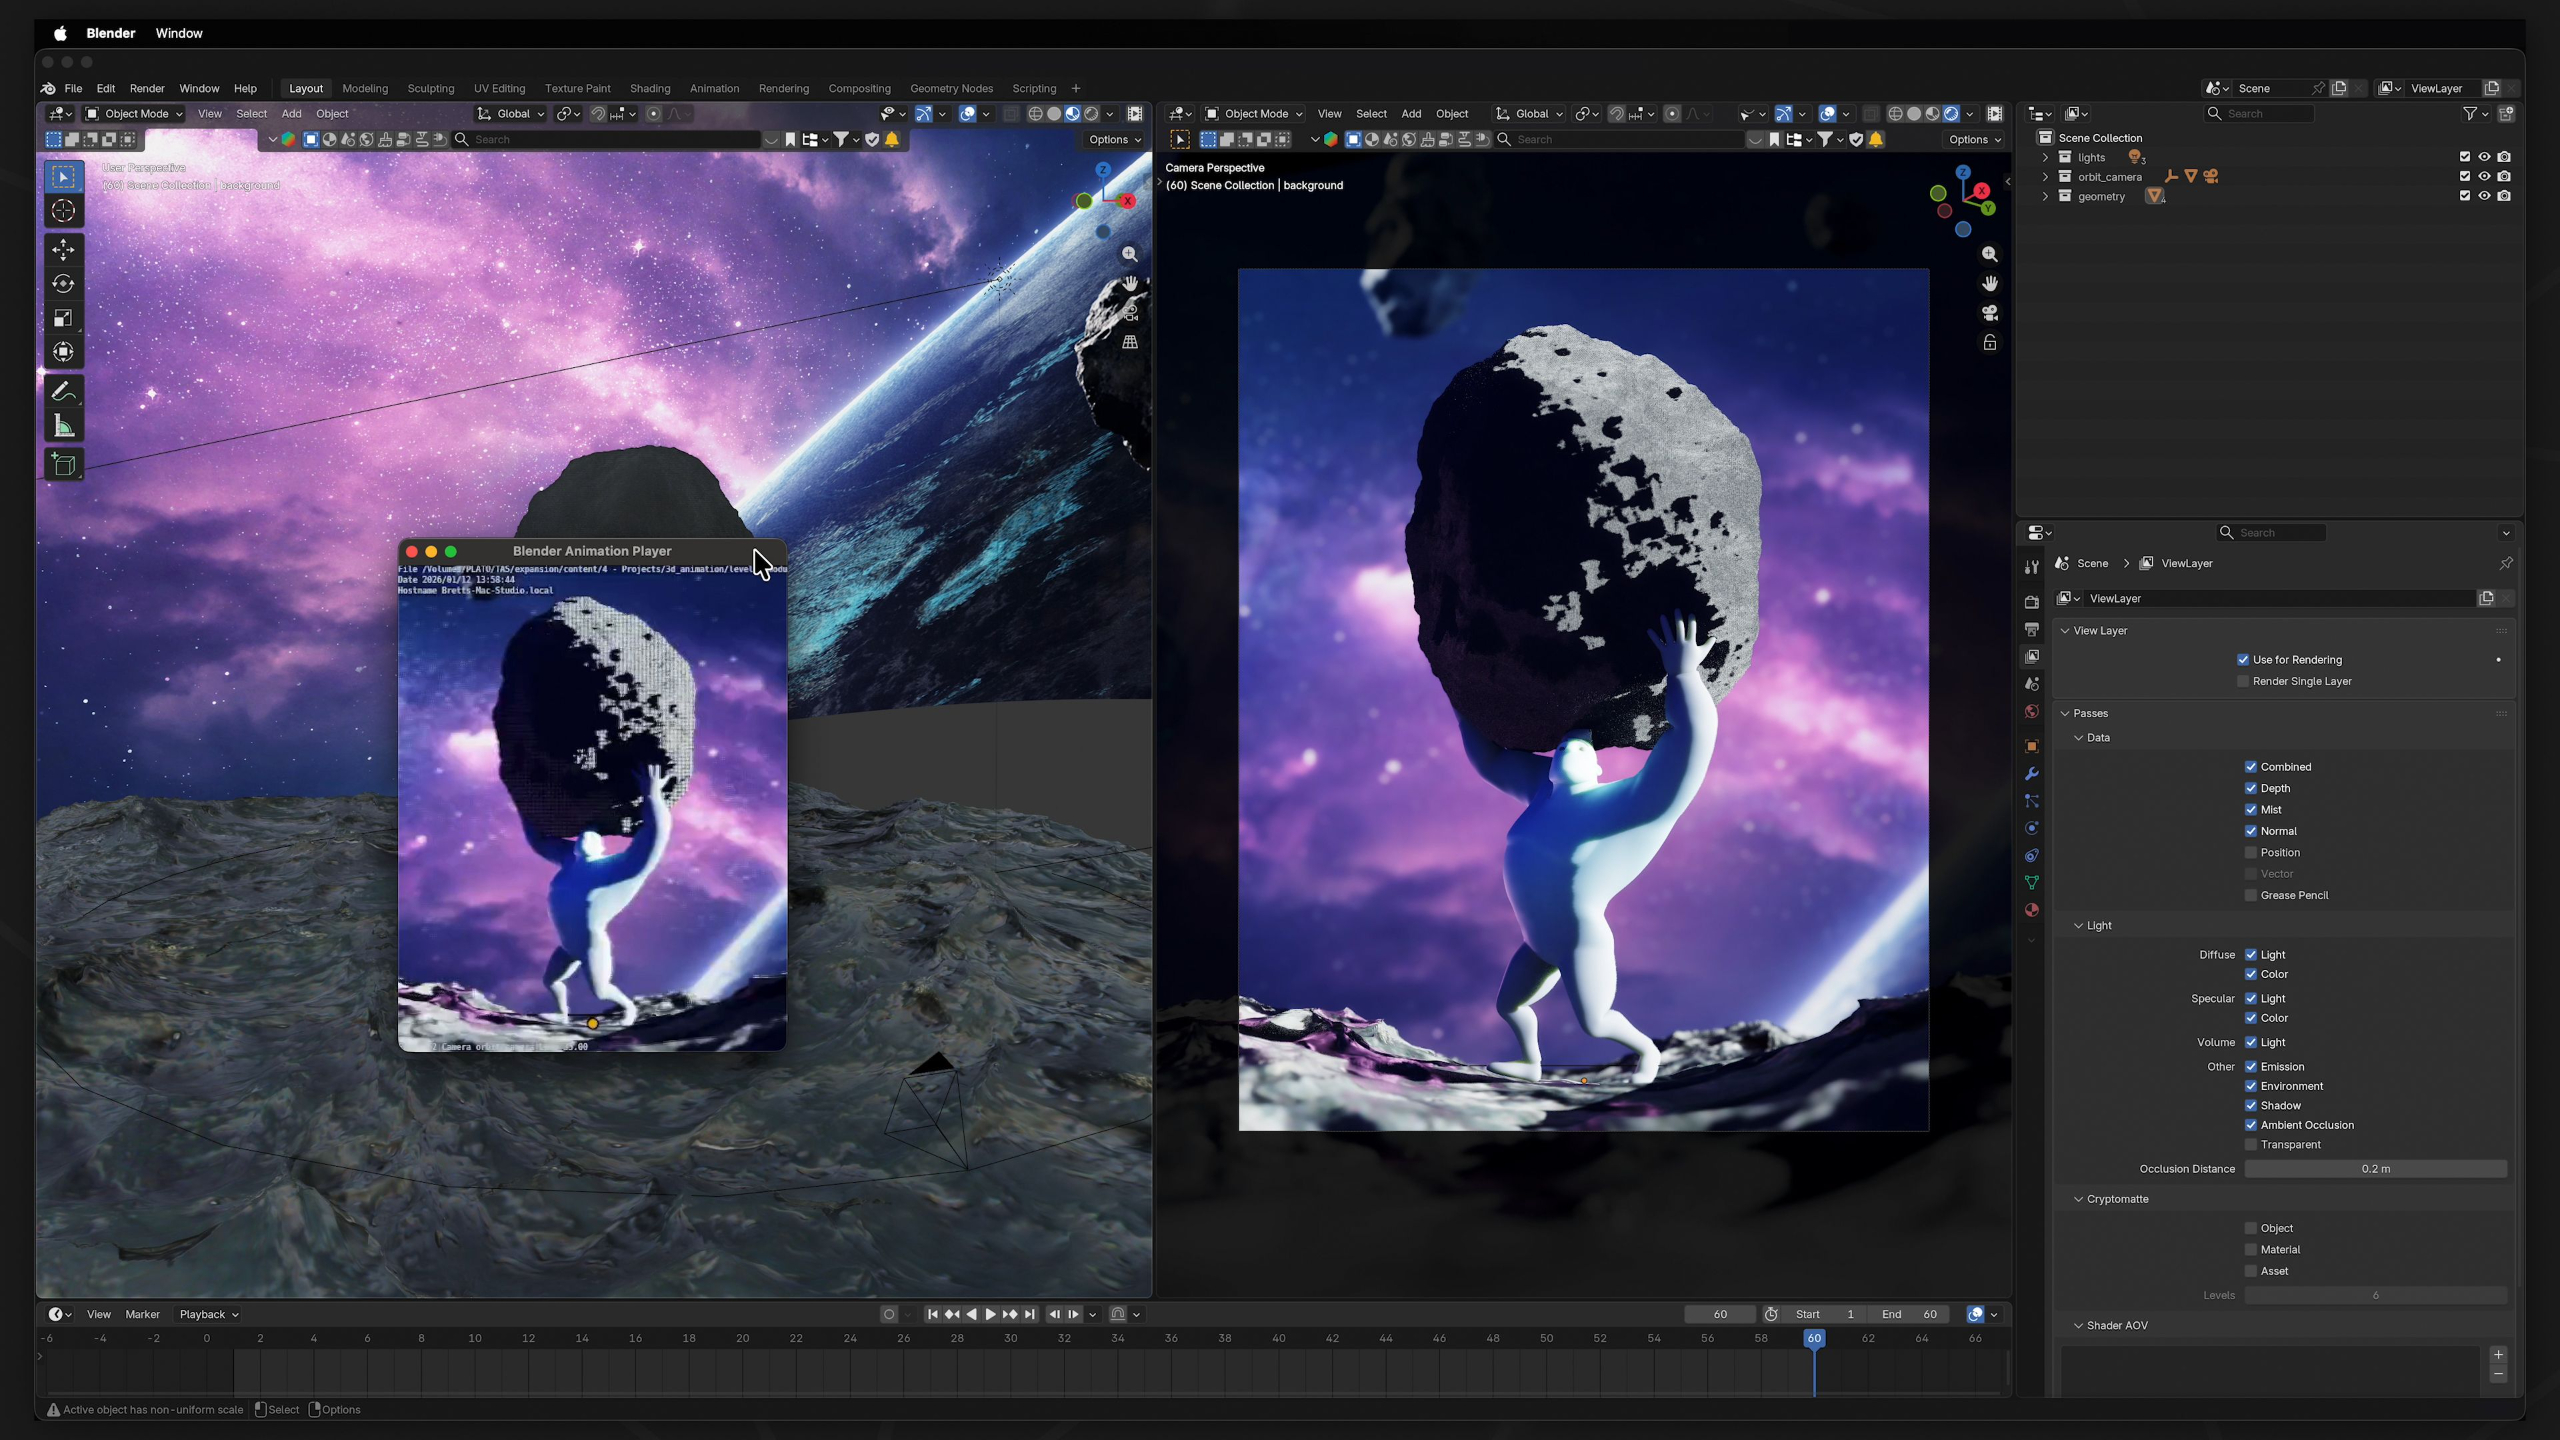
This lesson introduces Blender as the main 3D software used throughout the curriculum and explains why it’s such a powerful, accessible tool for animation students. Students will learn how Blender fits into the larger 3D pipeline, why its free and open-source structure matters, and how to download and install it before moving forward.
Lesson 20: Rigging: Parenting & Constraints
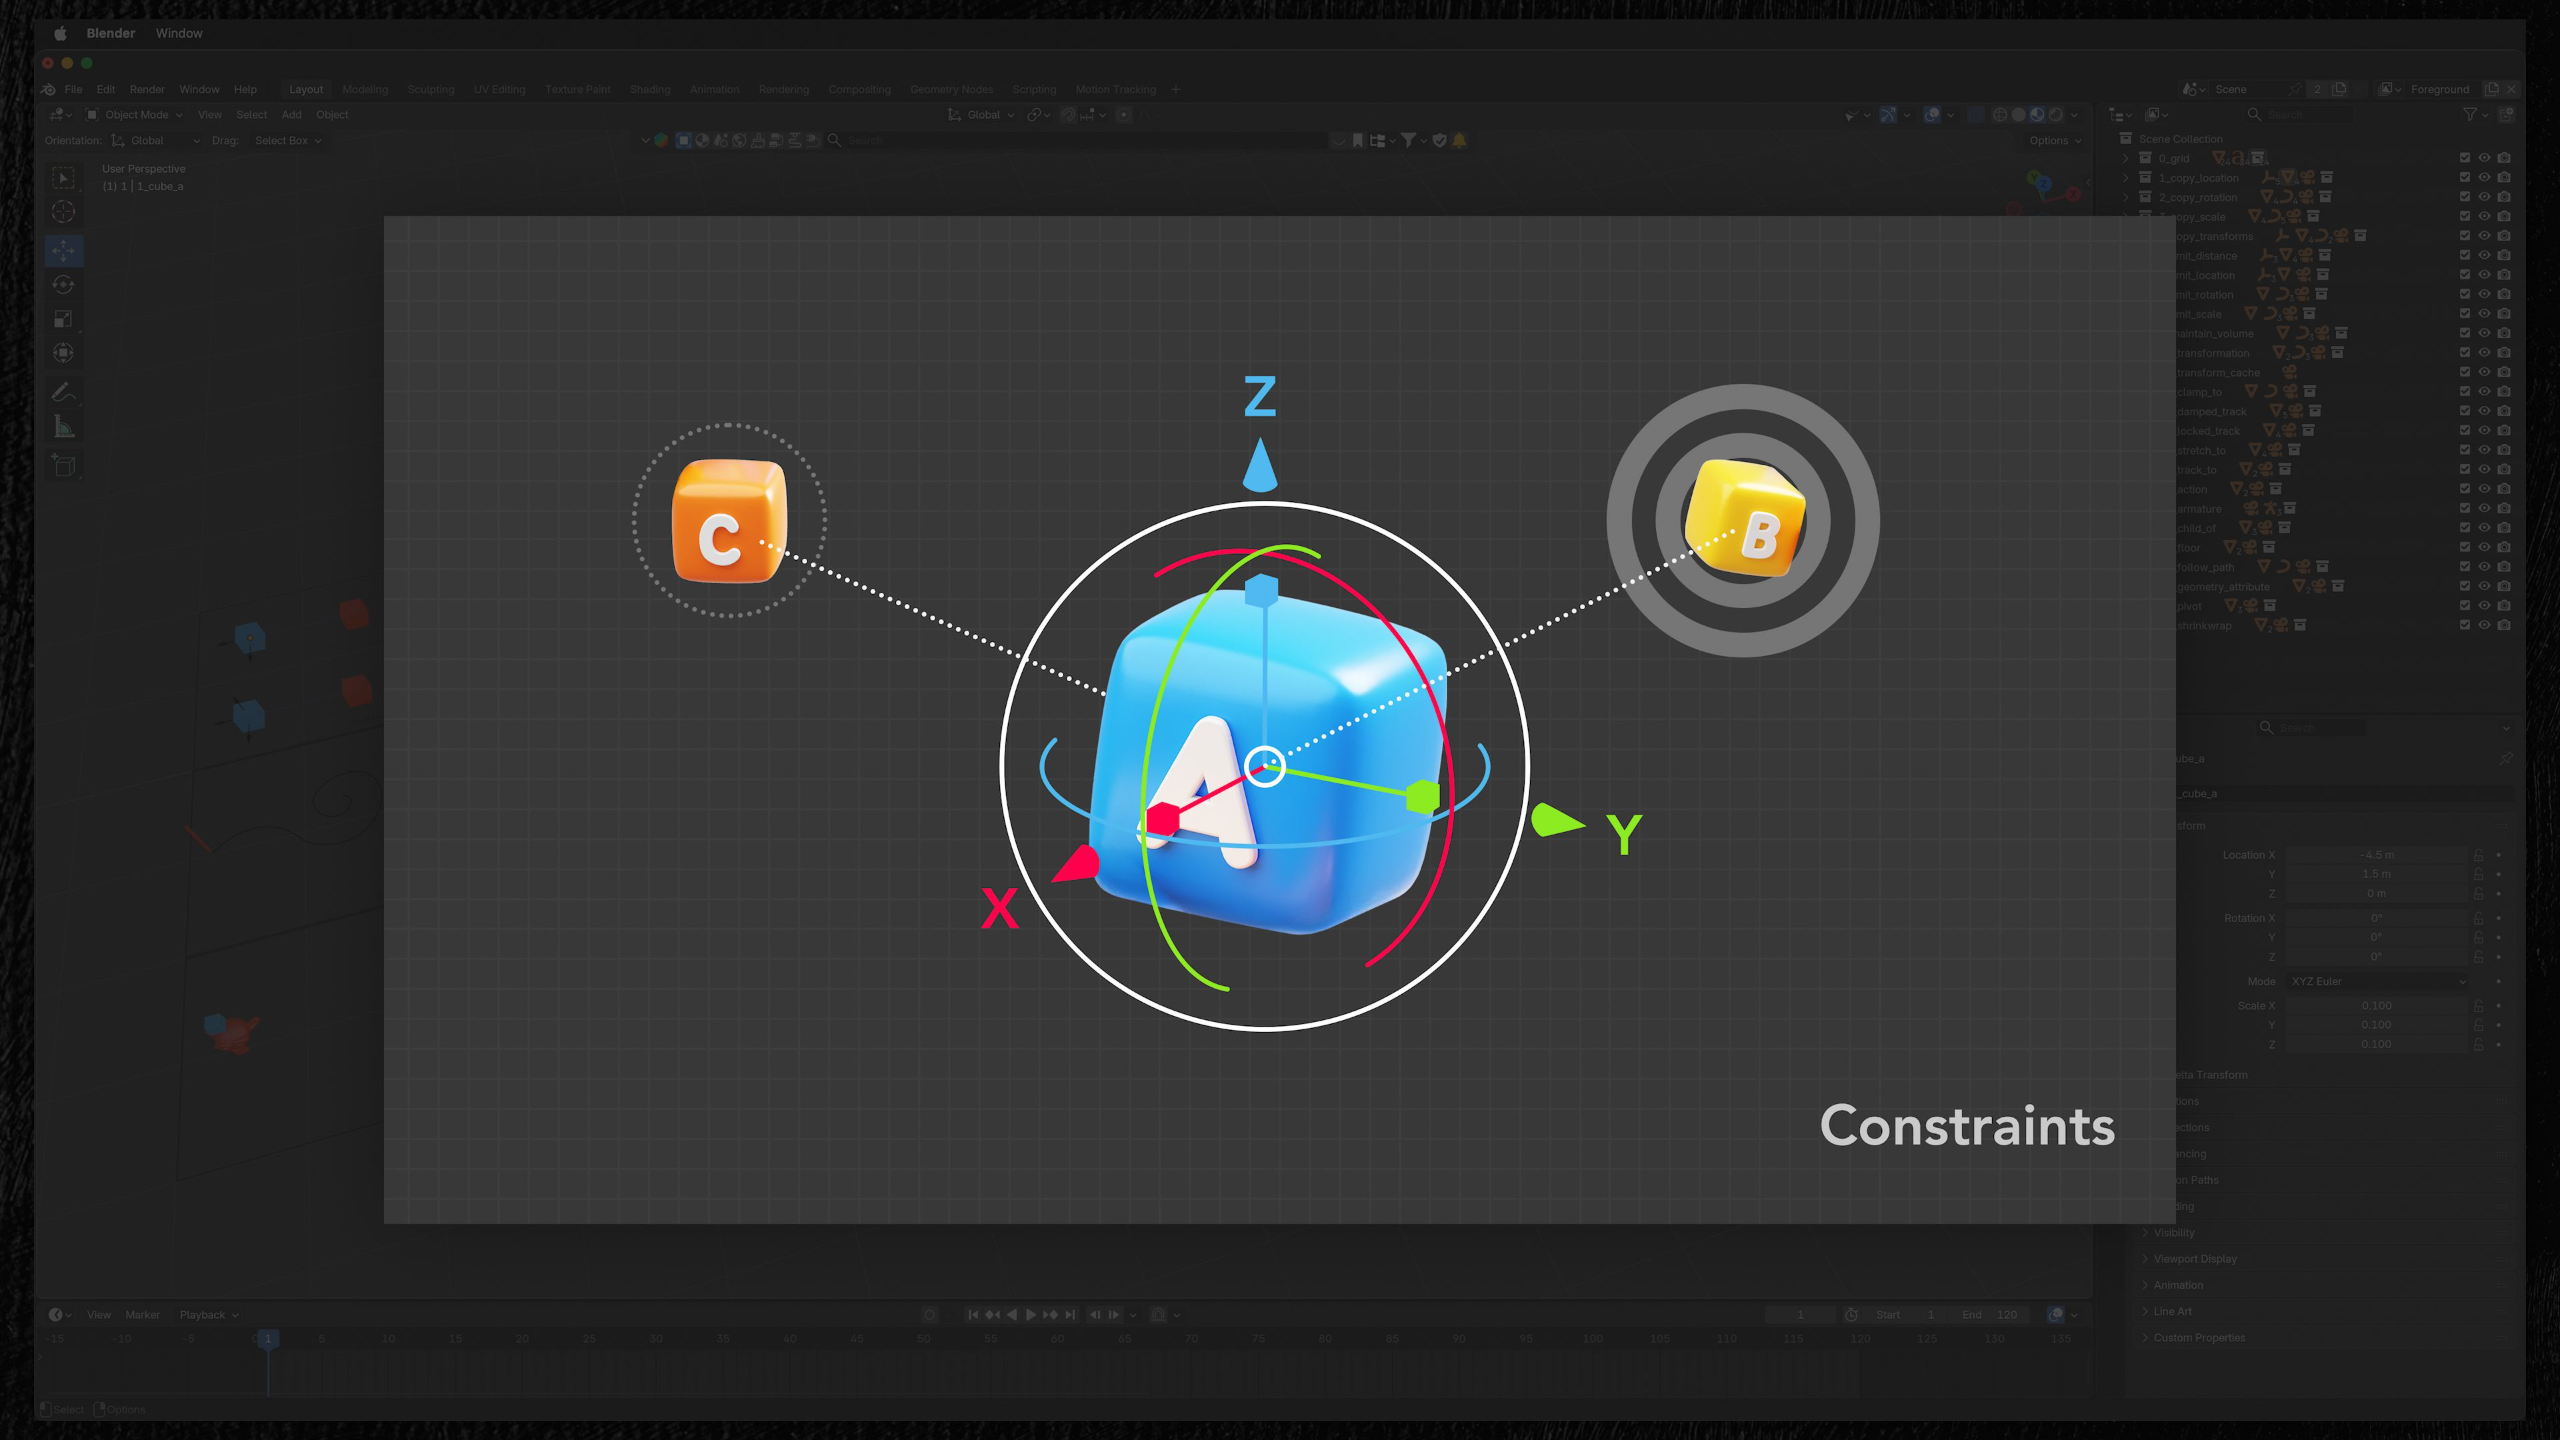
In this lesson, students are introduced to rigging fundamentals in Blender through parenting and constraints, learning how objects can control, follow, limit, or influence one another. They’ll practice building simple parent-child relationships and experimenting with different constraints so they can start understanding the systems behind object-based animation.
Lesson 2: Basics: Interface Overview
This lesson gives students a guided tour of Blender’s interface, key panels, hotkeys, and workspace setup so the software feels less overwhelming from the start. It also walks through recommended keymap and tablet/mouse settings to make navigating, transforming objects, and following future lessons much easier.
Lesson 21: Rigging: Armatures
In this lesson, students learn how Blender armatures and bones work as the foundation for more advanced rigging and character control. They’ll explore bone structure, display options, envelopes, FK vs. IK, bone constraints, custom controls, pole targets, Spline IK, bone collections, and color organization so they can better understand how complex rigs are built and animated.
Lesson 3: Basics: Viewport Navigation
In this lesson, students learn how to confidently move around Blender’s 3D Viewport using tools like orbit, pan, zoom, camera view, orthographic views, Quad View, the numpad, and the 3D cursor. They’ll practice navigating both simple objects and a house model so working in 3D space starts to feel more natural.
Lesson 22: Rigging: Skinning & Weights
In this lesson, students learn how skinning and weight painting connect a mesh to an armature so characters and organic objects can deform naturally. They’ll practice automatic weights, vertex groups, brush tools, falloff settings, and cleanup techniques so they can better understand how rigs influence geometry during animation.
Lesson 4: Basics: Selecting & Transforming
In this lesson, students learn how to select objects in Blender and transform them using move, rotate, scale, snapping, pivot points, transform orientations, and the 3D cursor. They’ll practice manipulating objects in a table scene so they can get comfortable with the core tools used to position and organize anything in 3D space.
Lesson 23: Rigging: Meta-Rigs
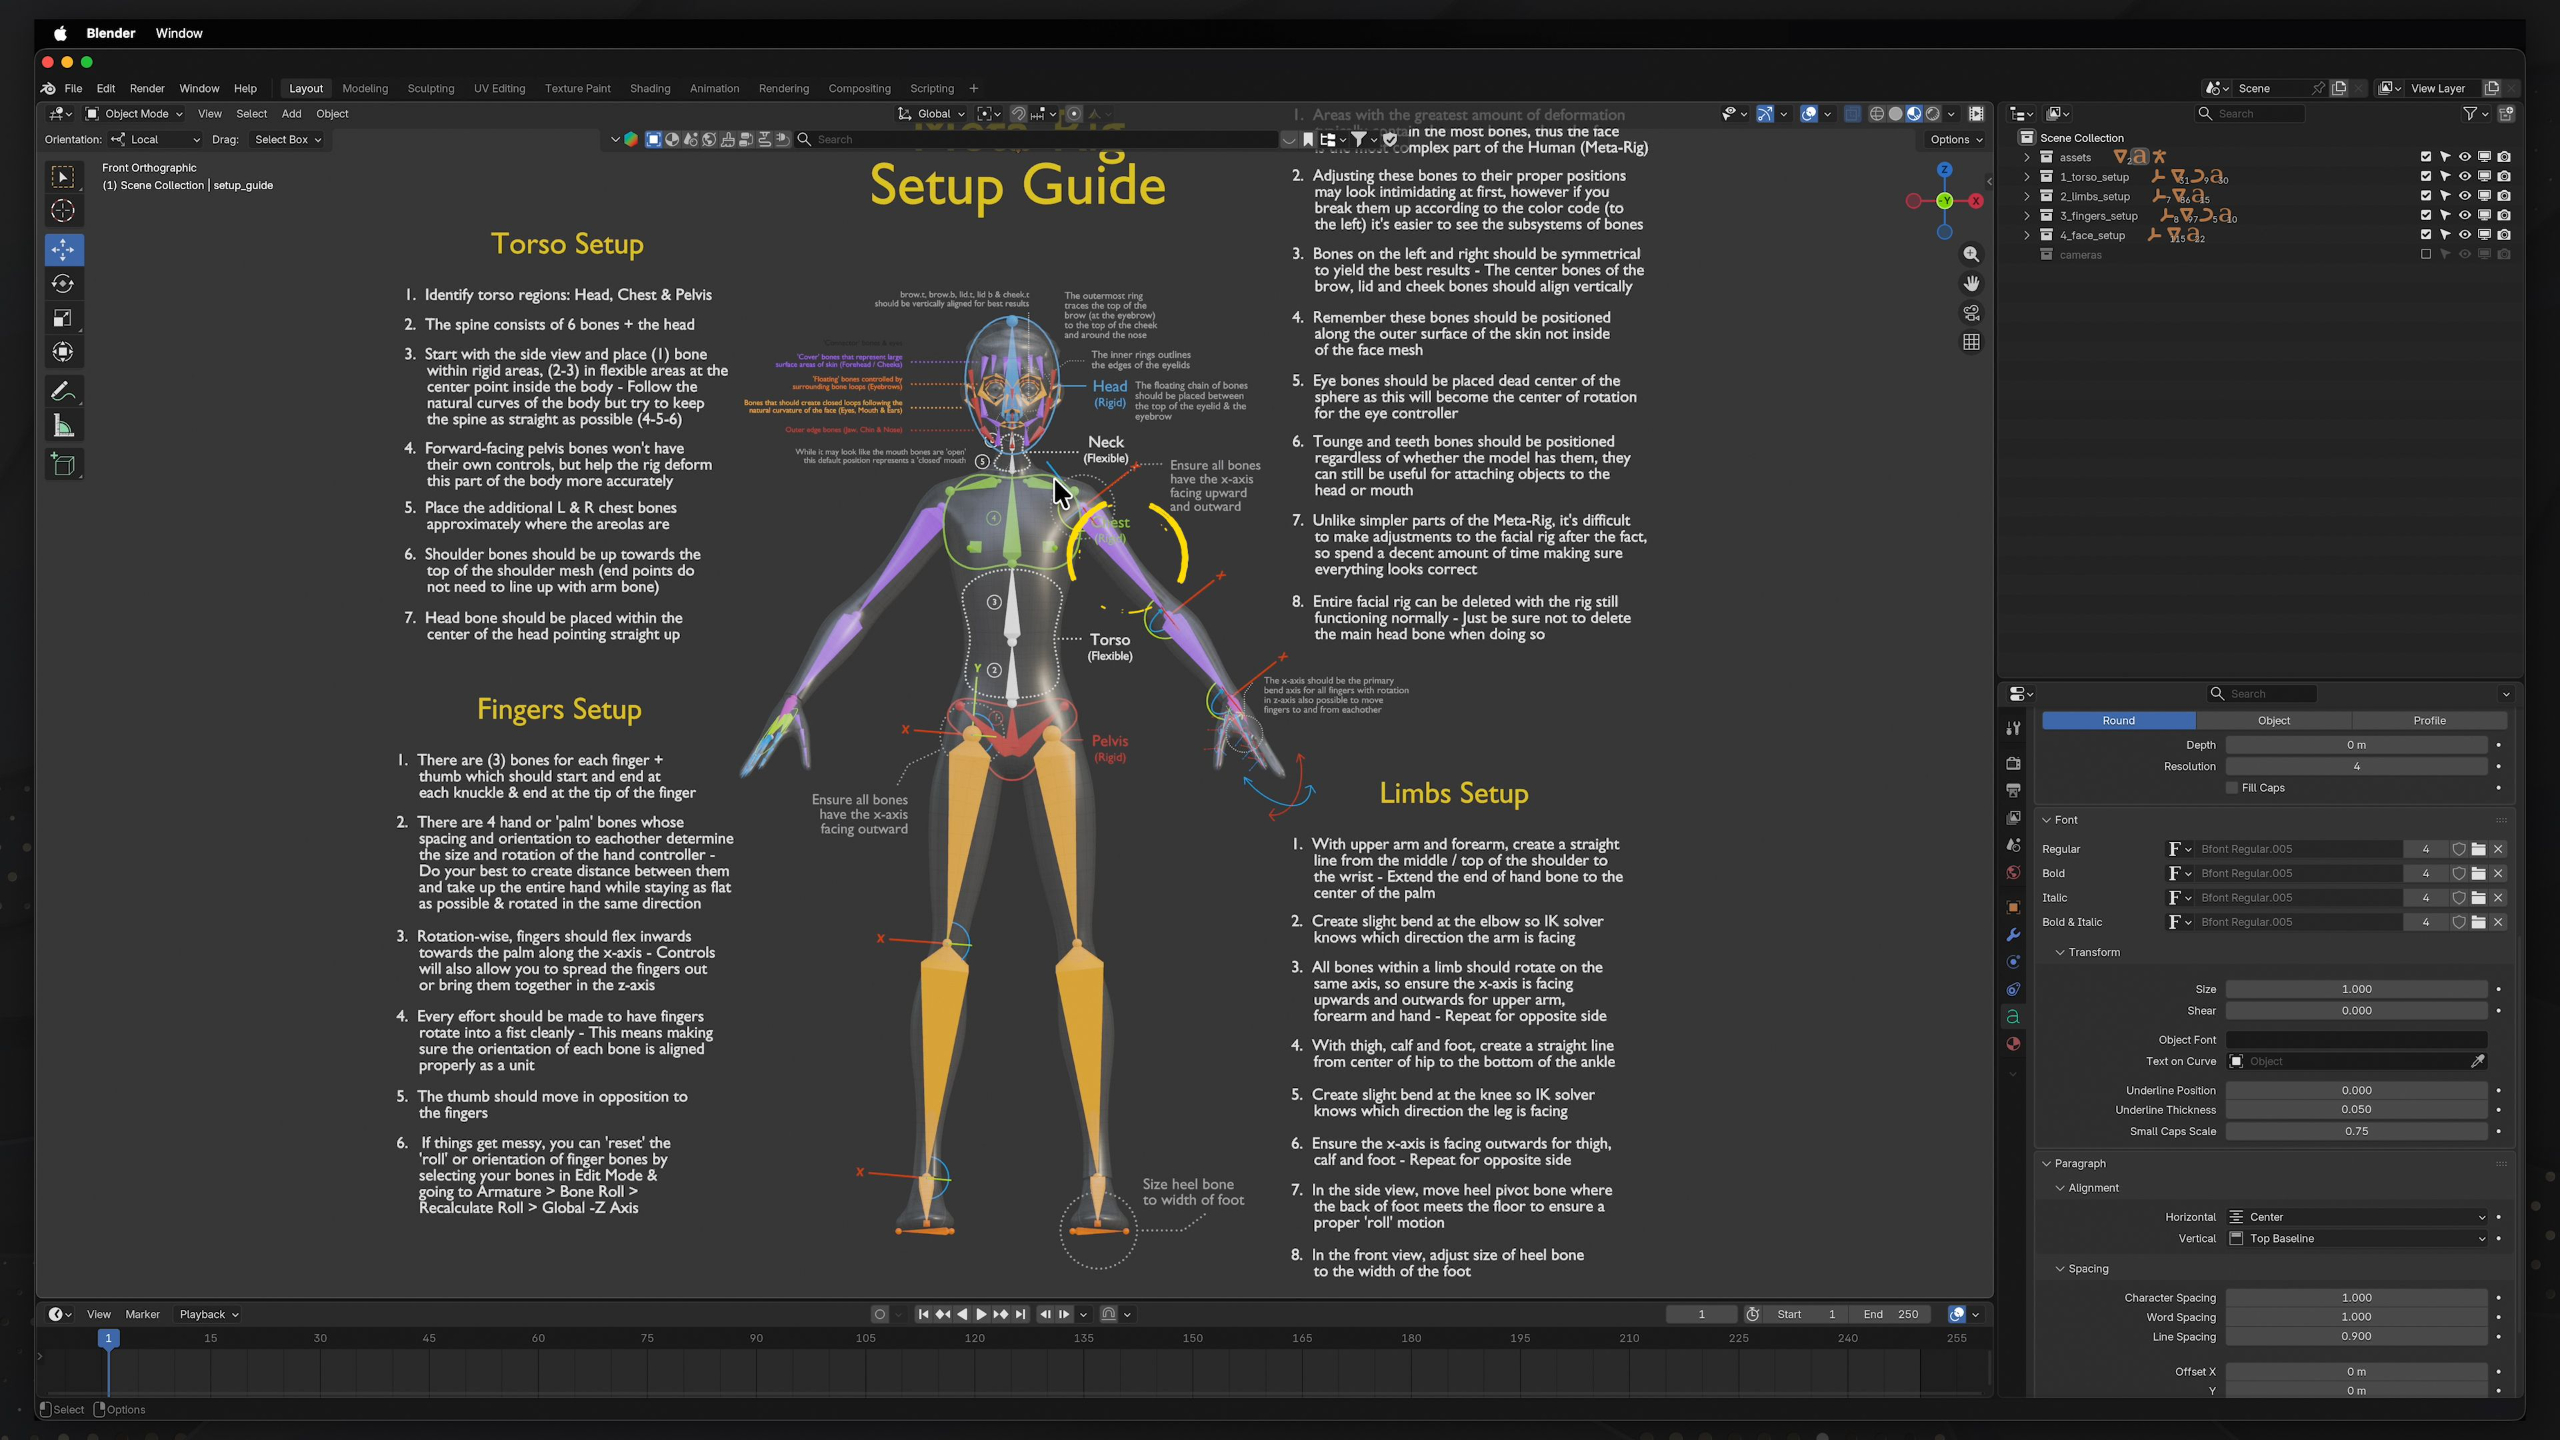
In this lesson, students learn how Blender’s Meta-Rigs and Rigify system make character rigging faster by providing ready-made bone structures and controls for humans, animals, and other characters. They’ll explore body movement, joint types, bone placement, rest poses, rig generation, automatic weights, and common setup issues so they can understand the full process of turning a character model into an animatable rig.
Lesson 5: Basics: Object Manipulation
In this lesson, students learn how to manipulate objects in Blender by editing vertices, edges, faces, curves, surfaces, metaballs, and text. They’ll explore key tools like Edit Mode, proportional editing, selection menus, deleting, extruding, merging, and curve controls so they can start reshaping objects with more confidence.
Lesson 24: Rigging: Controls & Customizations
In this lesson, students learn how Rigify controllers work and how they make character animation much easier by organizing complex bone systems into usable controls. They’ll explore controller properties, FK/IK switching, rig layers, custom bone shapes, color sets, and the main control groups so they feel more prepared to animate a fully rigged character.
Lesson 6: Basics: Collections
In this lesson, students learn how to use Collections in Blender to organize objects, manage visibility, control render settings, and keep complex scenes easier to work with. They’ll explore the Outliner, collection options, restriction toggles, and filtering tools so their projects stay clean and manageable as they grow.
Lesson 25: Rigging: Character Rigging
In this lesson, students bring together the full rigging workflow by fitting a Meta-Rig to a character, generating controls, connecting separate elements like eyes, teeth, tongue, and hair, and customizing the rig for easier animation. They’ll also refine the character through weight painting and final control adjustments so the finished rig is ready for animation.
Lesson 7: Basics: Working w/ Workspaces
In this lesson, students get a guided tour of Blender’s different workspaces and how each layout supports a specific part of the 3D production pipeline, from modeling and sculpting to shading, animation, rendering, and compositing. They’ll learn which workspaces matter most for animation while getting a basic understanding of how the rest of Blender’s tools fit into the bigger picture.
Lesson 26: Animation: Frame Rate & Time
In this lesson, students are introduced to animation timing in Blender by learning how frame rate, playback settings, and the timeline work together to create motion. They’ll explore 24fps, timeline controls, audio importing, markers, frame ranges, and playback options so they’re ready to start keyframing in the next lesson.
Lesson 8: Modeling: Toolbox
In this lesson, students are introduced to Blender’s core modeling tools and learn how to use features like extrude, inset, bevel, loop cut, knife, smooth, and more to shape and refine geometry. They’ll experiment with these tools on different objects and set up a TurboSquid account so they can begin working with real 3D models in future lessons.
Lesson 27: Animation: Keyframes
In this lesson, students learn what keyframes are and how they are used in Blender to create animation over time. They’ll practice setting, deleting, copying, moving, labeling, and auto-keying keyframes so they can start building simple animated motion with confidence.
Lesson 9: Modeling: Advanced Tools
In this lesson, students go beyond Blender’s basic modeling toolbox and explore more advanced tools found in the Vertex, Edge, and Face menus. They’ll experiment with techniques like beveling, bridging, subdividing, filling, triangulating, booleans, smoothing, and creasing so they can better understand different ways to modify and refine 3D models.
Lesson 28: Animation: Dope Sheet
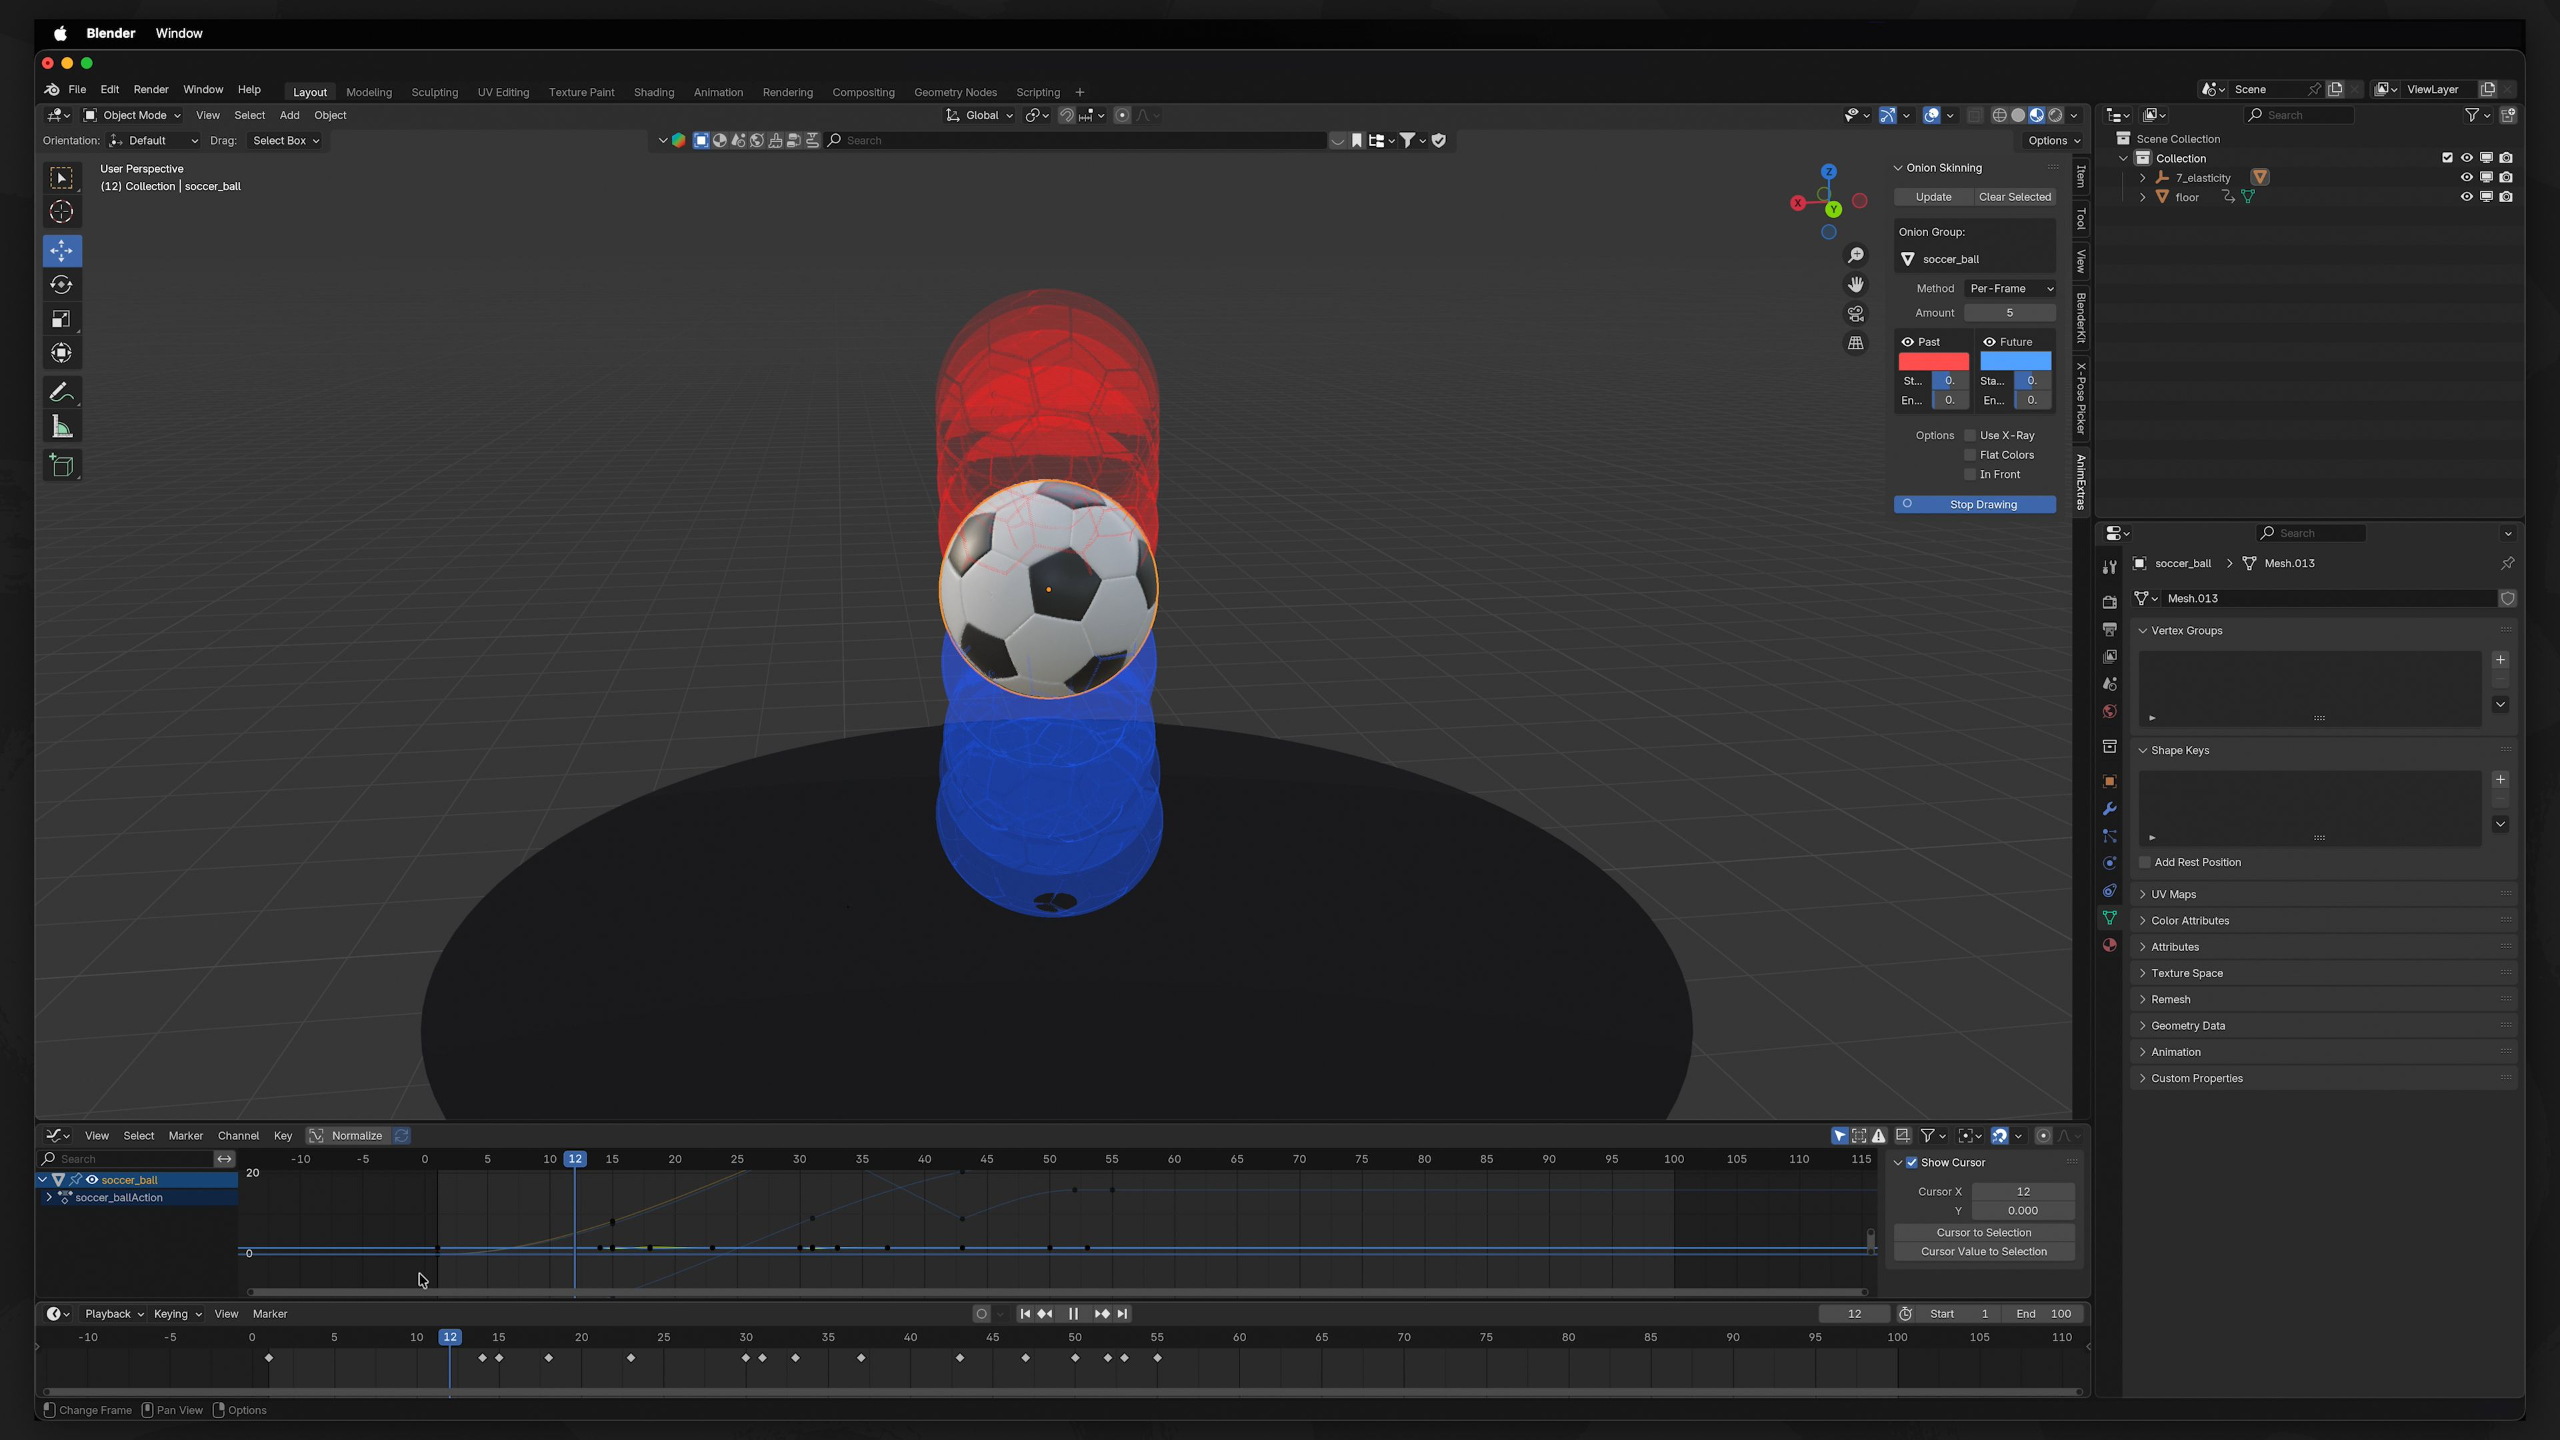
In this lesson, students learn how the Dope Sheet gives them a deeper way to view, organize, and edit keyframes beyond the basic timeline. They’ll practice working with channels, interpolation, handle types, actions, and a bouncing ball exercise so they can better control timing and animation data in Blender.
Lesson 10: Modeling: Construct & Deconstruct
In this lesson, students apply Blender’s modeling tools to a more complex excavator model, practicing how to construct, adjust, and deconstruct geometry using techniques like deleting, ripping, bridging, beveling, booleans, and proportional editing. They’ll also learn the difference between hard-surface and organic modeling while building a better understanding of topology and how clean geometry affects a 3D model.
Lesson 29: Animation: Nonlinear Animation Editor
In this lesson, students learn how Blender’s Nonlinear Animation Editor lets them organize, layer, blend, and reuse multiple animations as editable action strips. They’ll practice creating separate actions, pushing them into the NLA Editor, adjusting timing, mixing tracks, and baking animation so they can better manage more complex animated sequences.
Lesson 11: Modeling: Modifiers
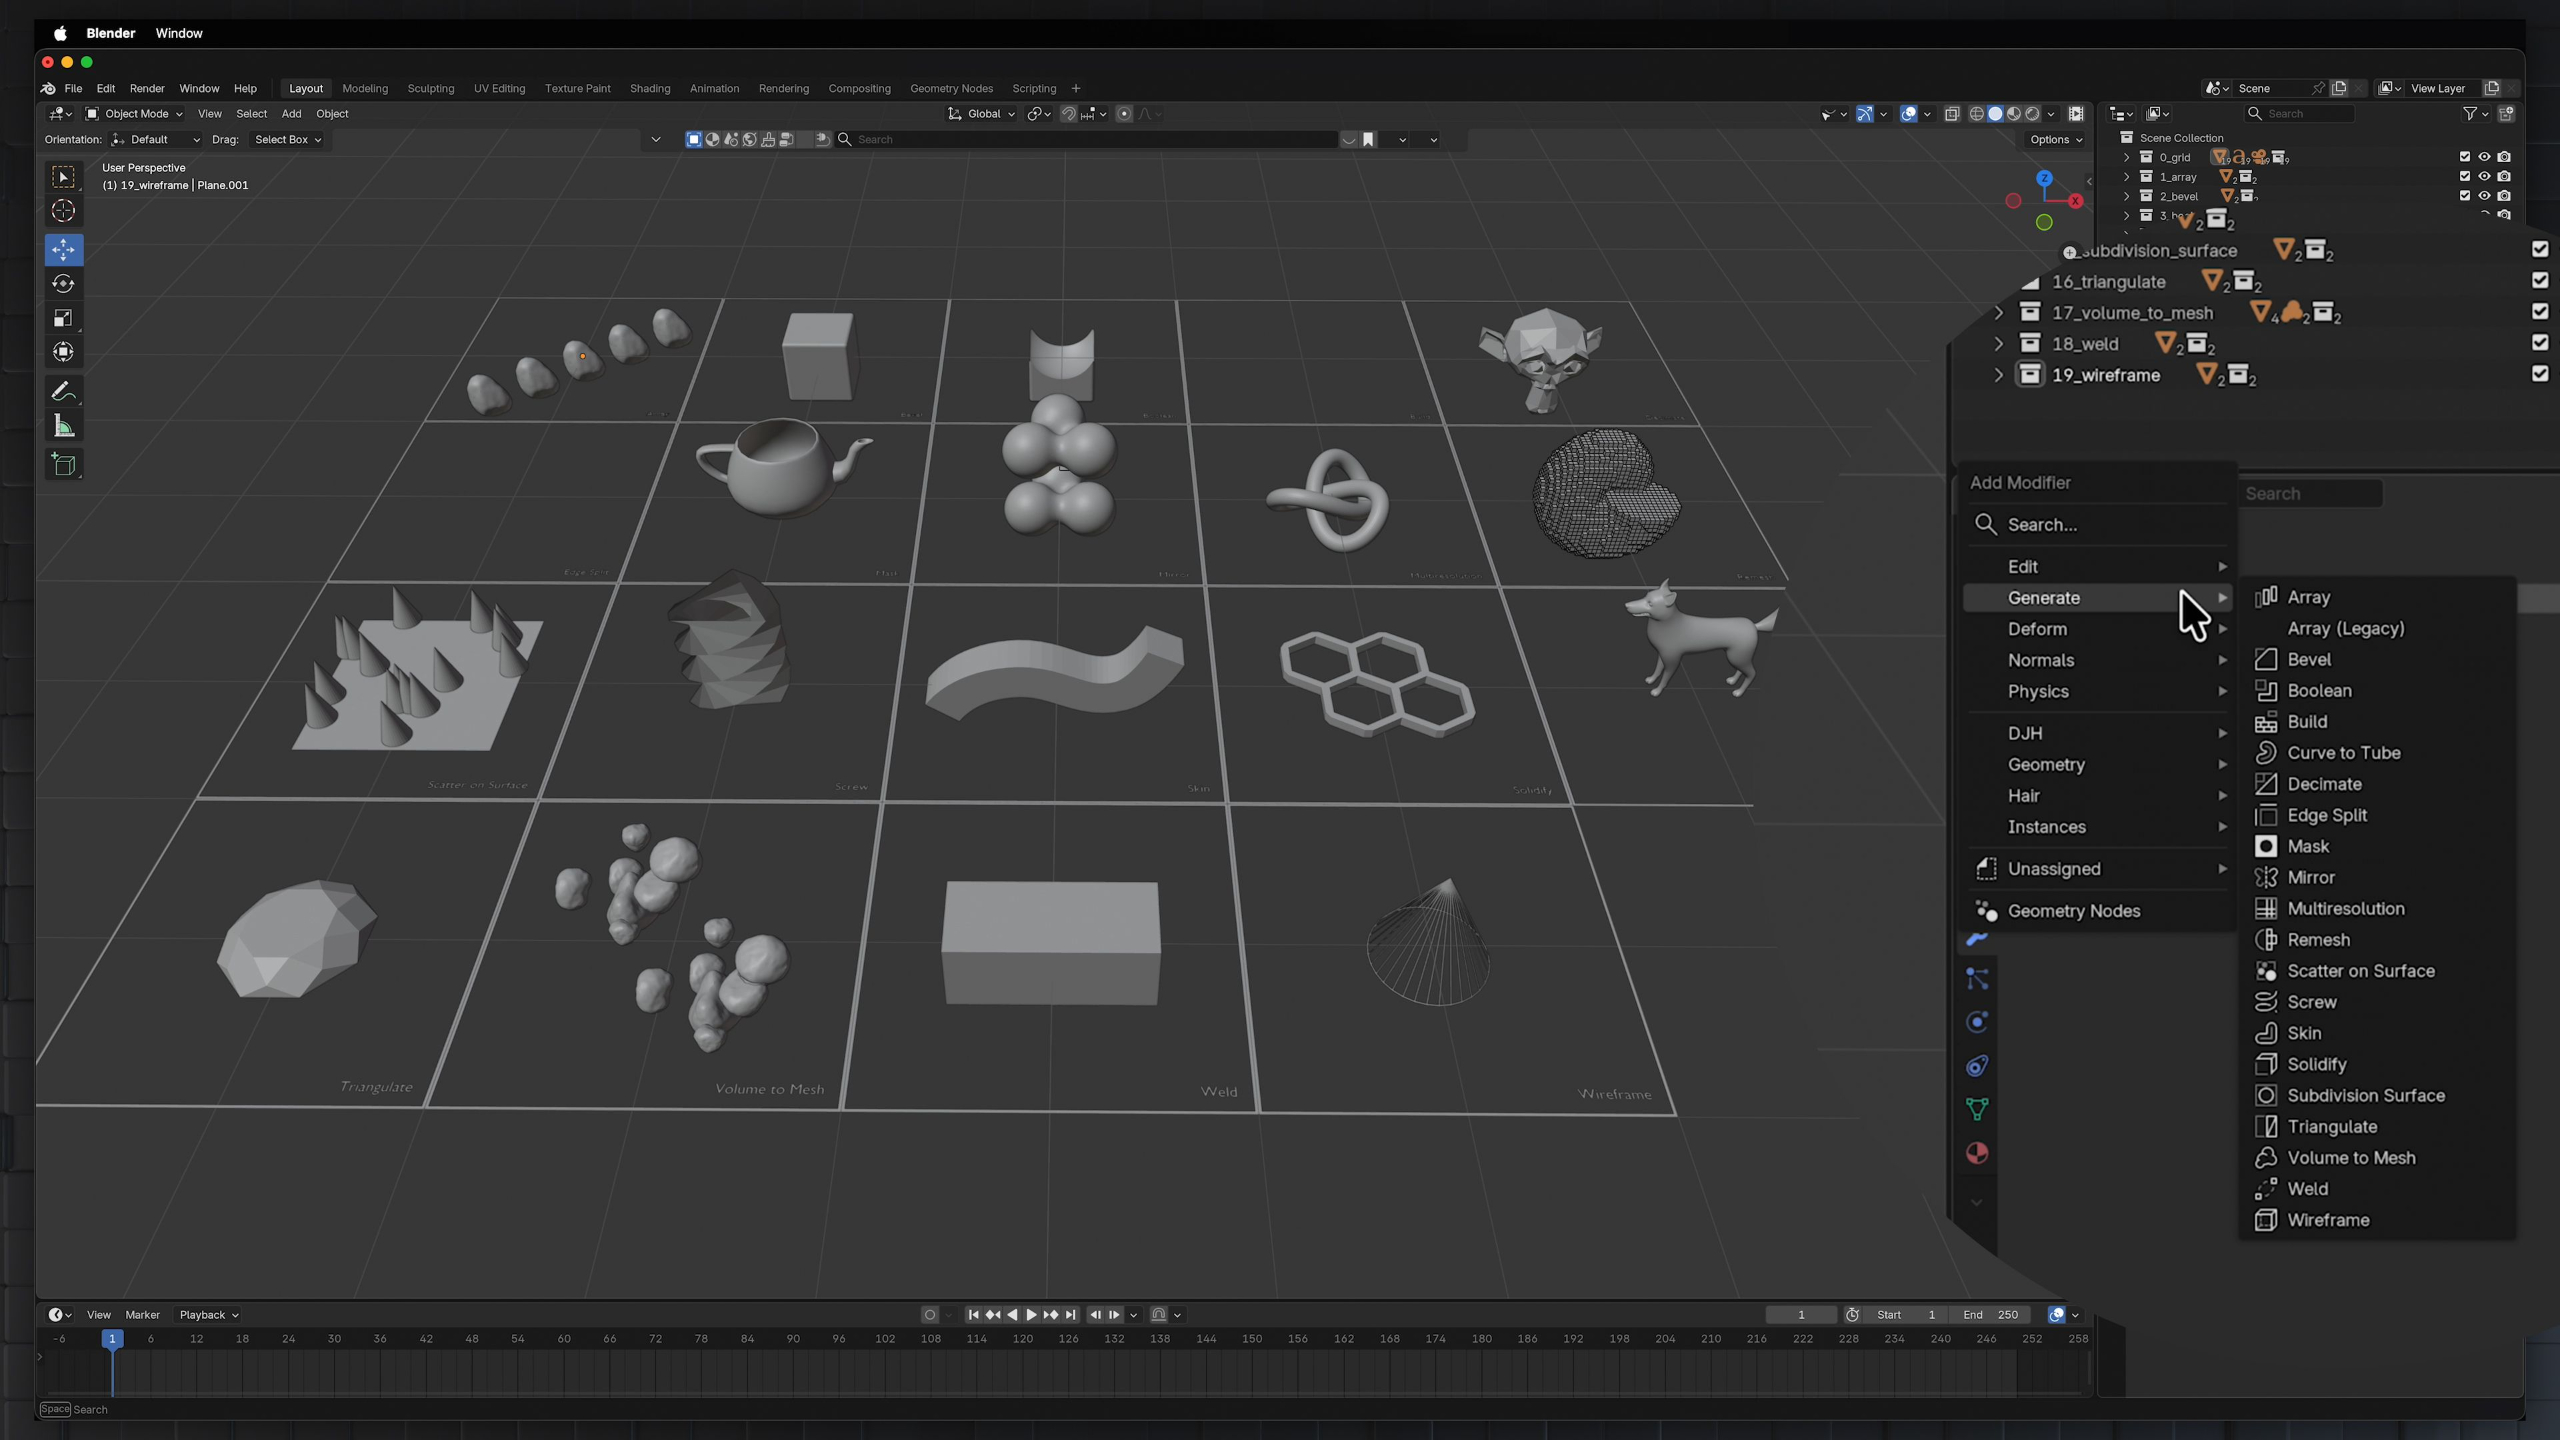
In this lesson, students learn how Blender modifiers work as flexible, non-destructive tools for editing, generating, deforming, and refining objects. They’ll explore a wide range of modifiers through hands-on examples so they can better understand how to create complex effects, clean up geometry, and build more capable animation-ready scenes.
Lesson 30: Animation: Graph Editor
In this lesson, students learn how the Graph Editor gives them deeper control over animation by showing how values change over time through F-Curves. They’ll practice adjusting handles, interpolation, easing, curve modifiers, and dynamic effects so they can create motion that feels more natural, weighted, and polished.
Lesson 12: Modeling: Useful Shapes
In this lesson, students learn how to create useful shapes and quick geometry in Blender, including sweep curves, custom curves, vector-based objects, circular arrays, path objects, and randomized object layouts. They’ll practice building flexible scene elements and simple props so they can become more self-sufficient when creating or modifying objects for animation projects.
Lesson 31: Effects: Effects & Physics
In this lesson, students get a broad introduction to Blender’s effects and physics tools, including rigid bodies, particles, forces, soft bodies, cloth, dynamic paint, fluids, fire, smoke, and ocean simulations. They’ll learn how procedural systems can create complex natural motion that would be difficult to keyframe by hand, giving them a better sense of what’s possible for enhancing 3D animation projects.
Lesson 13: Modeling: Sculpting Tools
In this lesson, students get introduced to Blender’s Sculpt Mode and learn how different brush tools can push, pull, smooth, paint, mask, and deform geometry. They’ll experiment with sculpting brushes and Dyntopo so they can better understand how mesh can be shaped more organically, even if modeling is not their main focus as animators.
Lesson 32: Cameras: Cameras
In this lesson, students learn how cameras work in Blender and how framing, focal length, depth of field, safe areas, and camera views shape the way an animation is presented. They’ll practice positioning cameras, adjusting lens settings, and exploring different angles so they can use camerawork to strengthen storytelling, scale, and visual impact.
Lesson 14: Shaders & Textures: Shader Editor
In this lesson, students are introduced to Blender’s Shader Editor and learn how materials, nodes, viewport shading modes, image textures, world shaders, and render engines work together to define the look of 3D objects. They’ll experiment with nodes like Principled BSDF, image textures, color controls, bump, displacement, and other shader types so they can start building their own materials with more confidence.
Lesson 33: Cameras: Movement
In this lesson, students learn how to animate cameras in Blender and use shot types, camera rigs, camera switching, walk/fly navigation, and motion tracking concepts to create more dynamic scenes. They’ll practice building camera angles and cuts for an animated sequence so the final presentation feels more cinematic and intentional.
Lesson 15: Shaders & Textures: Texture Tools
In this lesson, students learn how to control and apply image textures, normal maps, bump maps, and procedural textures inside Blender. They’ll also explore BlenderKit as a resource for finding ready-made materials, helping them create better-looking scenes faster without needing to build every shader from scratch.
Lesson 34: Rendering: Settings
In this lesson, students learn how rendering works in Blender and how Workbench, Eevee, and Cycles each create different types of final images. They’ll explore key render settings, lighting behavior, sampling, ray tracing, motion blur, culling, and third-party render engines so they can start producing cleaner, more polished renders for their animation projects.
Lesson 16: Shaders & Textures: Unwrapping
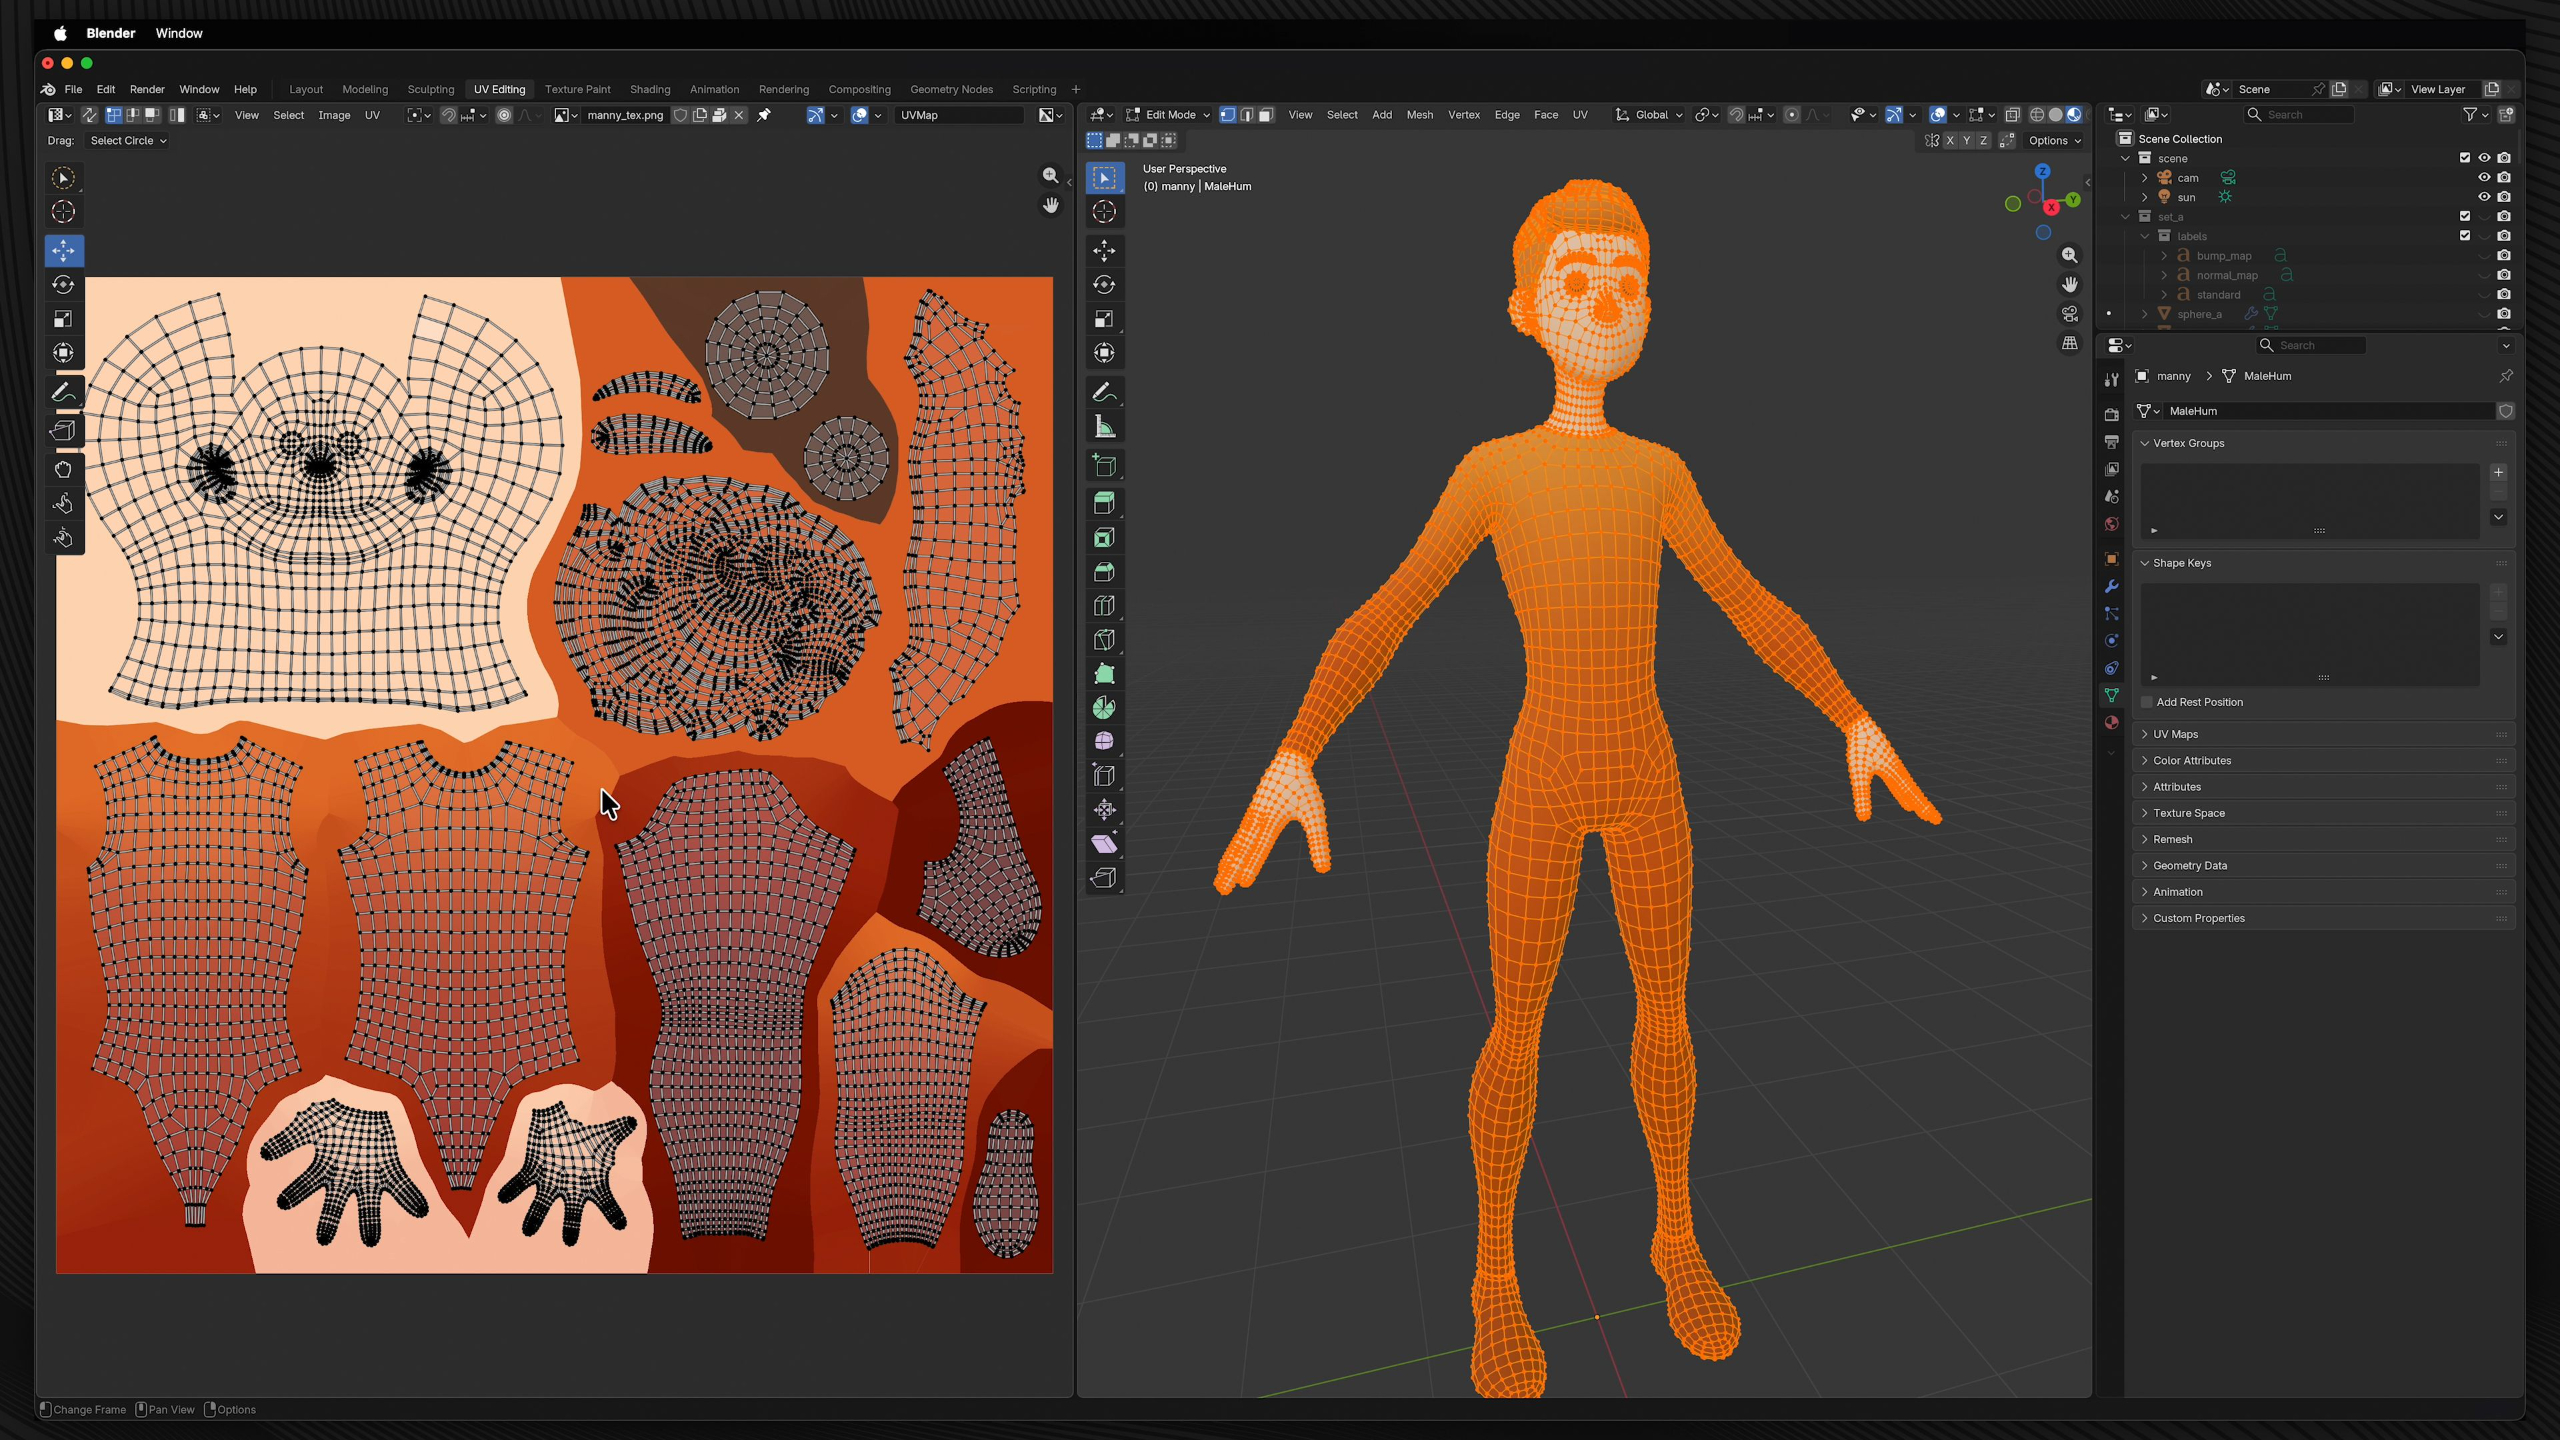
In this lesson, students learn how UV unwrapping works in Blender and how 2D texture maps connect to 3D geometry. They’ll practice using seams, projection methods, UV editing tools, and texture coordinates so they can place, adjust, and control textures more accurately on their models.
Lesson 35: Rendering: Passes & Output
In this lesson, students learn how to render final image sequences from Blender using passes, Multi-Layer EXR files, high-res PNGs, playblasts, and export settings for compositing in After Effects. They’ll also explore render regions, metadata, 3D data export, and render farms so they understand how Blender output fits into a professional post-production pipeline.
Lesson 17: Shaders & Textures: Texture Painting
In this lesson, students learn how to use Blender’s Texture Paint workflow to paint directly onto 3D models and their UV maps. They’ll practice setting up paintable textures, using brushes, masks, local view, and texture-based brush settings so they can add more custom detail to organic models.
Lesson 36: Rendering: Styles
In this lesson, students explore different render styles in Blender, including Freestyle outlines, toon shaders, comic-style shaders, and low-poly looks. They’ll experiment with stylized rendering tools and artist-made shader resources so they can create more unique visual directions beyond standard realistic renders.
Lesson 18: Lighting: Light & Shadow
In this lesson, students learn how Blender’s different light types work and how each one affects the mood, visibility, and shadows in a scene. They’ll experiment with point, spot, area, and sun lights while adjusting real-time shadow settings to better understand how lighting can support storytelling and visual clarity.
Lesson 37: Software Parallels: Maya
In this lesson, students get a beginner-friendly comparison of Autodesk Maya and Blender so they can see how familiar 3D fundamentals carry across different software. They’ll explore Maya’s interface, navigation, modeling, shaders, rigging, animation, dynamics, rendering, and cross-platform file formats so Maya feels less intimidating if they encounter it in a studio workflow.
Lesson 19: Lighting: Lighting Setups
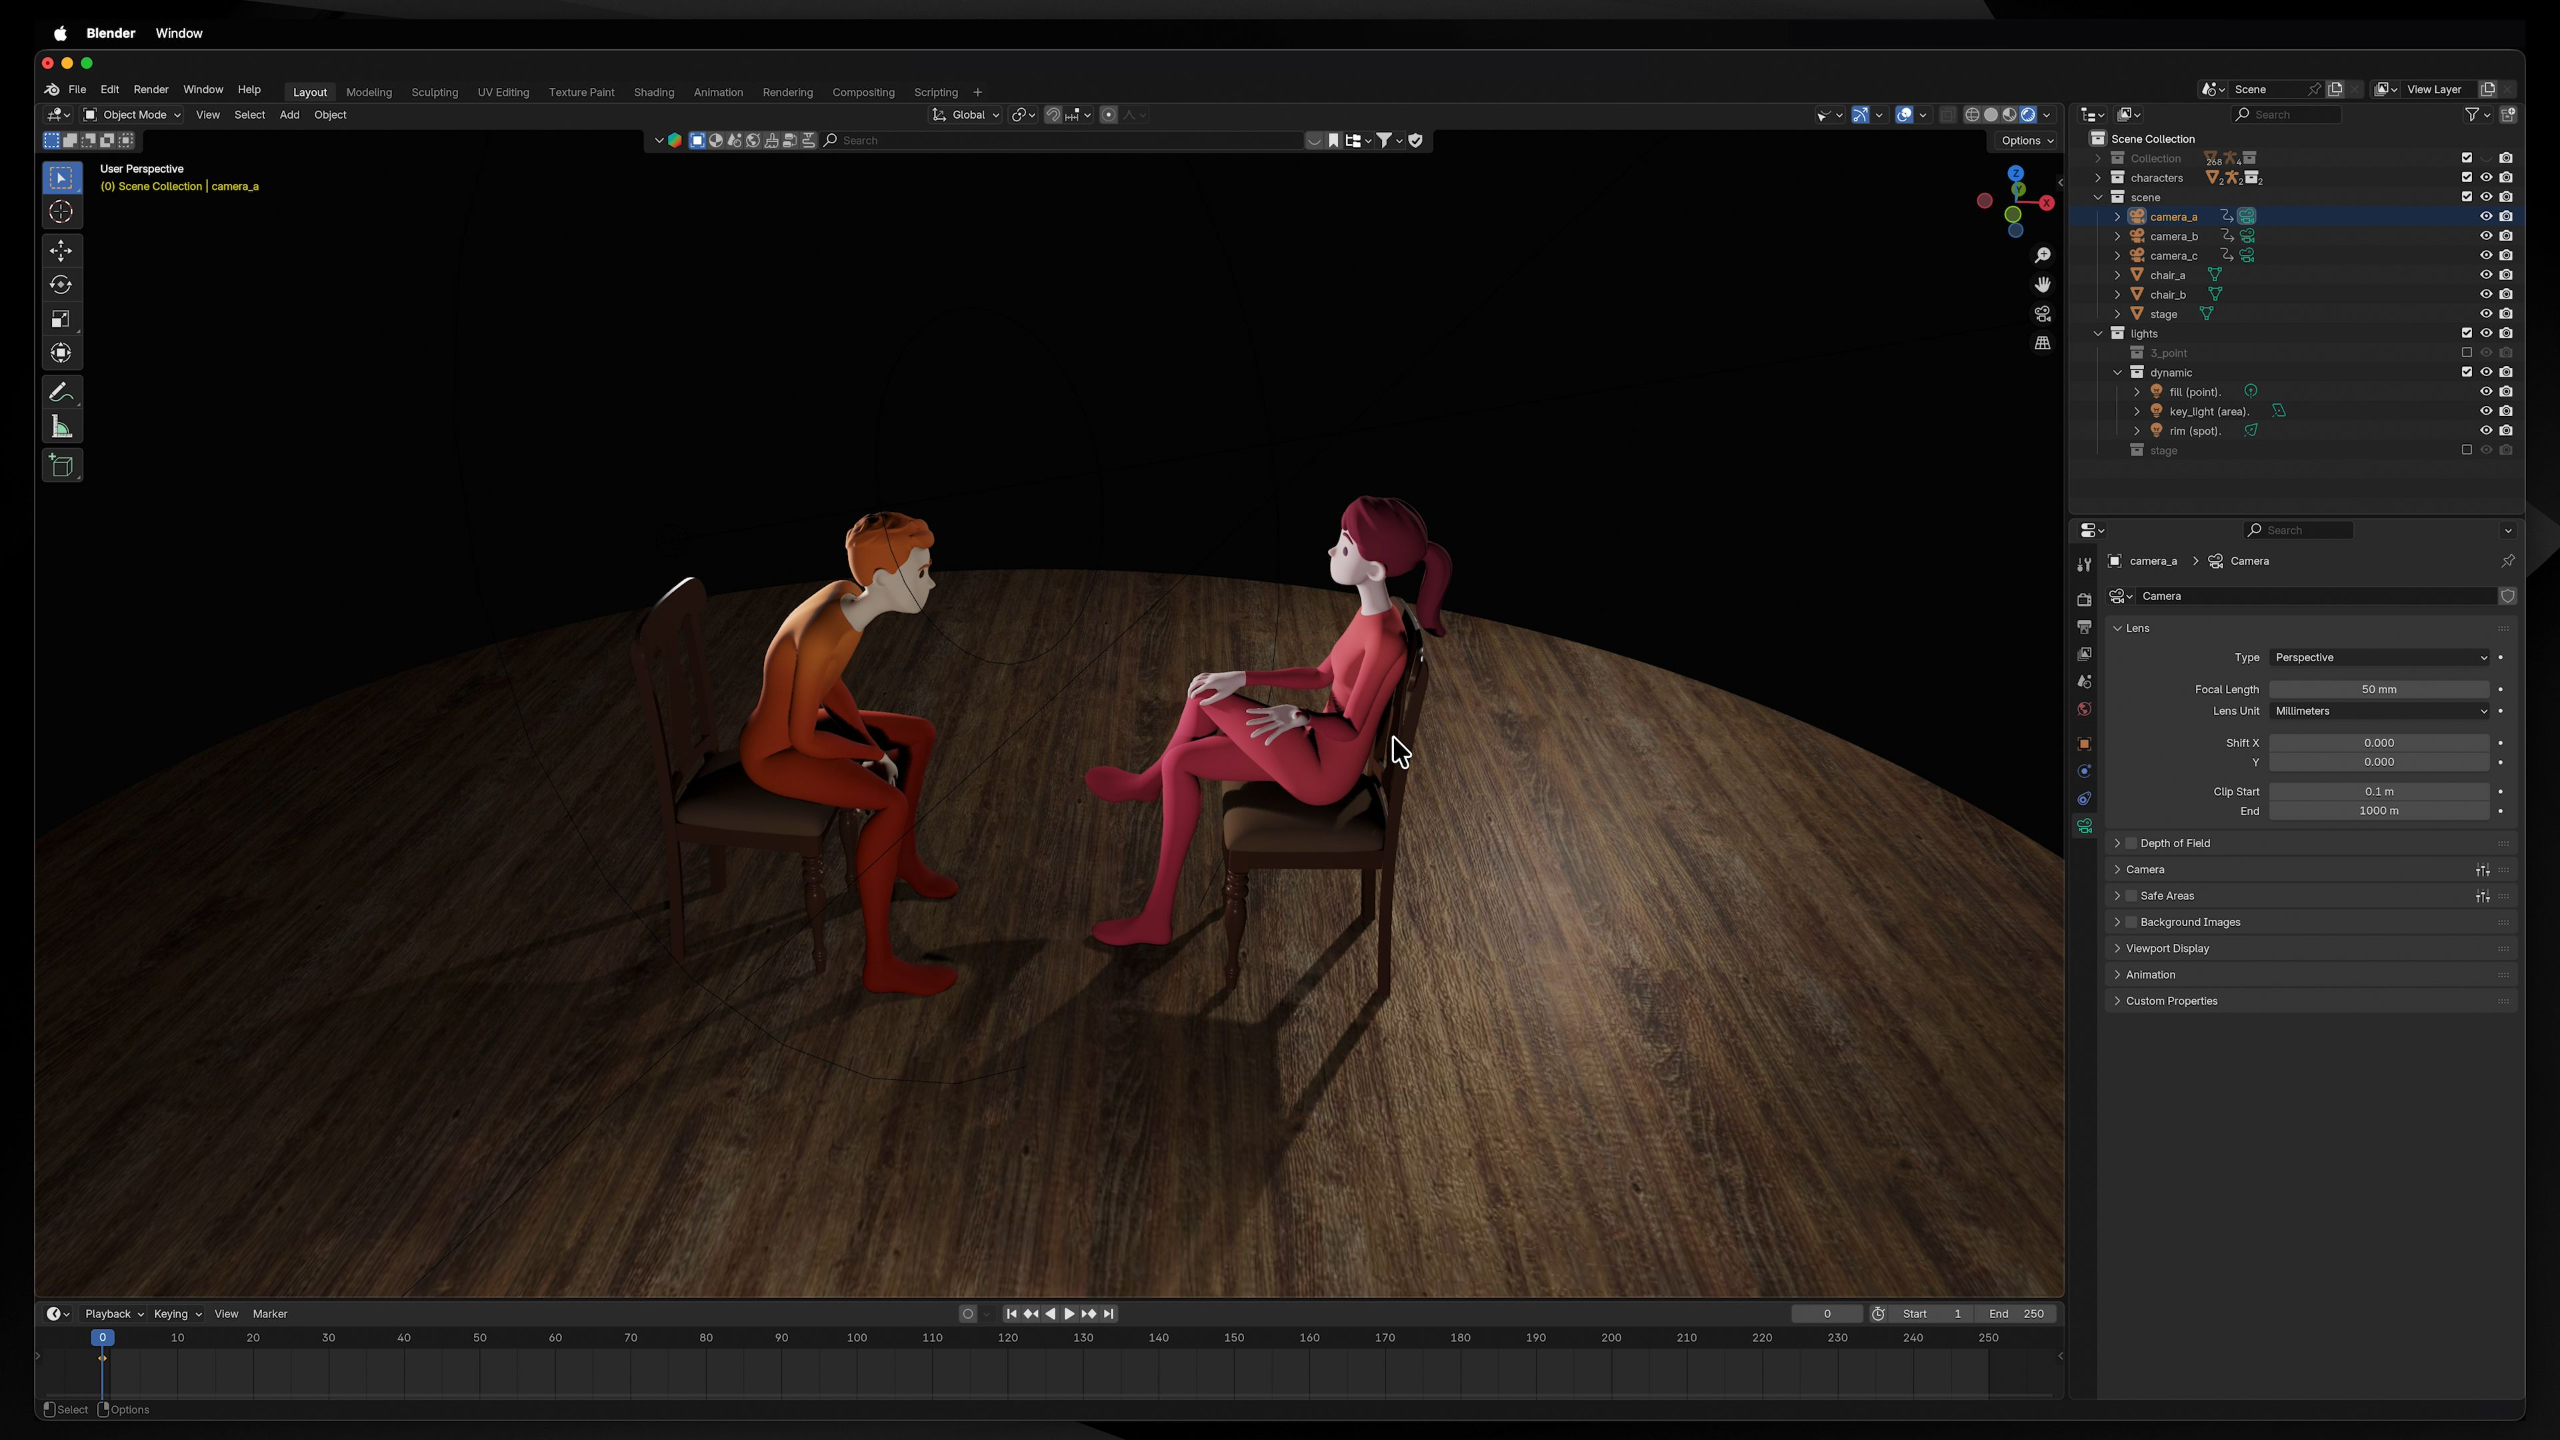
In this lesson, students learn how to create practical lighting setups in Blender, starting with classic three-point lighting and expanding into more dramatic scene-based approaches. They’ll practice lighting single characters, multiple characters, and full environments so they can use light and shadow to guide attention, set mood, and support storytelling.
Lesson 38: Software Parallels: Cinema 4D
In this lesson, students get a beginner-friendly comparison of Cinema 4D and Blender so they can see how the same 3D fundamentals carry across different software. They’ll explore Cinema 4D’s interface, navigation, modeling, materials, animation, dynamics, MoGraph, rendering, and file-sharing options so the software feels more familiar and less intimidating.
Lesson 1: Blender Intro
This lesson introduces Blender as the main 3D software used throughout the curriculum and explains why it’s such a powerful, accessible tool for animation students. Students will learn how Blender fits into the larger 3D pipeline, why its free and open-source structure matters, and how to download and install it before moving forward.
Lesson 2: Basics: Interface Overview
This lesson gives students a guided tour of Blender’s interface, key panels, hotkeys, and workspace setup so the software feels less overwhelming from the start. It also walks through recommended keymap and tablet/mouse settings to make navigating, transforming objects, and following future lessons much easier.
Lesson 3: Basics: Viewport Navigation
In this lesson, students learn how to confidently move around Blender’s 3D Viewport using tools like orbit, pan, zoom, camera view, orthographic views, Quad View, the numpad, and the 3D cursor. They’ll practice navigating both simple objects and a house model so working in 3D space starts to feel more natural.
Lesson 4: Basics: Selecting & Transforming
In this lesson, students learn how to select objects in Blender and transform them using move, rotate, scale, snapping, pivot points, transform orientations, and the 3D cursor. They’ll practice manipulating objects in a table scene so they can get comfortable with the core tools used to position and organize anything in 3D space.
Lesson 5: Basics: Object Manipulation
In this lesson, students learn how to manipulate objects in Blender by editing vertices, edges, faces, curves, surfaces, metaballs, and text. They’ll explore key tools like Edit Mode, proportional editing, selection menus, deleting, extruding, merging, and curve controls so they can start reshaping objects with more confidence.
Lesson 6: Basics: Collections
In this lesson, students learn how to use Collections in Blender to organize objects, manage visibility, control render settings, and keep complex scenes easier to work with. They’ll explore the Outliner, collection options, restriction toggles, and filtering tools so their projects stay clean and manageable as they grow.
Lesson 7: Basics: Working w/ Workspaces
In this lesson, students get a guided tour of Blender’s different workspaces and how each layout supports a specific part of the 3D production pipeline, from modeling and sculpting to shading, animation, rendering, and compositing. They’ll learn which workspaces matter most for animation while getting a basic understanding of how the rest of Blender’s tools fit into the bigger picture.
Lesson 8: Modeling: Toolbox
In this lesson, students are introduced to Blender’s core modeling tools and learn how to use features like extrude, inset, bevel, loop cut, knife, smooth, and more to shape and refine geometry. They’ll experiment with these tools on different objects and set up a TurboSquid account so they can begin working with real 3D models in future lessons.
Lesson 9: Modeling: Advanced Tools
In this lesson, students go beyond Blender’s basic modeling toolbox and explore more advanced tools found in the Vertex, Edge, and Face menus. They’ll experiment with techniques like beveling, bridging, subdividing, filling, triangulating, booleans, smoothing, and creasing so they can better understand different ways to modify and refine 3D models.
Lesson 10: Modeling: Construct & Deconstruct
In this lesson, students apply Blender’s modeling tools to a more complex excavator model, practicing how to construct, adjust, and deconstruct geometry using techniques like deleting, ripping, bridging, beveling, booleans, and proportional editing. They’ll also learn the difference between hard-surface and organic modeling while building a better understanding of topology and how clean geometry affects a 3D model.
Lesson 11: Modeling: Modifiers
In this lesson, students learn how Blender modifiers work as flexible, non-destructive tools for editing, generating, deforming, and refining objects. They’ll explore a wide range of modifiers through hands-on examples so they can better understand how to create complex effects, clean up geometry, and build more capable animation-ready scenes.
Lesson 12: Modeling: Useful Shapes
In this lesson, students learn how to create useful shapes and quick geometry in Blender, including sweep curves, custom curves, vector-based objects, circular arrays, path objects, and randomized object layouts. They’ll practice building flexible scene elements and simple props so they can become more self-sufficient when creating or modifying objects for animation projects.
Lesson 13: Modeling: Sculpting Tools
In this lesson, students get introduced to Blender’s Sculpt Mode and learn how different brush tools can push, pull, smooth, paint, mask, and deform geometry. They’ll experiment with sculpting brushes and Dyntopo so they can better understand how mesh can be shaped more organically, even if modeling is not their main focus as animators.
Lesson 14: Shaders & Textures: Shader Editor
In this lesson, students are introduced to Blender’s Shader Editor and learn how materials, nodes, viewport shading modes, image textures, world shaders, and render engines work together to define the look of 3D objects. They’ll experiment with nodes like Principled BSDF, image textures, color controls, bump, displacement, and other shader types so they can start building their own materials with more confidence.
Lesson 15: Shaders & Textures: Texture Tools
In this lesson, students learn how to control and apply image textures, normal maps, bump maps, and procedural textures inside Blender. They’ll also explore BlenderKit as a resource for finding ready-made materials, helping them create better-looking scenes faster without needing to build every shader from scratch.
Lesson 16: Shaders & Textures: Unwrapping
In this lesson, students learn how UV unwrapping works in Blender and how 2D texture maps connect to 3D geometry. They’ll practice using seams, projection methods, UV editing tools, and texture coordinates so they can place, adjust, and control textures more accurately on their models.
Lesson 17: Shaders & Textures: Texture Painting
In this lesson, students learn how to use Blender’s Texture Paint workflow to paint directly onto 3D models and their UV maps. They’ll practice setting up paintable textures, using brushes, masks, local view, and texture-based brush settings so they can add more custom detail to organic models.
Lesson 18: Lighting: Light & Shadow
In this lesson, students learn how Blender’s different light types work and how each one affects the mood, visibility, and shadows in a scene. They’ll experiment with point, spot, area, and sun lights while adjusting real-time shadow settings to better understand how lighting can support storytelling and visual clarity.
Lesson 19: Lighting: Lighting Setups
In this lesson, students learn how to create practical lighting setups in Blender, starting with classic three-point lighting and expanding into more dramatic scene-based approaches. They’ll practice lighting single characters, multiple characters, and full environments so they can use light and shadow to guide attention, set mood, and support storytelling.
Lesson 20: Rigging: Parenting & Constraints
In this lesson, students are introduced to rigging fundamentals in Blender through parenting and constraints, learning how objects can control, follow, limit, or influence one another. They’ll practice building simple parent-child relationships and experimenting with different constraints so they can start understanding the systems behind object-based animation.
Lesson 21: Rigging: Armatures
In this lesson, students learn how Blender armatures and bones work as the foundation for more advanced rigging and character control. They’ll explore bone structure, display options, envelopes, FK vs. IK, bone constraints, custom controls, pole targets, Spline IK, bone collections, and color organization so they can better understand how complex rigs are built and animated.
Lesson 22: Rigging: Skinning & Weights
In this lesson, students learn how skinning and weight painting connect a mesh to an armature so characters and organic objects can deform naturally. They’ll practice automatic weights, vertex groups, brush tools, falloff settings, and cleanup techniques so they can better understand how rigs influence geometry during animation.
Lesson 23: Rigging: Meta-Rigs
In this lesson, students learn how Blender’s Meta-Rigs and Rigify system make character rigging faster by providing ready-made bone structures and controls for humans, animals, and other characters. They’ll explore body movement, joint types, bone placement, rest poses, rig generation, automatic weights, and common setup issues so they can understand the full process of turning a character model into an animatable rig.
Lesson 24: Rigging: Controls & Customizations
In this lesson, students learn how Rigify controllers work and how they make character animation much easier by organizing complex bone systems into usable controls. They’ll explore controller properties, FK/IK switching, rig layers, custom bone shapes, color sets, and the main control groups so they feel more prepared to animate a fully rigged character.
Lesson 25: Rigging: Character Rigging
In this lesson, students bring together the full rigging workflow by fitting a Meta-Rig to a character, generating controls, connecting separate elements like eyes, teeth, tongue, and hair, and customizing the rig for easier animation. They’ll also refine the character through weight painting and final control adjustments so the finished rig is ready for animation.
Lesson 26: Animation: Frame Rate & Time
In this lesson, students are introduced to animation timing in Blender by learning how frame rate, playback settings, and the timeline work together to create motion. They’ll explore 24fps, timeline controls, audio importing, markers, frame ranges, and playback options so they’re ready to start keyframing in the next lesson.
Lesson 27: Animation: Keyframes
In this lesson, students learn what keyframes are and how they are used in Blender to create animation over time. They’ll practice setting, deleting, copying, moving, labeling, and auto-keying keyframes so they can start building simple animated motion with confidence.
Lesson 28: Animation: Dope Sheet
In this lesson, students learn how the Dope Sheet gives them a deeper way to view, organize, and edit keyframes beyond the basic timeline. They’ll practice working with channels, interpolation, handle types, actions, and a bouncing ball exercise so they can better control timing and animation data in Blender.
Lesson 29: Animation: Nonlinear Animation Editor
In this lesson, students learn how Blender’s Nonlinear Animation Editor lets them organize, layer, blend, and reuse multiple animations as editable action strips. They’ll practice creating separate actions, pushing them into the NLA Editor, adjusting timing, mixing tracks, and baking animation so they can better manage more complex animated sequences.
Lesson 30: Animation: Graph Editor
In this lesson, students learn how the Graph Editor gives them deeper control over animation by showing how values change over time through F-Curves. They’ll practice adjusting handles, interpolation, easing, curve modifiers, and dynamic effects so they can create motion that feels more natural, weighted, and polished.
Lesson 31: Effects: Effects & Physics
In this lesson, students get a broad introduction to Blender’s effects and physics tools, including rigid bodies, particles, forces, soft bodies, cloth, dynamic paint, fluids, fire, smoke, and ocean simulations. They’ll learn how procedural systems can create complex natural motion that would be difficult to keyframe by hand, giving them a better sense of what’s possible for enhancing 3D animation projects.
Lesson 32: Cameras: Cameras
In this lesson, students learn how cameras work in Blender and how framing, focal length, depth of field, safe areas, and camera views shape the way an animation is presented. They’ll practice positioning cameras, adjusting lens settings, and exploring different angles so they can use camerawork to strengthen storytelling, scale, and visual impact.
Lesson 33: Cameras: Movement
In this lesson, students learn how to animate cameras in Blender and use shot types, camera rigs, camera switching, walk/fly navigation, and motion tracking concepts to create more dynamic scenes. They’ll practice building camera angles and cuts for an animated sequence so the final presentation feels more cinematic and intentional.
Lesson 34: Rendering: Settings
In this lesson, students learn how rendering works in Blender and how Workbench, Eevee, and Cycles each create different types of final images. They’ll explore key render settings, lighting behavior, sampling, ray tracing, motion blur, culling, and third-party render engines so they can start producing cleaner, more polished renders for their animation projects.
Lesson 35: Rendering: Passes & Output
In this lesson, students learn how to render final image sequences from Blender using passes, Multi-Layer EXR files, high-res PNGs, playblasts, and export settings for compositing in After Effects. They’ll also explore render regions, metadata, 3D data export, and render farms so they understand how Blender output fits into a professional post-production pipeline.
Lesson 36: Rendering: Styles
In this lesson, students explore different render styles in Blender, including Freestyle outlines, toon shaders, comic-style shaders, and low-poly looks. They’ll experiment with stylized rendering tools and artist-made shader resources so they can create more unique visual directions beyond standard realistic renders.
Lesson 37: Software Parallels: Maya
In this lesson, students get a beginner-friendly comparison of Autodesk Maya and Blender so they can see how familiar 3D fundamentals carry across different software. They’ll explore Maya’s interface, navigation, modeling, shaders, rigging, animation, dynamics, rendering, and cross-platform file formats so Maya feels less intimidating if they encounter it in a studio workflow.
Lesson 38: Software Parallels: Cinema 4D
In this lesson, students get a beginner-friendly comparison of Cinema 4D and Blender so they can see how the same 3D fundamentals carry across different software. They’ll explore Cinema 4D’s interface, navigation, modeling, materials, animation, dynamics, MoGraph, rendering, and file-sharing options so the software feels more familiar and less intimidating.
Module 3: Intro to 3D Animation (Level I)
Estimated completion time: 6-8 weeks
This module introduces the fundamentals of 3D animation in Blender, shifting the focus from general tools and workflows to the core principles of animation itself.
Students learn how objects behave, move, and react through concepts like physics, weight, timing, anticipation, arcs, follow-through, and exaggeration.
Through lessons covering classic animation principles such as Squash & Stretch, Pose-to-Pose, and Slow-In/Slow-Out, learners develop the skills needed to create believable and visually engaging motion. The techniques taught apply across both 2D and 3D animation, providing a strong foundation for becoming a skilled animator.
Lesson 1: 3D Animation Overview
In this lesson, students are introduced to the Intro to 3D Animation module and get a clear preview of the animation principles they’ll be learning next. They’ll begin shifting from general Blender tools into core animation concepts like physics, timing, squash and stretch, anticipation, arcs, exaggeration, and appeal.
Lesson 7: Principles of Animation: Arc
In this lesson, students learn how arcs make animation feel more natural, dynamic, and believable by reflecting the way objects move under gravity. They’ll animate cannonballs fired at different angles so they can practice creating realistic curved motion paths with proper timing and spacing.
Lesson 2: Physical Properties
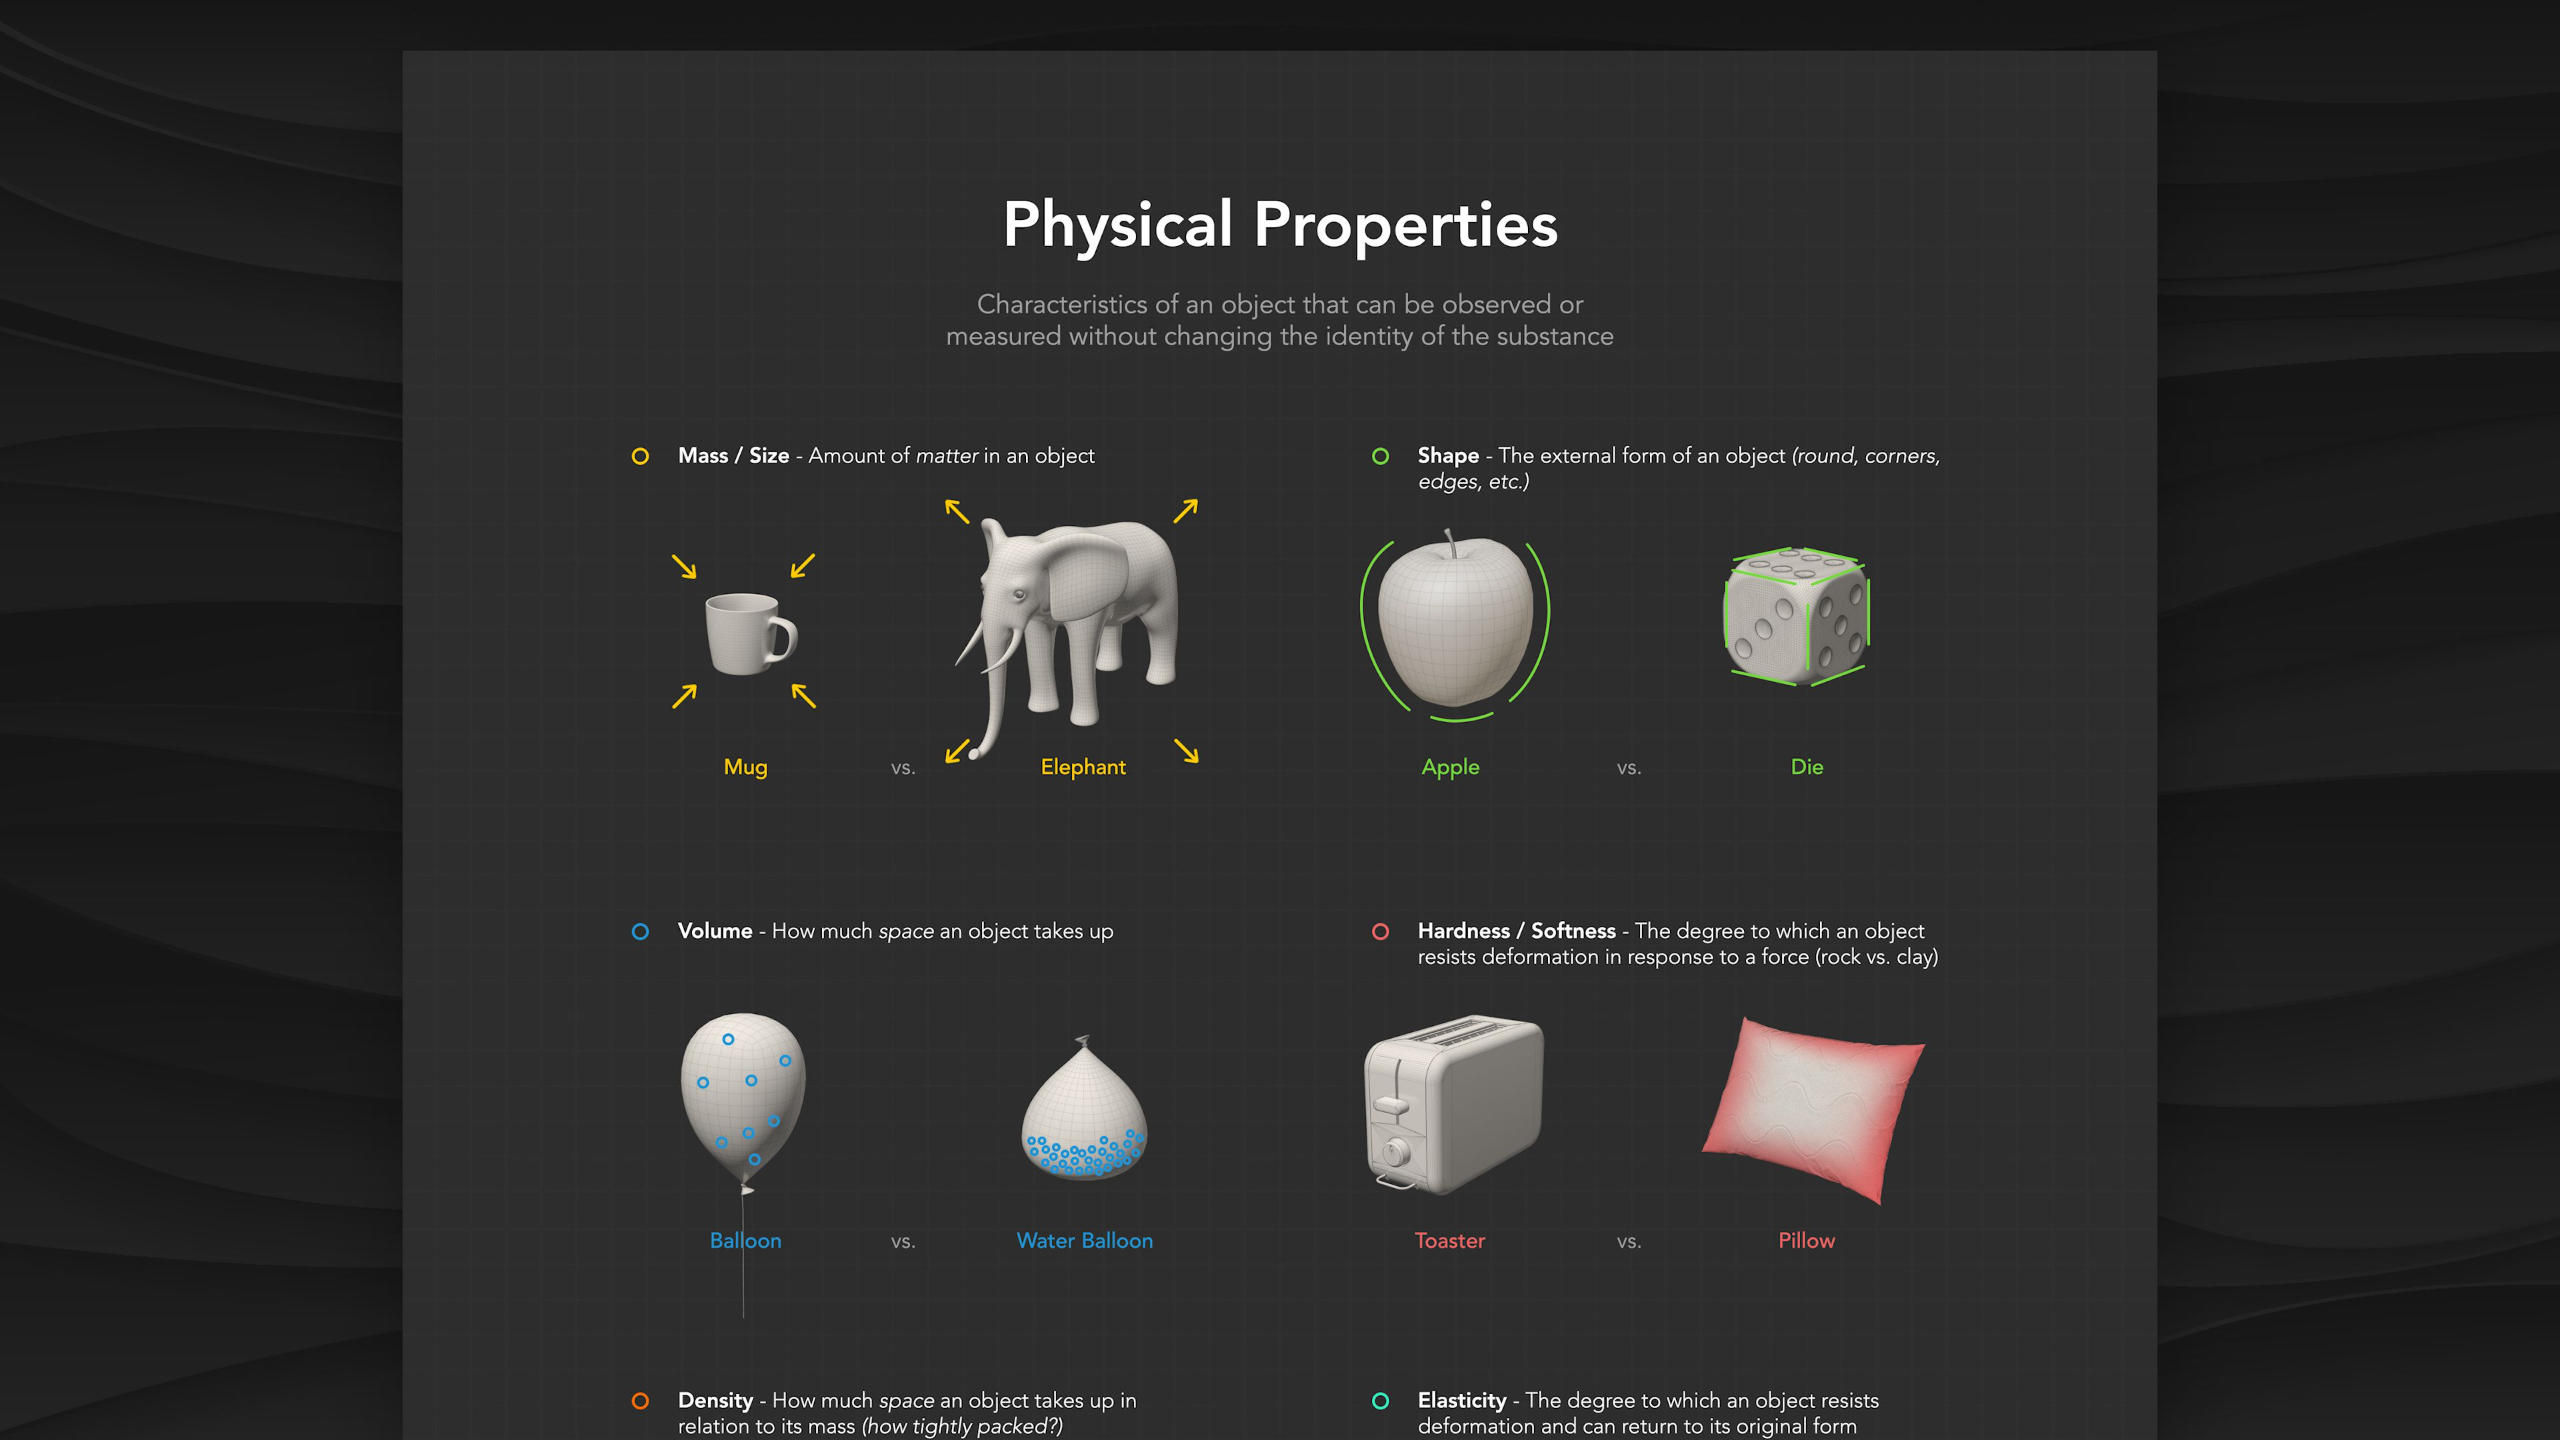
In this lesson, students learn how an object’s physical properties, like mass, volume, density, weight, shape, hardness, elasticity, and material, affect the way it should move in animation. They’ll study different Blender examples to better understand how observing real-world behavior helps create motion that feels believable and intentional.
Lesson 8: Principles of Animation: Follow-Through & Overlapping Action
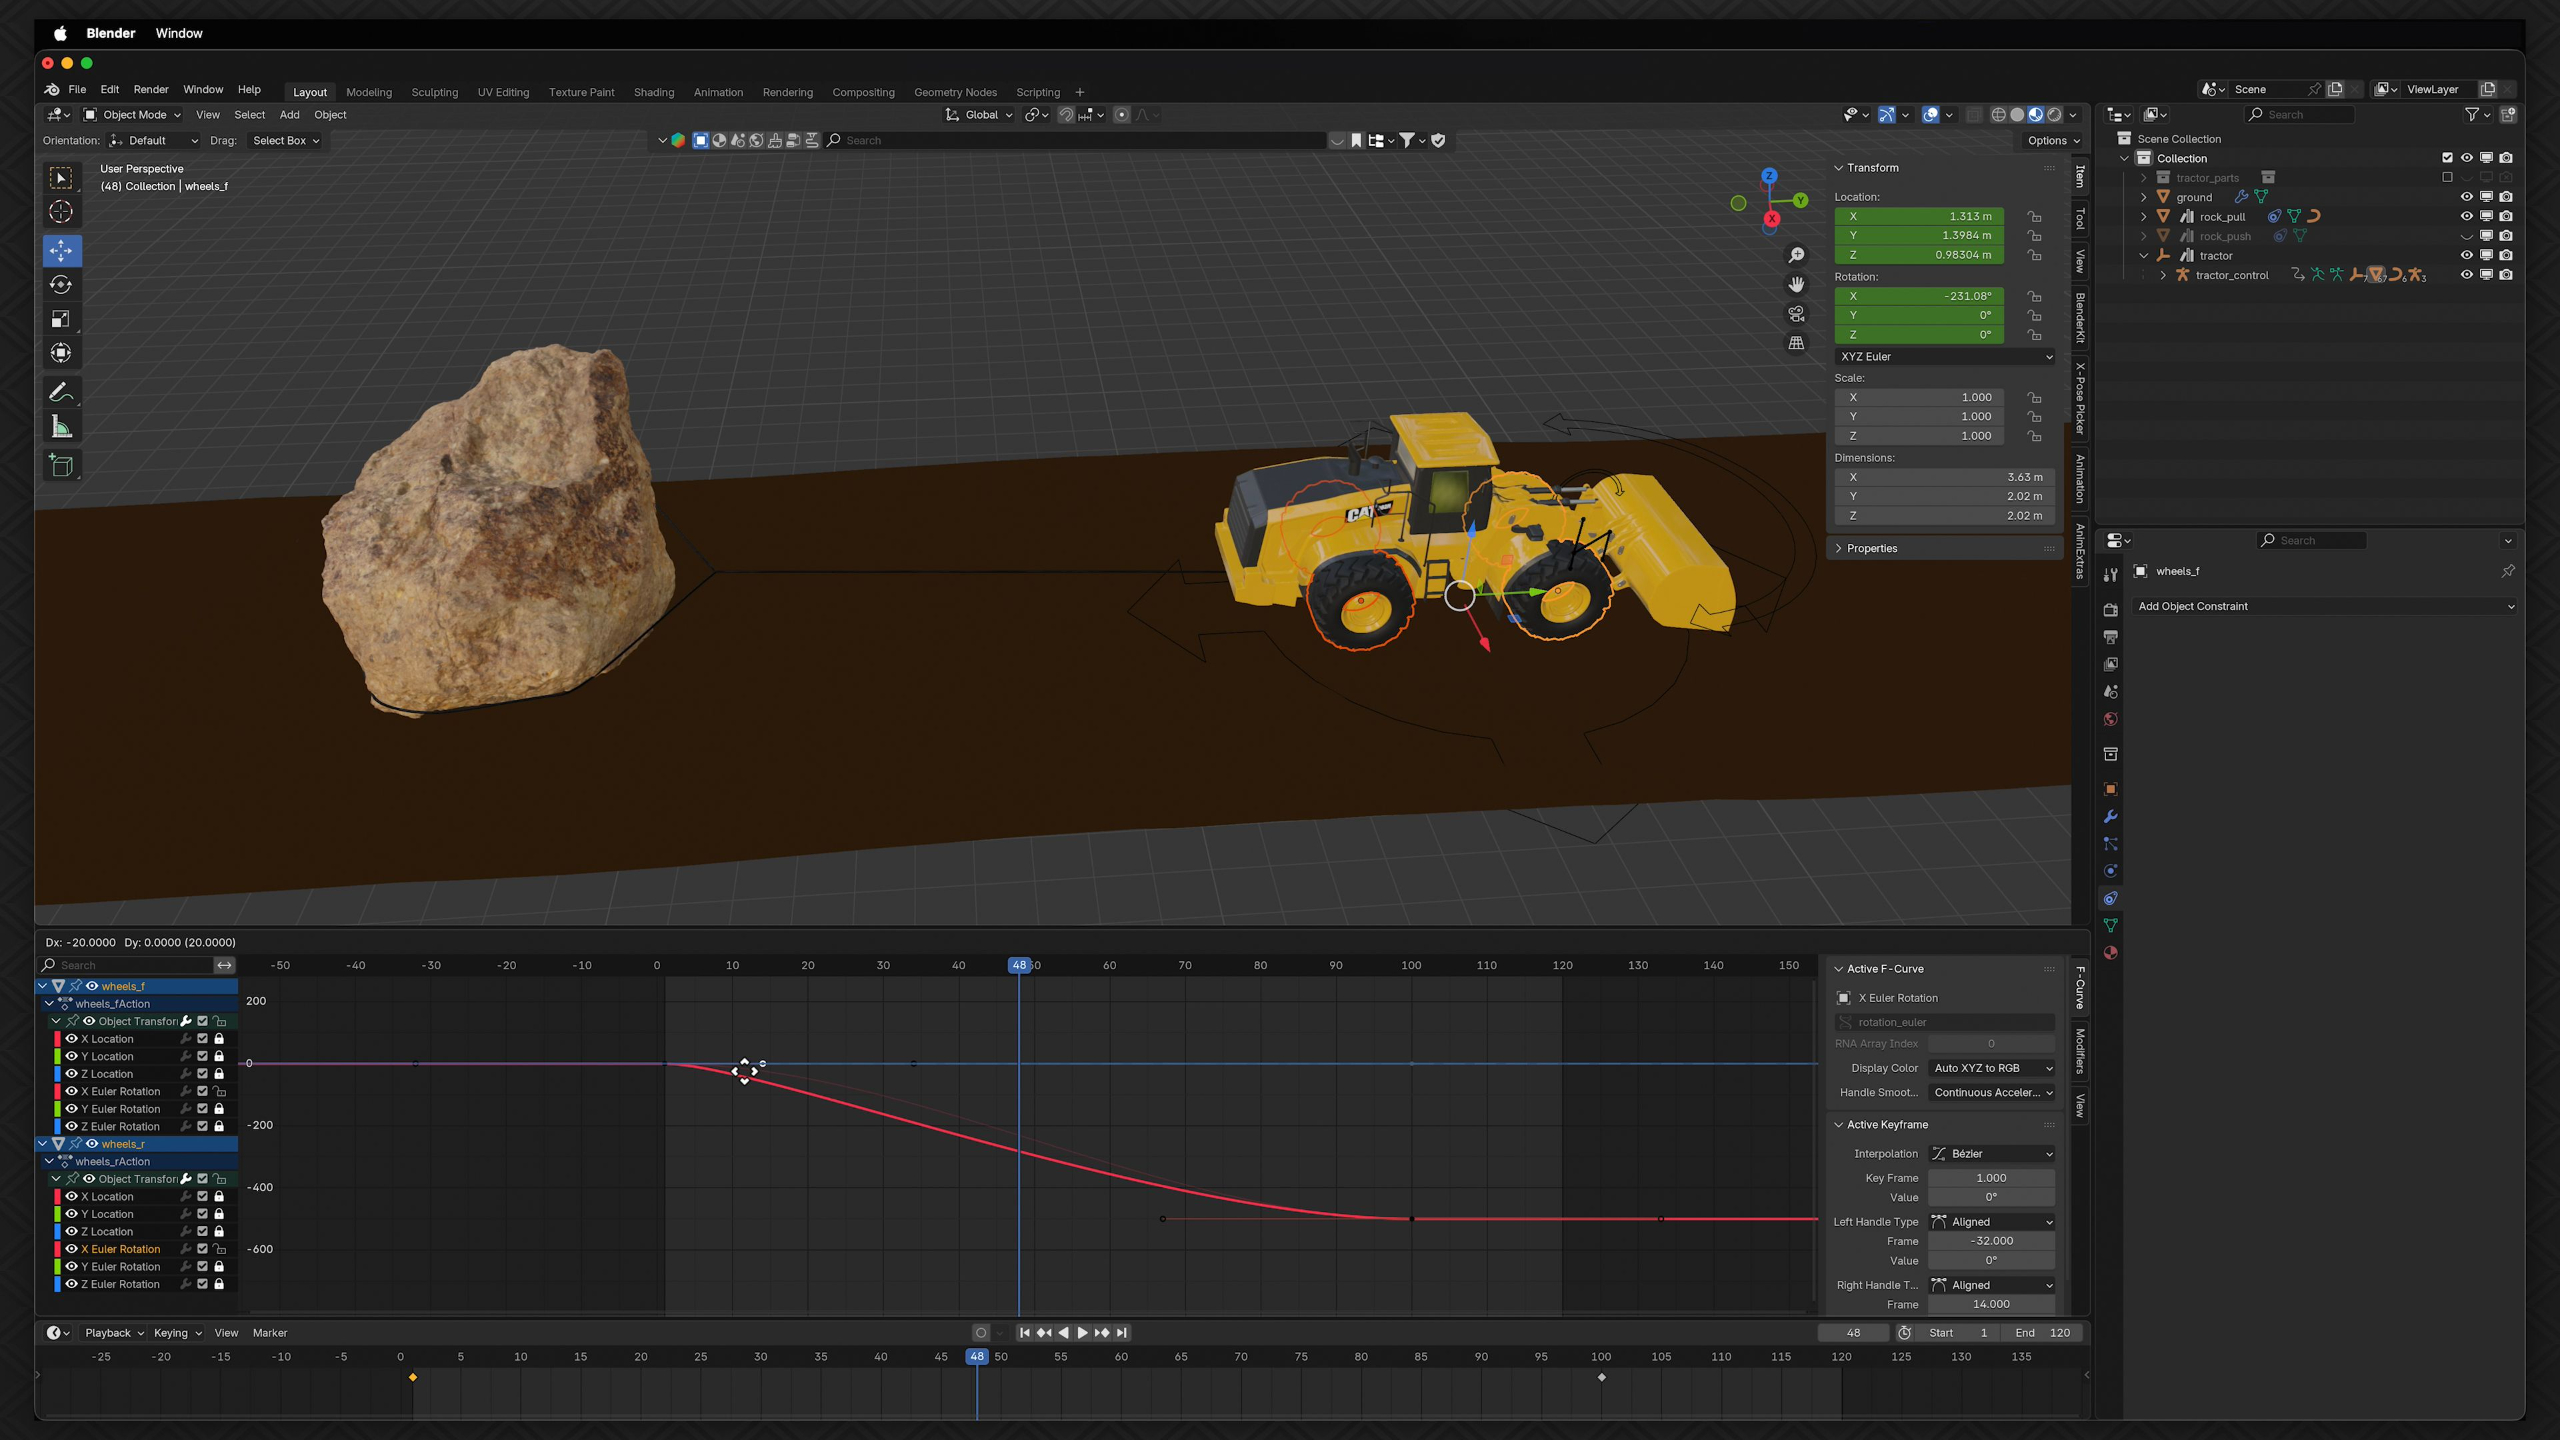
In this lesson, students learn how follow-through and overlapping action help create believable momentum by showing that different parts of an object or character do not all move at the same speed. They’ll animate both a hard-surface Bumba Box and a flexible flower so they can practice creating motion that feels weighted, delayed, and more natural.
Lesson 3: Object Physics
In this lesson, students learn how different forces, like gravity, friction, applied force, tension, spring motion, drag, magnetism, buoyancy, and muscular force, affect the way objects move. They’ll practice animating these forces in Blender so they can create more believable motion based on real-world physics and observation.
Lesson 9: Principles of Animation: Squash & Stretch
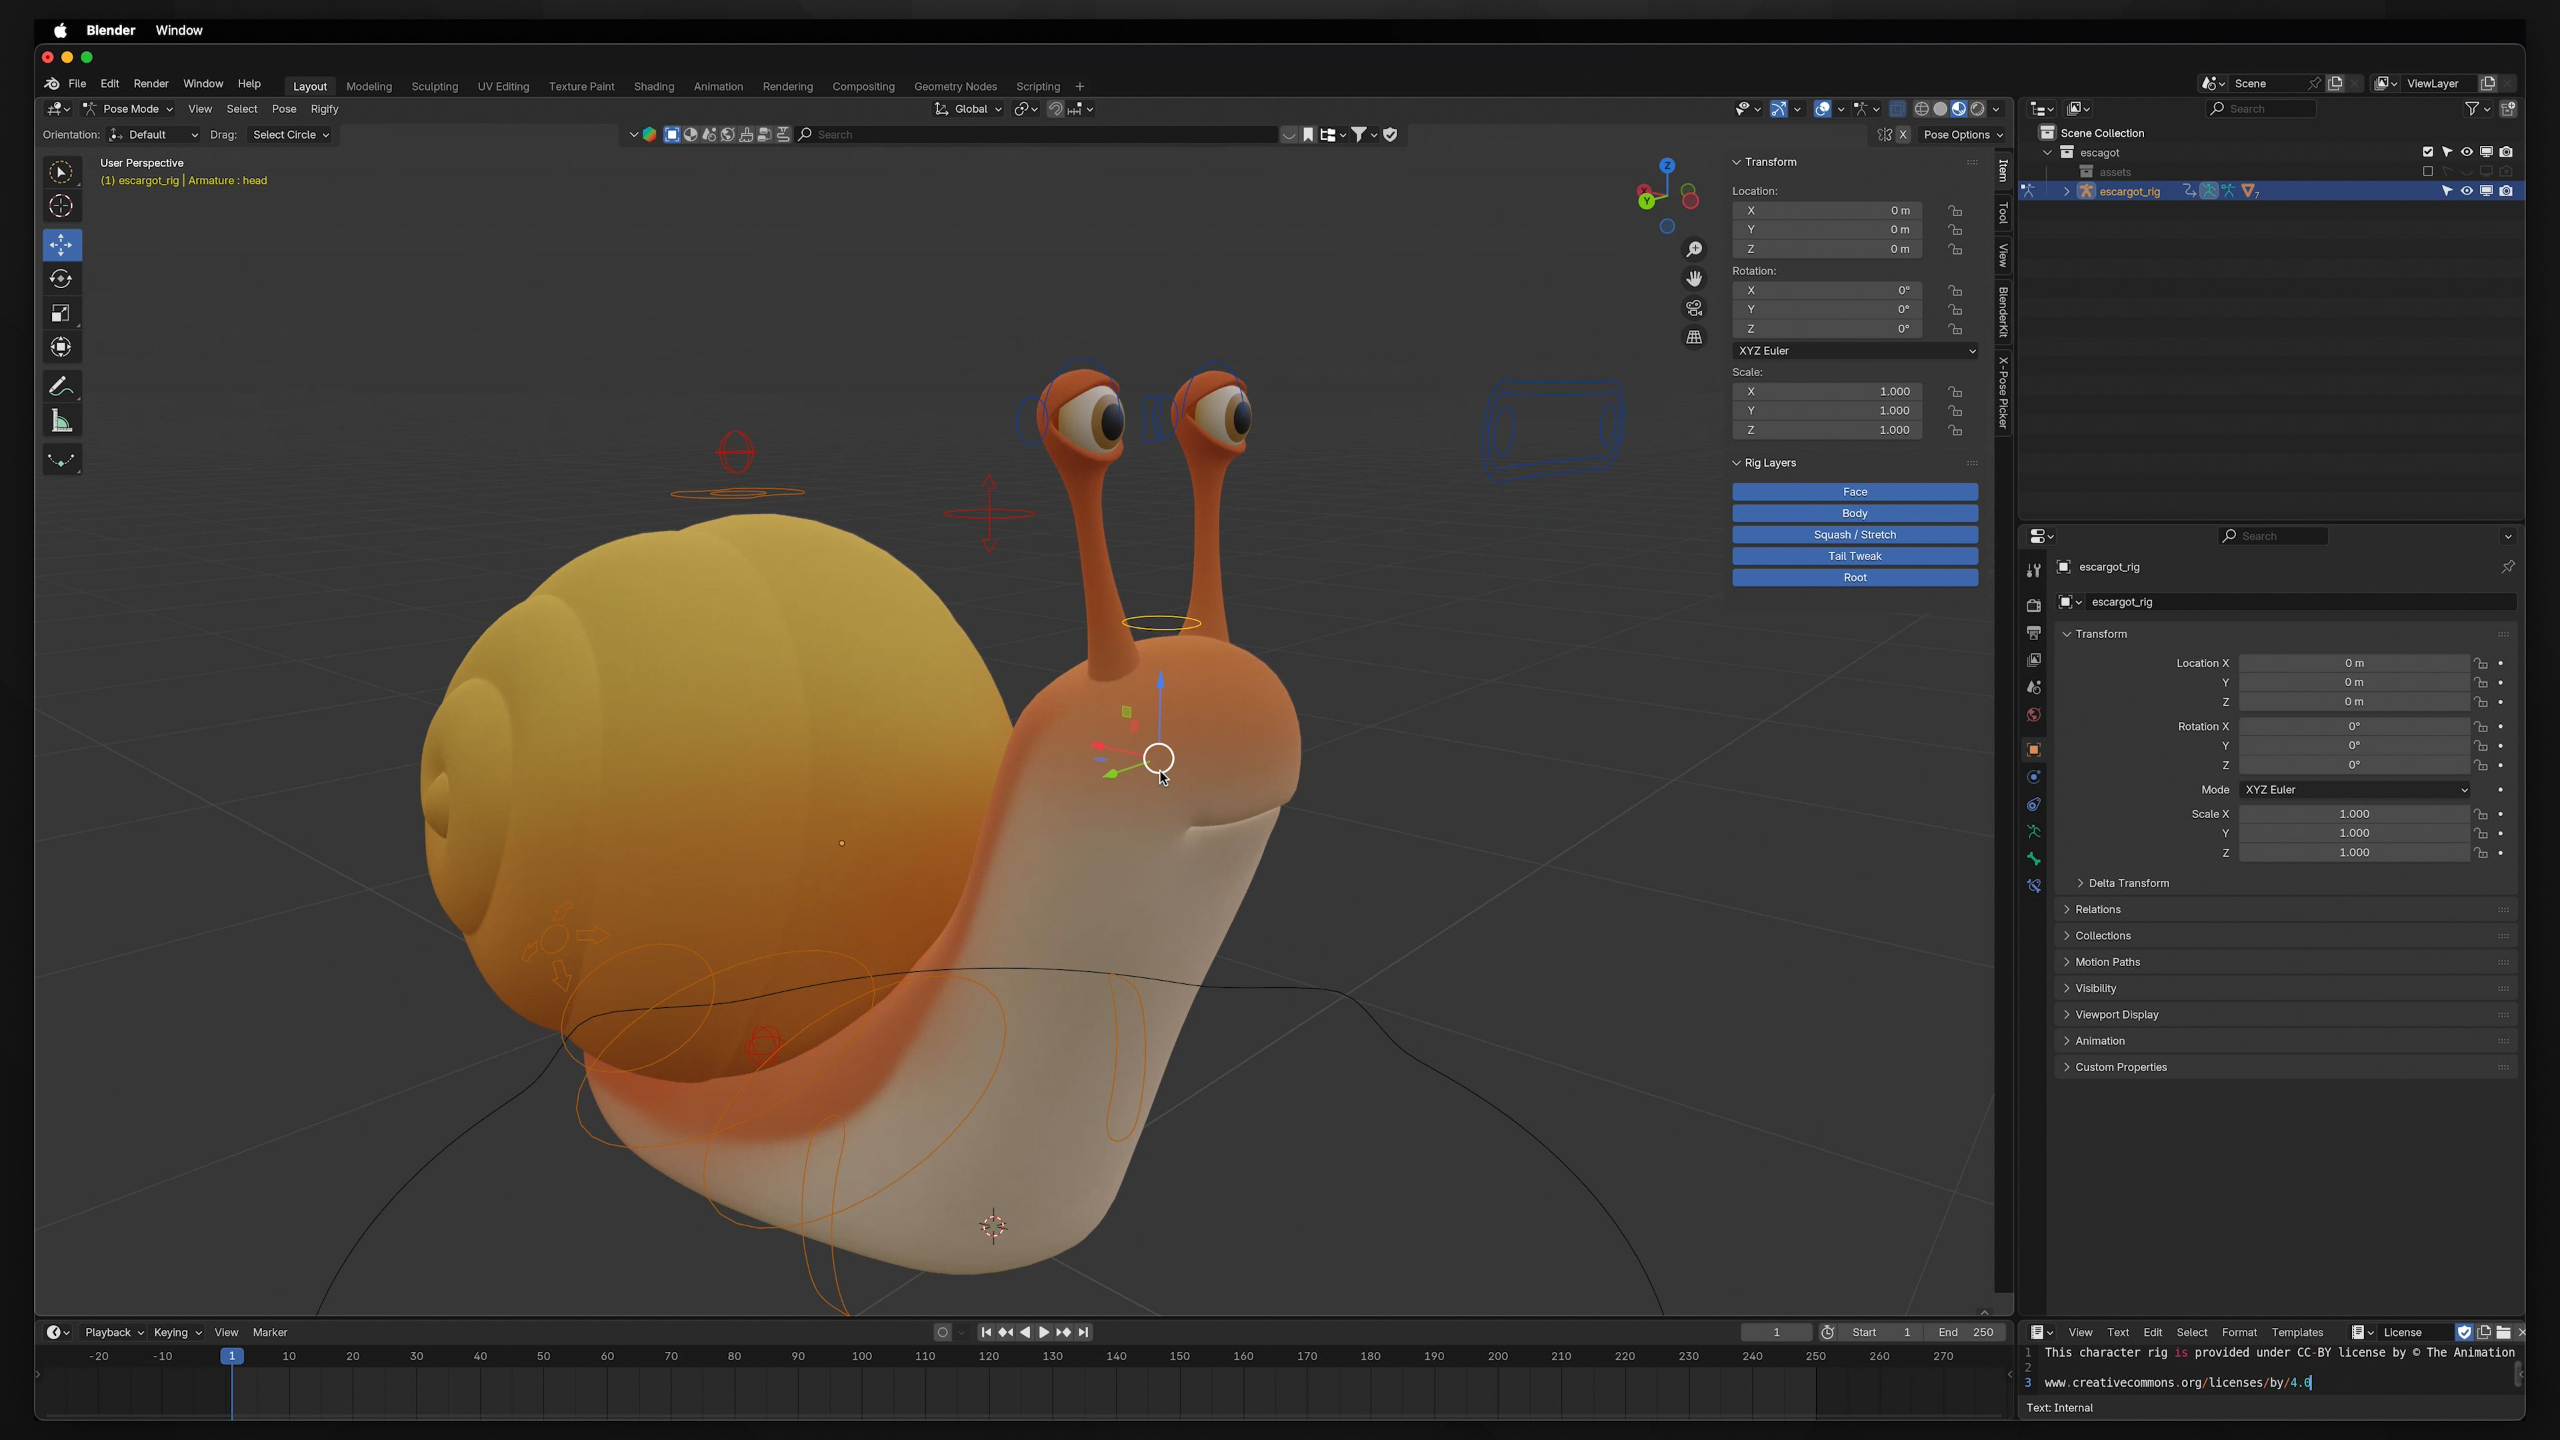
In this lesson, students learn how squash and stretch helps animation feel more alive by showing weight, flexibility, gravity, and impact. They’ll use the Escargot rig to practice deforming a character as it moves across a log, building on the classic bouncing ball exercise in a more character-driven way.
Lesson 4: Principles of Animation: Slow-In & Slow-Out
In this lesson, students begin exploring the principles of animation in 3D by focusing on slow-in and slow-out, which creates the feeling of acceleration and deceleration. They’ll use the Bumba rig, a ramp animation, the Graph Editor, and onion skinning tools to better understand spacing and make their motion feel more natural and appealing.
Lesson 10: Principles of Animation: Anticipation
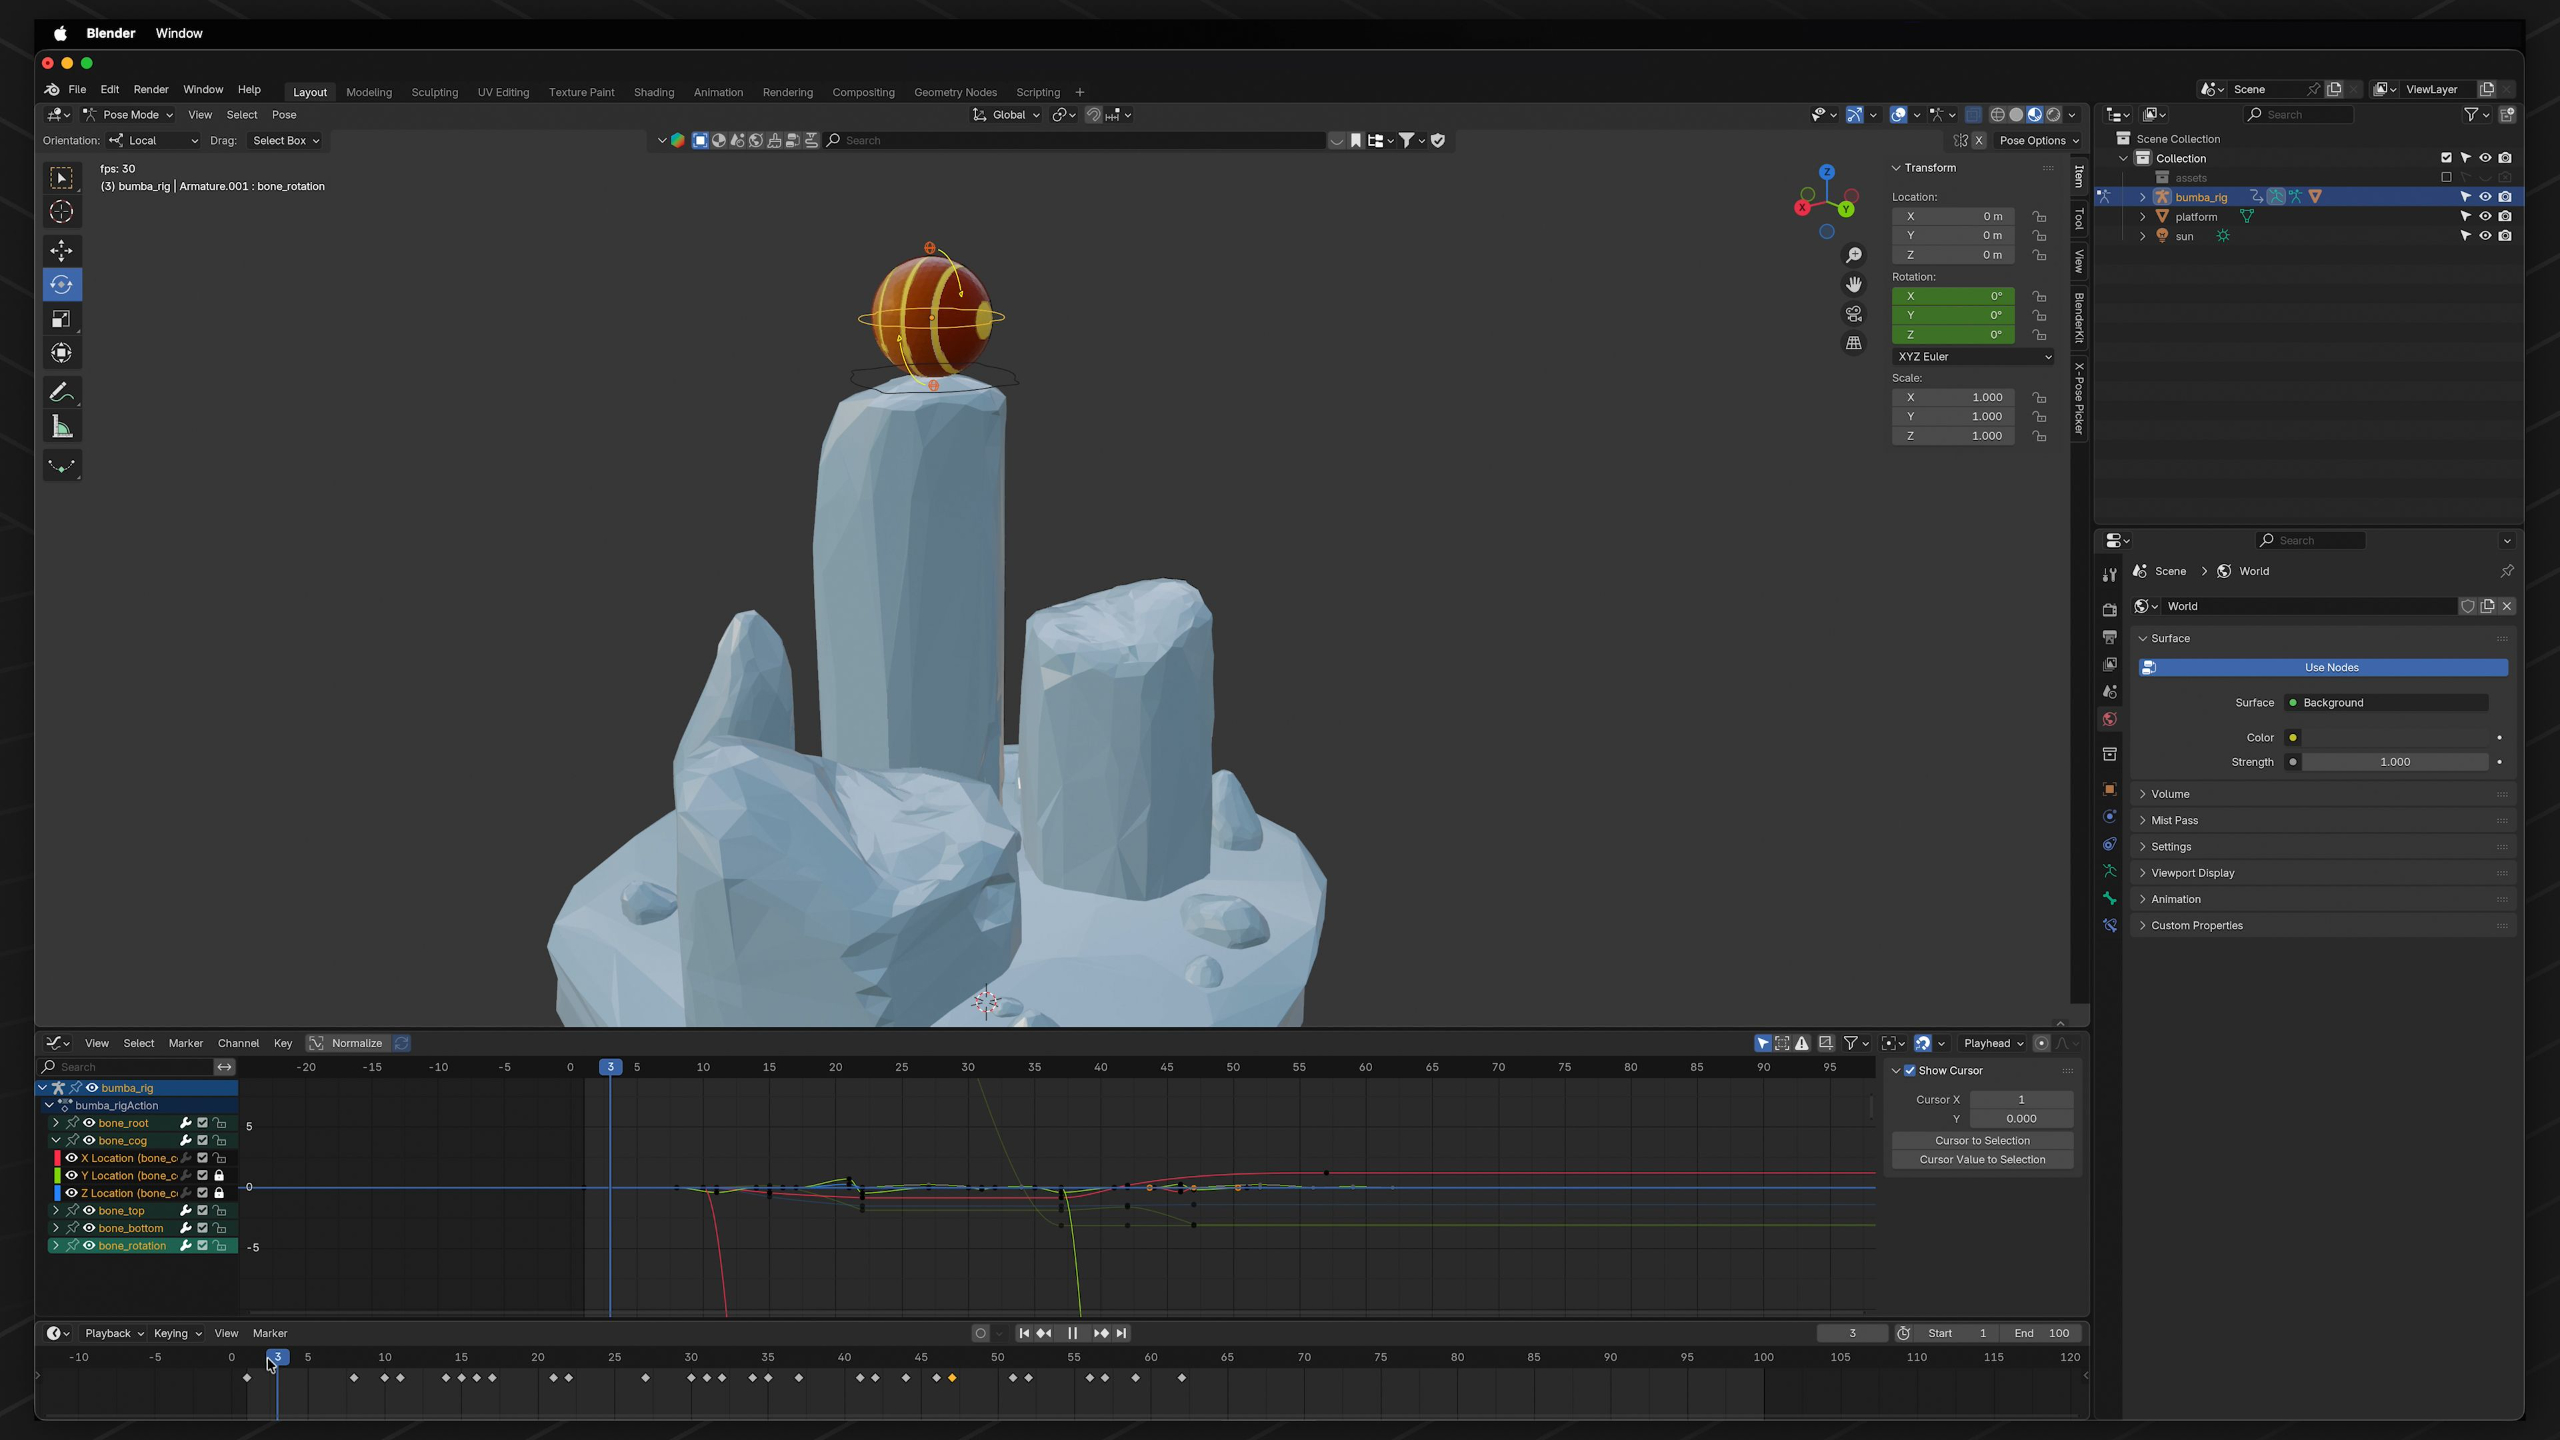
In this lesson, students learn how anticipation prepares the audience for an upcoming action and helps motion feel more believable, weighted, and intentional. They’ll animate the Bumba rig descending a series of platforms while using anticipation, squash and stretch, arcs, and basic physics to create stronger animated movement.
Lesson 5: Principles of Animation: Straight Ahead Action & Pose-to-Pose
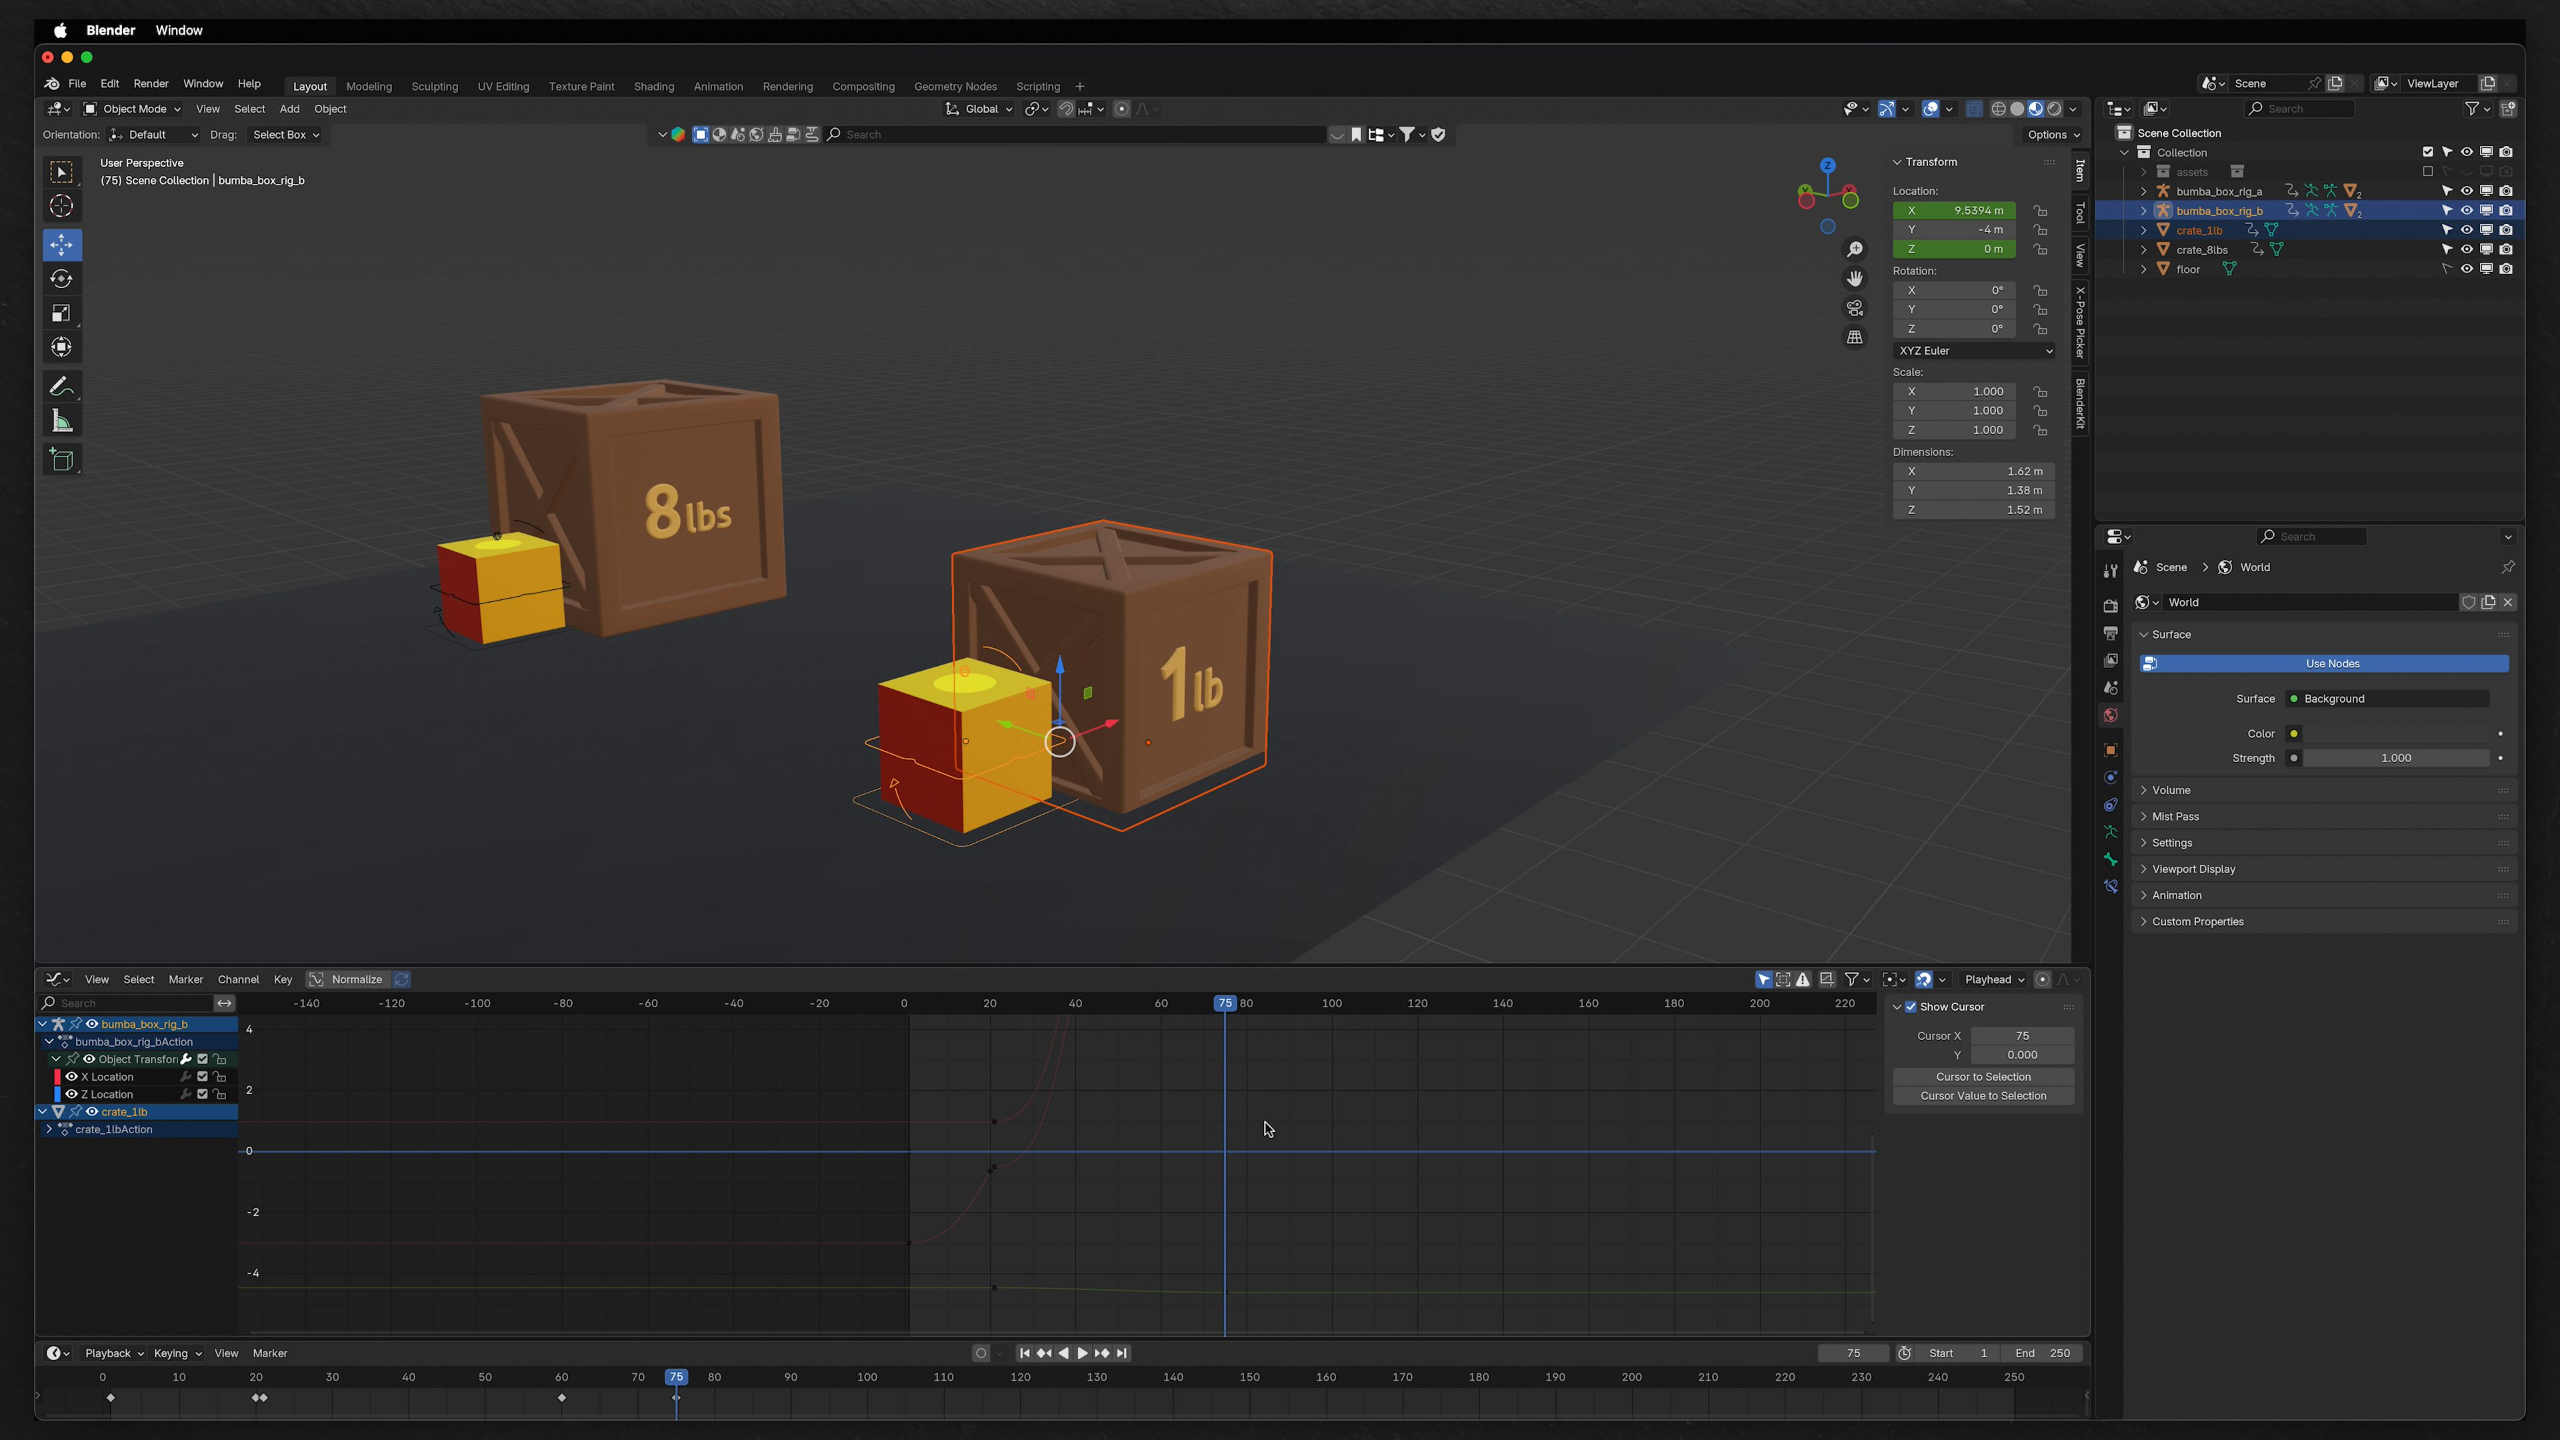
In this lesson, students learn the difference between straight-ahead action and pose-to-pose animation, and when each method is most useful. They’ll practice using the Bumba Box rig to animate one box between key poses and another frame-by-frame so they can better understand how different techniques create different types of motion.
Lesson 11: Principles of Animation: Exaggeration
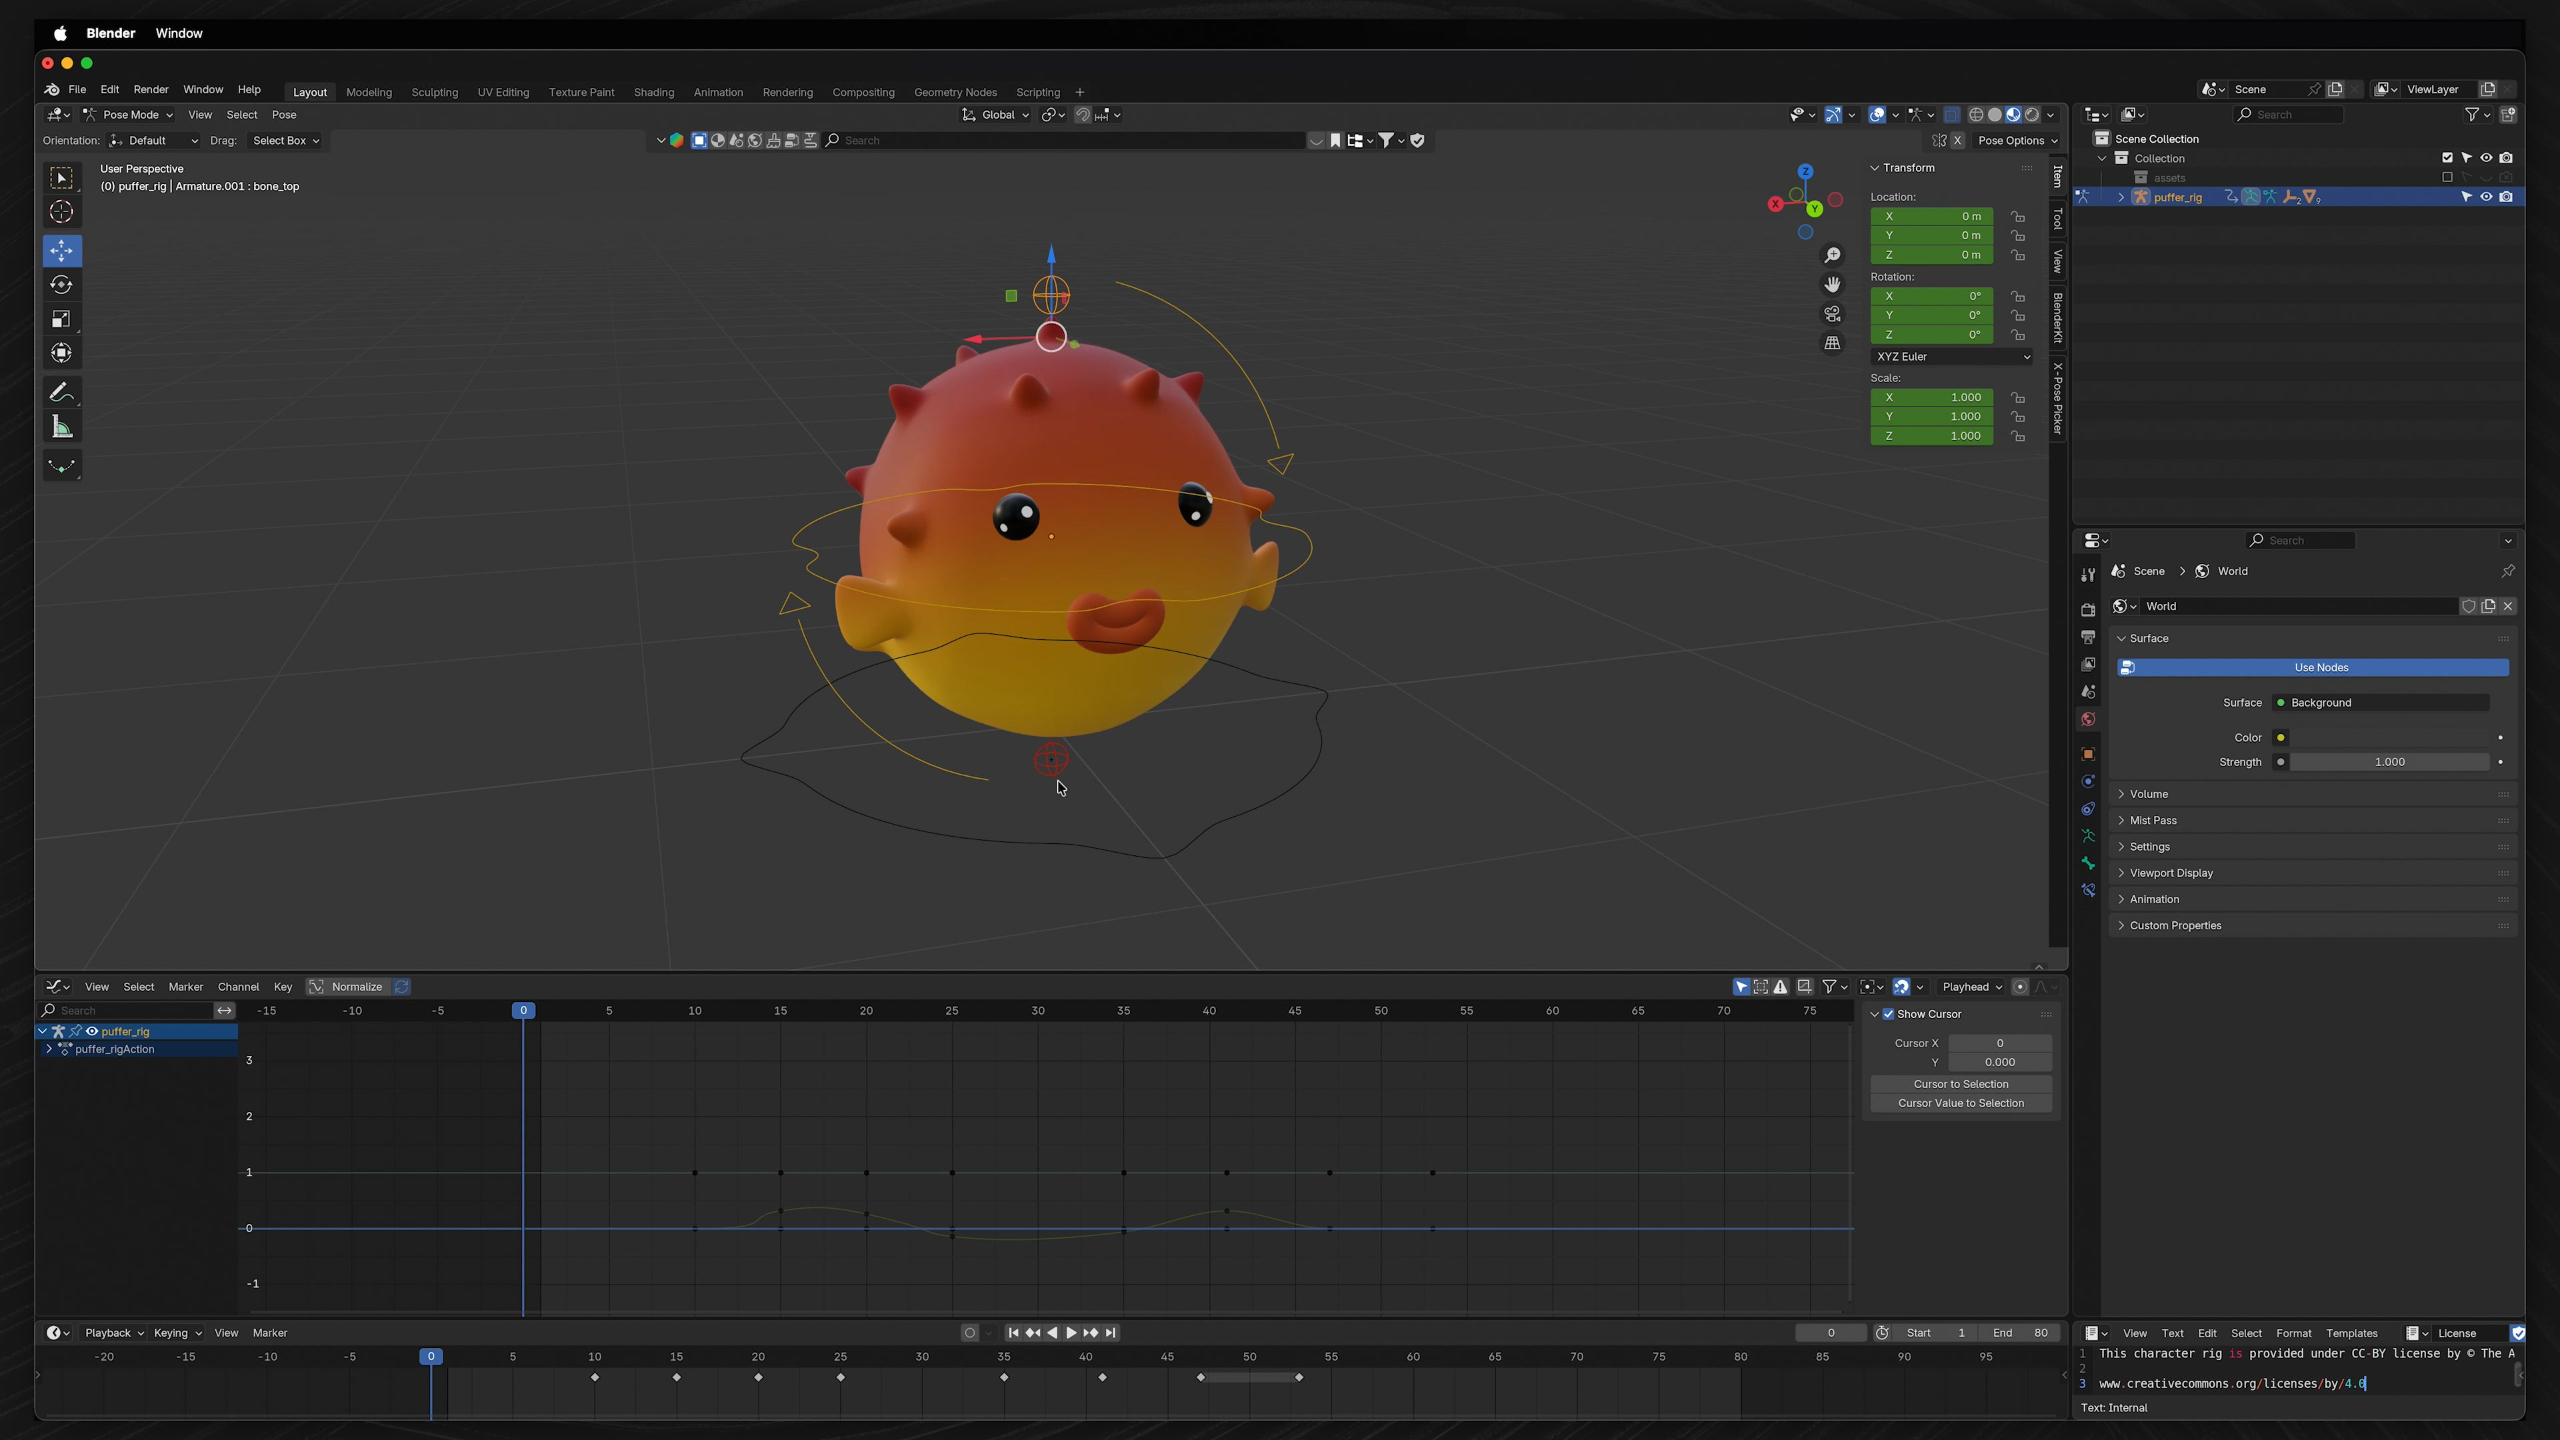
In this lesson, students learn how exaggeration can push animation beyond realism to make actions feel more entertaining, intense, and memorable. They’ll use the Puffer rig to animate an exaggerated blow-up and shrinking motion while experimenting with the animation principles they’ve learned so far.
Lesson 6: Principles of Animation: Timing
In this lesson, students learn how timing affects the way an audience perceives motion, weight, force, and believability in animation. They’ll use the Bumba Box rig to animate two boxes pushing crates with different timing so one feels light and easy to move while the other feels heavier and more resistant.
Lesson 12: Principles of Animation: Appeal
In this lesson, students learn how appeal brings personality, creativity, and visual interest to animation once the core mechanics are working. They’ll animate a race between two Escargot rigs, using their own ideas to make the motion feel fun, surprising, and engaging.
Lesson 1: 3D Animation Overview
In this lesson, students are introduced to the Intro to 3D Animation module and get a clear preview of the animation principles they’ll be learning next. They’ll begin shifting from general Blender tools into core animation concepts like physics, timing, squash and stretch, anticipation, arcs, exaggeration, and appeal.
Lesson 2: Physical Properties
In this lesson, students learn how an object’s physical properties, like mass, volume, density, weight, shape, hardness, elasticity, and material, affect the way it should move in animation. They’ll study different Blender examples to better understand how observing real-world behavior helps create motion that feels believable and intentional.
Lesson 3: Object Physics
In this lesson, students learn how different forces, like gravity, friction, applied force, tension, spring motion, drag, magnetism, buoyancy, and muscular force, affect the way objects move. They’ll practice animating these forces in Blender so they can create more believable motion based on real-world physics and observation.
Lesson 4: Principles of Animation: Slow-In & Slow-Out
In this lesson, students begin exploring the principles of animation in 3D by focusing on slow-in and slow-out, which creates the feeling of acceleration and deceleration. They’ll use the Bumba rig, a ramp animation, the Graph Editor, and onion skinning tools to better understand spacing and make their motion feel more natural and appealing.
Lesson 5: Principles of Animation: Straight Ahead Action & Pose-to-Pose
In this lesson, students learn the difference between straight-ahead action and pose-to-pose animation, and when each method is most useful. They’ll practice using the Bumba Box rig to animate one box between key poses and another frame-by-frame so they can better understand how different techniques create different types of motion.
Lesson 6: Principles of Animation: Timing
In this lesson, students learn how timing affects the way an audience perceives motion, weight, force, and believability in animation. They’ll use the Bumba Box rig to animate two boxes pushing crates with different timing so one feels light and easy to move while the other feels heavier and more resistant.
Lesson 7: Principles of Animation: Arc
In this lesson, students learn how arcs make animation feel more natural, dynamic, and believable by reflecting the way objects move under gravity. They’ll animate cannonballs fired at different angles so they can practice creating realistic curved motion paths with proper timing and spacing.
Lesson 8: Principles of Animation: Follow-Through & Overlapping Action
In this lesson, students learn how follow-through and overlapping action help create believable momentum by showing that different parts of an object or character do not all move at the same speed. They’ll animate both a hard-surface Bumba Box and a flexible flower so they can practice creating motion that feels weighted, delayed, and more natural.
Lesson 9: Principles of Animation: Squash & Stretch
In this lesson, students learn how squash and stretch helps animation feel more alive by showing weight, flexibility, gravity, and impact. They’ll use the Escargot rig to practice deforming a character as it moves across a log, building on the classic bouncing ball exercise in a more character-driven way.
Lesson 10: Principles of Animation: Anticipation
In this lesson, students learn how anticipation prepares the audience for an upcoming action and helps motion feel more believable, weighted, and intentional. They’ll animate the Bumba rig descending a series of platforms while using anticipation, squash and stretch, arcs, and basic physics to create stronger animated movement.
Lesson 11: Principles of Animation: Exaggeration
In this lesson, students learn how exaggeration can push animation beyond realism to make actions feel more entertaining, intense, and memorable. They’ll use the Puffer rig to animate an exaggerated blow-up and shrinking motion while experimenting with the animation principles they’ve learned so far.
Lesson 12: Principles of Animation: Appeal
In this lesson, students learn how appeal brings personality, creativity, and visual interest to animation once the core mechanics are working. They’ll animate a race between two Escargot rigs, using their own ideas to make the motion feel fun, surprising, and engaging.
Module 4: Fundamental Character Animation (Level II)
Estimated completion time: 6-8 weeks
In this module, you’ll transition from animating objects to bringing fully rigged characters to life in Blender.
You’ll learn how character rigs and controls work, practice posing, explore blocking techniques, and create walk & run cycles that evolve from simple lower-body movement to full-body animation with personality and polish.
By the end, you’ll have a strong foundation in character animation and the confidence to apply these techniques to a variety of character rigs.
Lesson 1: Character Animation Overview
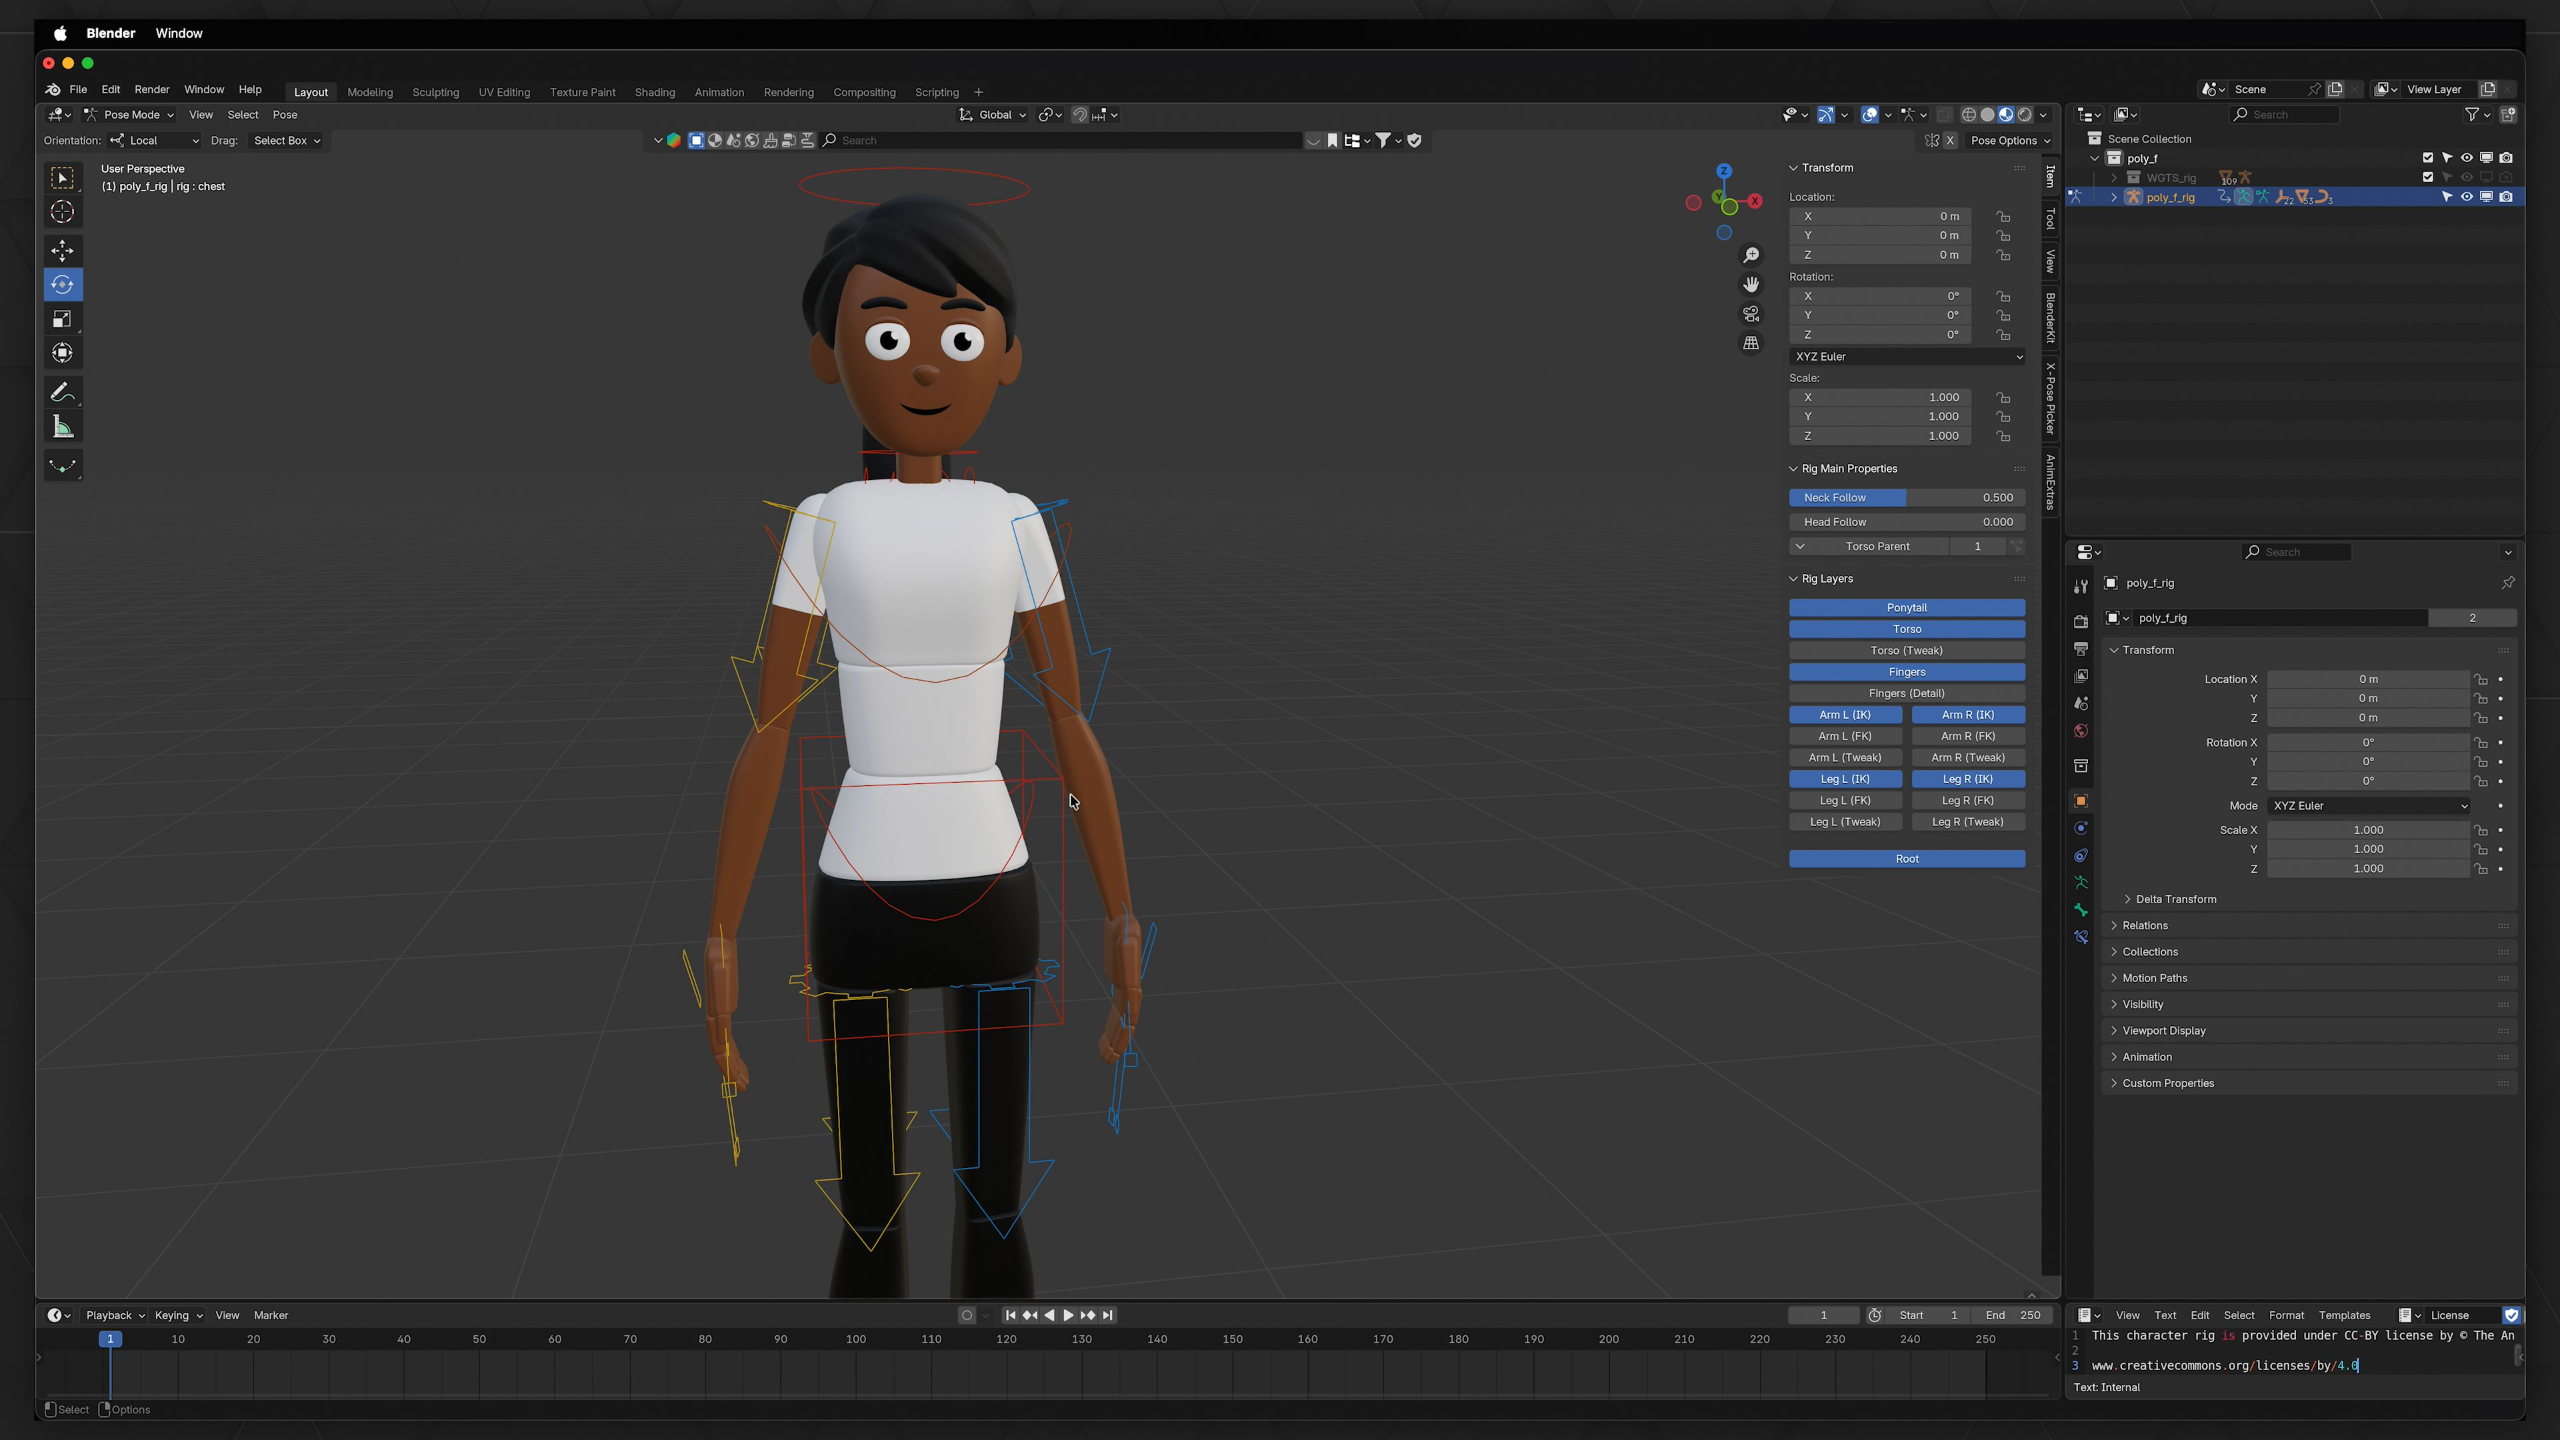
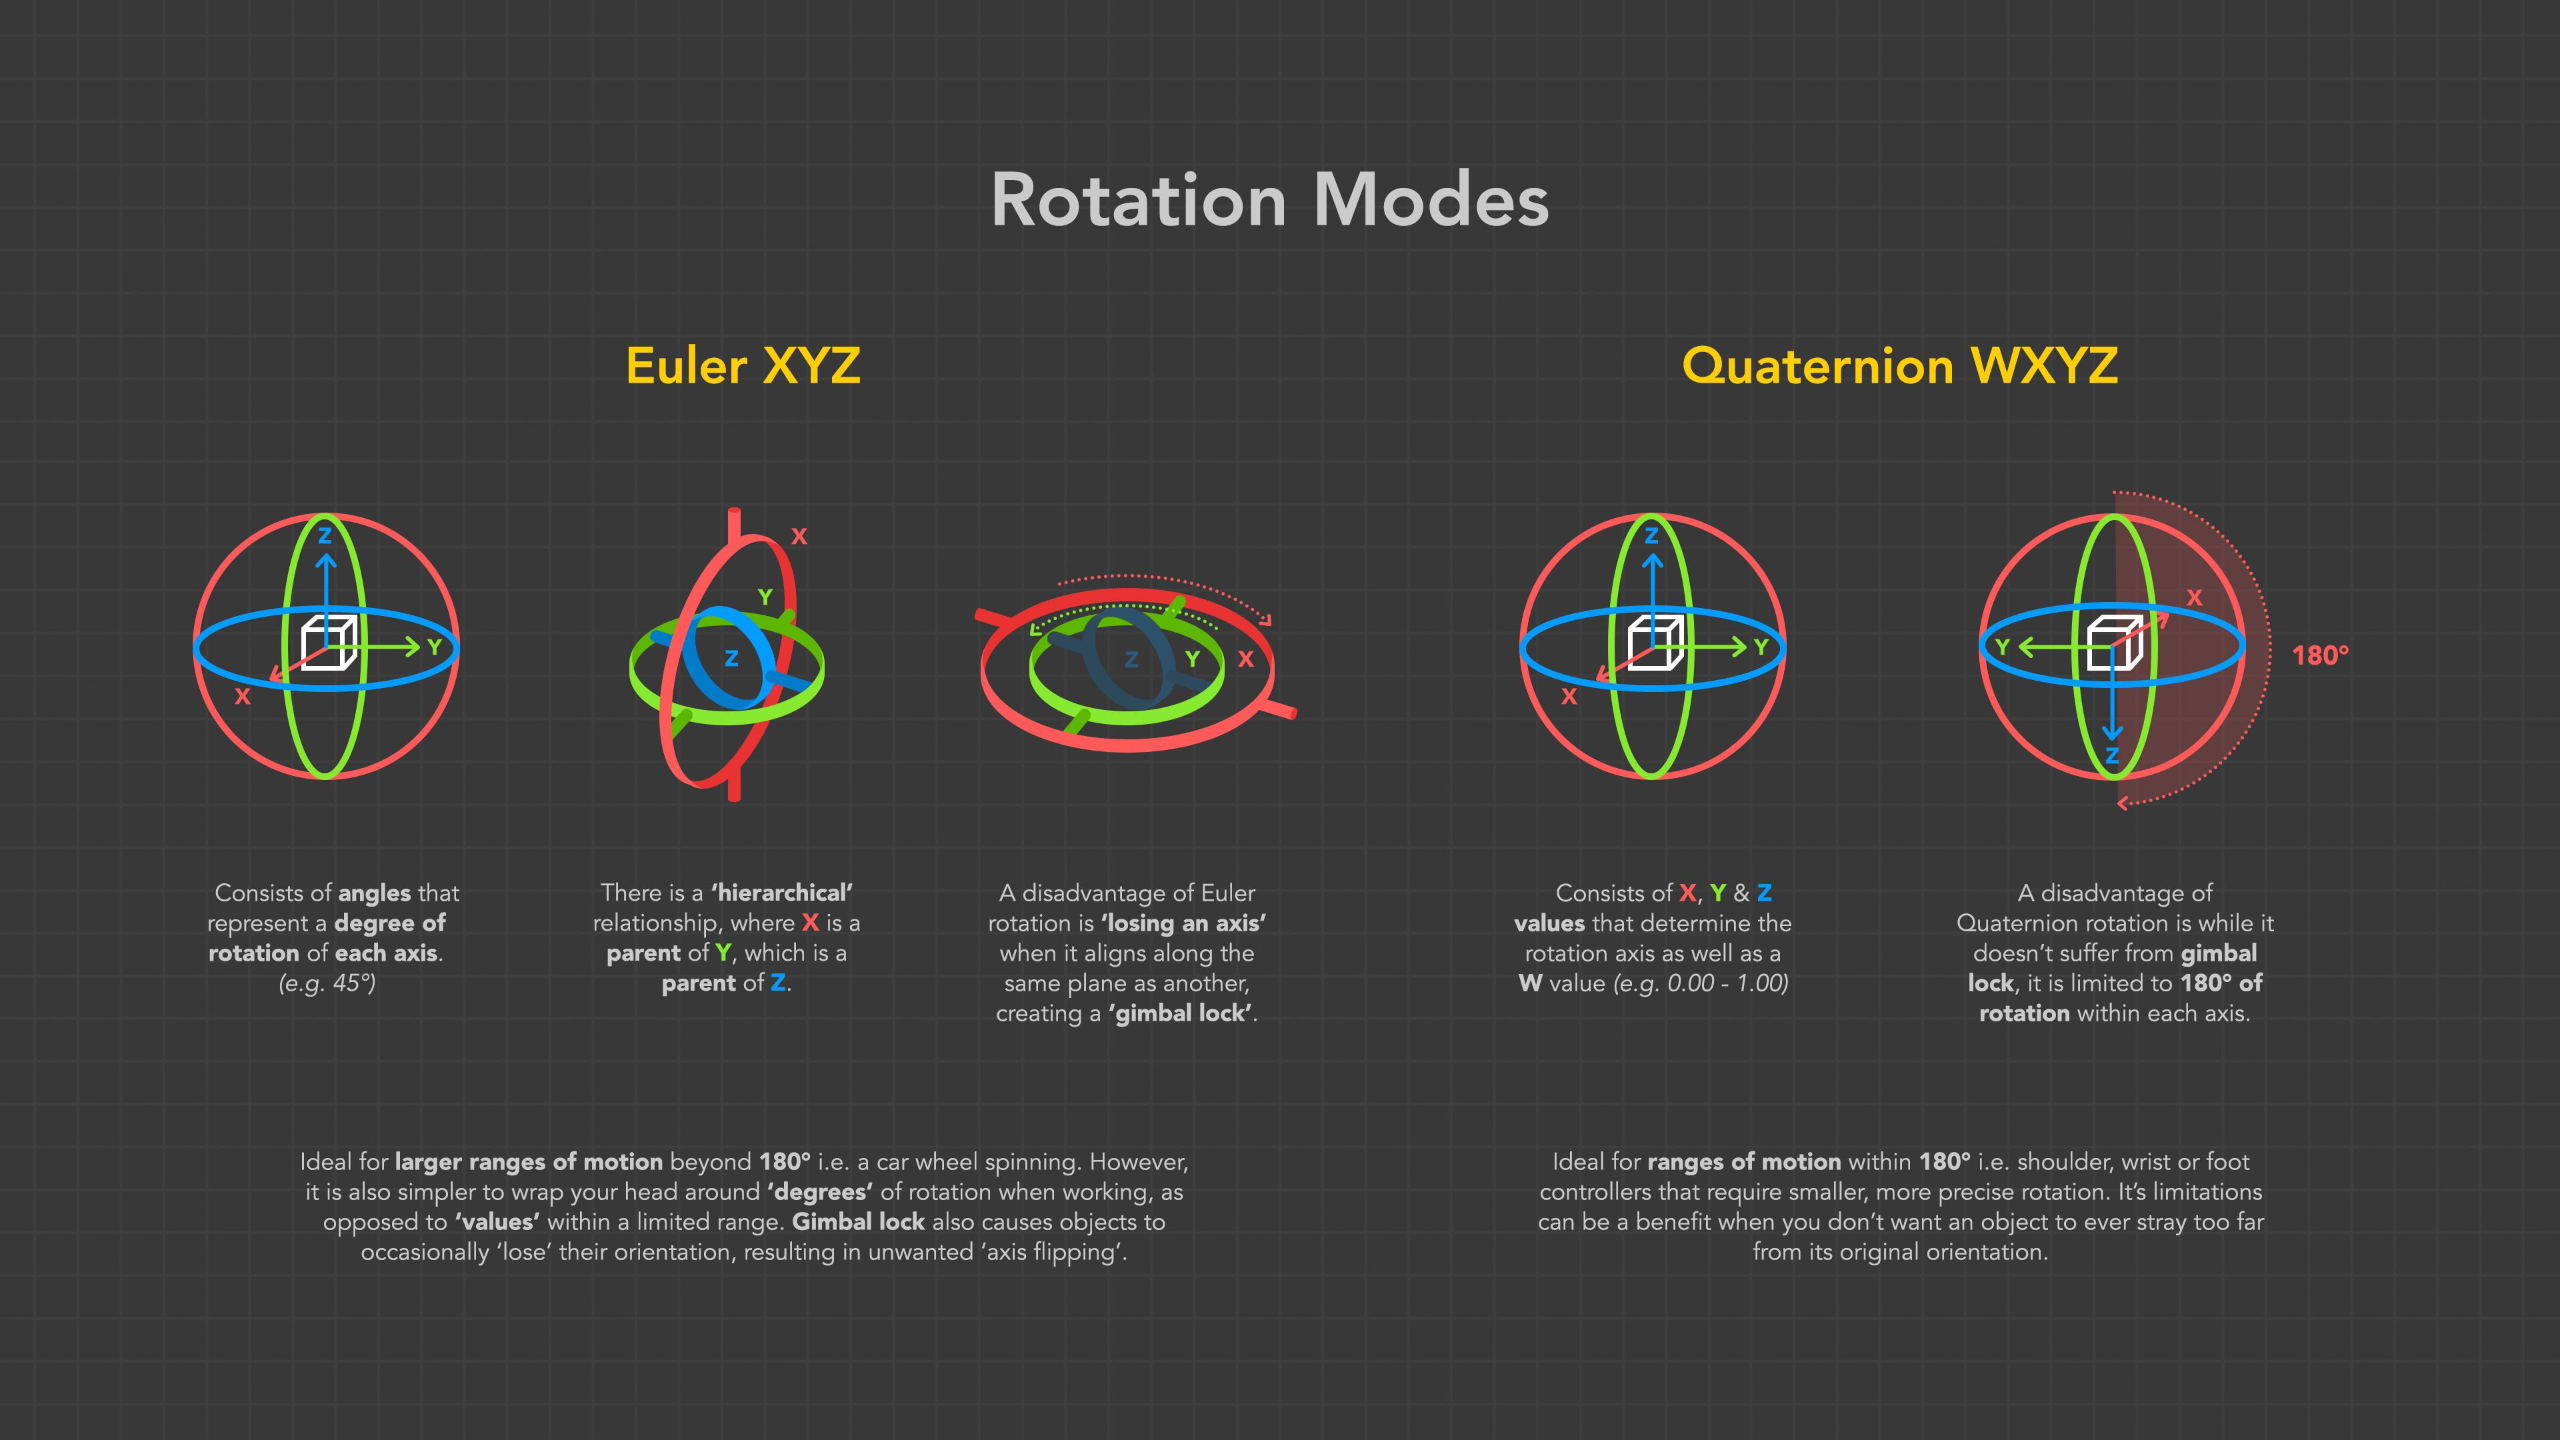
In this lesson, students are introduced to the Fundamental Character Animation module, where they’ll shift from animating objects to bringing character rigs to life. They’ll learn rig controls, posing, blocking, walk cycles, run cycles, personality, and polish so they can build stronger character animation skills in Blender.
Lesson 5: Lower Body Walk Cycle
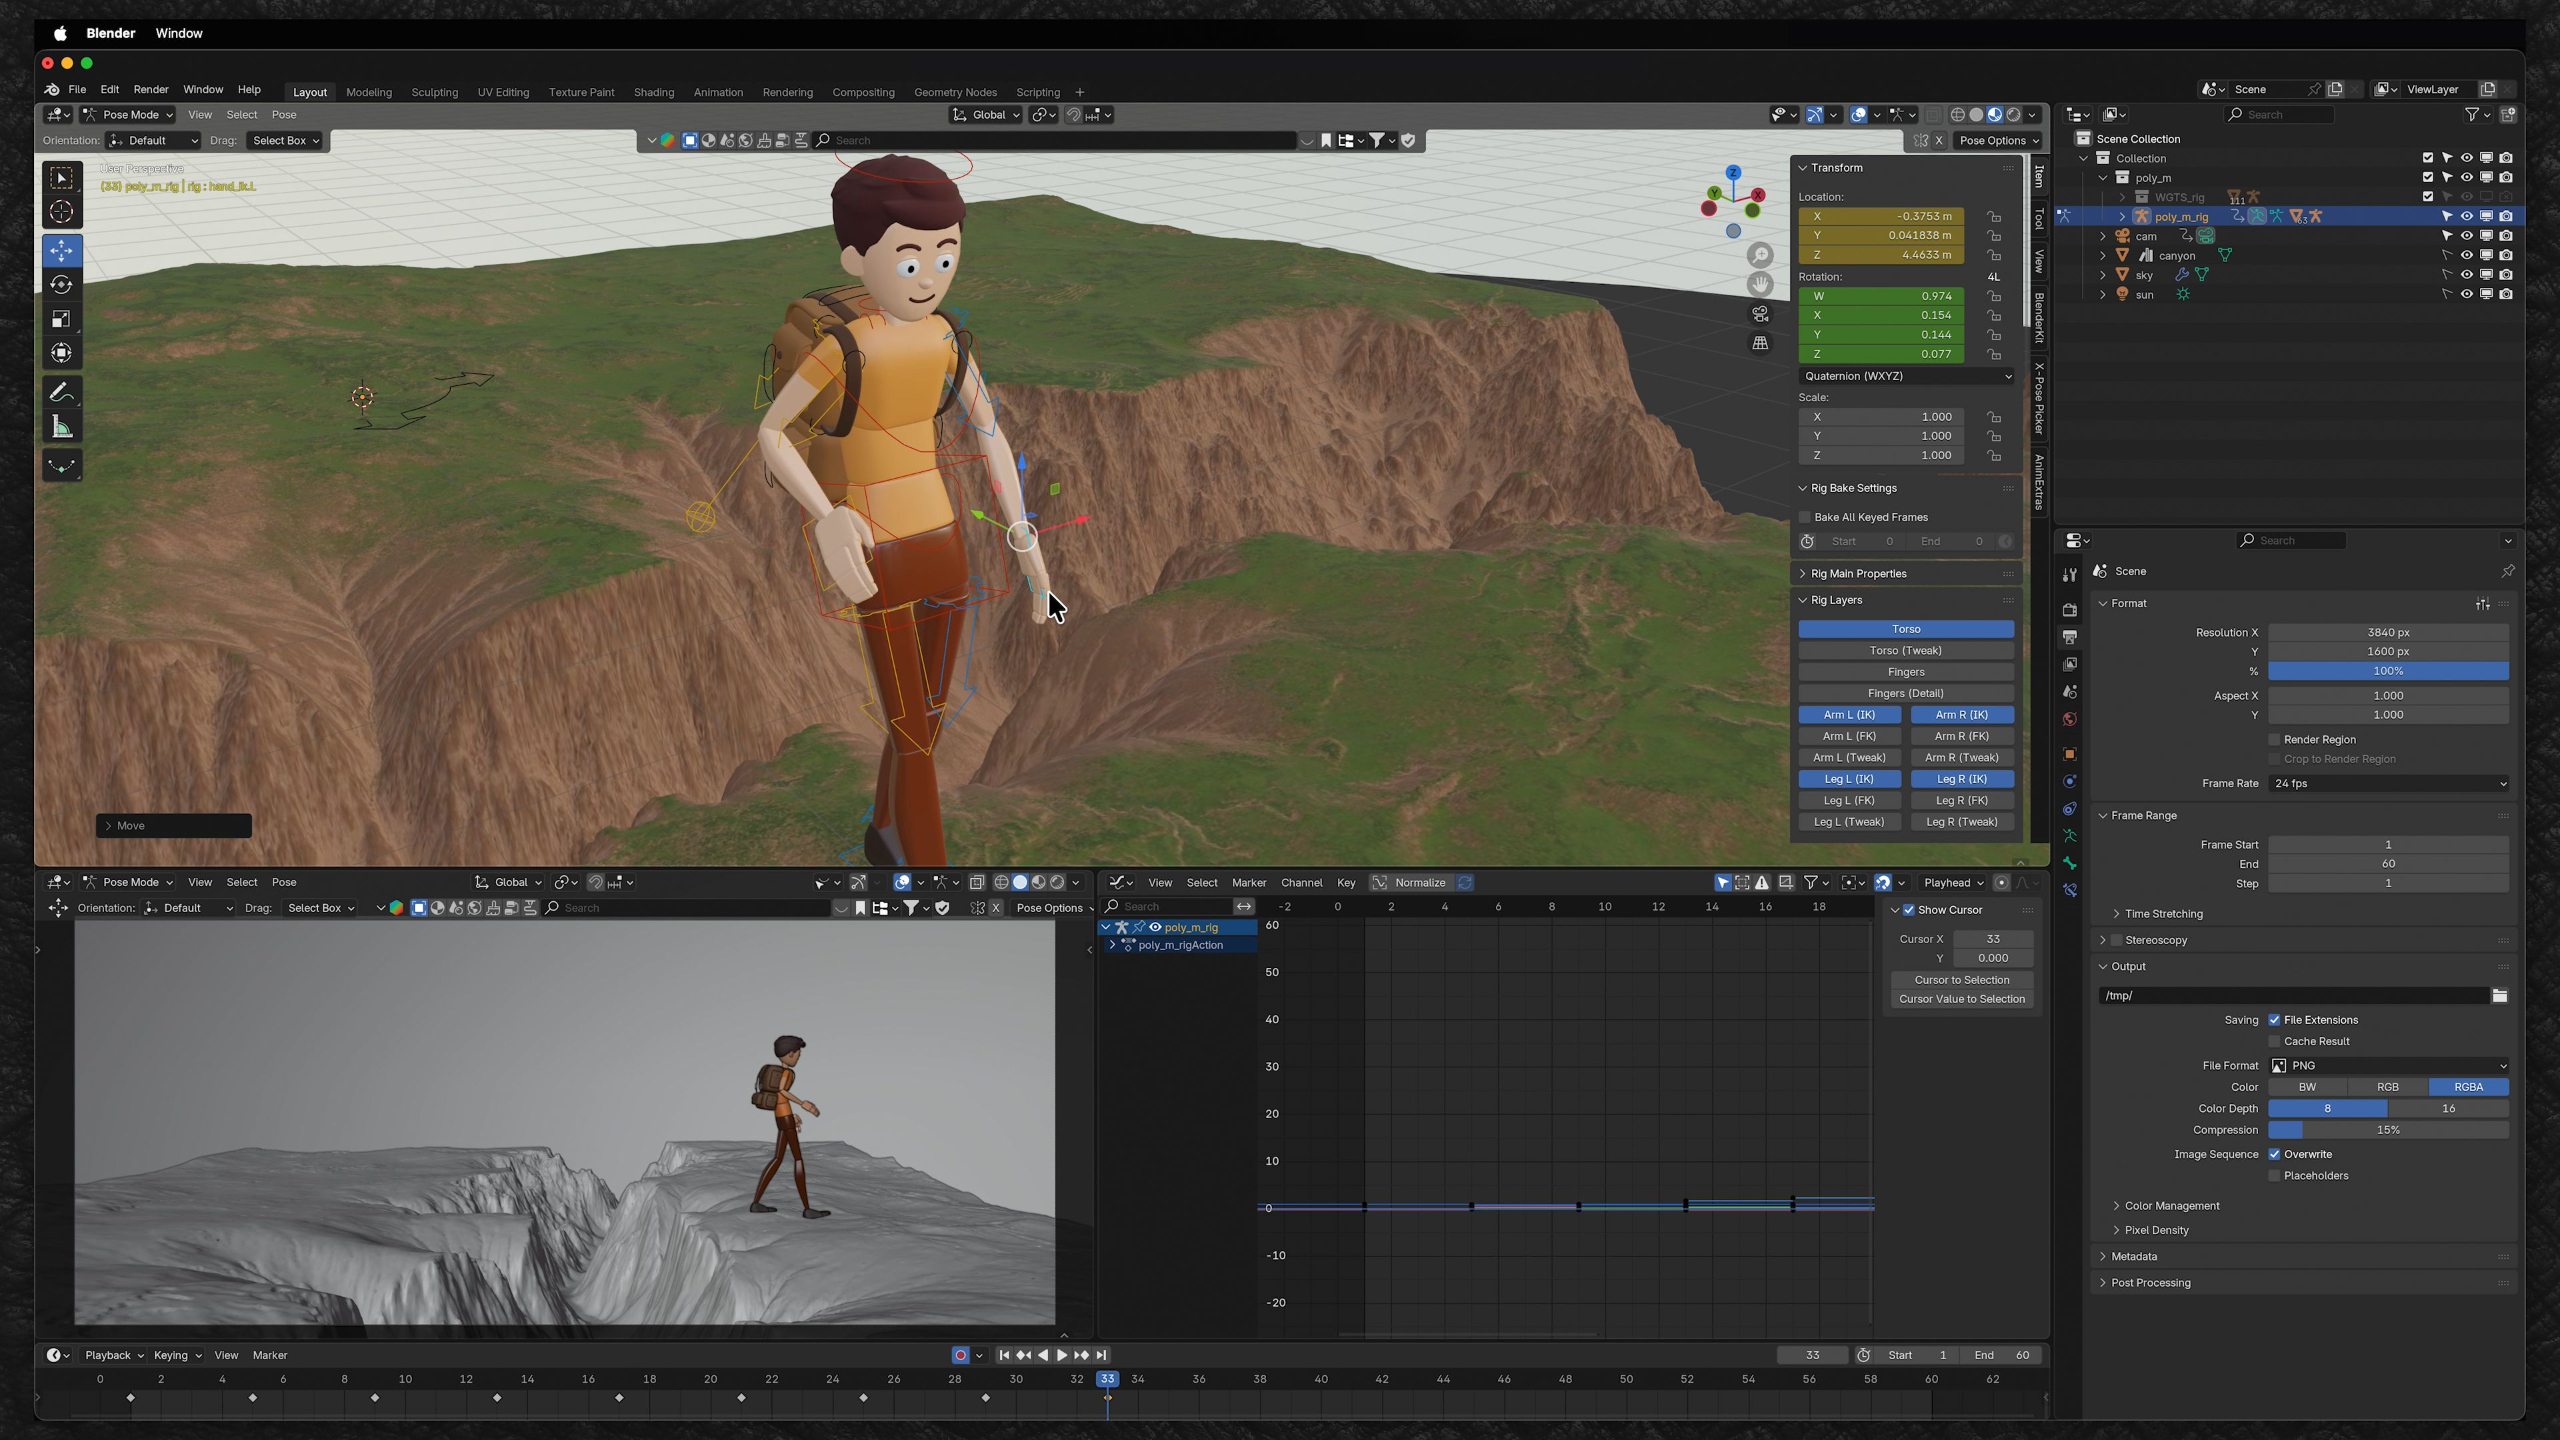
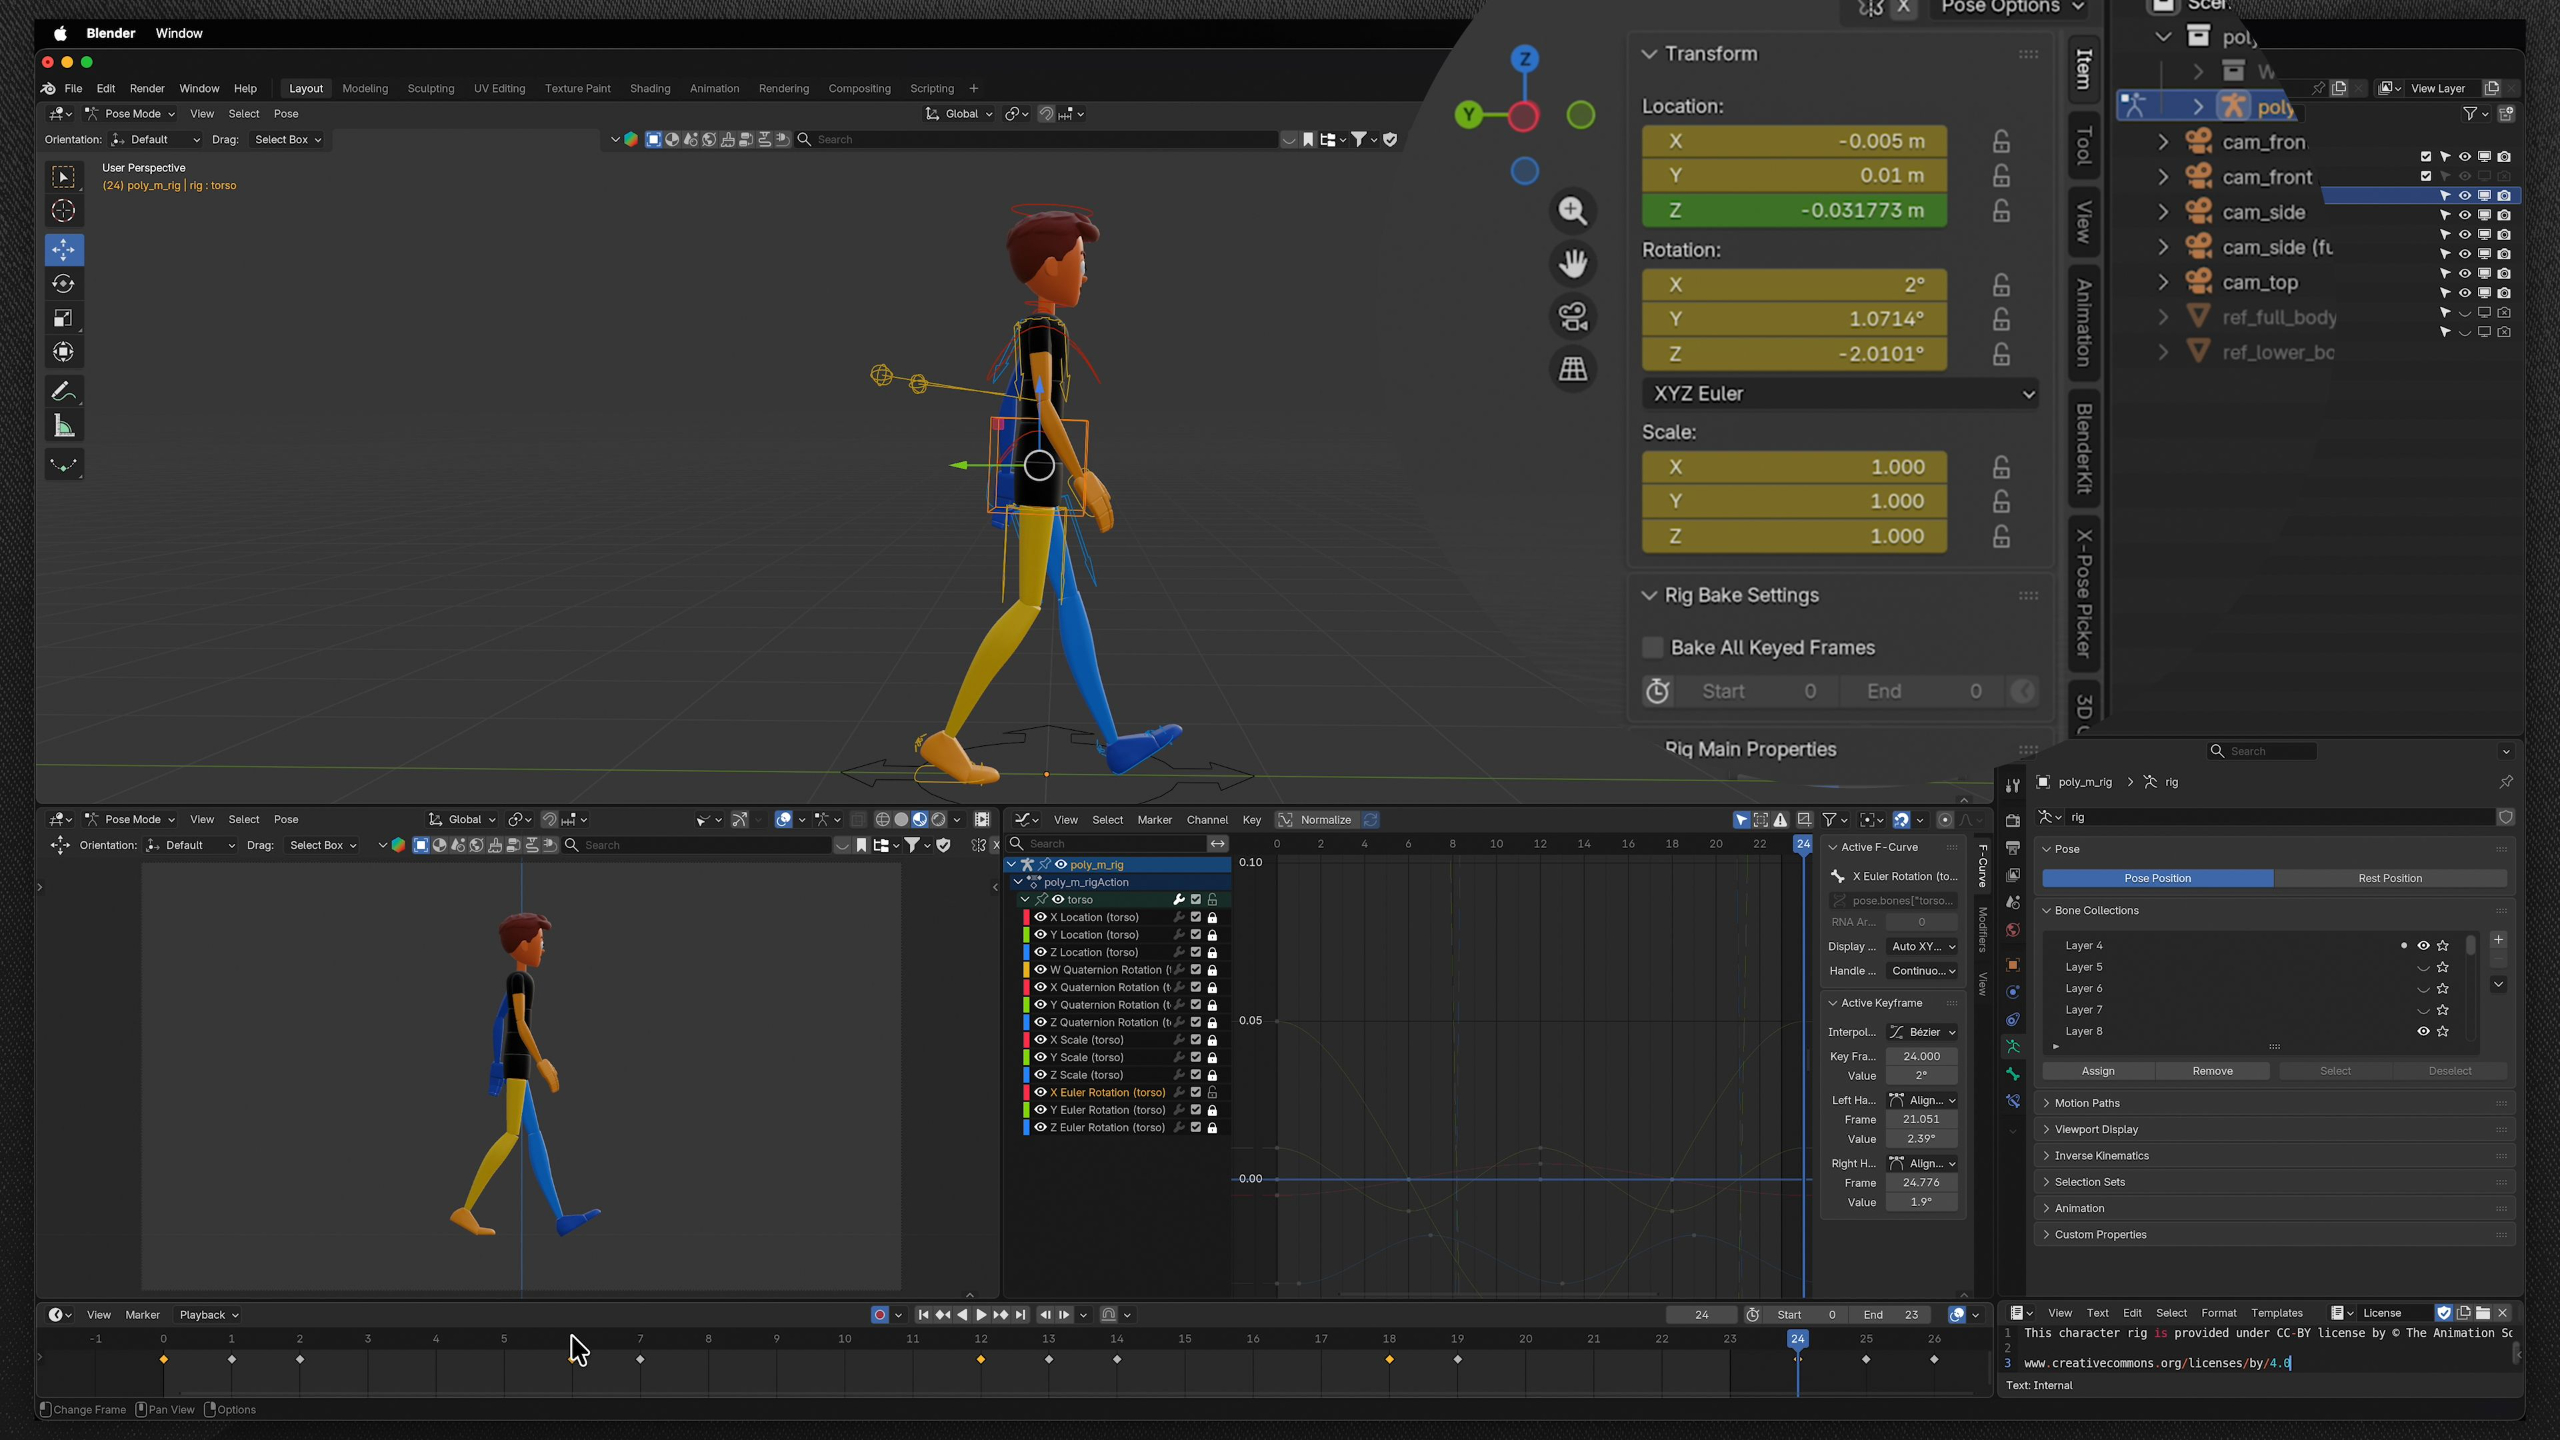
In this lesson, students learn how to build a lower body walk cycle by focusing on contact poses, transfer poses, timing, hip movement, foot placement, and clean looping mechanics. They’ll refine the walk in the Graph Editor with details like foot slap, leg swing, hip sway, and subtle offsets so the character’s movement feels more natural and believable.
Lesson 2: Working w/ Rigs
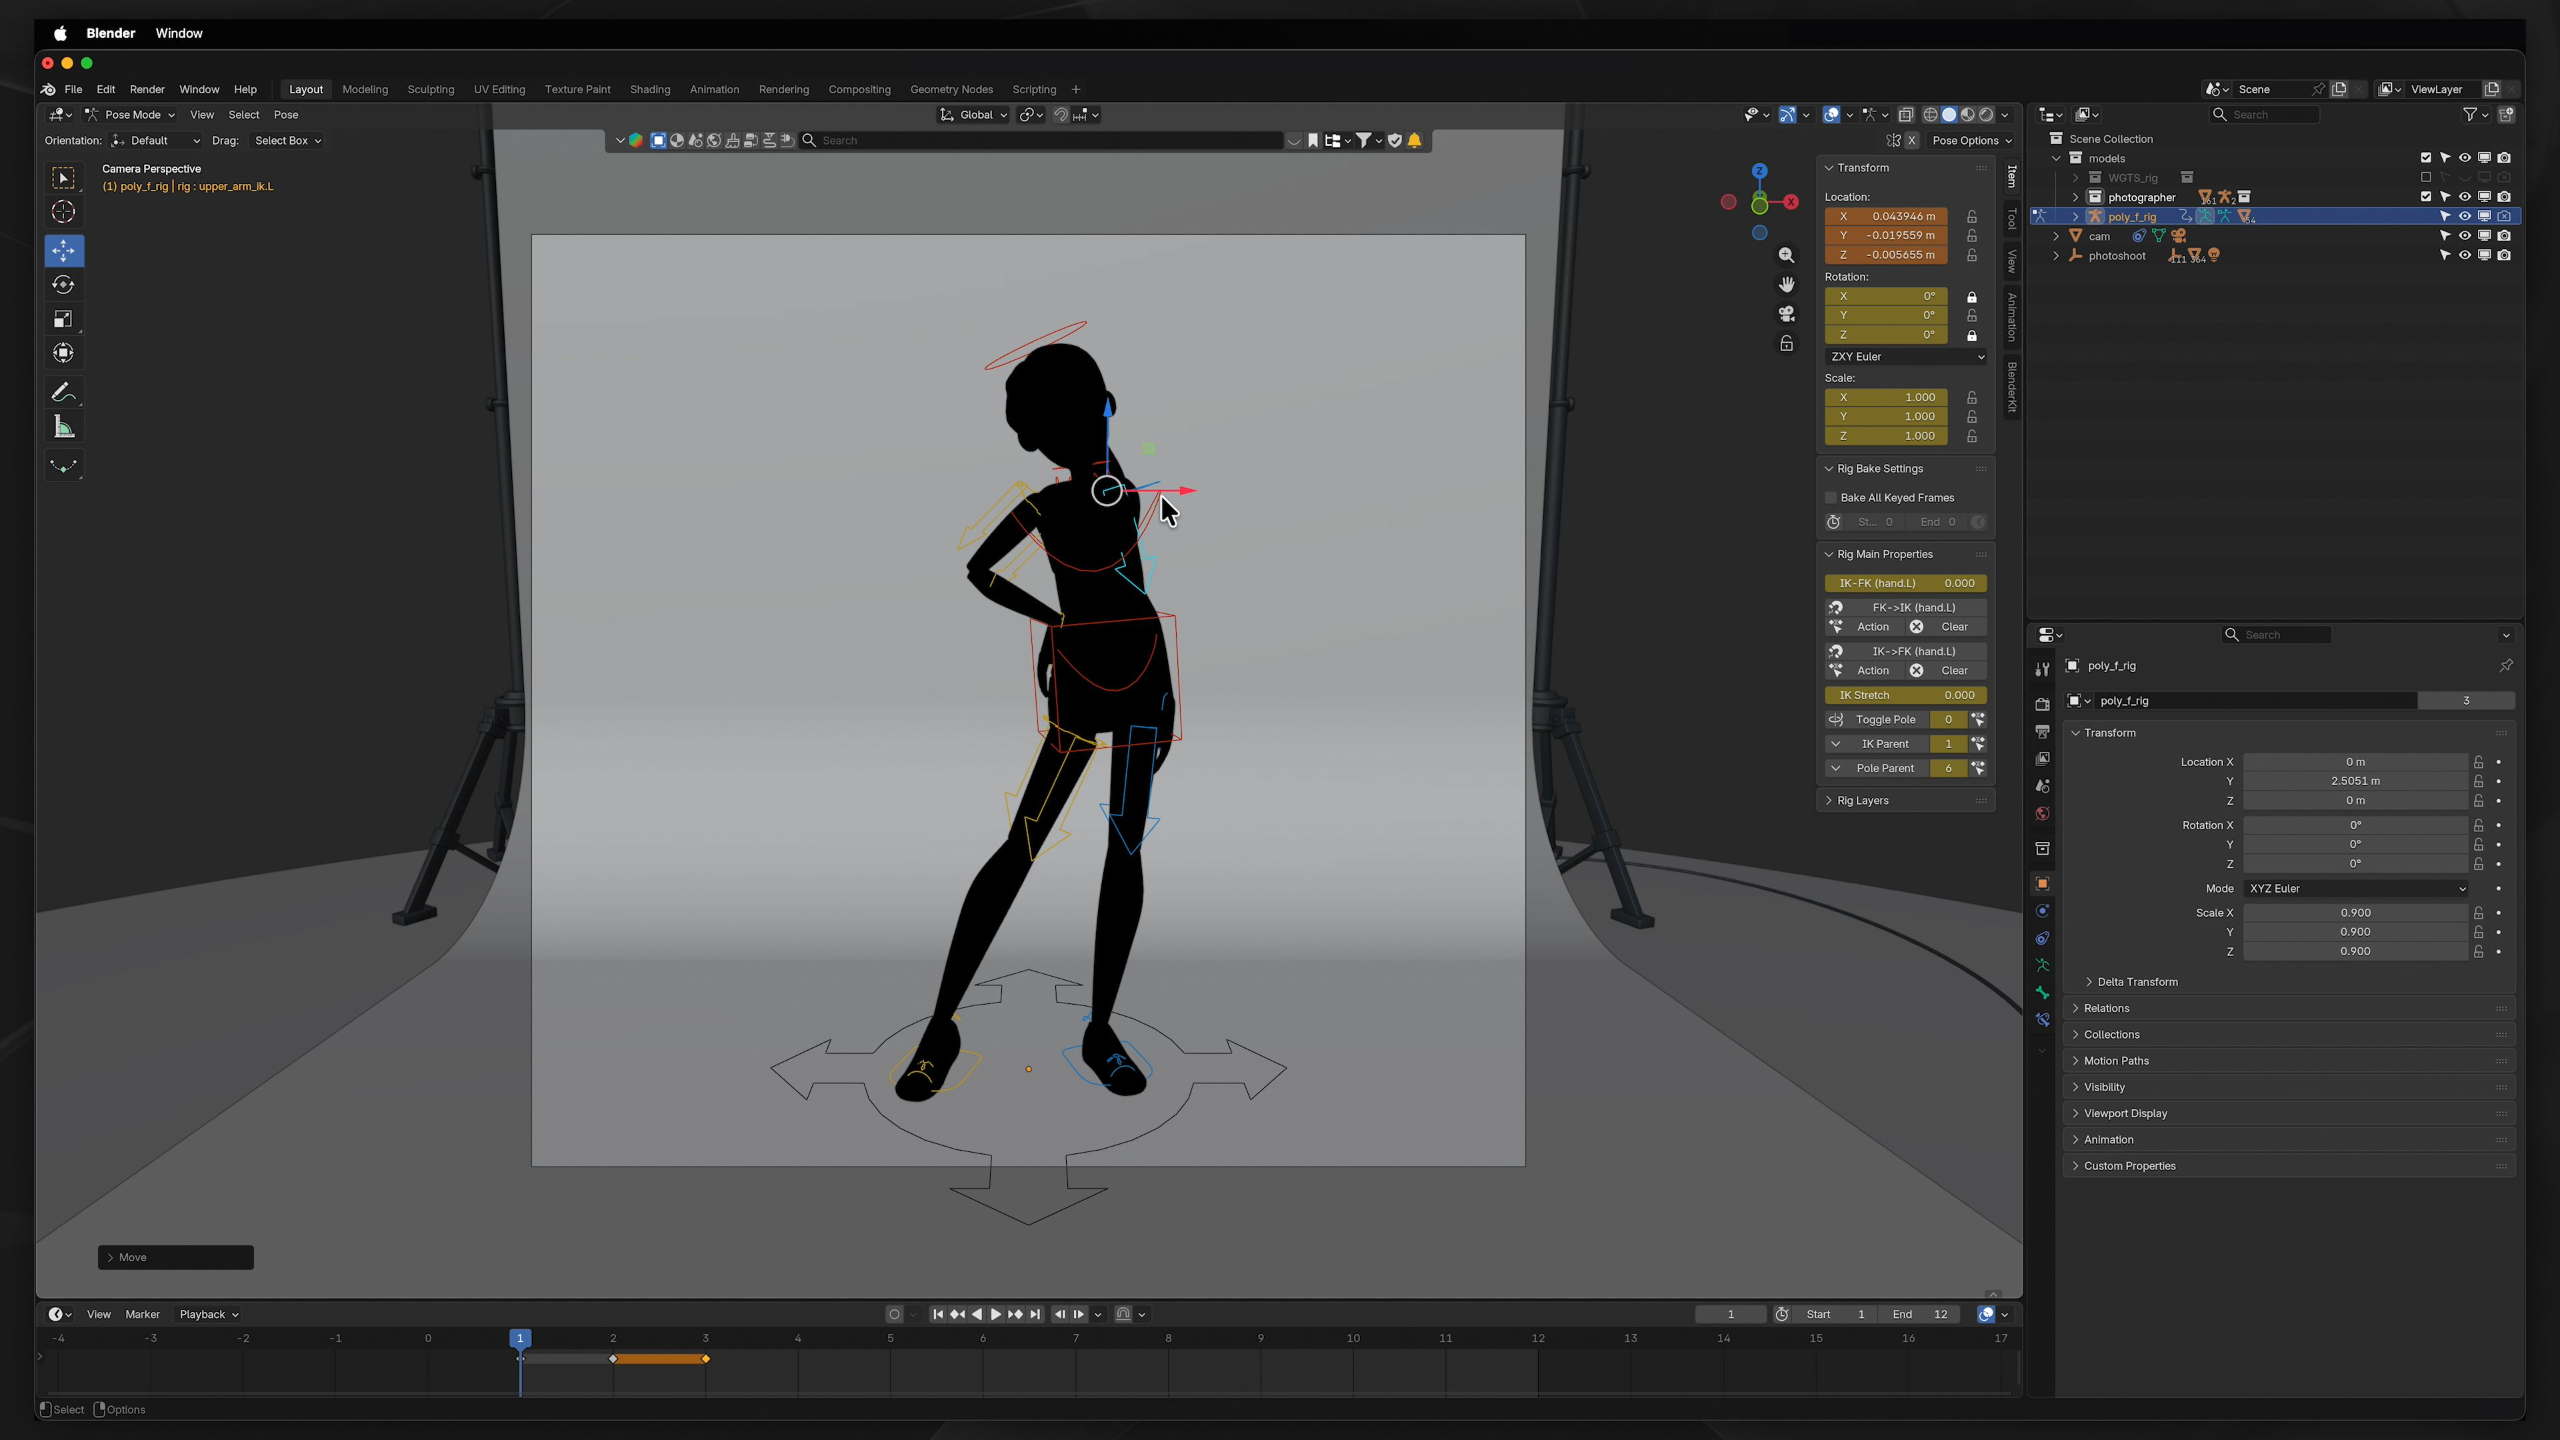
In this lesson, students get reacquainted with character rigs and explore how different rigs are used throughout The Animation Society curriculum. They’ll review Blender Studio rigs, learn about the TAS character lineup, and begin working with the customizable Poly twins as their main rigs for posing, walk cycles, run cycles, and portfolio practice.
Lesson 6: Full Body Walk Cycle
In this lesson, students build on the lower body walk cycle by animating the arms, torso, head, and full-body weight shifts to create a complete character walk. They’ll refine arcs, offsets, follow-through, looping, timing, and forward translation so the walk feels balanced, natural, and ready to use in more complex character animation.
Lesson 3: Poses
In this lesson, students learn how strong character poses start with clear silhouettes that communicate action, balance, personality, and appeal from the camera’s point of view. They’ll create multiple poses with the Poly rigs, refine them through a silhouette view.
Lesson 7: Run Cycle
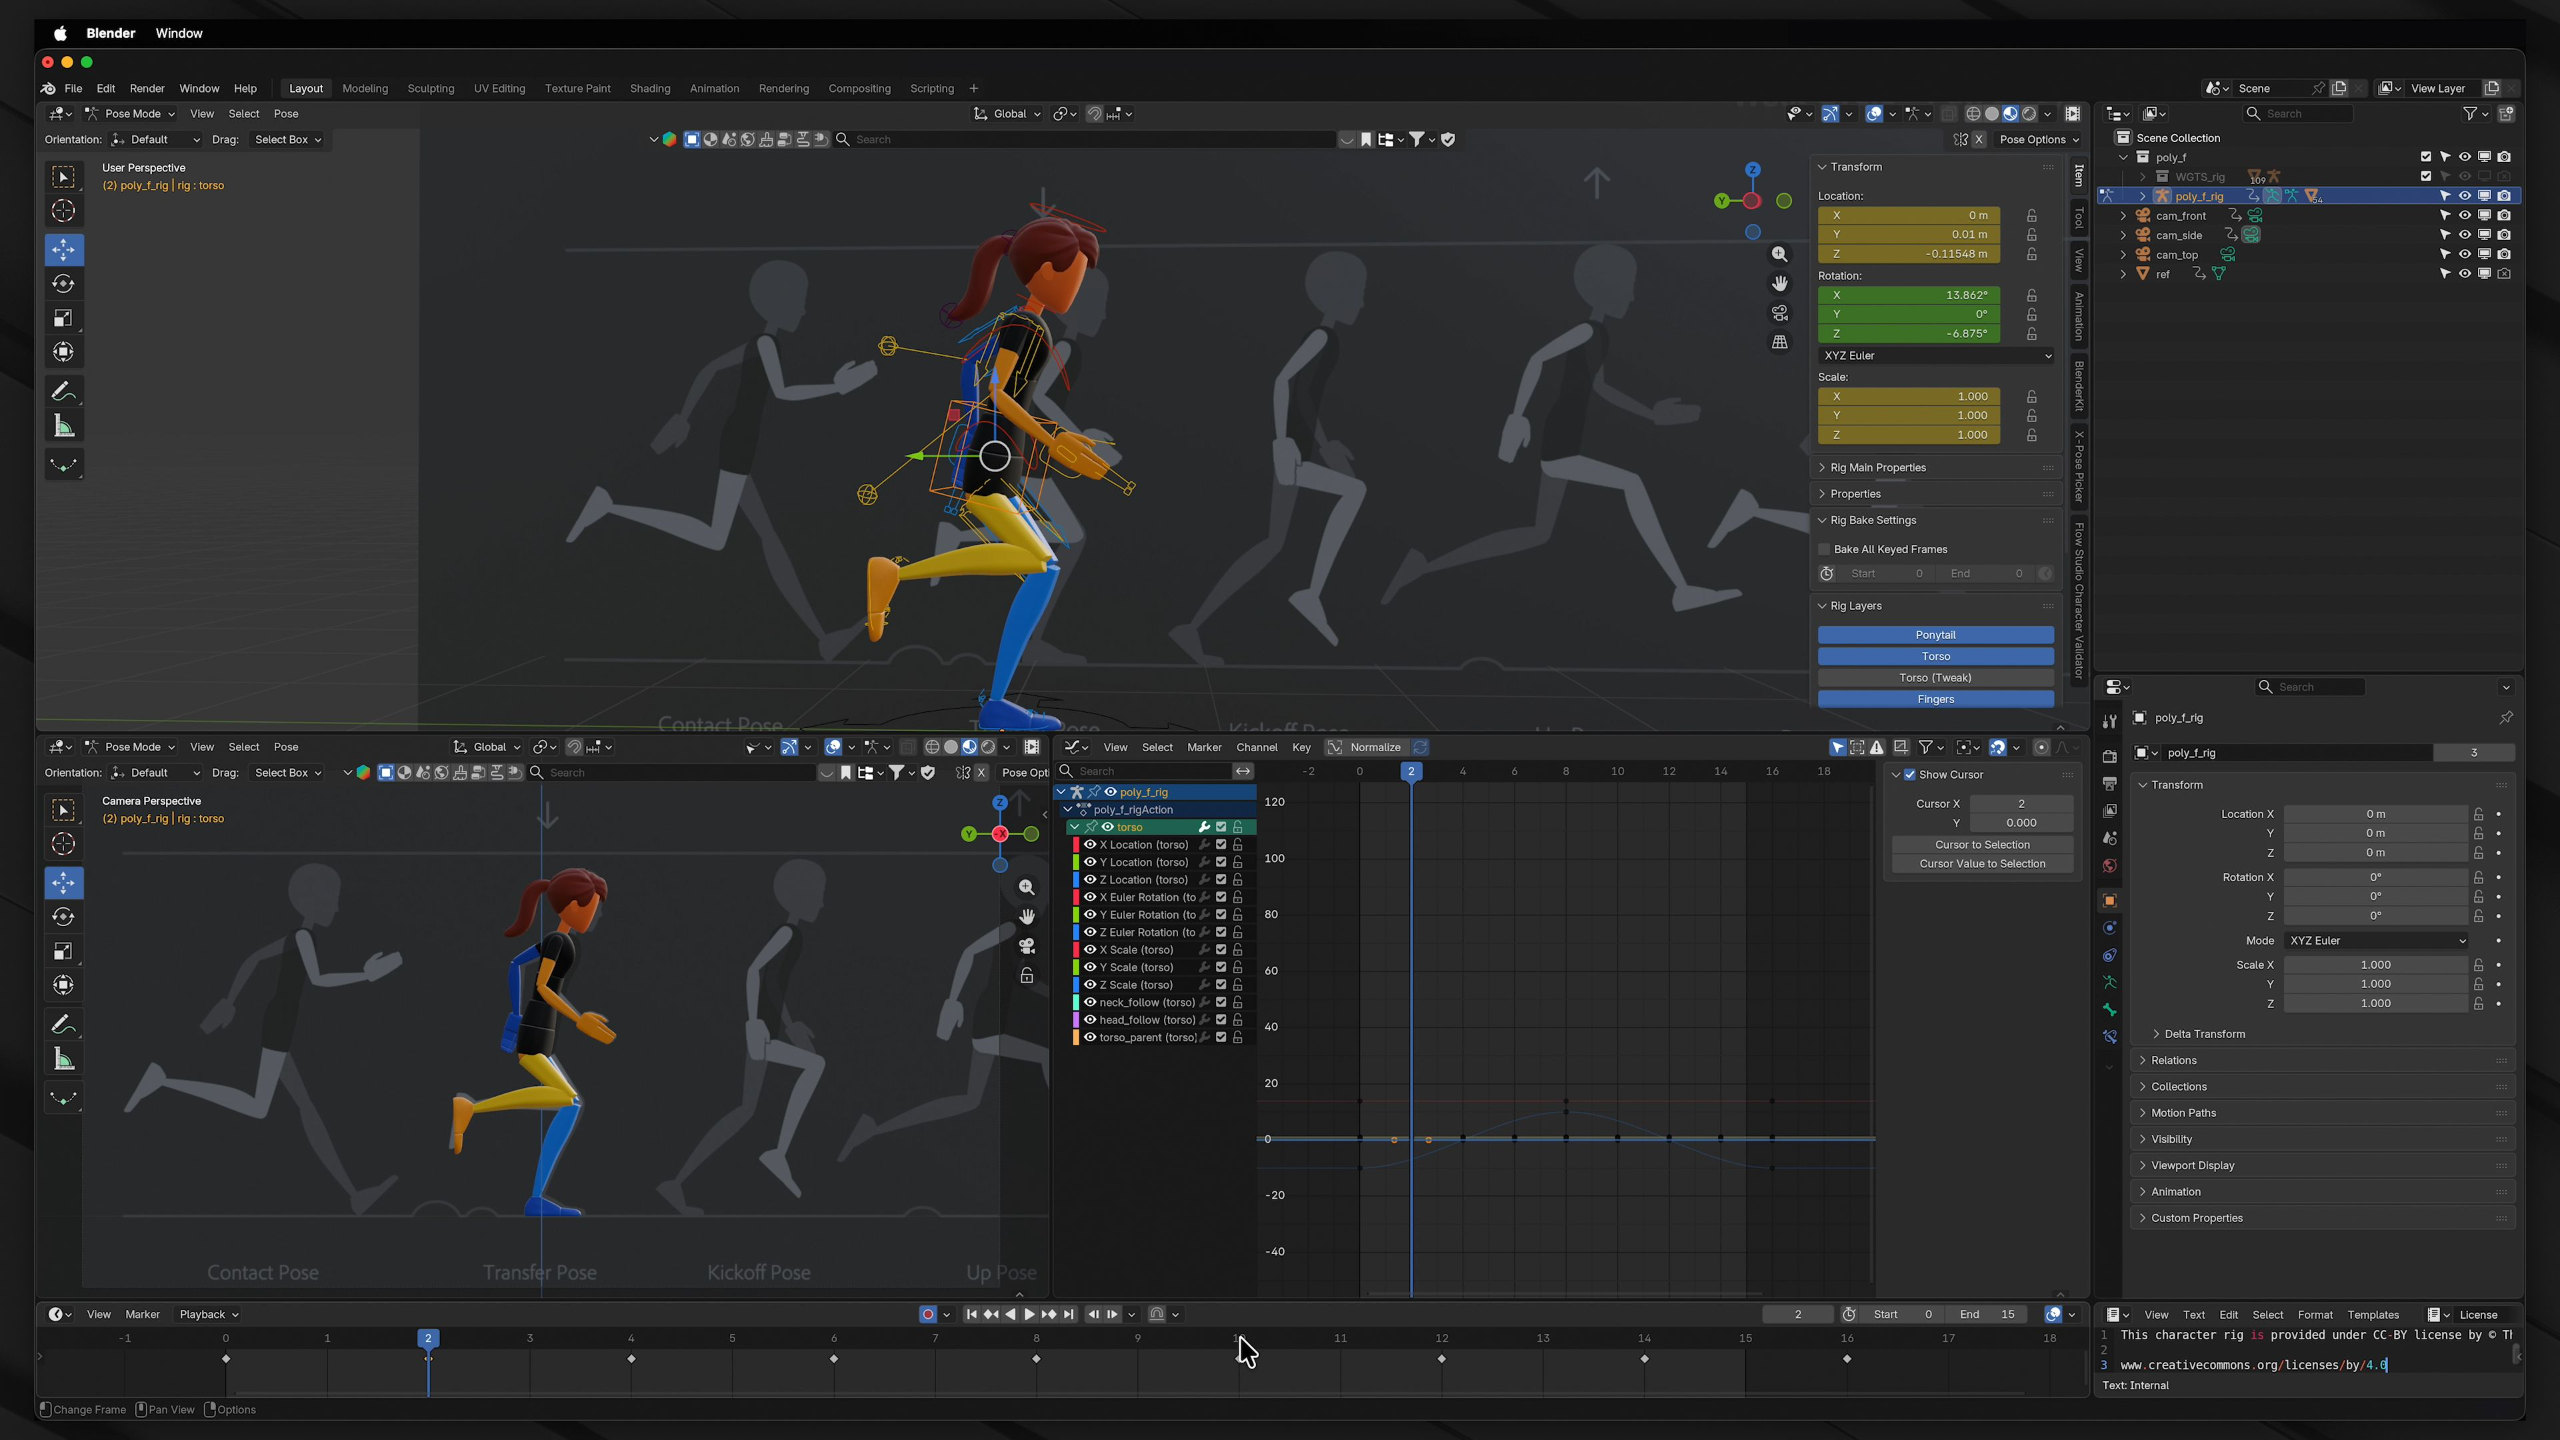
In this lesson, students learn how to create a run cycle by building the key poses that make running different from walking, including contact, kickoff, transfer, and up poses. They’ll refine the torso, hands, head, ponytail, looping, NLA setup, and forward translation so the run feels energetic, balanced, and believable.
Lesson 4: Blocking
In this lesson, students learn how blocking helps them plan character animation by laying out key poses, breakdowns, timing, and camera framing before refining the final motion. They’ll practice using stepped keyframes to rough out action scenes so they can experiment with ideas, solve timing issues early, and build a stronger animation foundation.
Lesson 8: Personality & Polish
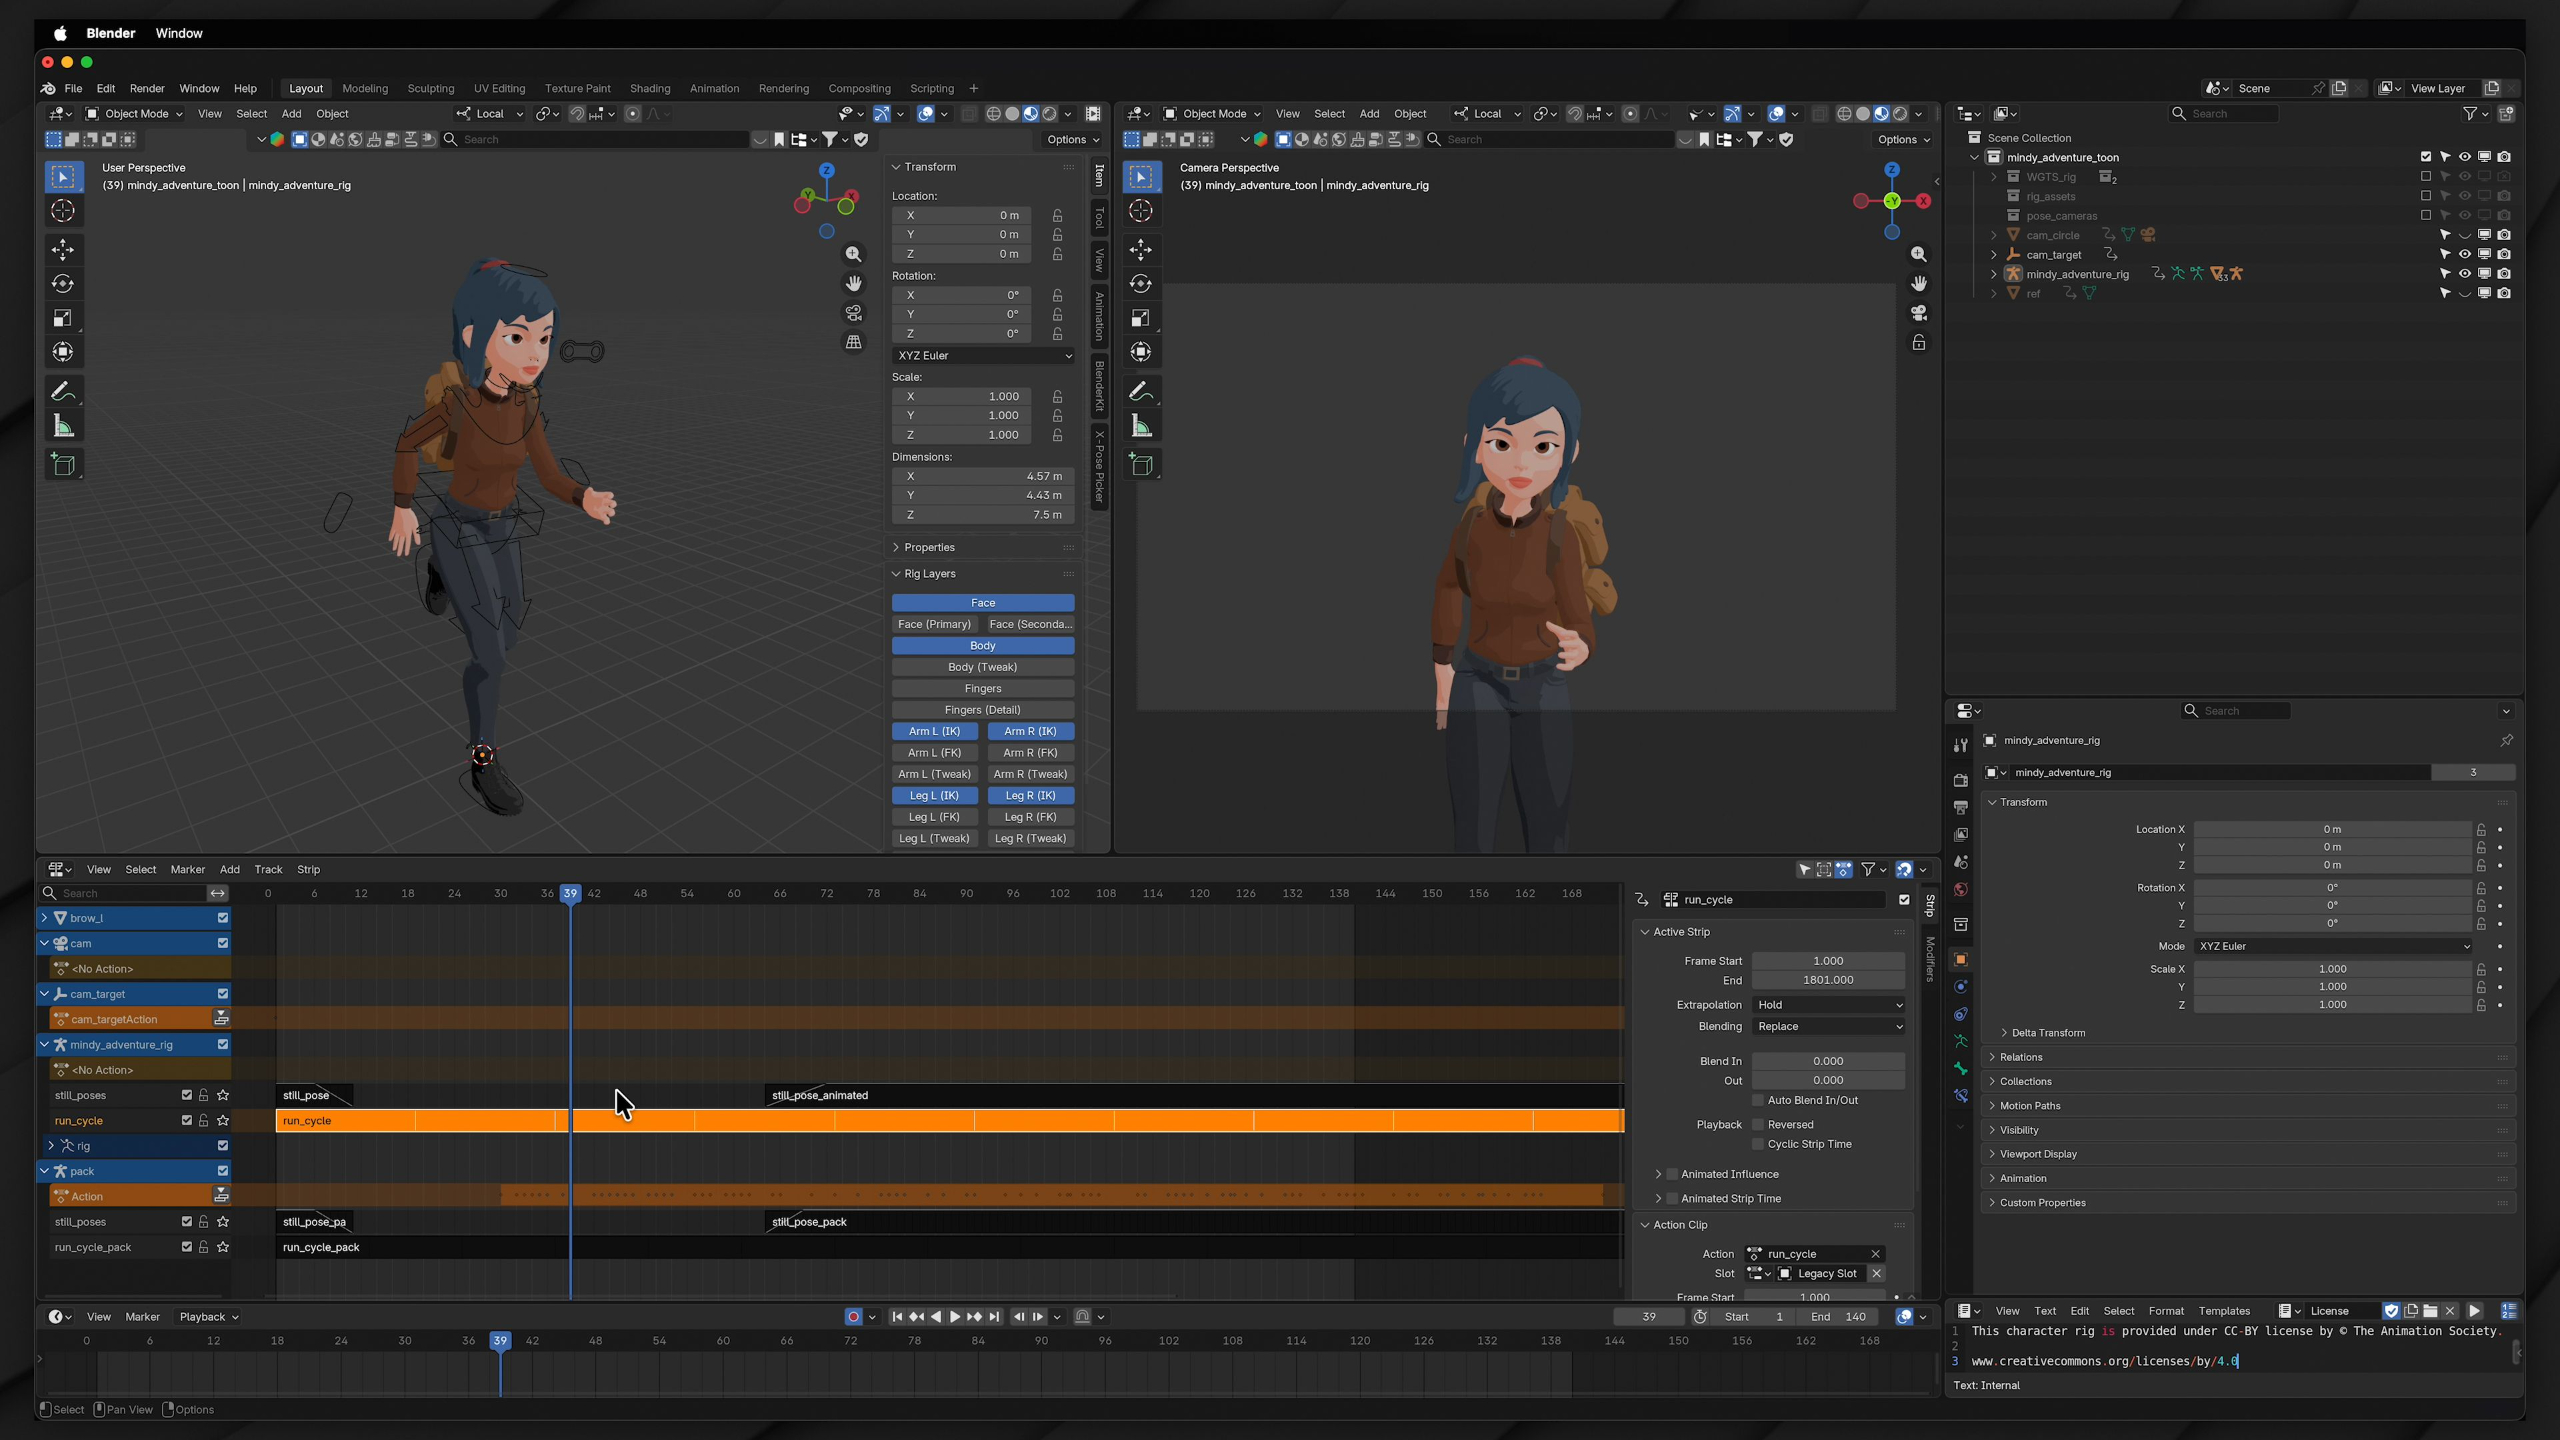
In this lesson, students learn how to add personality and polish to walk and run cycles so character movement feels more unique, expressive, and story-driven. They’ll explore reference, exaggeration, cycle reuse, animation copying, and NLA layering to turn basic locomotion into portfolio-worthy character performance.
Lesson 1: Character Animation Overview
In this lesson, students are introduced to the Fundamental Character Animation module, where they’ll shift from animating objects to bringing character rigs to life. They’ll learn rig controls, posing, blocking, walk cycles, run cycles, personality, and polish so they can build stronger character animation skills in Blender.
Lesson 2: Working w/ Rigs
In this lesson, students get reacquainted with character rigs and explore how different rigs are used throughout The Animation Society curriculum. They’ll review Blender Studio rigs, learn about the TAS character lineup, and begin working with the customizable Poly twins as their main rigs for posing, walk cycles, run cycles, and portfolio practice.
Lesson 3: Poses
In this lesson, students learn how strong character poses start with clear silhouettes that communicate action, balance, personality, and appeal from the camera’s point of view. They’ll create multiple poses with the Poly rigs, refine them through a silhouette view.
Lesson 4: Blocking
In this lesson, students learn how blocking helps them plan character animation by laying out key poses, breakdowns, timing, and camera framing before refining the final motion. They’ll practice using stepped keyframes to rough out action scenes so they can experiment with ideas, solve timing issues early, and build a stronger animation foundation.
Lesson 5: Lower Body Walk Cycle
In this lesson, students learn how to build a lower body walk cycle by focusing on contact poses, transfer poses, timing, hip movement, foot placement, and clean looping mechanics. They’ll refine the walk in the Graph Editor with details like foot slap, leg swing, hip sway, and subtle offsets so the character’s movement feels more natural and believable.
Lesson 6: Full Body Walk Cycle
In this lesson, students build on the lower body walk cycle by animating the arms, torso, head, and full-body weight shifts to create a complete character walk. They’ll refine arcs, offsets, follow-through, looping, timing, and forward translation so the walk feels balanced, natural, and ready to use in more complex character animation.
Lesson 7: Run Cycle
In this lesson, students learn how to create a run cycle by building the key poses that make running different from walking, including contact, kickoff, transfer, and up poses. They’ll refine the torso, hands, head, ponytail, looping, NLA setup, and forward translation so the run feels energetic, balanced, and believable.
Lesson 8: Personality & Polish
In this lesson, students learn how to add personality and polish to walk and run cycles so character movement feels more unique, expressive, and story-driven. They’ll explore reference, exaggeration, cycle reuse, animation copying, and NLA layering to turn basic locomotion into portfolio-worthy character performance.
Module 5: Advanced Body Mechanics (Level II)
Estimated completion time: 6-8 weeks
This module focuses on refining your character animation skills by applying core animation principles to more complex and dynamic movements.
You’ll learn how to use references, improve poses with squash and stretch, create believable motion through anticipation, follow-through, arcs, timing, and secondary action, while also exploring staging, exaggeration, appeal, and dynamic camera work.
Throughout the module, you’ll animate characters in a variety of scenarios to better understand realistic body movement, culminating in a portfolio project that showcases your advanced character animation abilities.
Lesson 1: Body Mechanics Overview
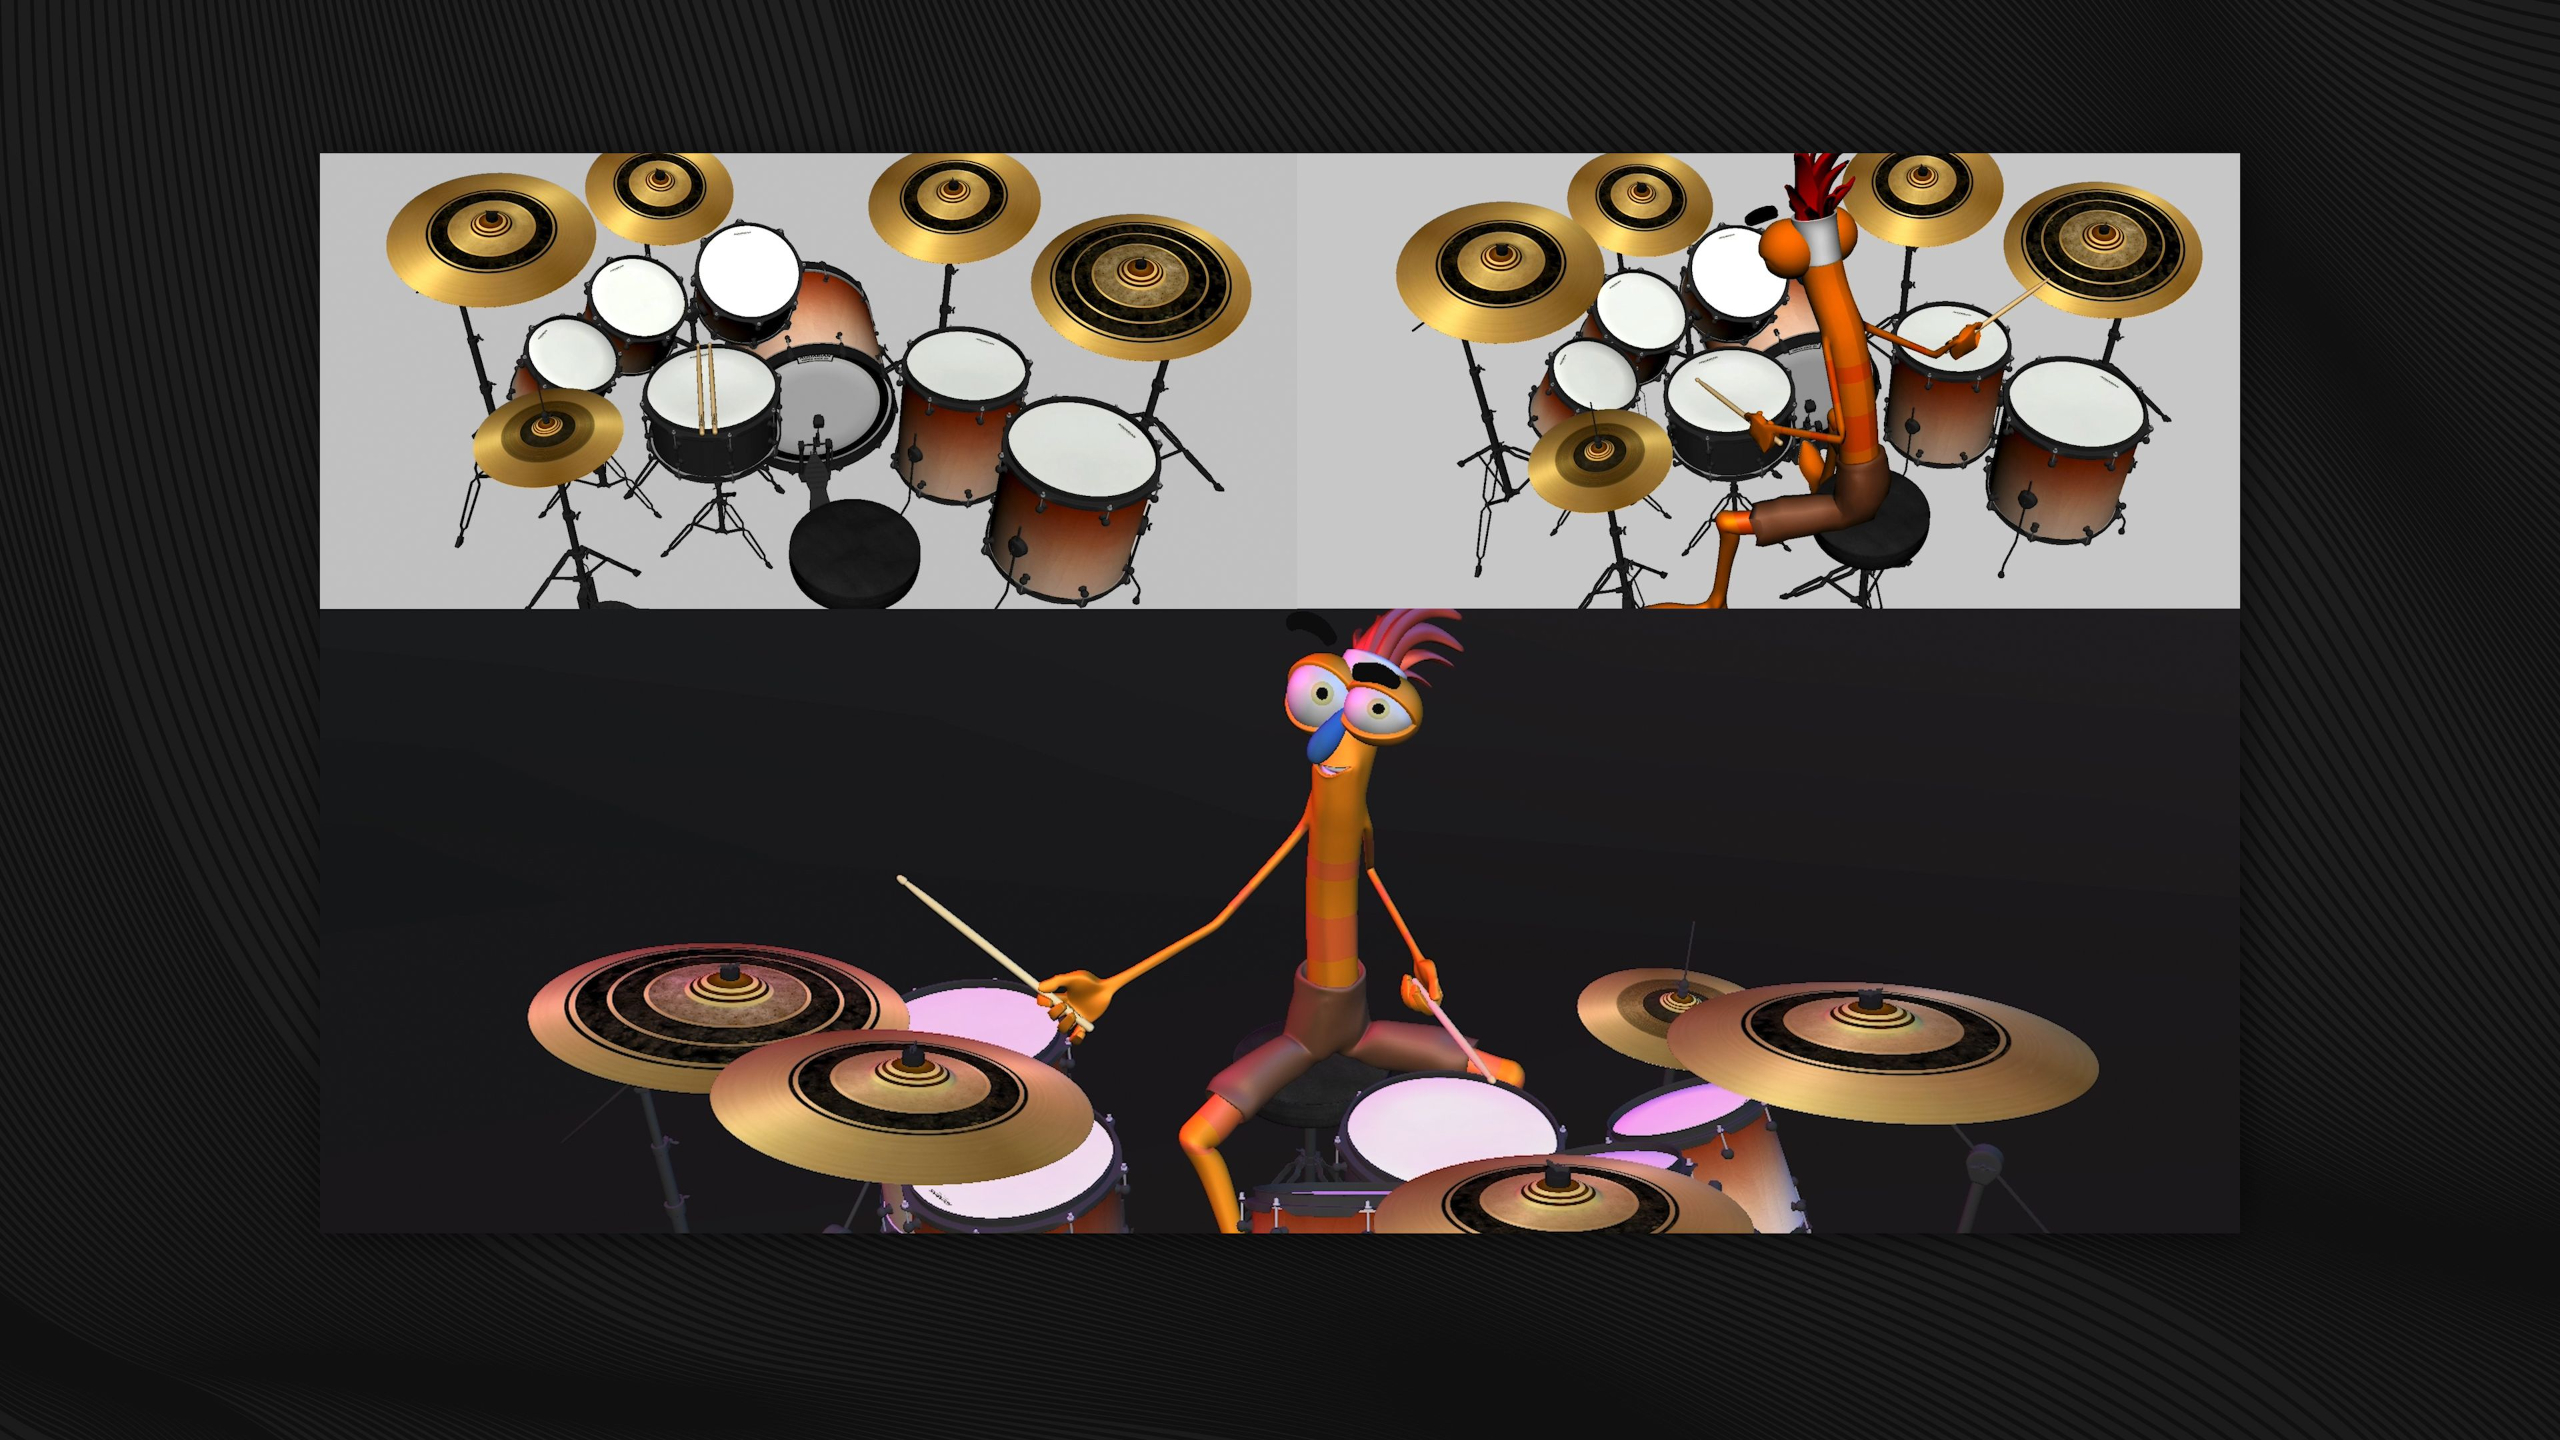
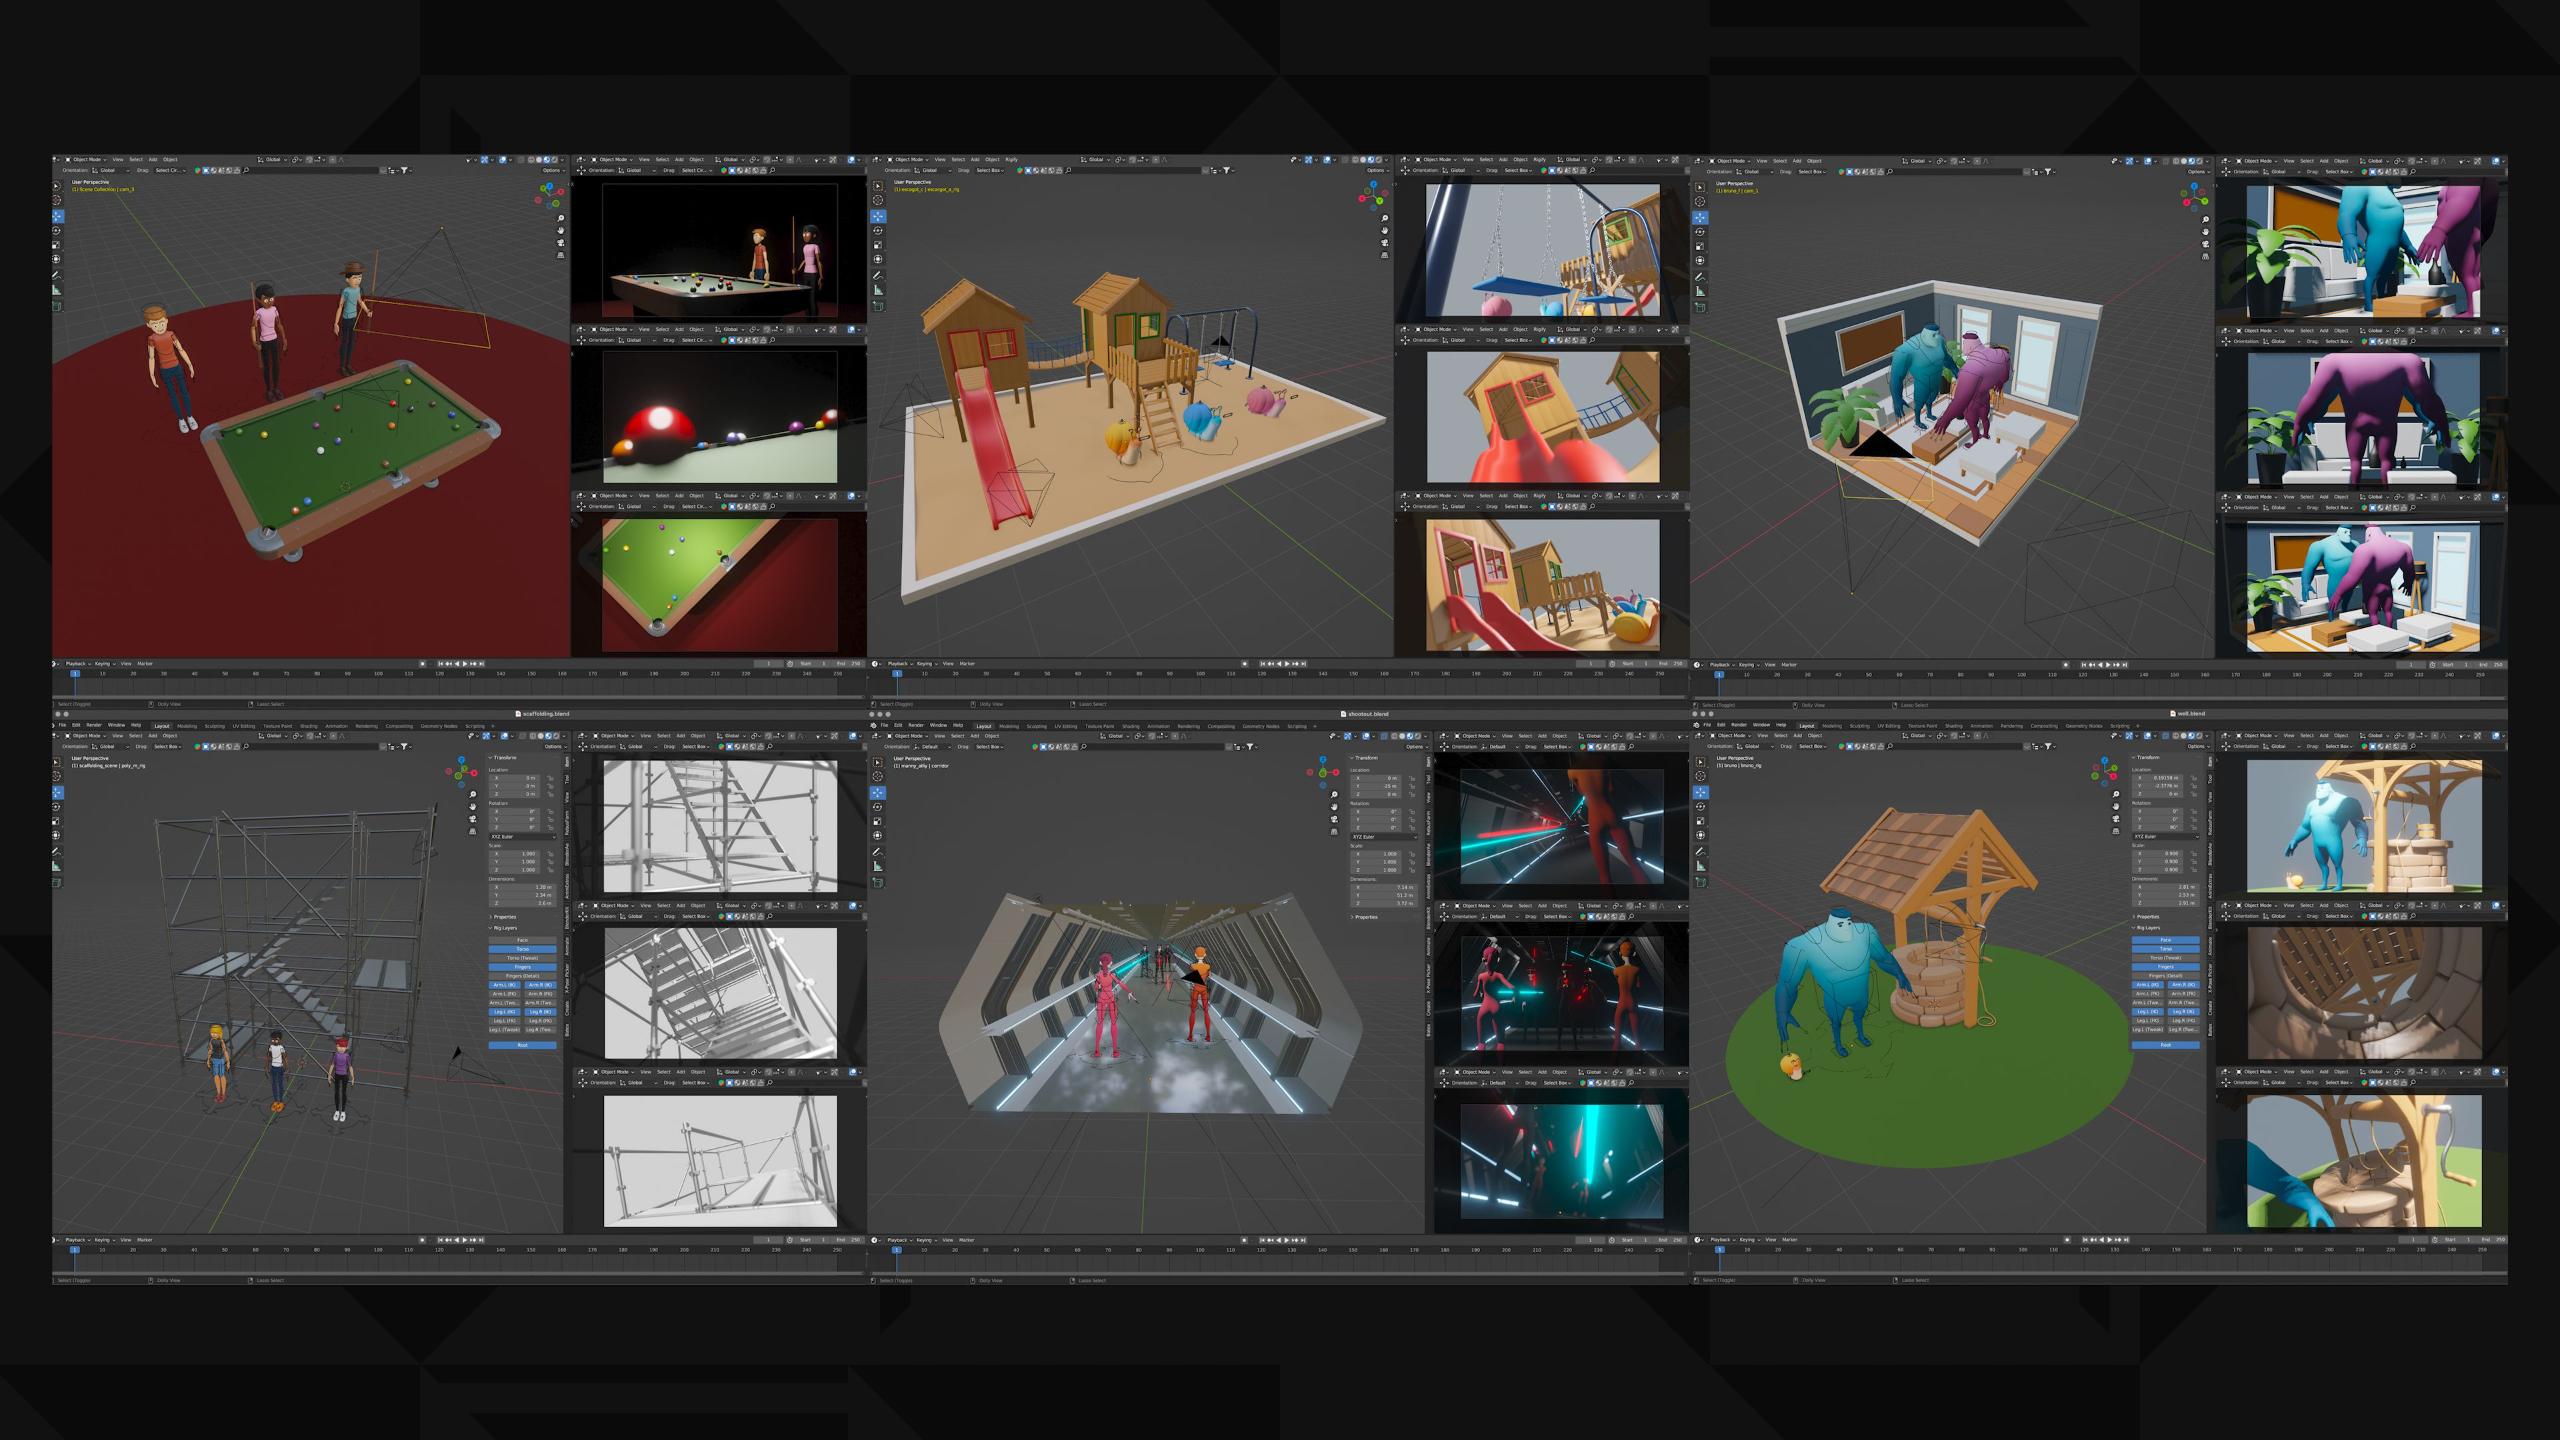
In this lesson, students are introduced to the Advanced Body Mechanics module, where they’ll deepen their character animation skills by applying the animation principles to more complex body movement. They’ll work with new character rigs, explore reference, posing, timing, staging, secondary action, exaggeration, appeal, and dynamic camera movement, then apply those skills to a portfolio-focused body mechanics project.
Lesson 9: Advanced Principles: Timing
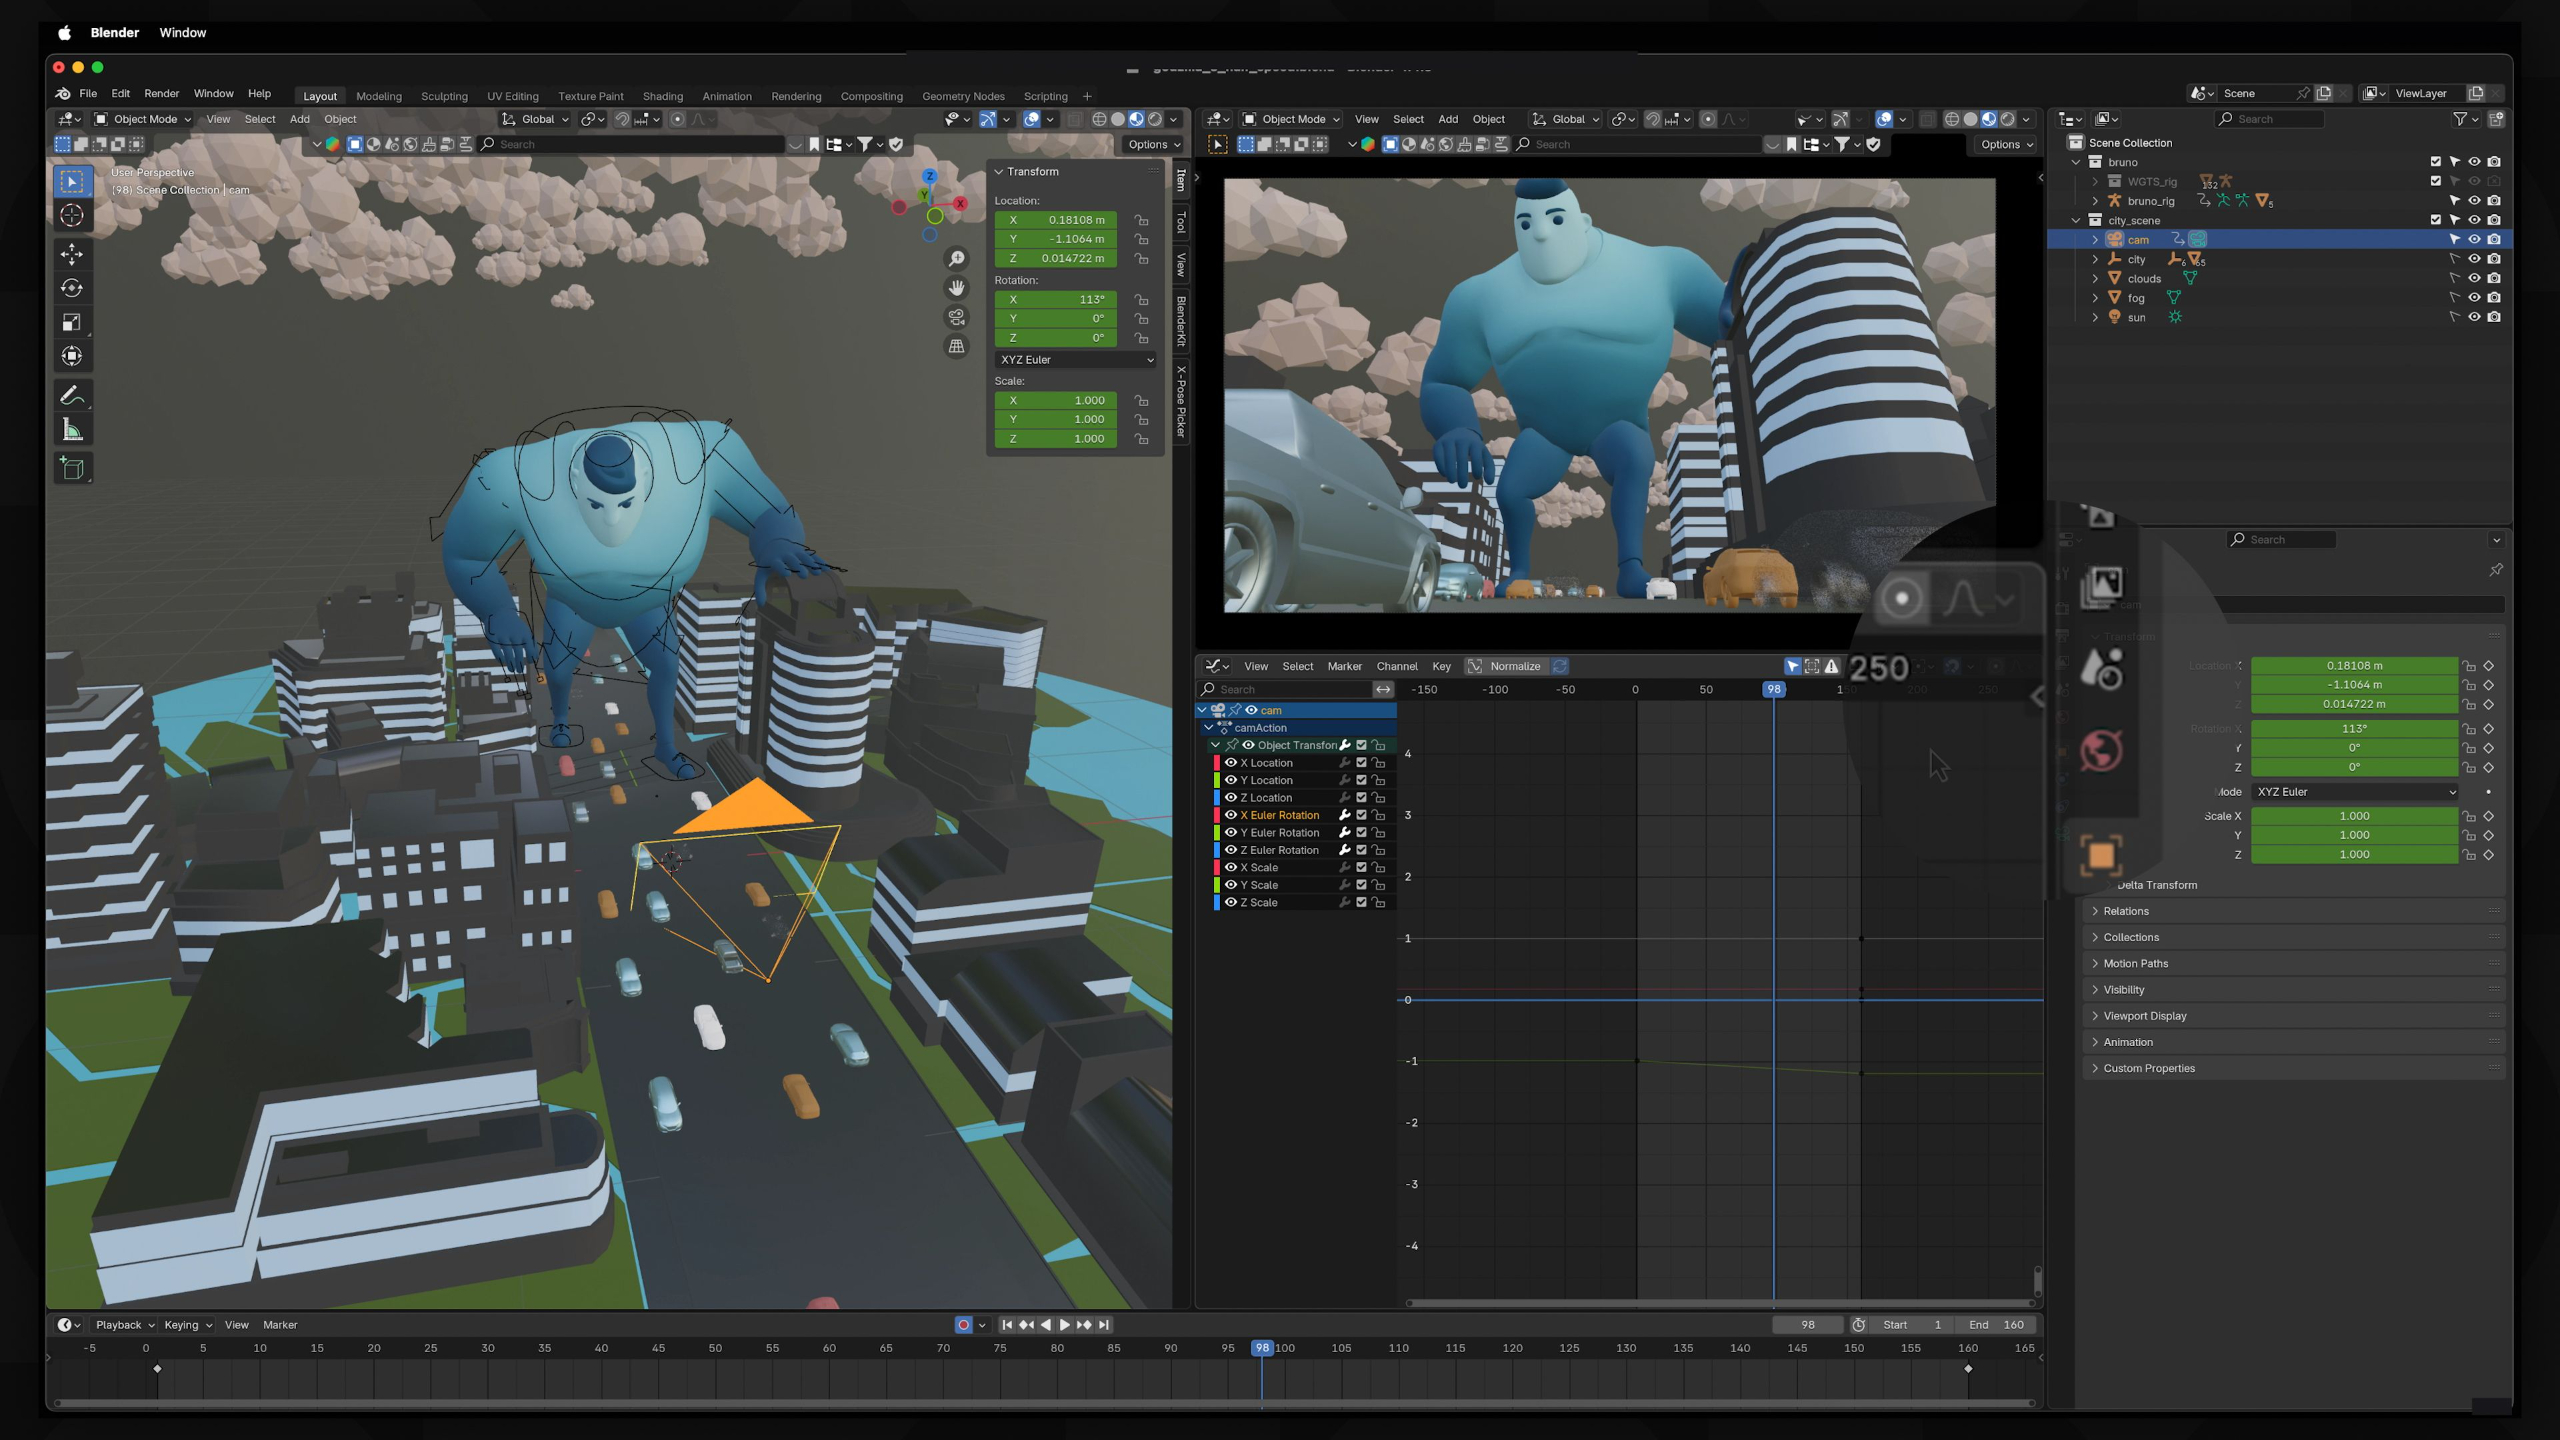
In this lesson, students learn how timing can completely change the perceived scale and weight of a character’s movement. They’ll animate a Godzilla-style character moving through a city, using slower timing, keyframe adjustments, camera shake, and Graph Editor cleanup to make the character feel massive and powerful.
Lesson 2: The Power of References
In this lesson, students learn why reference material is essential for creating believable and appealing character animation. They’ll explore how video references help with posing, timing, weight, arcs, secondary action, and personality, while also learning how to create their own timecoded reference footage for future animation work.
Lesson 10: Advanced Principles: Exaggeration
In this lesson, students learn how exaggeration can push character animation beyond realism to make emotions, reactions, and poses feel more entertaining and expressive. They’ll animate a full-body “eeek!” reaction using reference, strong key poses, timing, Graph Editor cleanup, and pushed rig poses to create a more cartoony and memorable performance.
Lesson 3: Advanced Principles: Arc
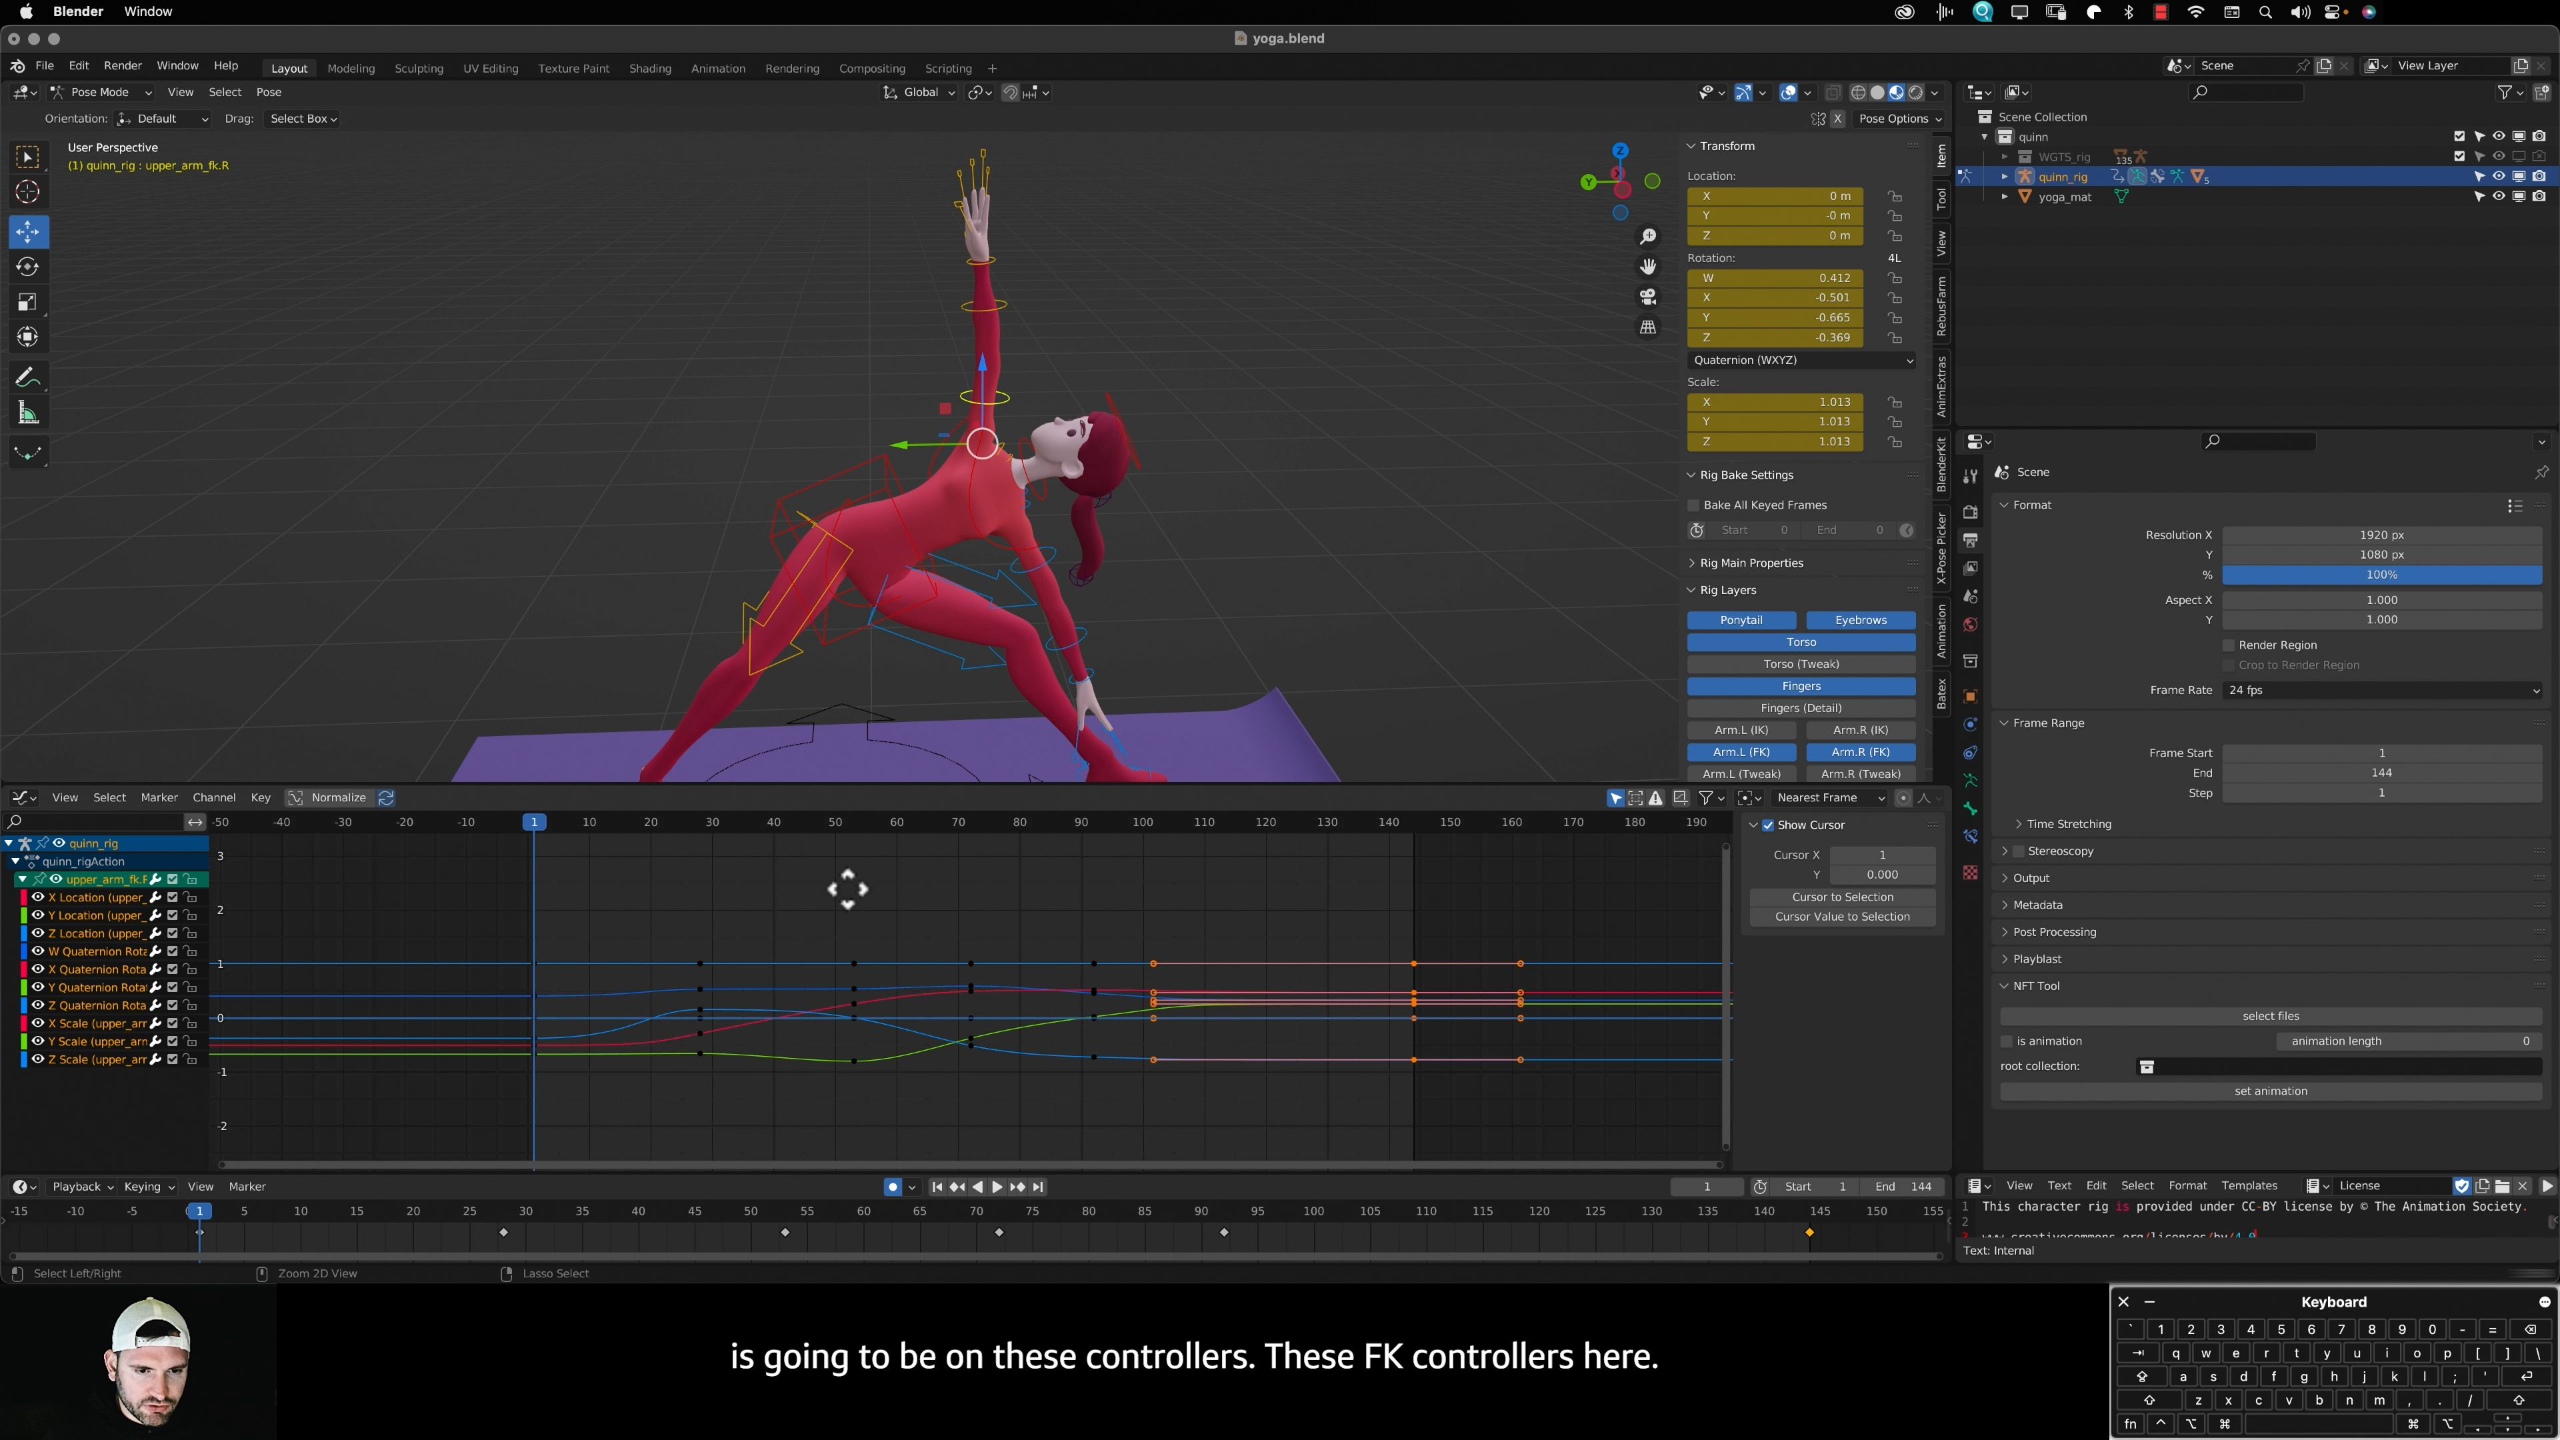
In this lesson, students learn how arcs improve character animation by following the natural curved paths created by the body’s joints and range of motion. They’ll use the Quinn rig, reference footage, onion skinning, and the Graph Editor to animate a yoga sequence with smoother, more believable body movement.
Lesson 11: Advanced Principles: Straight Ahead Action & Pose-to-Pose
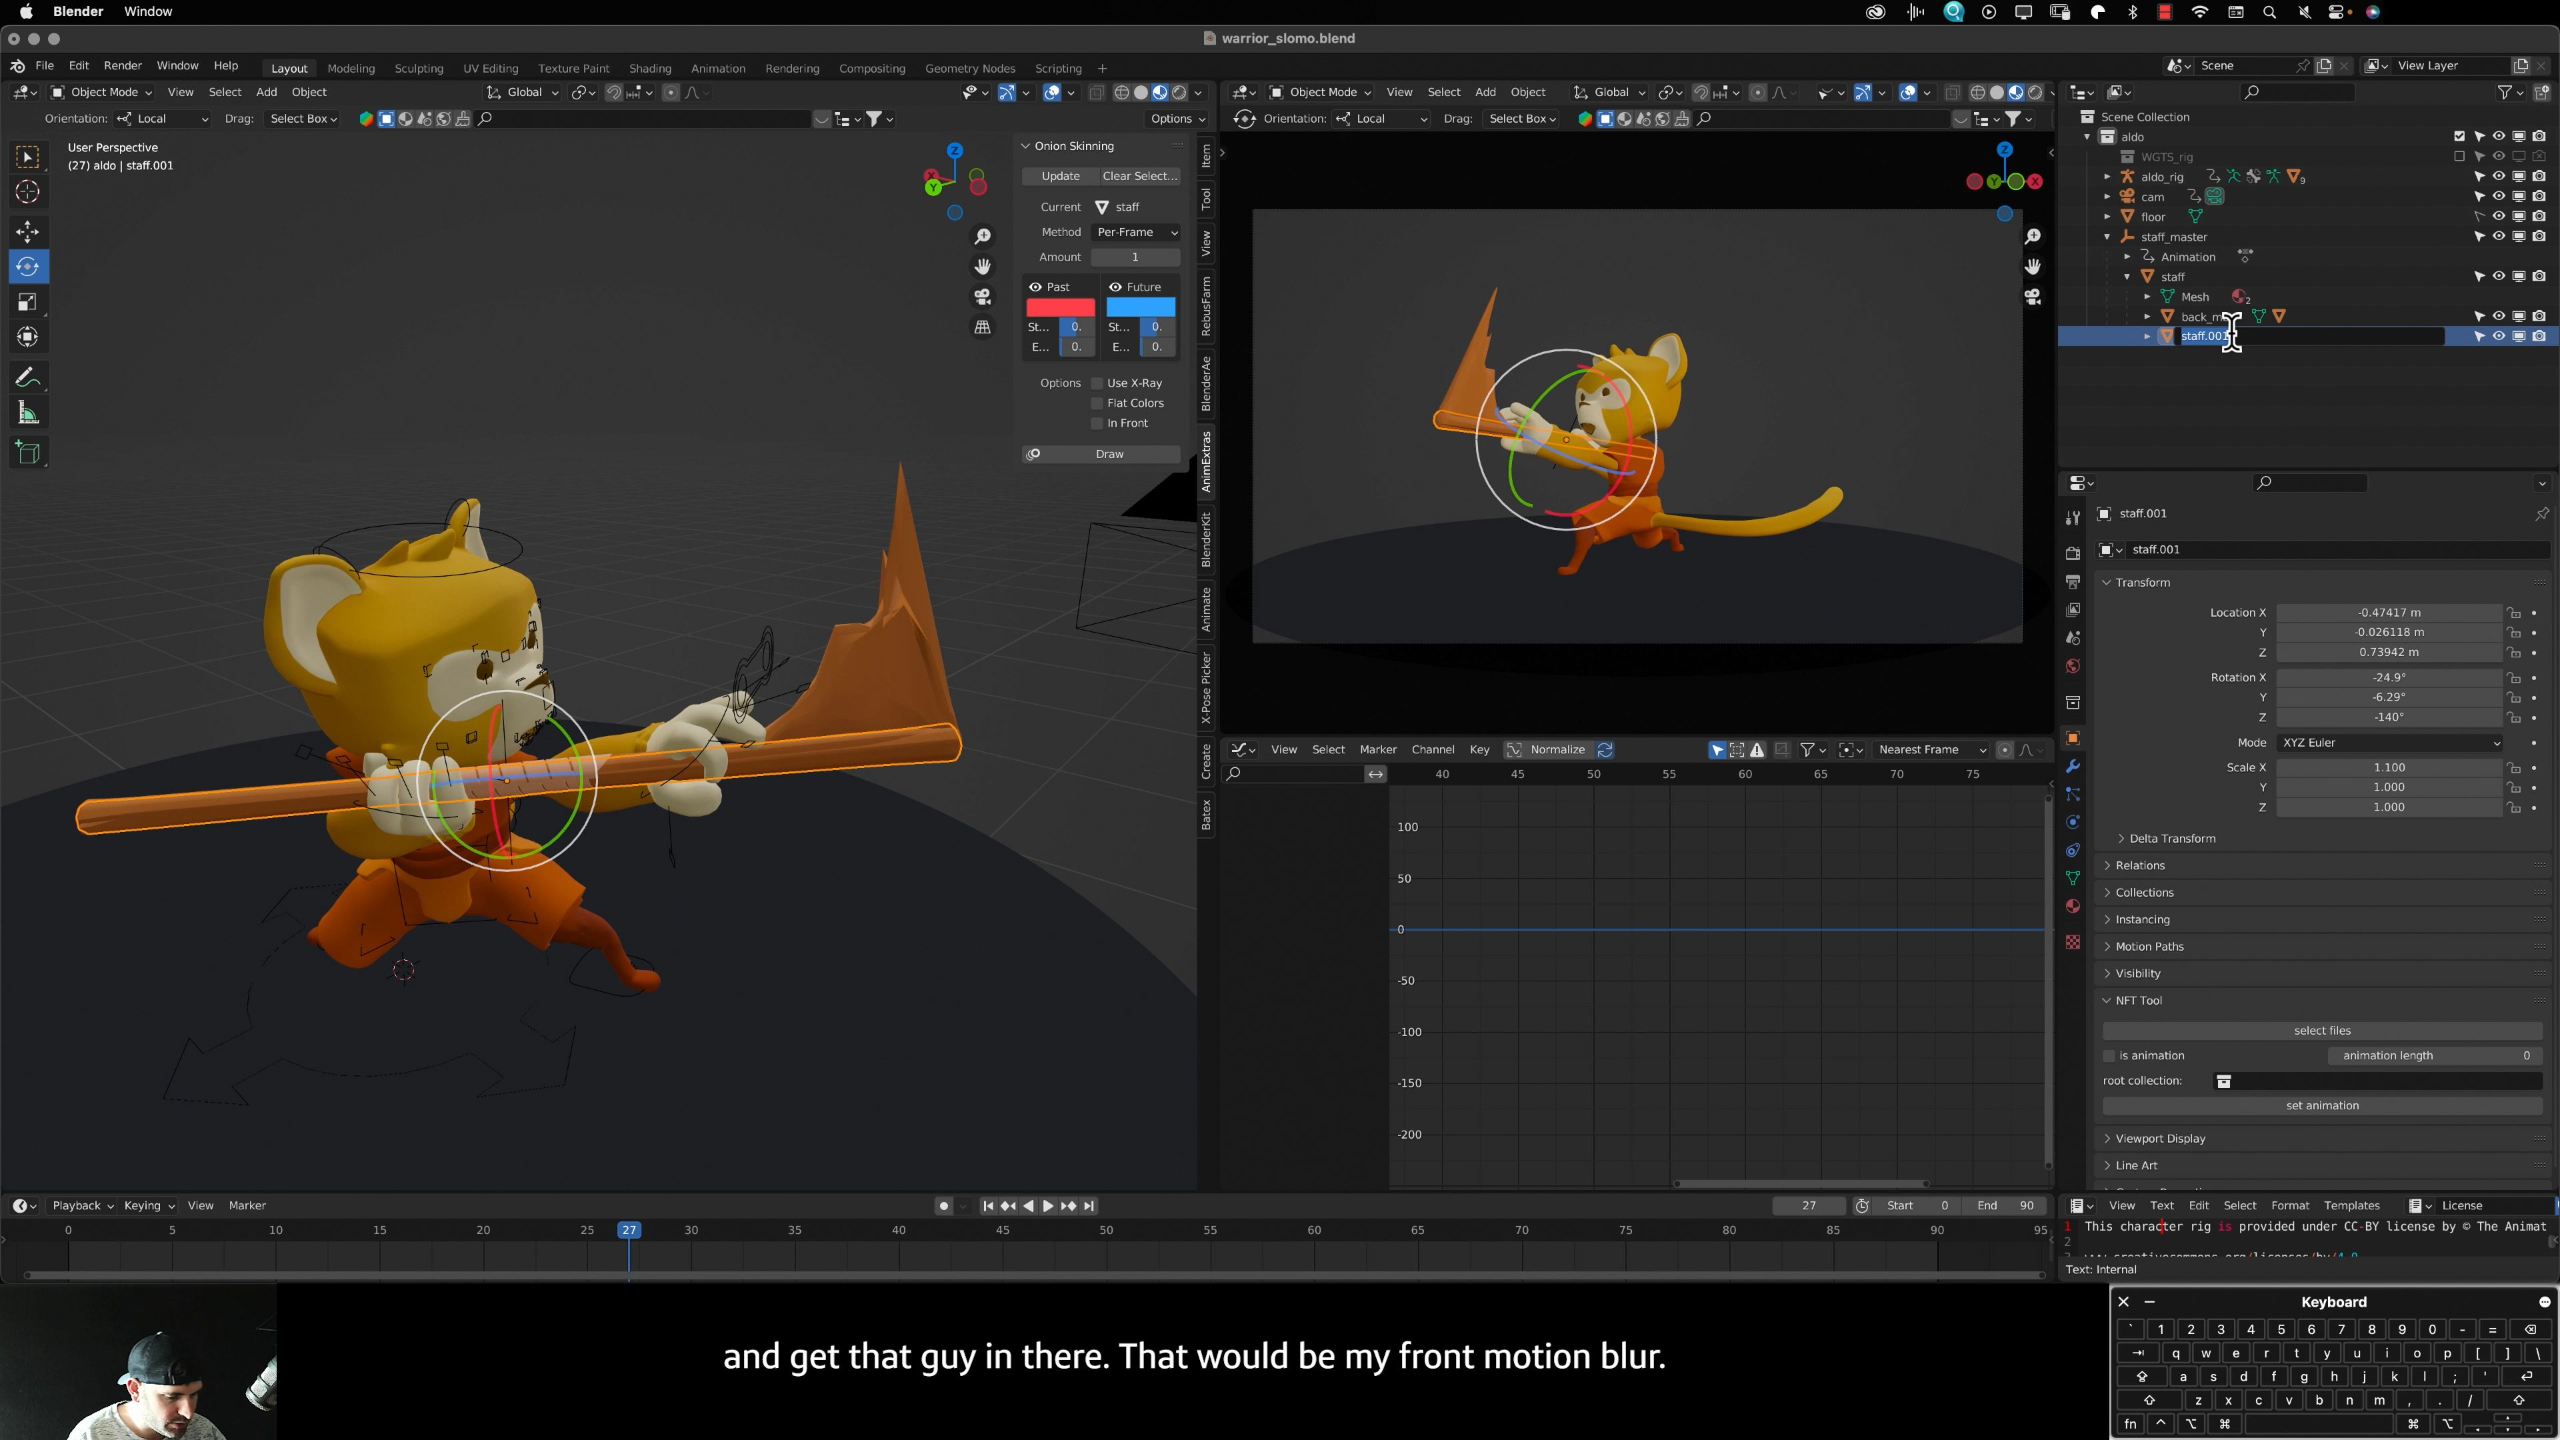
In this lesson, students learn when to use pose-to-pose animation versus straight-ahead action for more complex character movement. They’ll animate a martial arts sequence with the Aldo rig, using blocking, speed ramps, slow motion, Graph Editor cleanup, and even faux motion blur to create a more dynamic action performance.
Lesson 4: Advanced Principles: Anticipation
In this lesson, students learn how anticipation helps prepare the audience for a character’s next action by showing a build-up of energy before the movement happens. They’ll animate Bruno sitting, standing, stretching, and sitting back down while using reference, breakdown poses, and Graph Editor cleanup to make the performance feel more believable and expressive.
Lesson 12: Advanced Principles: Appeal
In this lesson, students learn how appeal helps make animation more interesting, expressive, and memorable, even when the scene itself is simple. They’ll animate a bus stop scenario using reference, creative character choices, blocking, breakdowns, and Graph Editor cleanup to turn an ordinary moment into a more engaging performance.
Lesson 5: Advanced Principles: Slow In / Slow Out
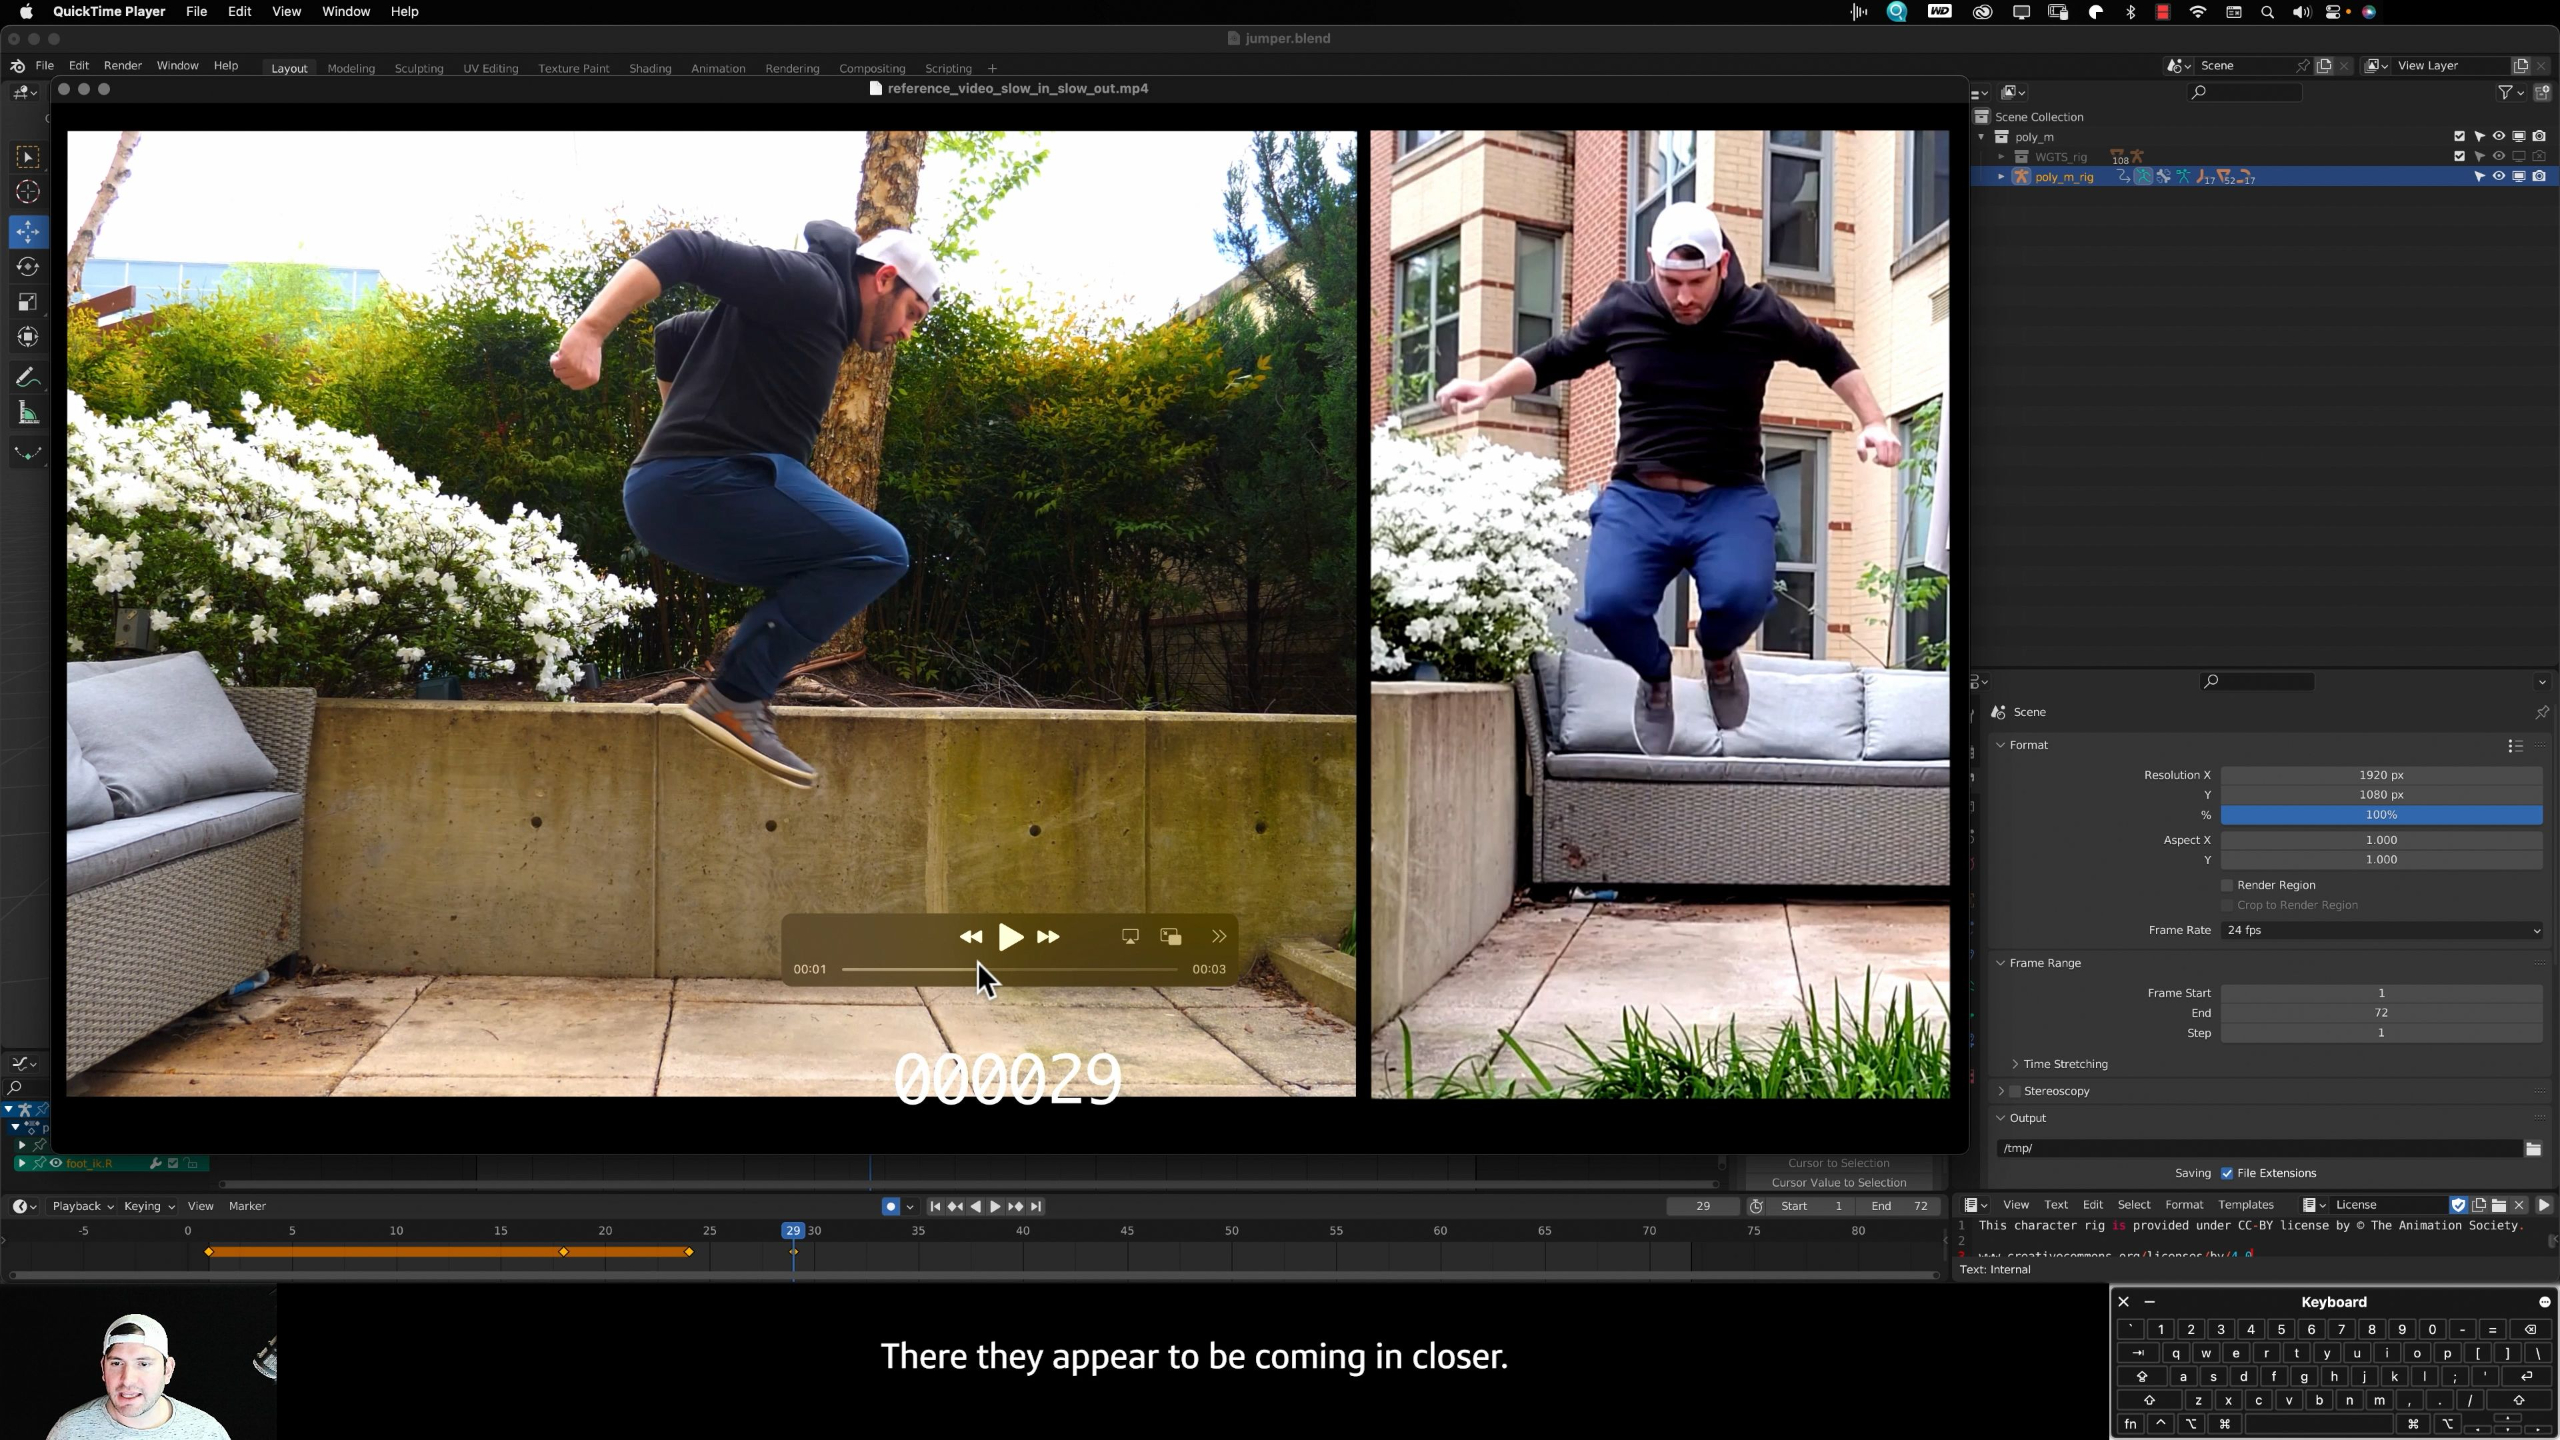
In this lesson, students learn how slow-in and slow-out helps character animation feel more realistic by showing acceleration, deceleration, and the buildup and release of momentum. They’ll animate a forward jump using reference, key poses, breakdowns, and Graph Editor cleanup so the character’s takeoff and landing feel believable and controlled.
Lesson 13: Advanced Principles: Staging
In this lesson, students learn how staging guides the viewer’s attention by controlling where characters, objects, action, and cameras are placed within a scene. They’ll practice both framing scenes with camera shots and arranging characters or scenery inside existing shots so each moment is clear, readable, and visually engaging.
Lesson 6: Advanced Principles: Squash & Stretch
In this lesson, students learn how squash and stretch can make character animation feel more organic, flexible, and visually expressive. They’ll animate a sneaky burglar performance using the Manny rig, pushing poses and maintaining volume to create motion that feels dynamic, playful, and full of personality.
Lesson 14: Camera as a Character
In this lesson, students learn how to treat the camera as part of the performance, using lens choices, framing, depth of field, shot types, and movement to strengthen their animation. They’ll revisit work from the module and rework the camera to improve staging, focus, and overall portfolio presentation.
Lesson 7: Advanced Principles: Follow-Through & Overlapping Action
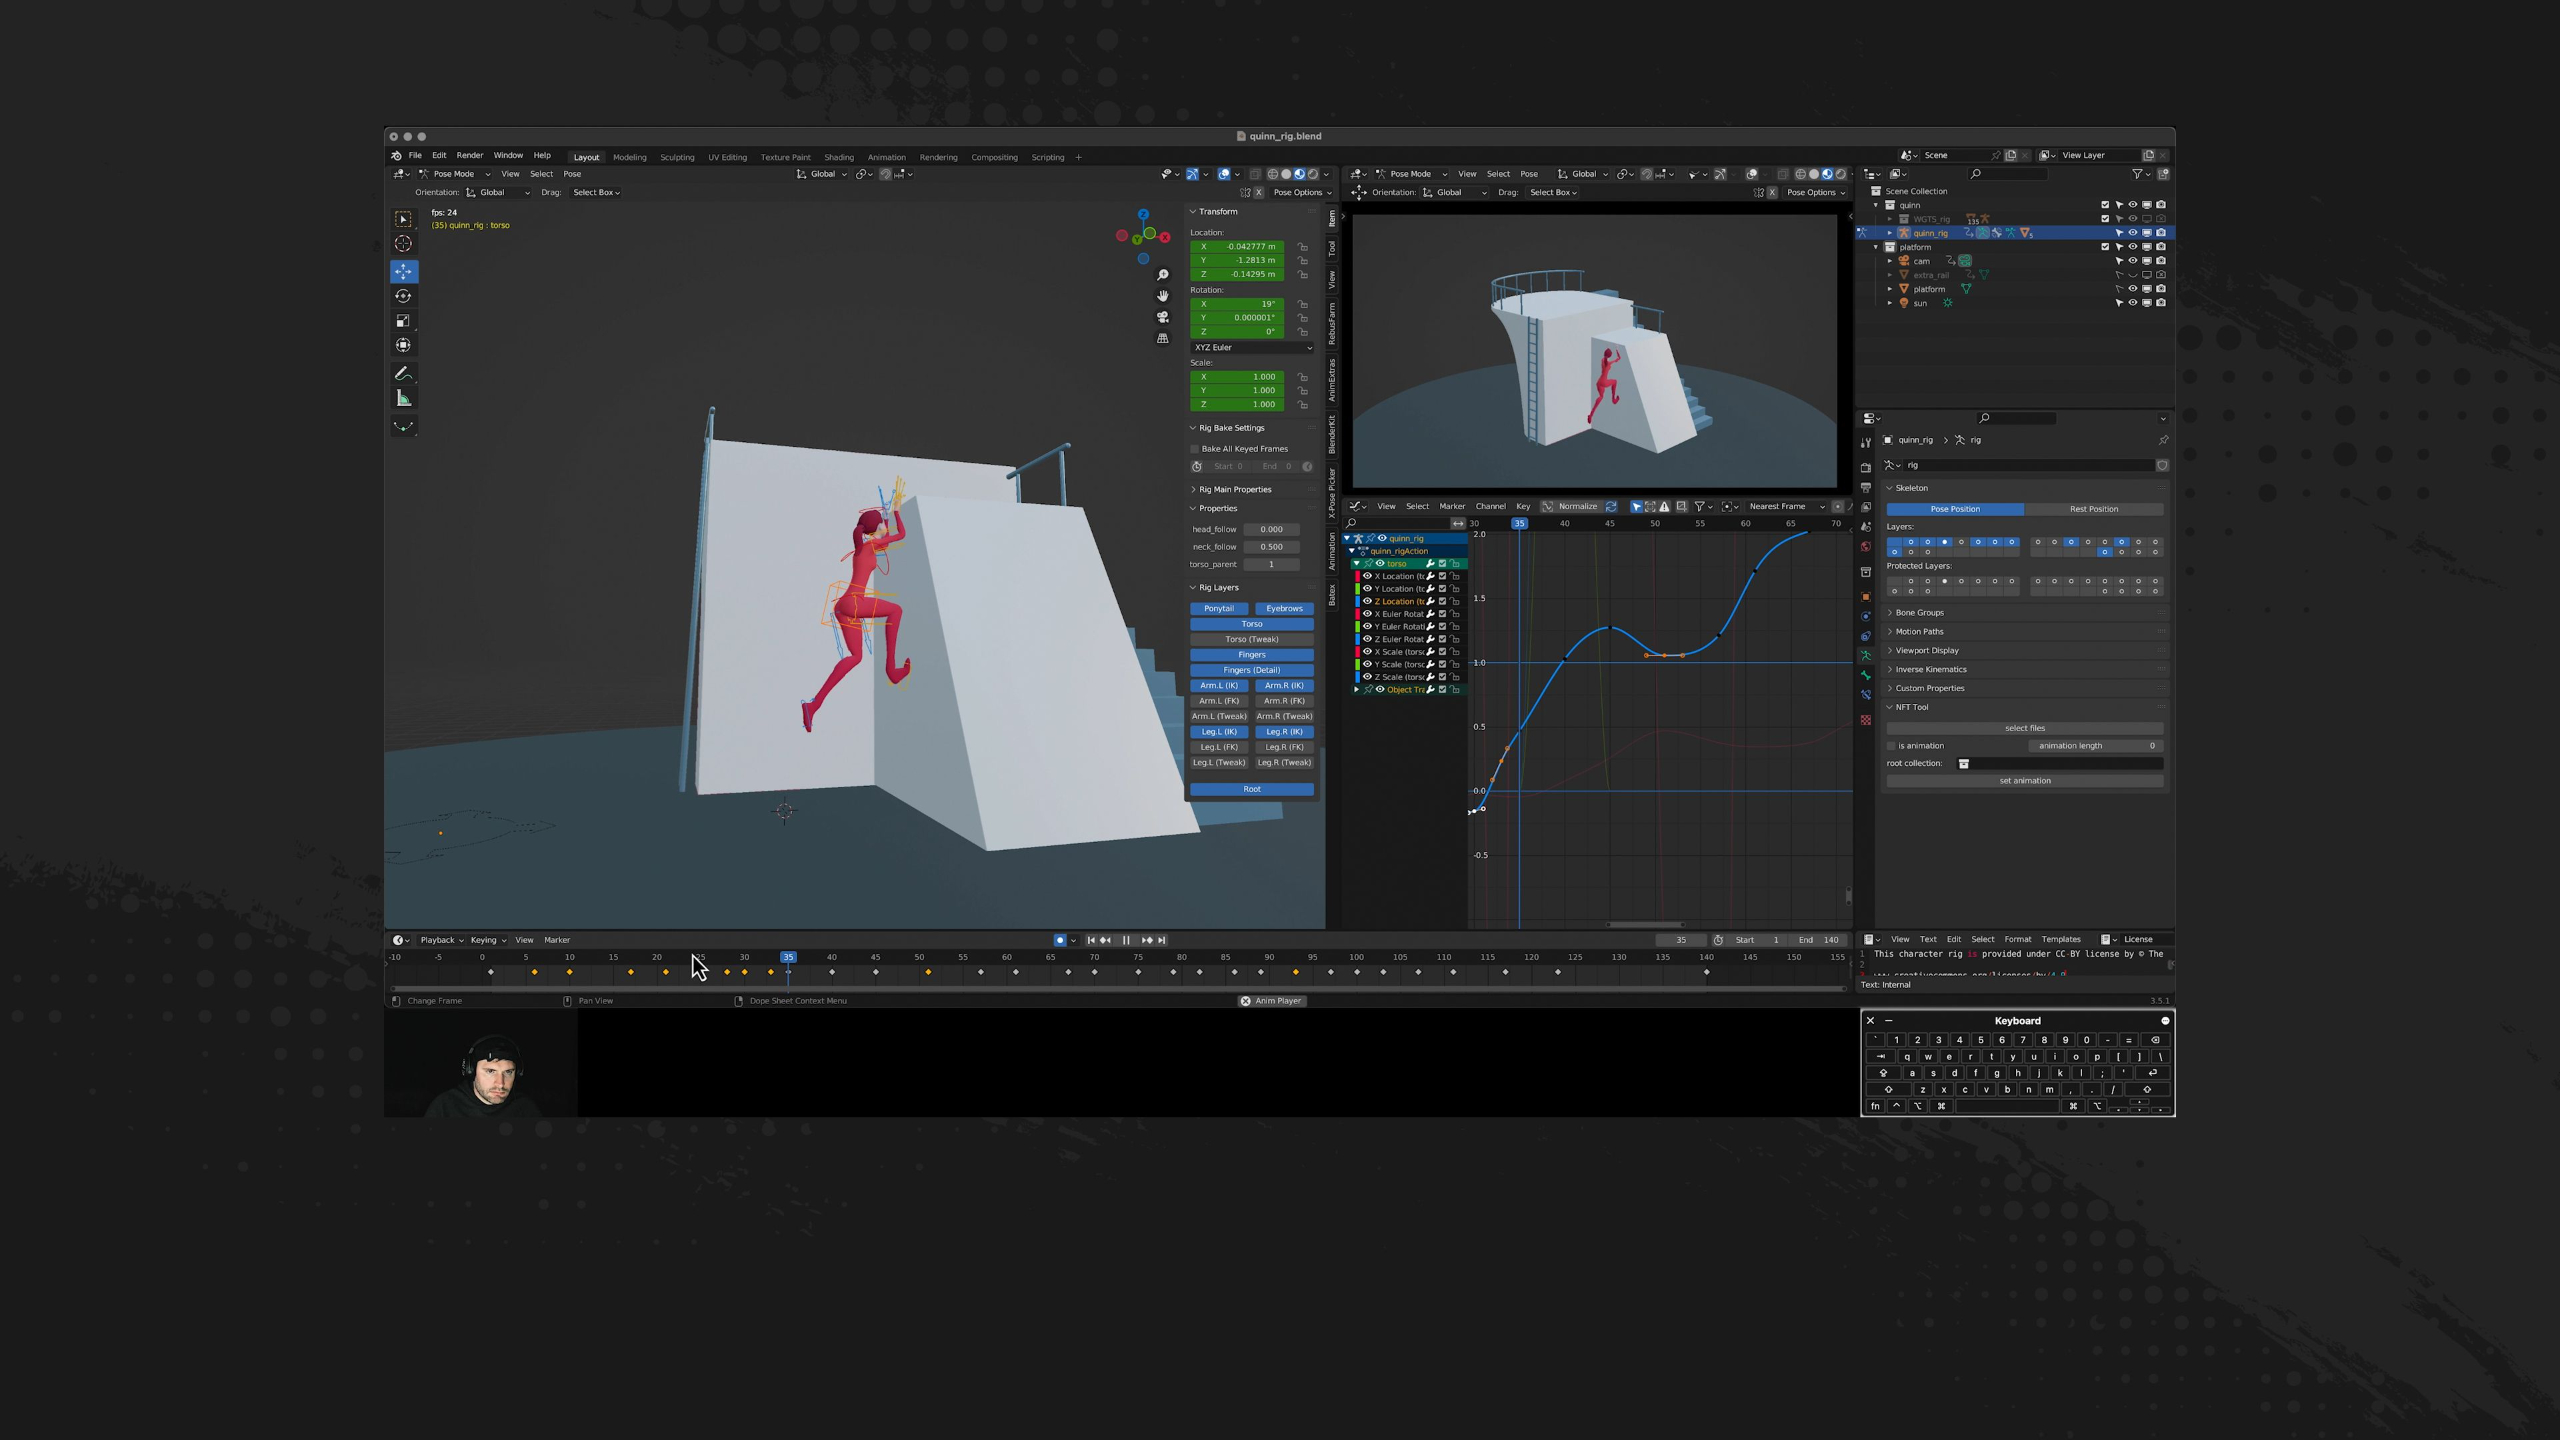
In this lesson, students learn how follow-through and overlapping action help character movement feel heavier, more forceful, and more believable. They’ll animate a boxing performance with the Quinn rig, using reference, blocking, curve cleanup, and delayed body motion to show how different parts of the body lead, drag, and react during a punch.
Portfolio Project: Hardcore Parkour
In this final portfolio project, students bring together everything they’ve learned in Advanced Body Mechanics by animating a short parkour sequence through an obstacle course. They’ll use character rigs, reference, staging, camera choices, and key animation principles like arcs, anticipation, timing, squash and stretch, follow-through, and appeal to create a dynamic piece for their portfolio.
Lesson 8: Advanced Principles: Secondary Action
In this lesson, students learn how secondary action adds personality, detail, and emotional context to a character’s main movement. They’ll animate a heavy lift performance, focusing first on believable body mechanics and then adding supporting actions that reveal the character’s effort, attitude, and thought process.
Lesson 1: Body Mechanics Overview
In this lesson, students are introduced to the Advanced Body Mechanics module, where they’ll deepen their character animation skills by applying the animation principles to more complex body movement. They’ll work with new character rigs, explore reference, posing, timing, staging, secondary action, exaggeration, appeal, and dynamic camera movement, then apply those skills to a portfolio-focused body mechanics project.
Lesson 2: The Power of References
In this lesson, students learn why reference material is essential for creating believable and appealing character animation. They’ll explore how video references help with posing, timing, weight, arcs, secondary action, and personality, while also learning how to create their own timecoded reference footage for future animation work.
Lesson 3: Advanced Principles: Arc
In this lesson, students learn how arcs improve character animation by following the natural curved paths created by the body’s joints and range of motion. They’ll use the Quinn rig, reference footage, onion skinning, and the Graph Editor to animate a yoga sequence with smoother, more believable body movement.
Lesson 4: Advanced Principles: Anticipation
In this lesson, students learn how anticipation helps prepare the audience for a character’s next action by showing a build-up of energy before the movement happens. They’ll animate Bruno sitting, standing, stretching, and sitting back down while using reference, breakdown poses, and Graph Editor cleanup to make the performance feel more believable and expressive.
Lesson 5: Advanced Principles: Slow In / Slow Out
In this lesson, students learn how slow-in and slow-out helps character animation feel more realistic by showing acceleration, deceleration, and the buildup and release of momentum. They’ll animate a forward jump using reference, key poses, breakdowns, and Graph Editor cleanup so the character’s takeoff and landing feel believable and controlled.
Lesson 6: Advanced Principles: Squash & Stretch
In this lesson, students learn how squash and stretch can make character animation feel more organic, flexible, and visually expressive. They’ll animate a sneaky burglar performance using the Manny rig, pushing poses and maintaining volume to create motion that feels dynamic, playful, and full of personality.
Lesson 7: Advanced Principles: Follow-Through & Overlapping Action
In this lesson, students learn how follow-through and overlapping action help character movement feel heavier, more forceful, and more believable. They’ll animate a boxing performance with the Quinn rig, using reference, blocking, curve cleanup, and delayed body motion to show how different parts of the body lead, drag, and react during a punch.
Lesson 8: Advanced Principles: Secondary Action
In this lesson, students learn how secondary action adds personality, detail, and emotional context to a character’s main movement. They’ll animate a heavy lift performance, focusing first on believable body mechanics and then adding supporting actions that reveal the character’s effort, attitude, and thought process.
Lesson 9: Advanced Principles: Timing
In this lesson, students learn how timing can completely change the perceived scale and weight of a character’s movement. They’ll animate a Godzilla-style character moving through a city, using slower timing, keyframe adjustments, camera shake, and Graph Editor cleanup to make the character feel massive and powerful.
Lesson 10: Advanced Principles: Exaggeration
In this lesson, students learn how exaggeration can push character animation beyond realism to make emotions, reactions, and poses feel more entertaining and expressive. They’ll animate a full-body “eeek!” reaction using reference, strong key poses, timing, Graph Editor cleanup, and pushed rig poses to create a more cartoony and memorable performance.
Lesson 11: Advanced Principles: Straight Ahead Action & Pose-to-Pose
In this lesson, students learn when to use pose-to-pose animation versus straight-ahead action for more complex character movement. They’ll animate a martial arts sequence with the Aldo rig, using blocking, speed ramps, slow motion, Graph Editor cleanup, and even faux motion blur to create a more dynamic action performance.
Lesson 12: Advanced Principles: Appeal
In this lesson, students learn how appeal helps make animation more interesting, expressive, and memorable, even when the scene itself is simple. They’ll animate a bus stop scenario using reference, creative character choices, blocking, breakdowns, and Graph Editor cleanup to turn an ordinary moment into a more engaging performance.
Lesson 13: Advanced Principles: Staging
In this lesson, students learn how staging guides the viewer’s attention by controlling where characters, objects, action, and cameras are placed within a scene. They’ll practice both framing scenes with camera shots and arranging characters or scenery inside existing shots so each moment is clear, readable, and visually engaging.
Lesson 14: Camera as a Character
In this lesson, students learn how to treat the camera as part of the performance, using lens choices, framing, depth of field, shot types, and movement to strengthen their animation. They’ll revisit work from the module and rework the camera to improve staging, focus, and overall portfolio presentation.
Portfolio Project: Hardcore Parkour
In this final portfolio project, students bring together everything they’ve learned in Advanced Body Mechanics by animating a short parkour sequence through an obstacle course. They’ll use character rigs, reference, staging, camera choices, and key animation principles like arcs, anticipation, timing, squash and stretch, follow-through, and appeal to create a dynamic piece for their portfolio.
Module 6: Character Acting (Level III)
Estimated completion time: 6-8 weeks
This module focuses on bringing animated characters to life through emotion, performance, and dialogue.
Students will learn acting principles, subtext, moving holds, pantomime, facial animation, lip-syncing, and multi-character interaction to create believable performances.
By the end, they will complete several polished acting projects that strengthen both their animation skills and portfolio.
Lesson 1: Character Acting Overview
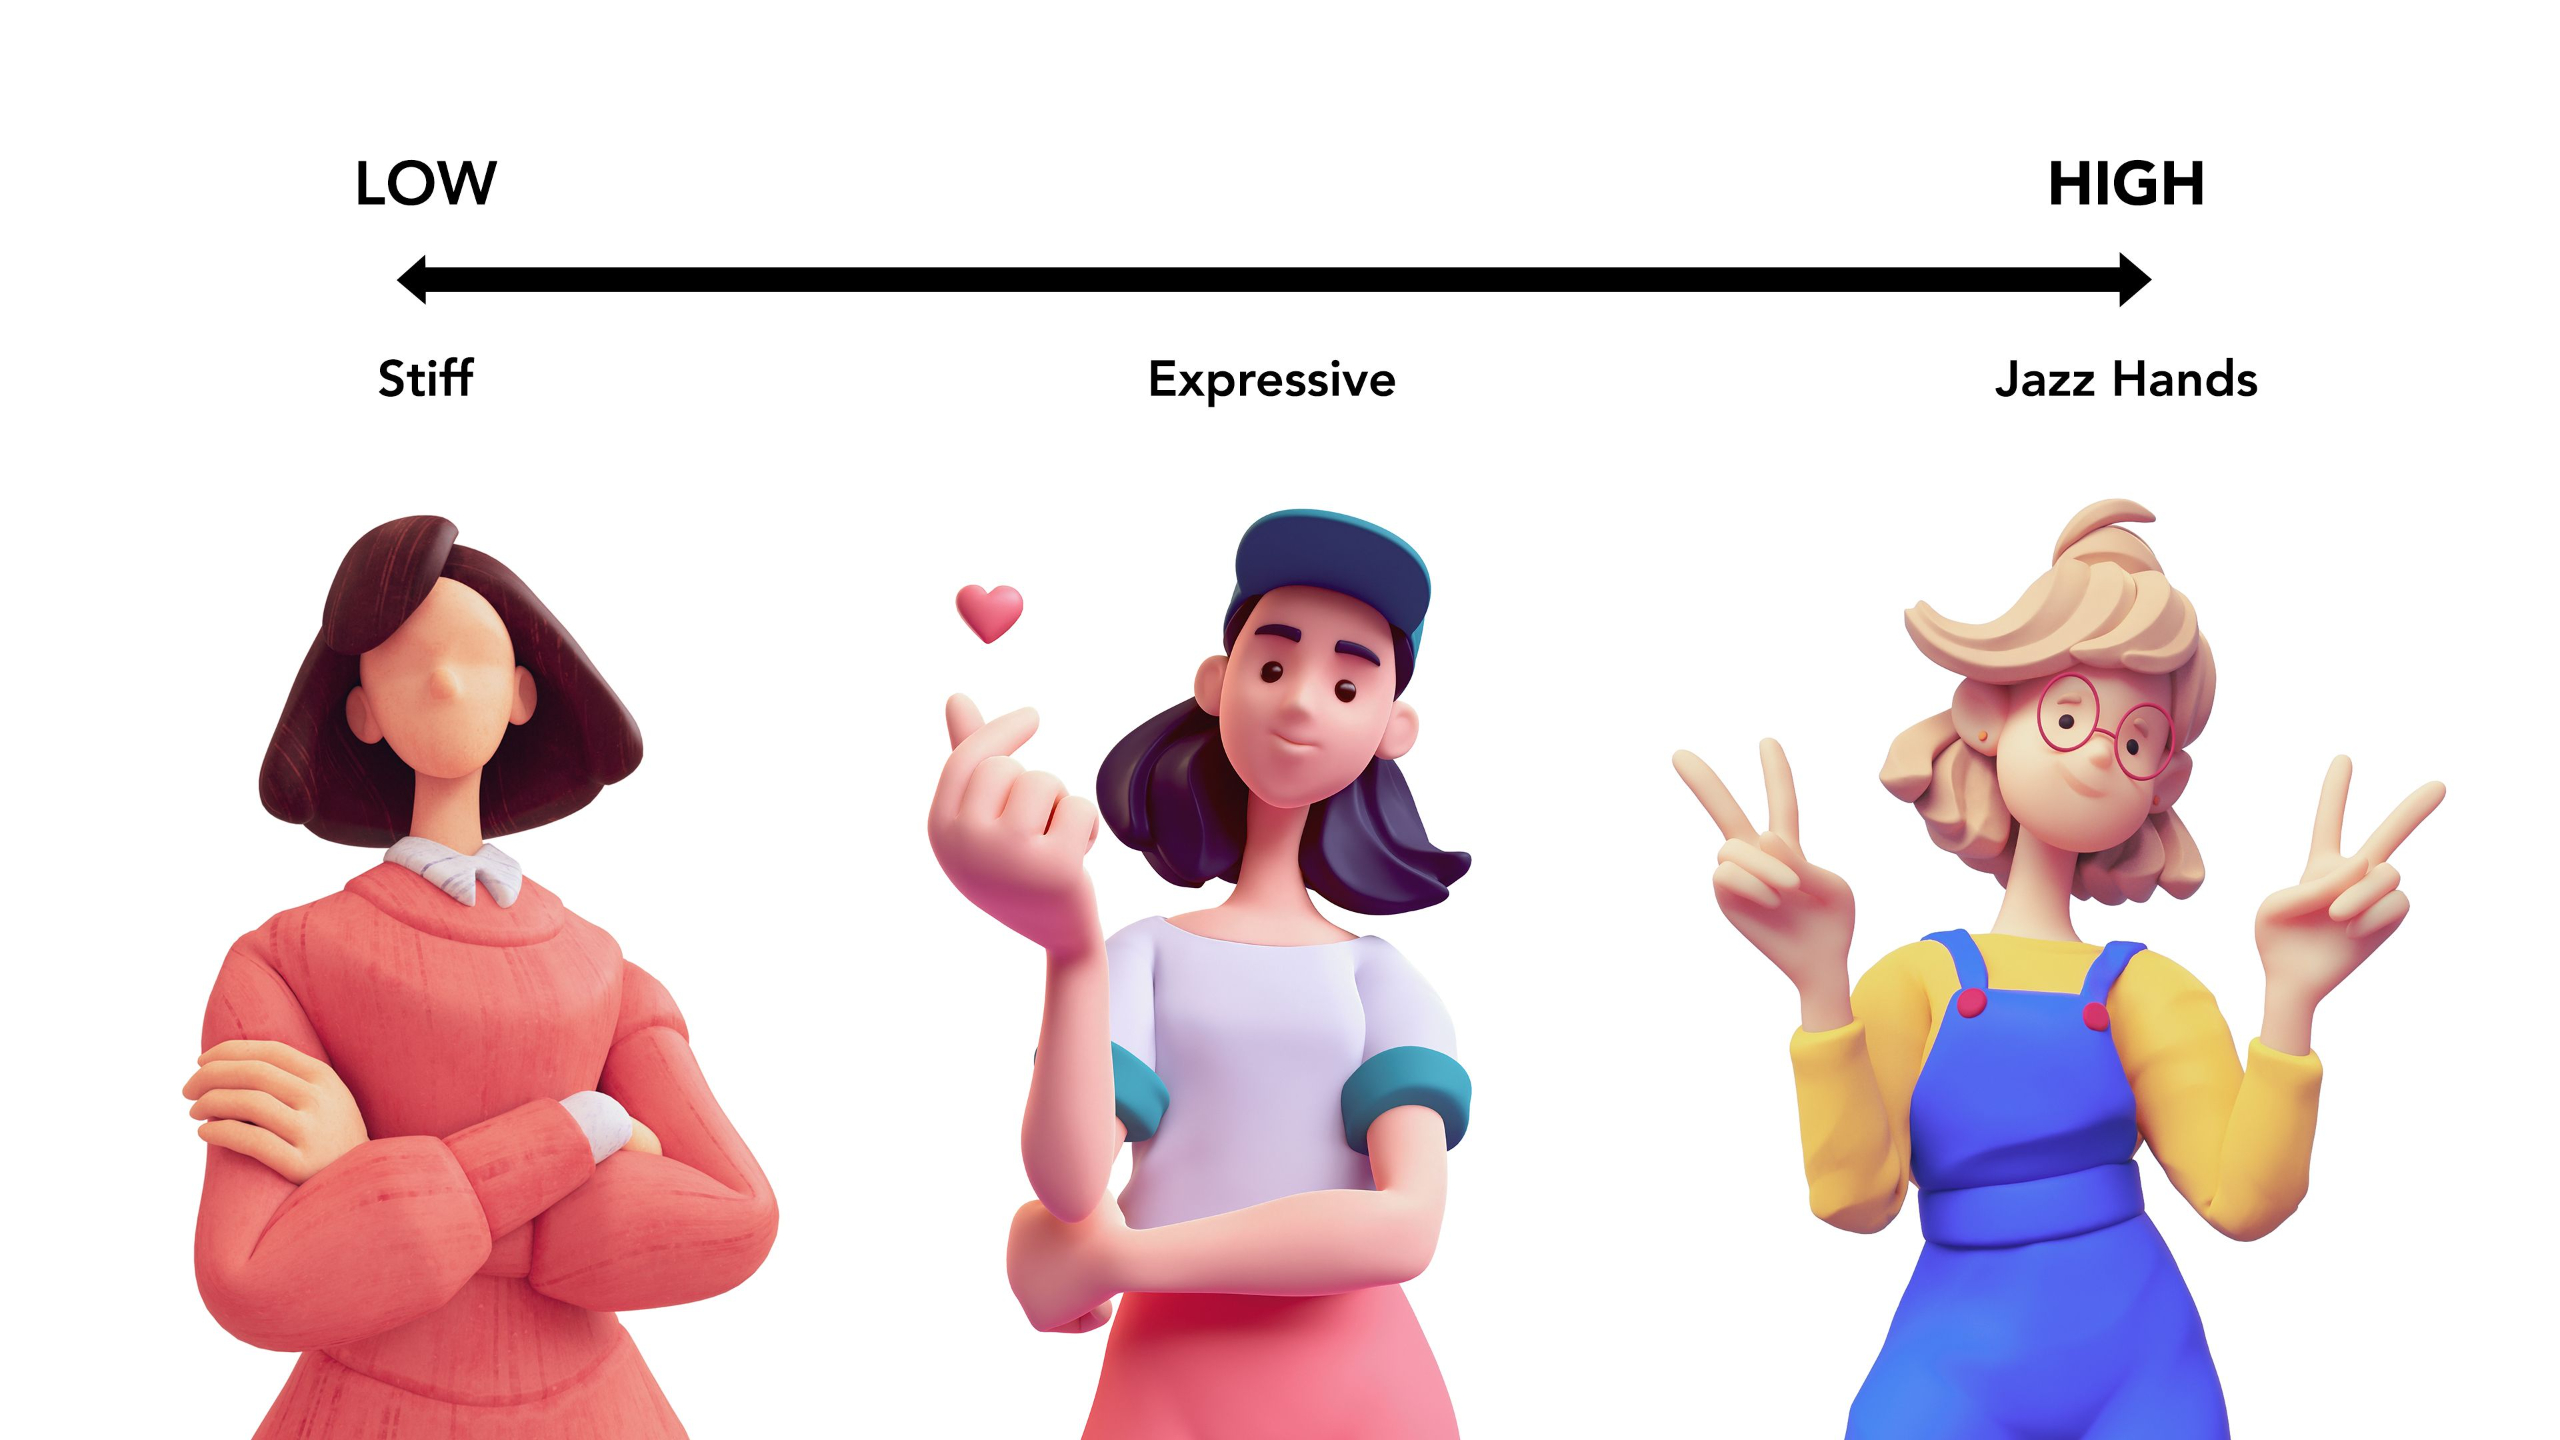
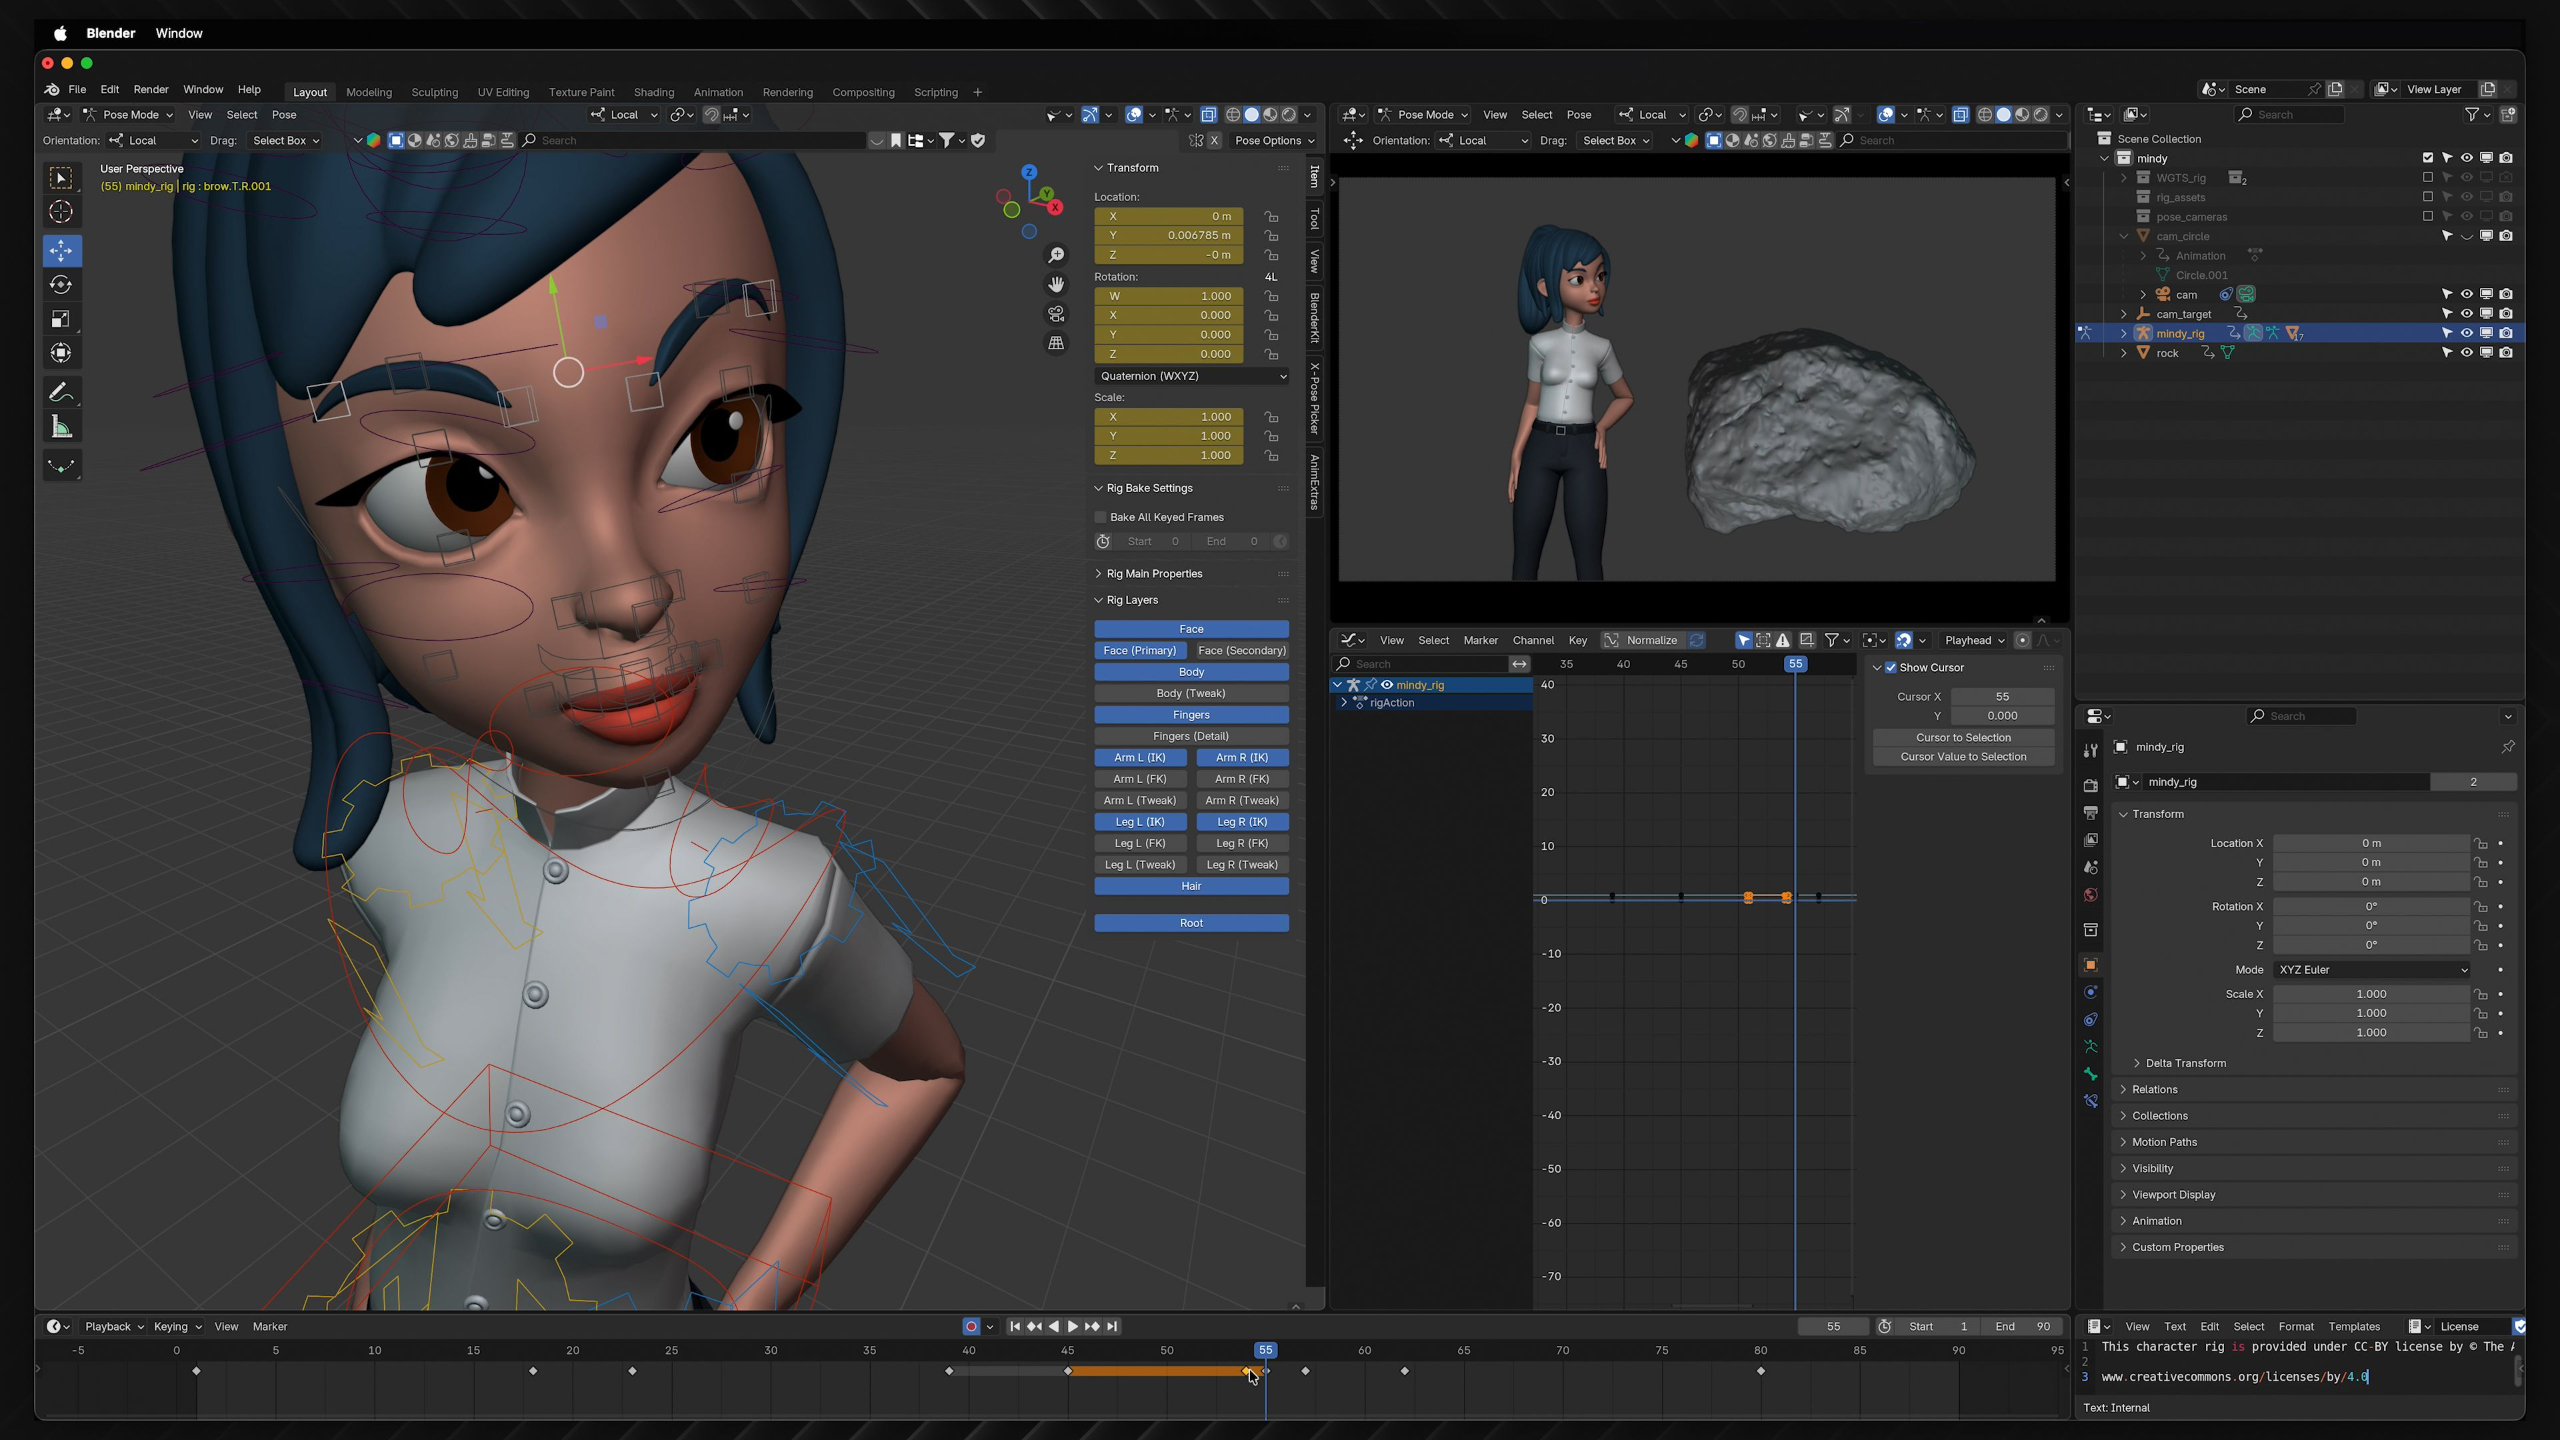
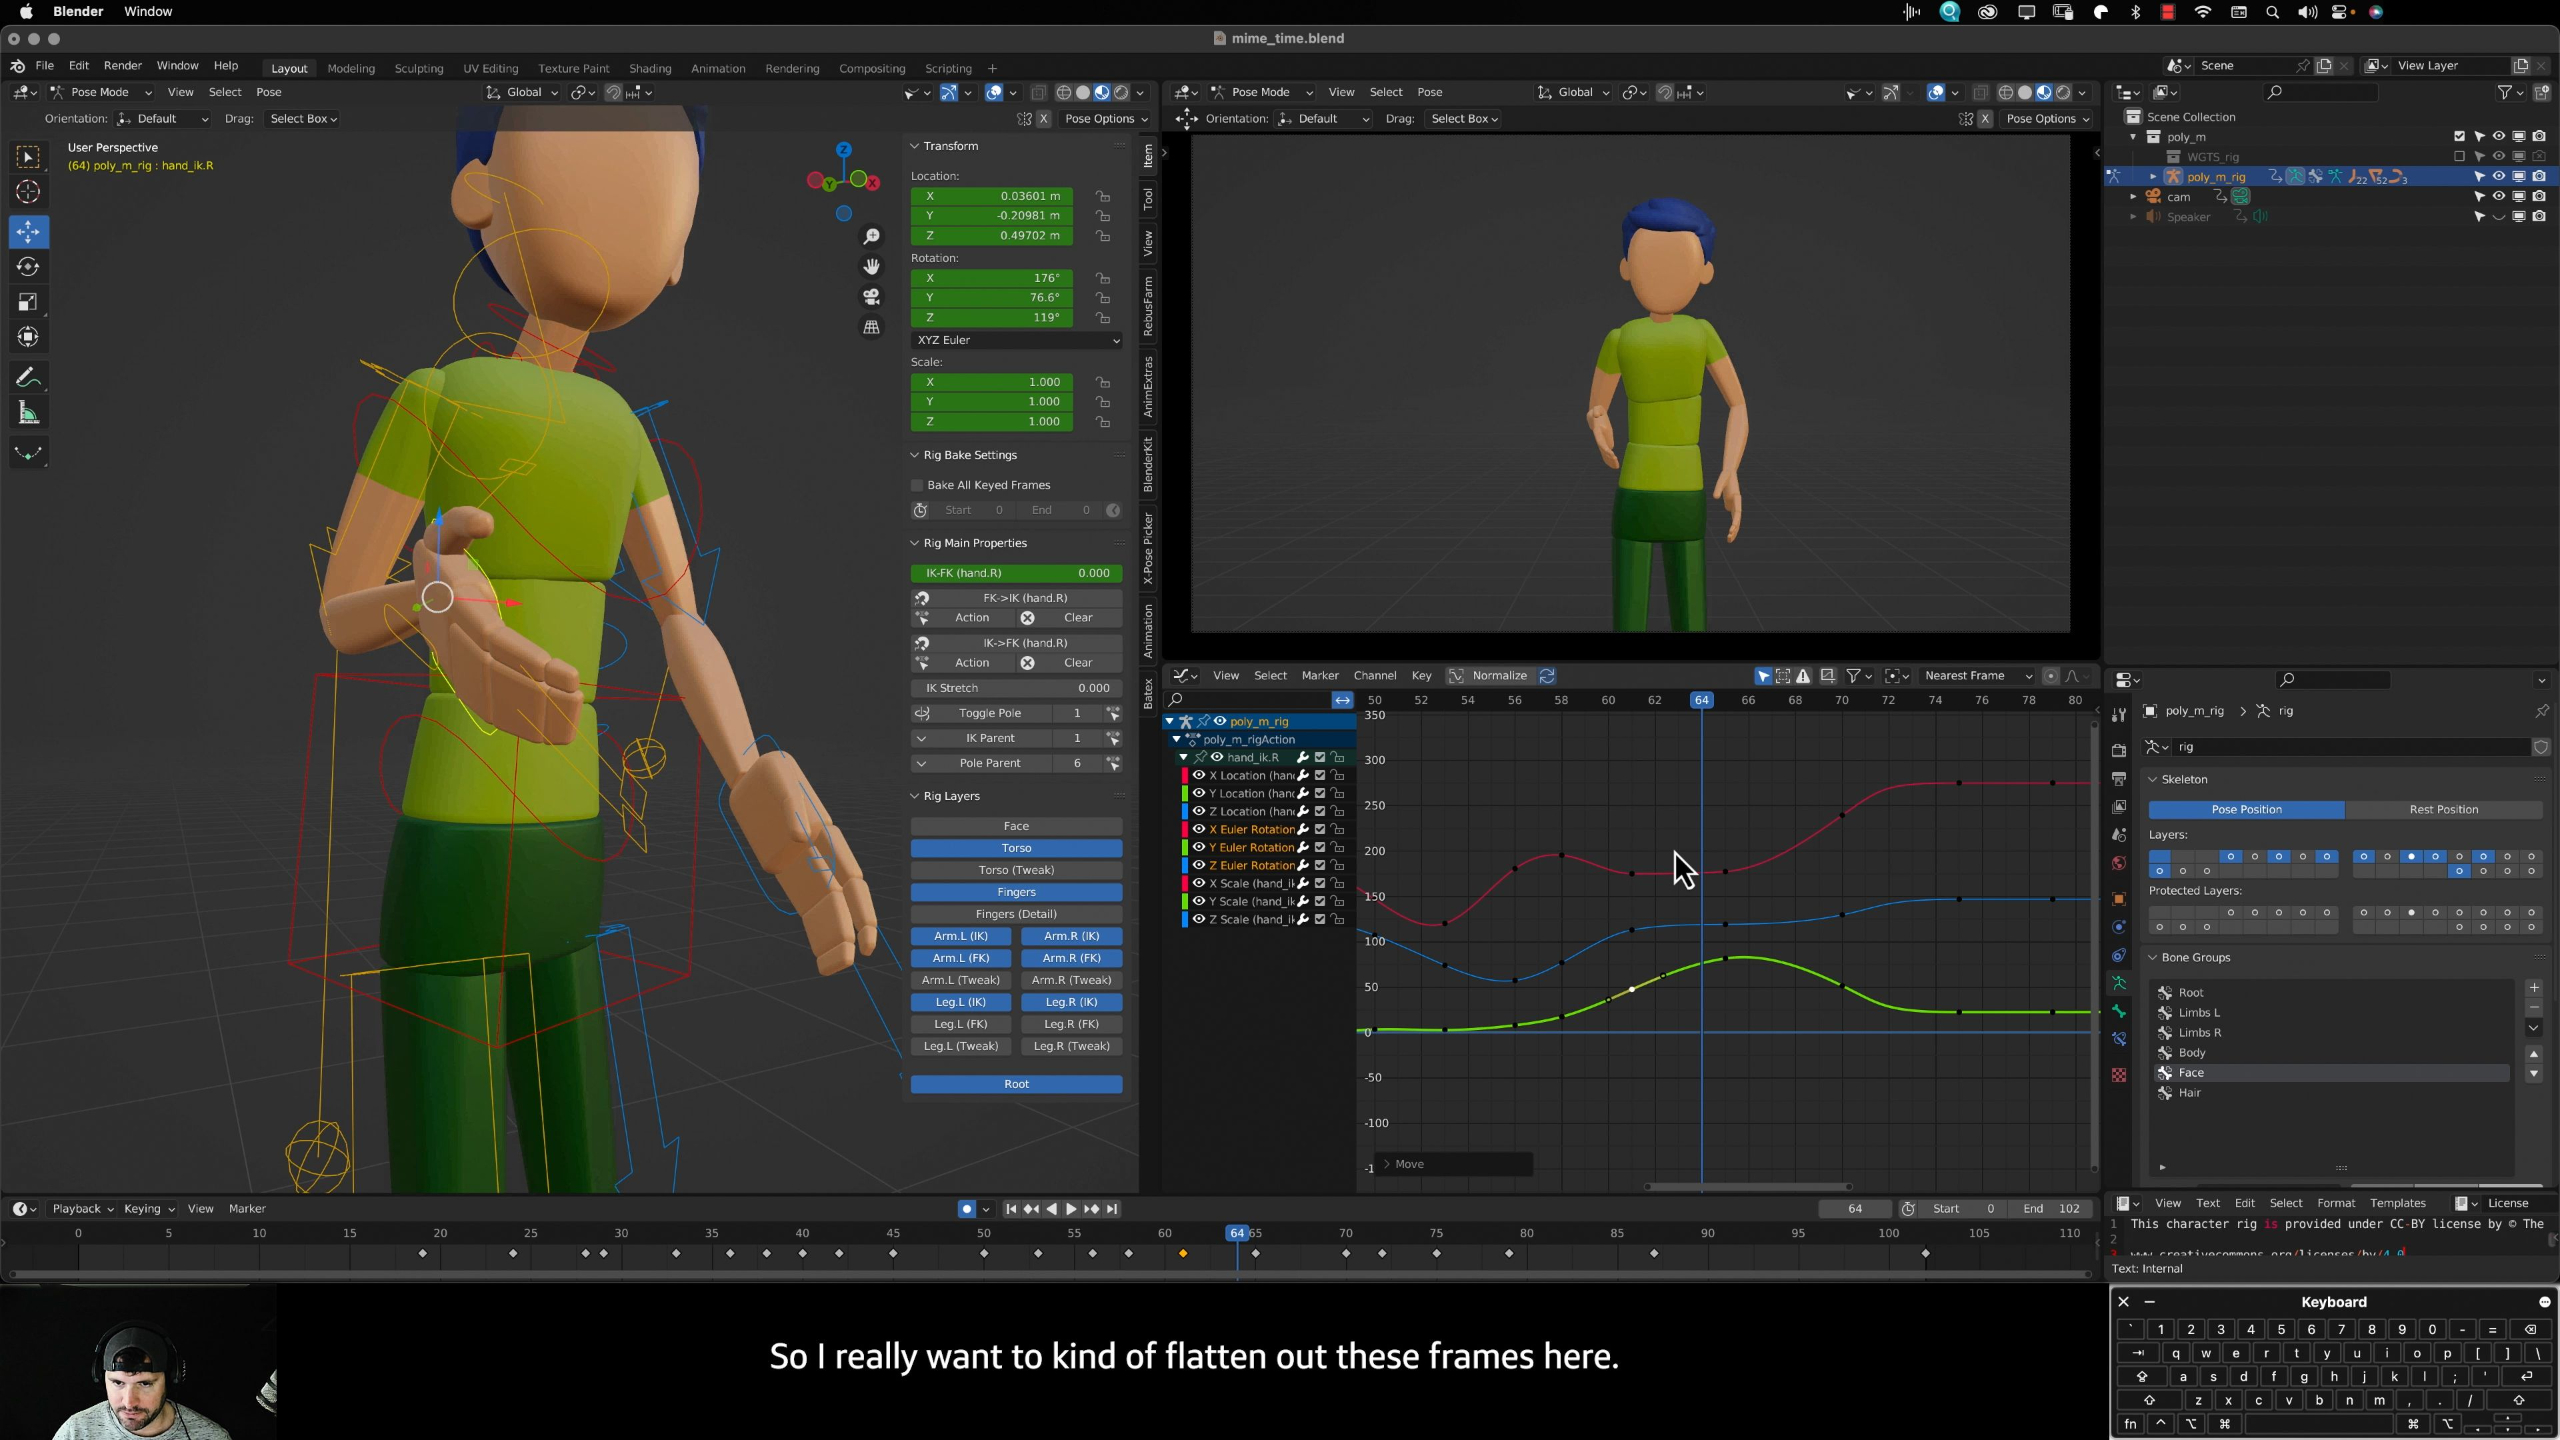
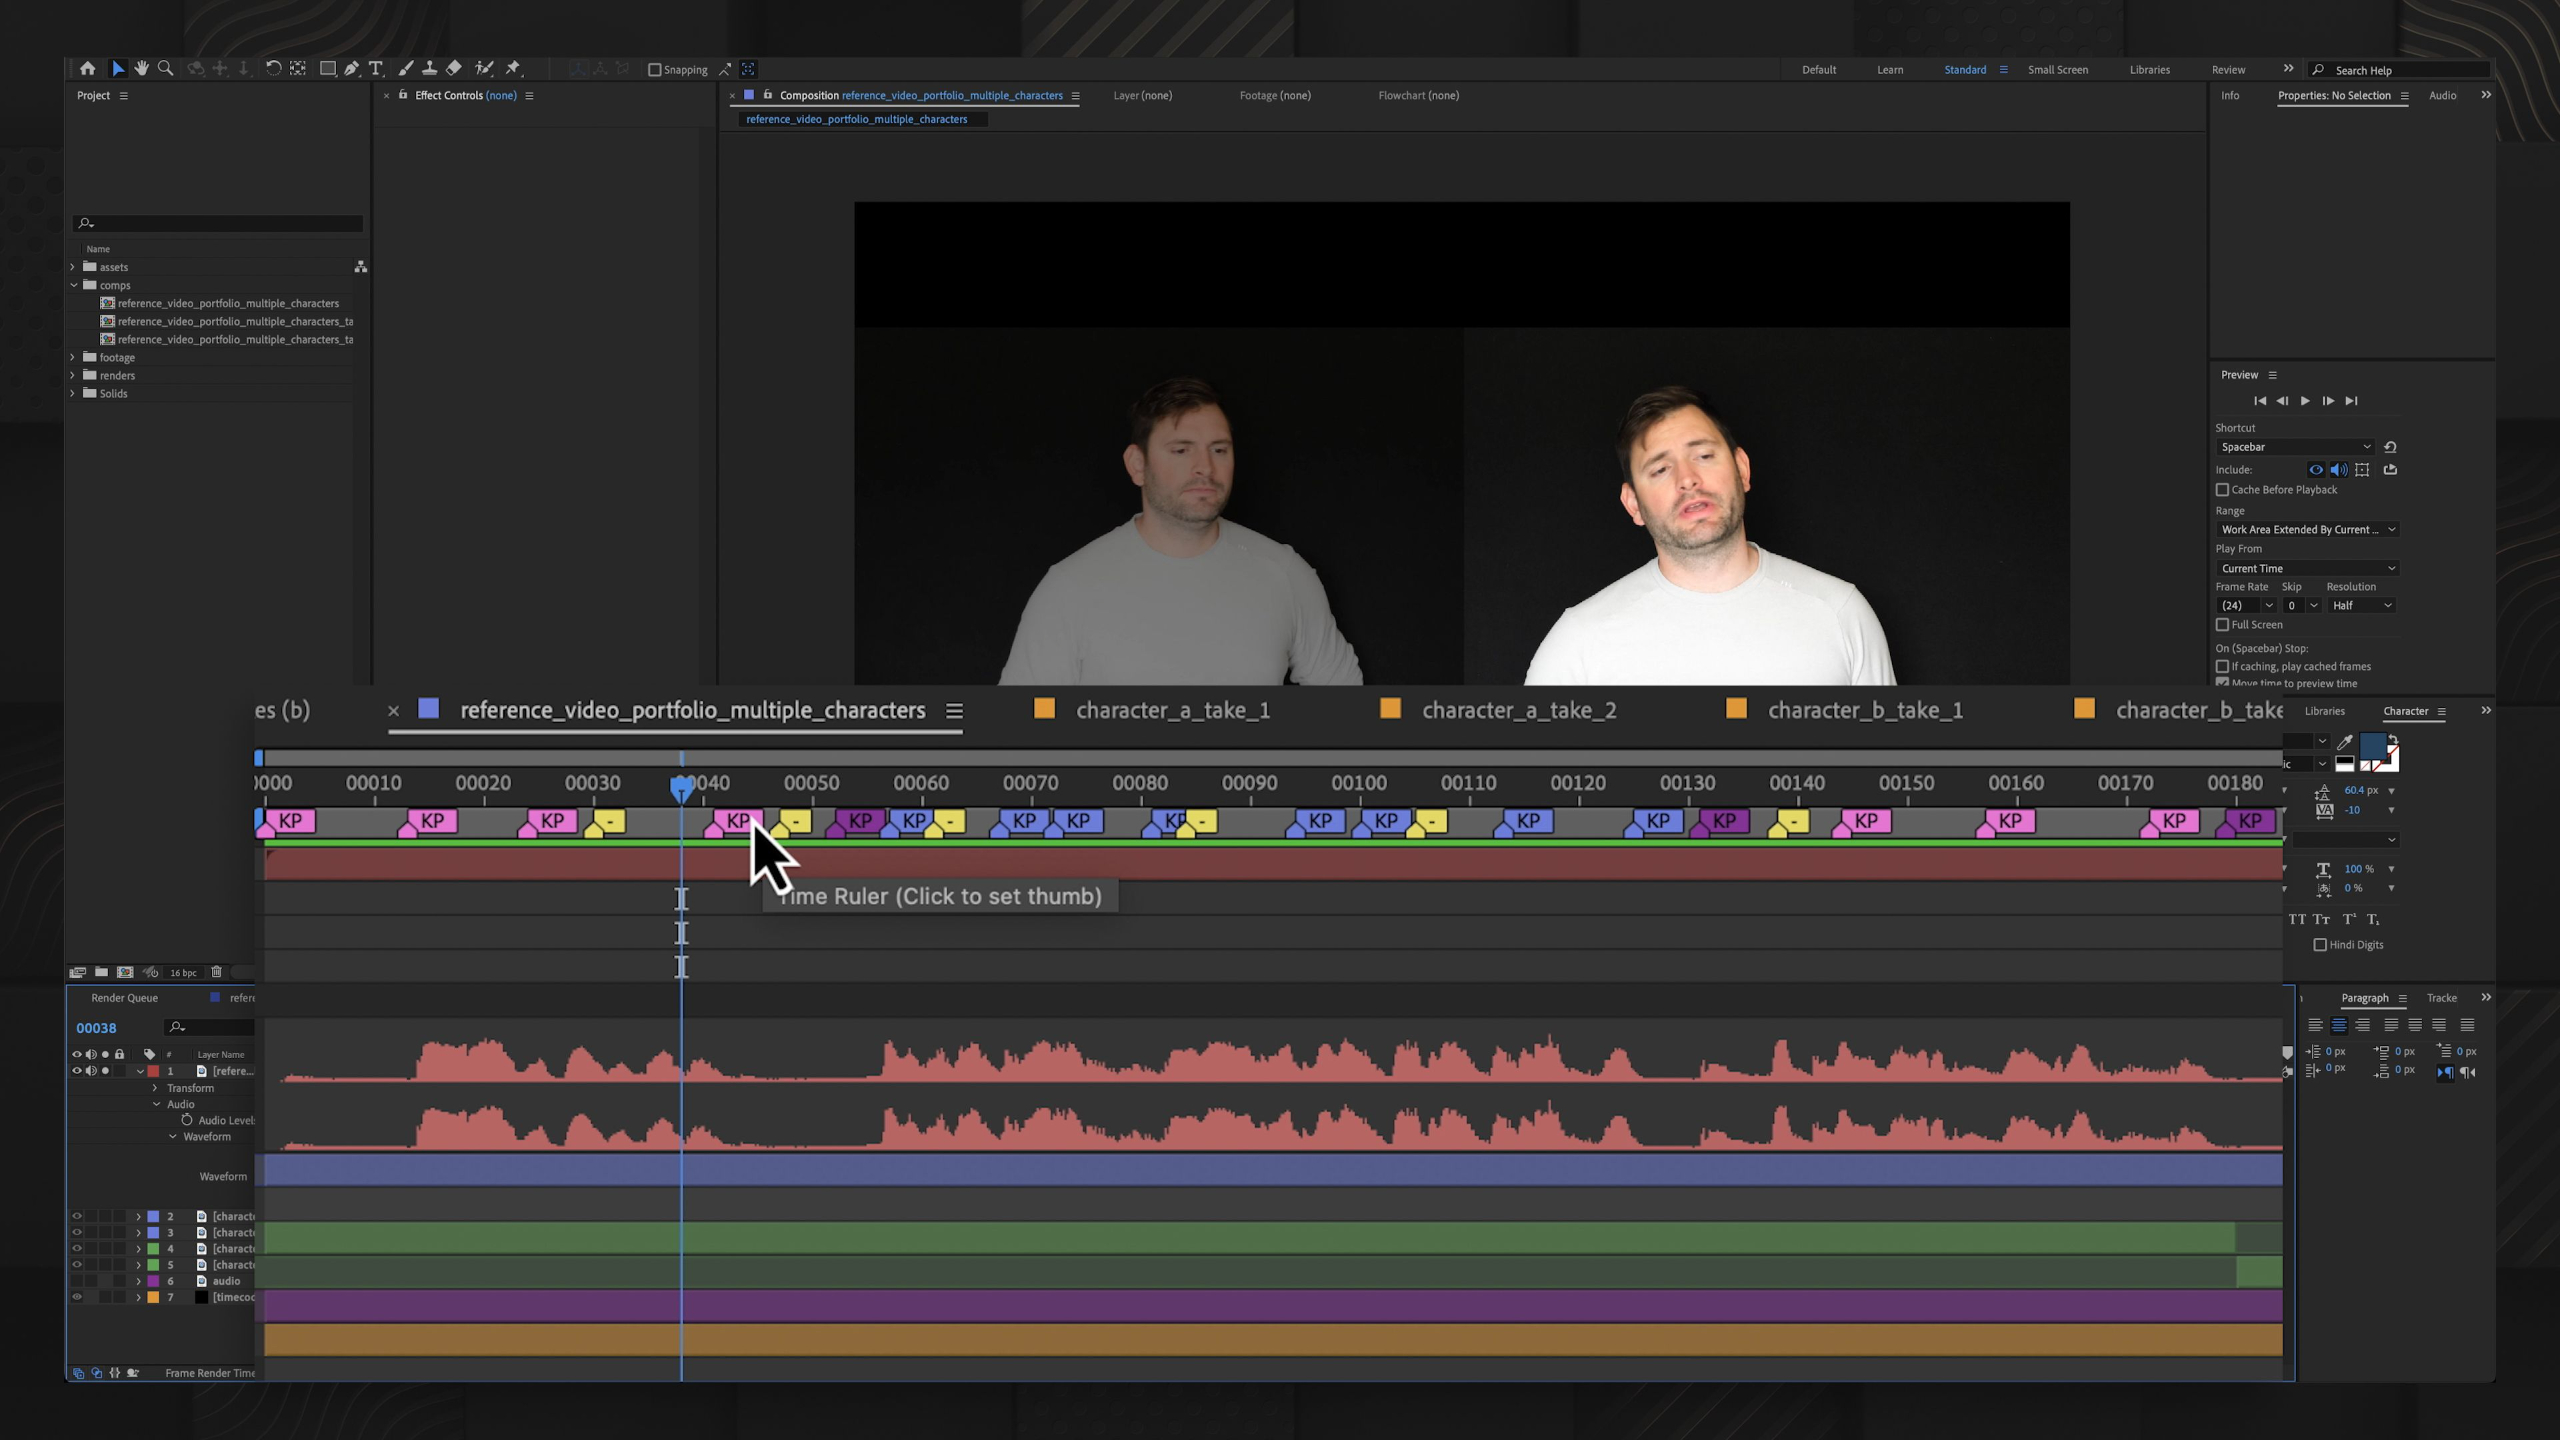
In this lesson, students are introduced to the Character Acting module, where they’ll move beyond body mechanics and start bringing characters to life through emotion, facial animation, dialogue, lip sync, and interaction. They’ll also get set up with the advanced Mindy and Jack rigs, which will be used throughout the module to create stronger acting-focused portfolio pieces.
Lesson 5: Facial Animation
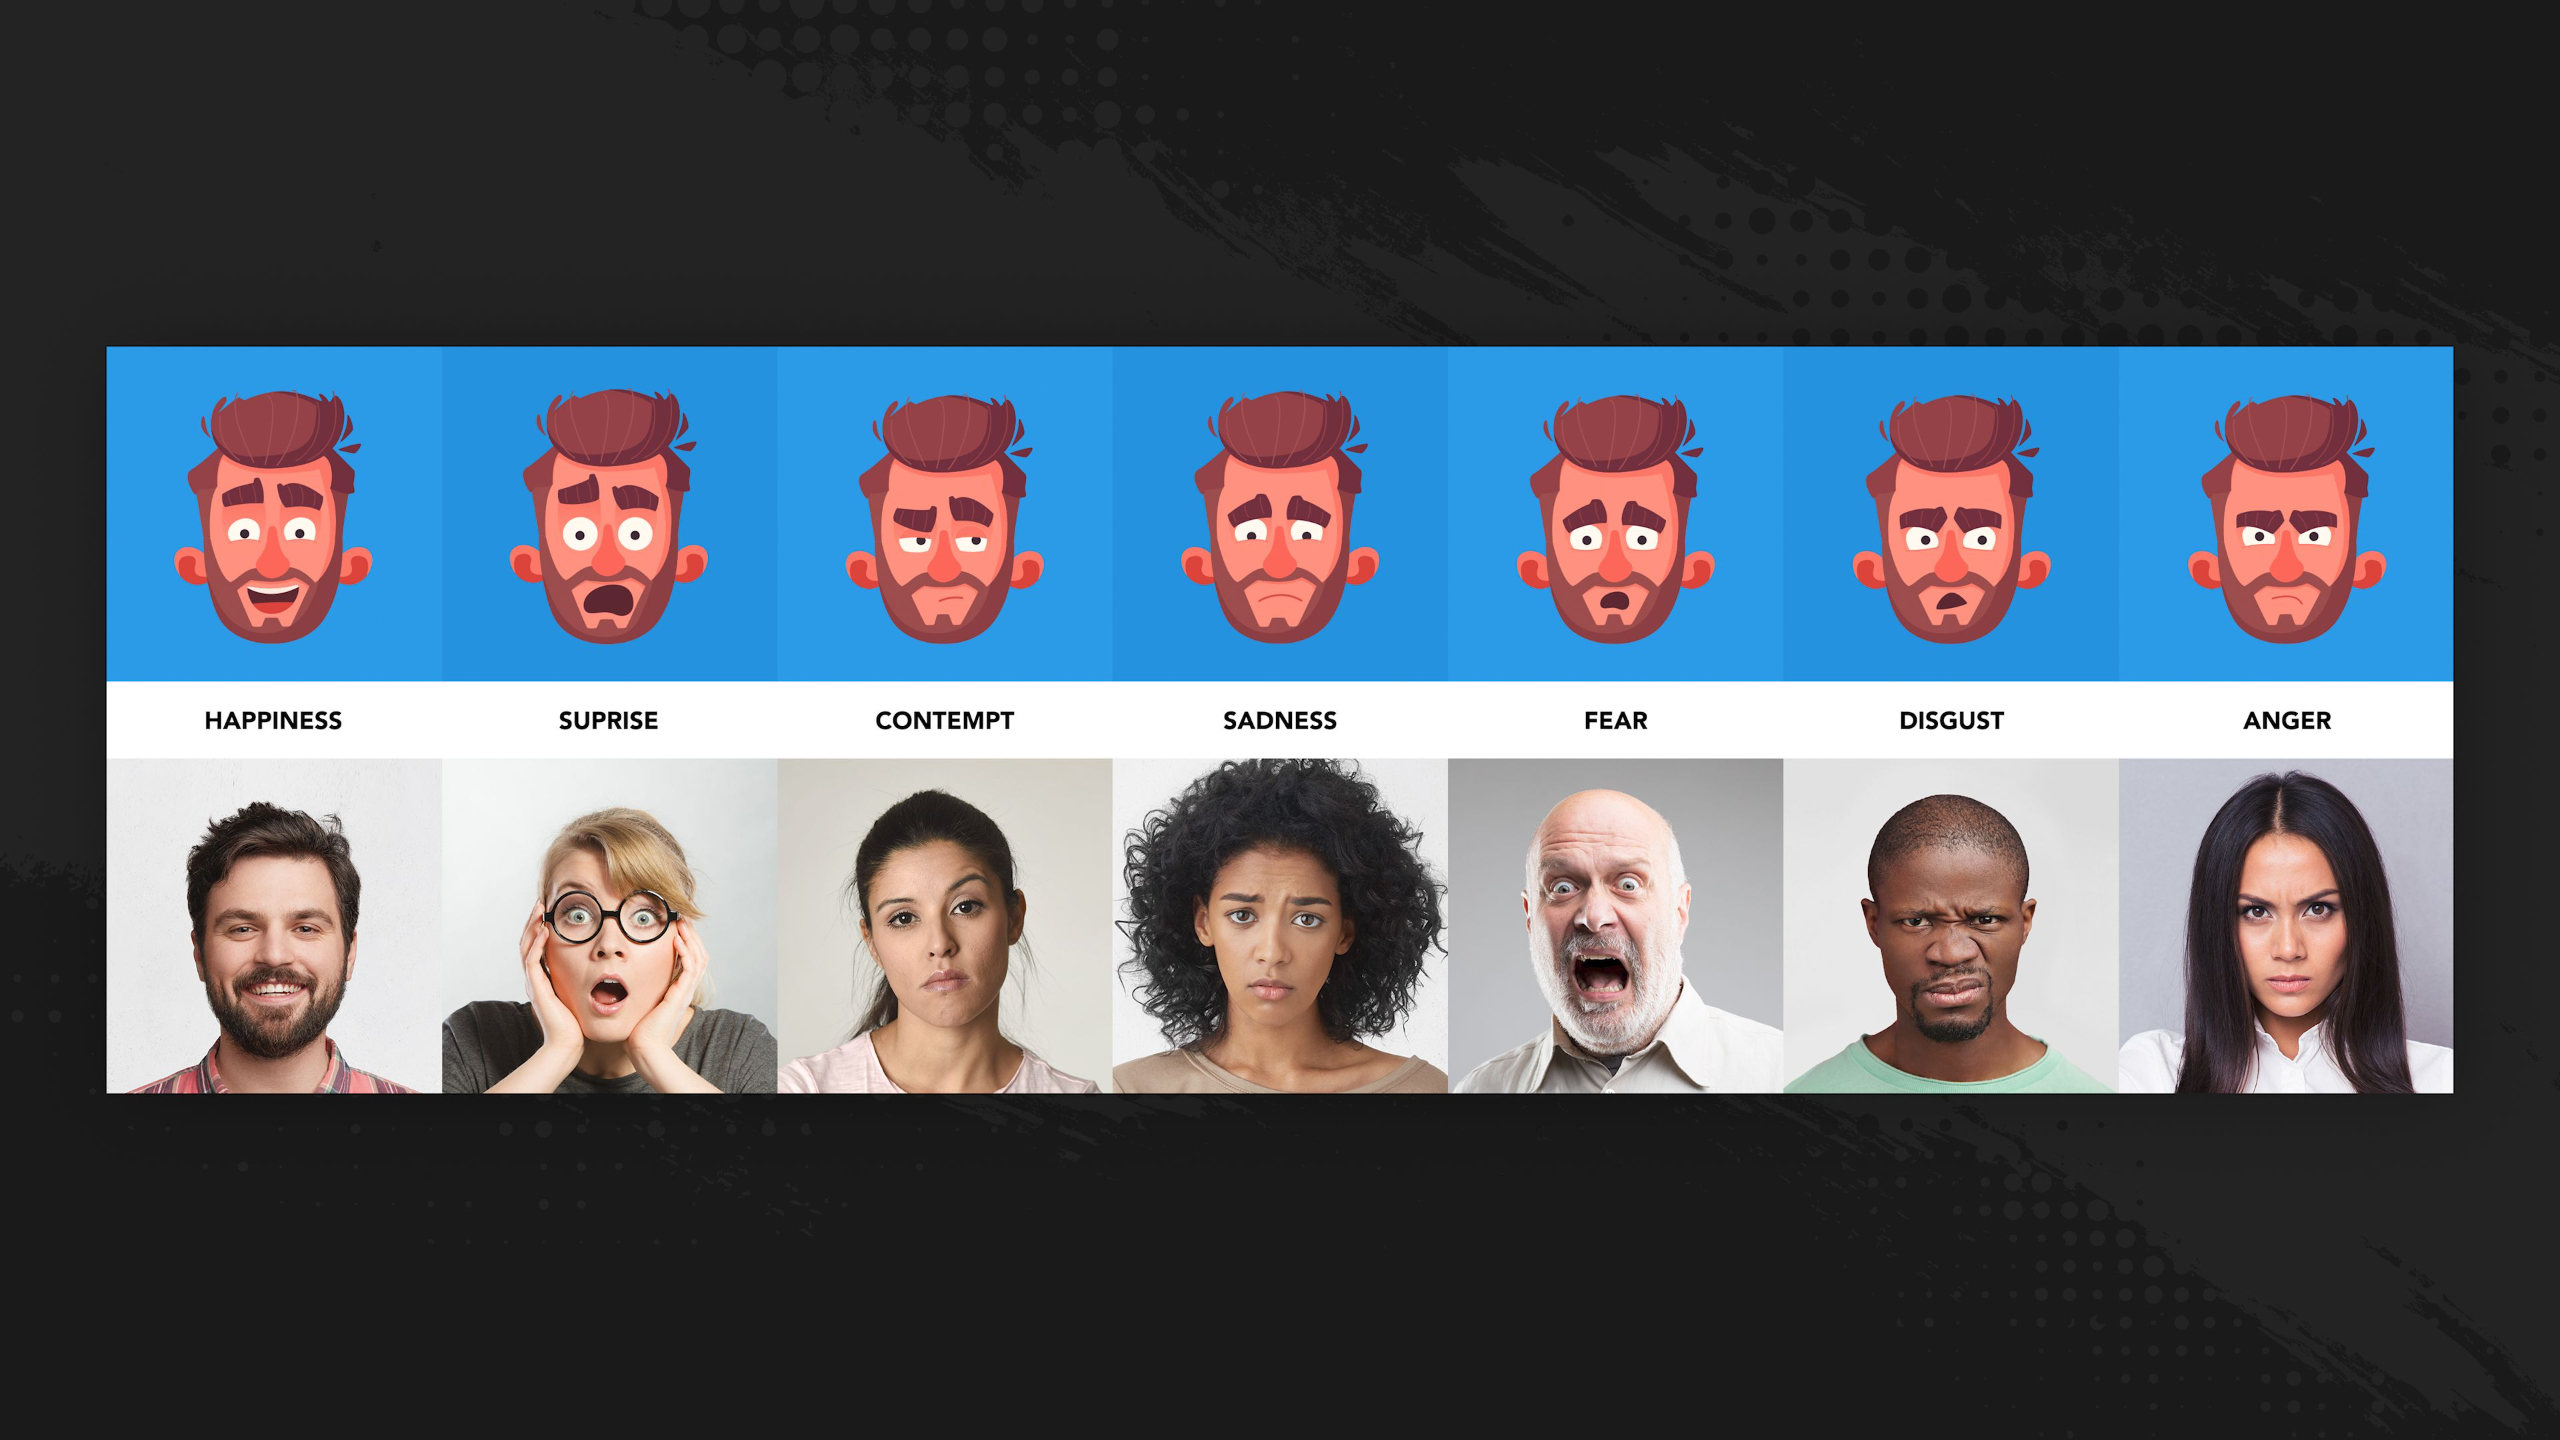
In this lesson, students learn how facial animation brings character performances to life by combining eyebrows, eyes, mouth shapes, eye darts, blinks, timing, and subtle expression changes. They’ll practice creating emotional facial poses with the Mindy rig, transitioning between expressions, and building their own pose presets for future acting scenes.
Lesson 2: Acting & Subtext
In this lesson, students learn how acting and subtext help characters feel like they are thinking, feeling, and communicating beyond just their physical movement. They’ll explore motivation, observation, body language, gestures, posture, personality traits, and facial expression so they can create more believable and emotionally engaging character performances.
Lesson 6: Dialogue & Lip-Sync
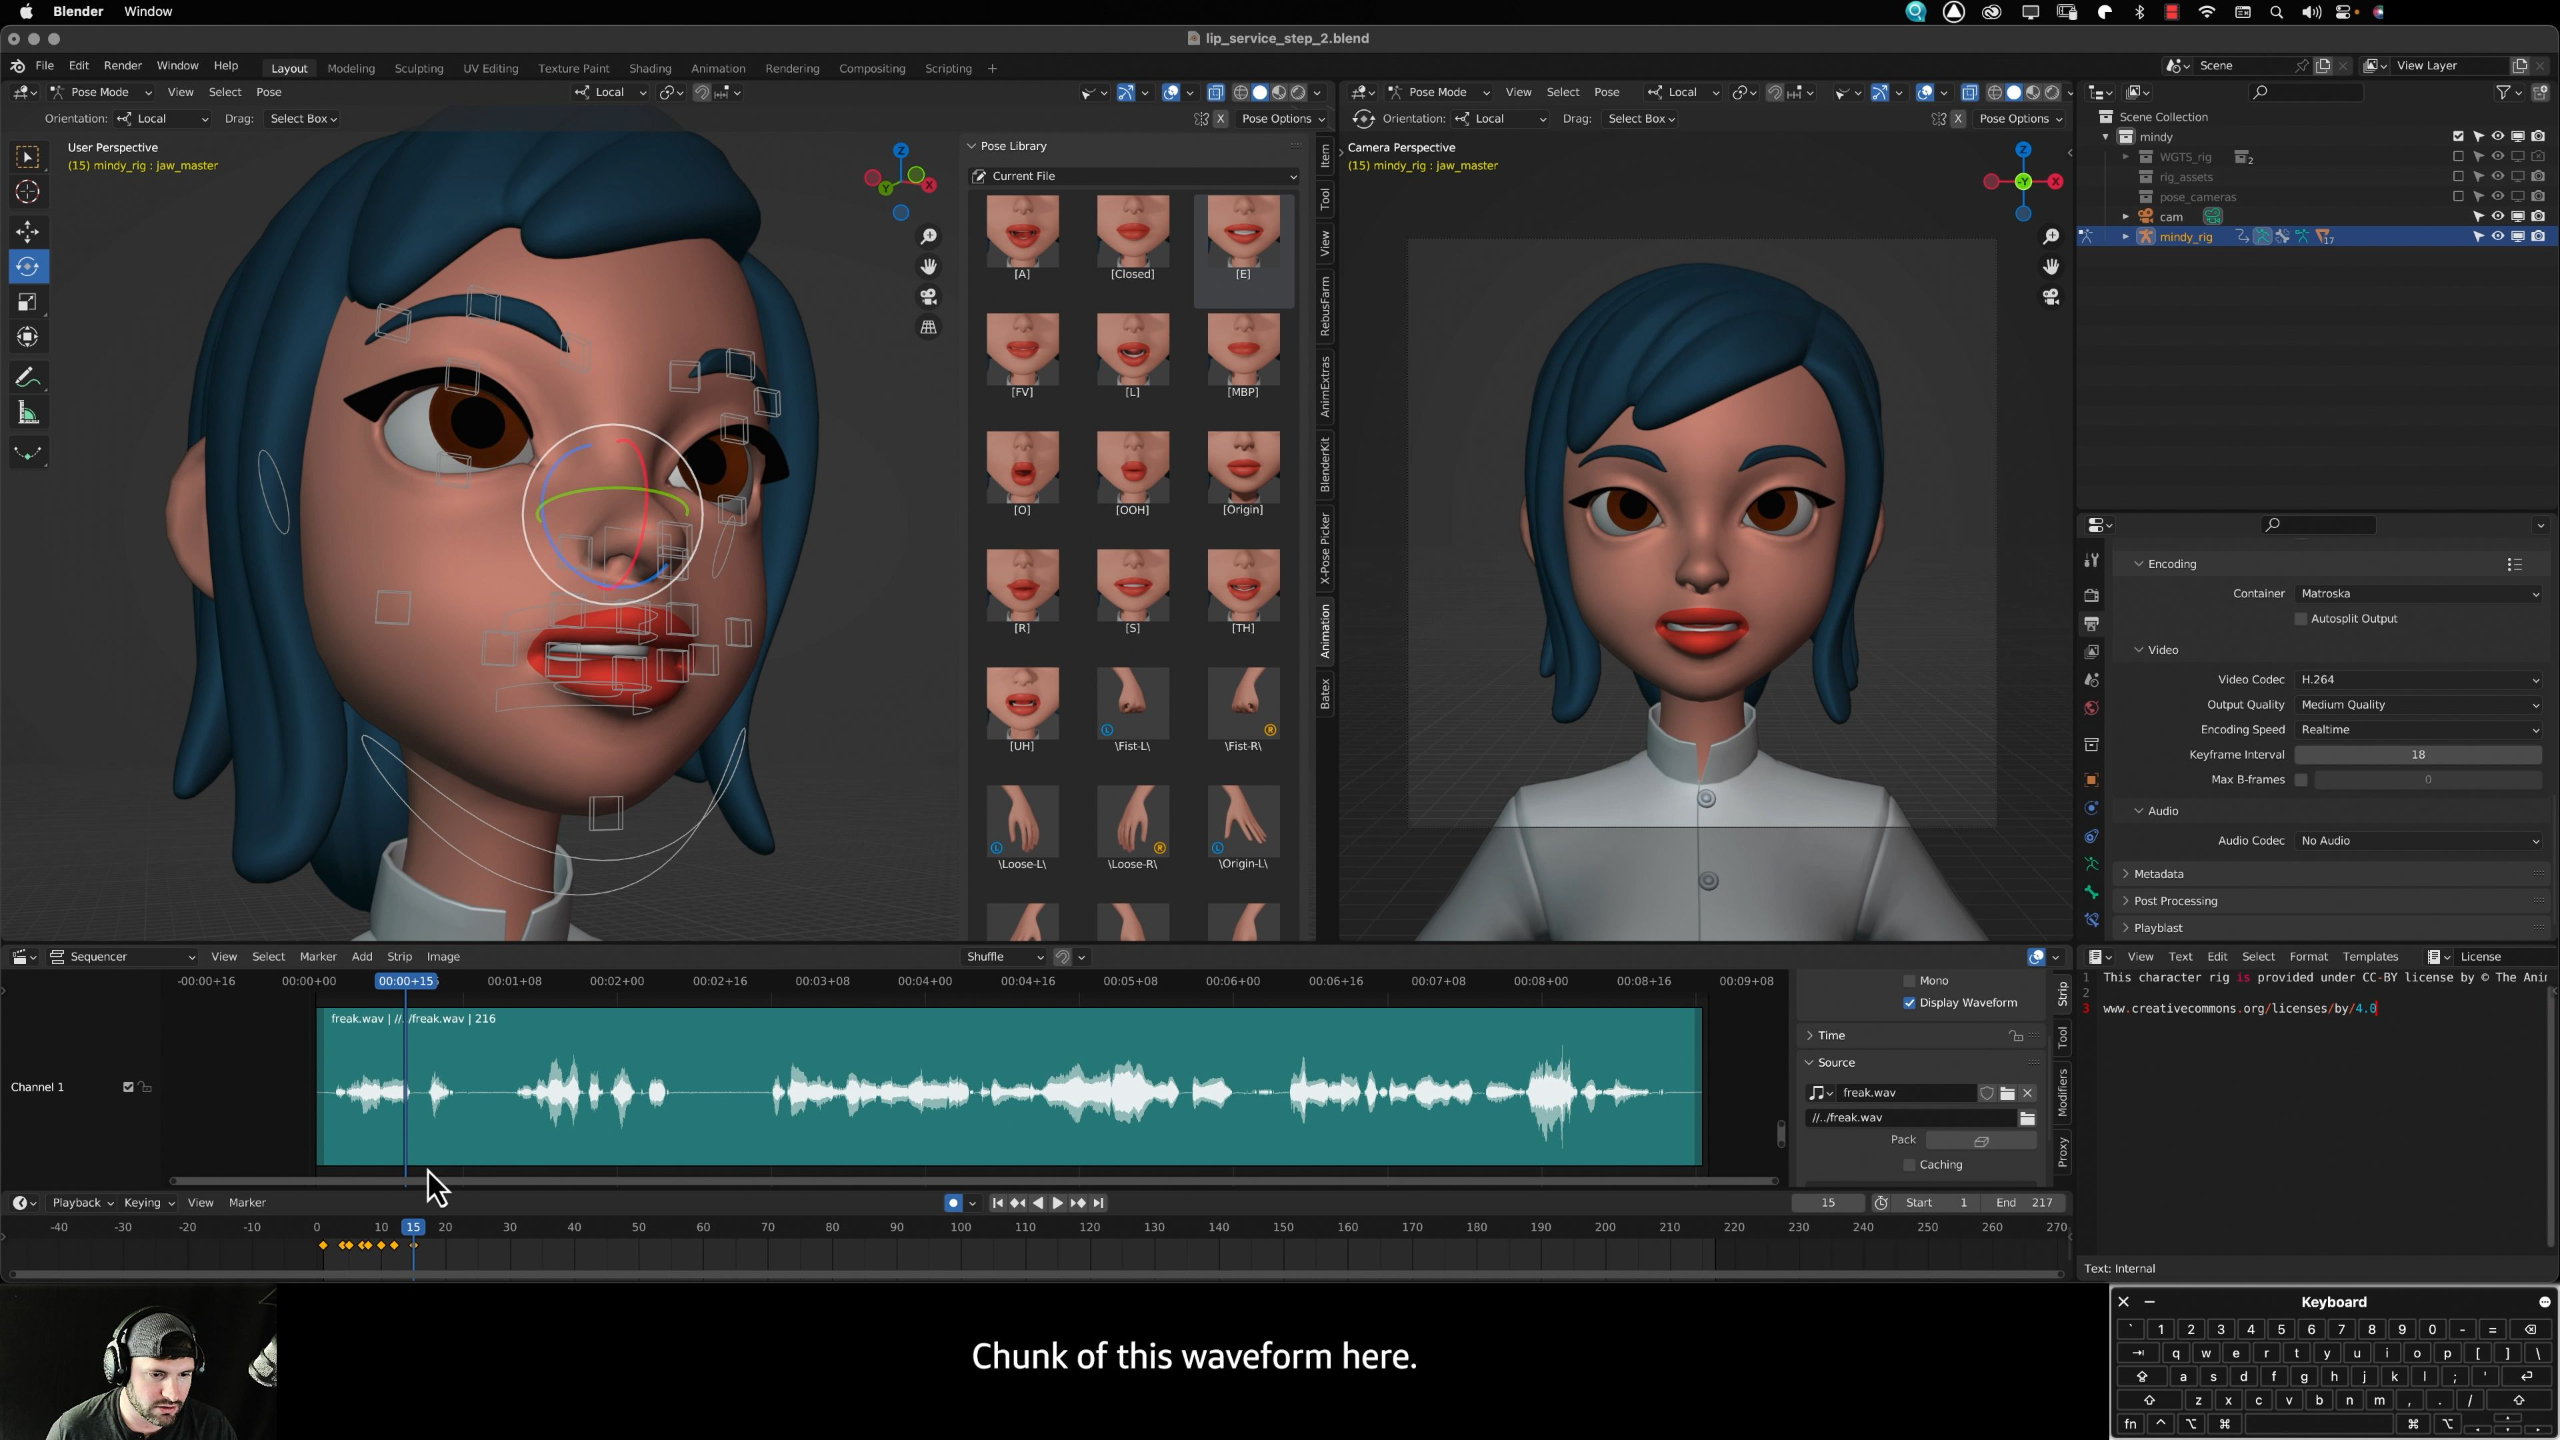
In this lesson, students learn the fundamentals of dialogue and lip-sync by using phonemes, visemes, and mouth-shape timing to make a character appear to speak naturally. They’ll use the Mindy rig’s pose library, a short dialogue clip, and facial animation tools in Blender to create a 5–10 second lip-sync performance.
Lesson 3: Moving Holds
In this lesson, students learn how moving holds keep characters feeling alive during pauses, quiet moments, or poses that are held for several frames. They’ll explore simple techniques like blinking, breathing, eye darts, subtle facial movement, weight shifts, and small body details that add life without distracting from the scene.
Lesson 7: Acting
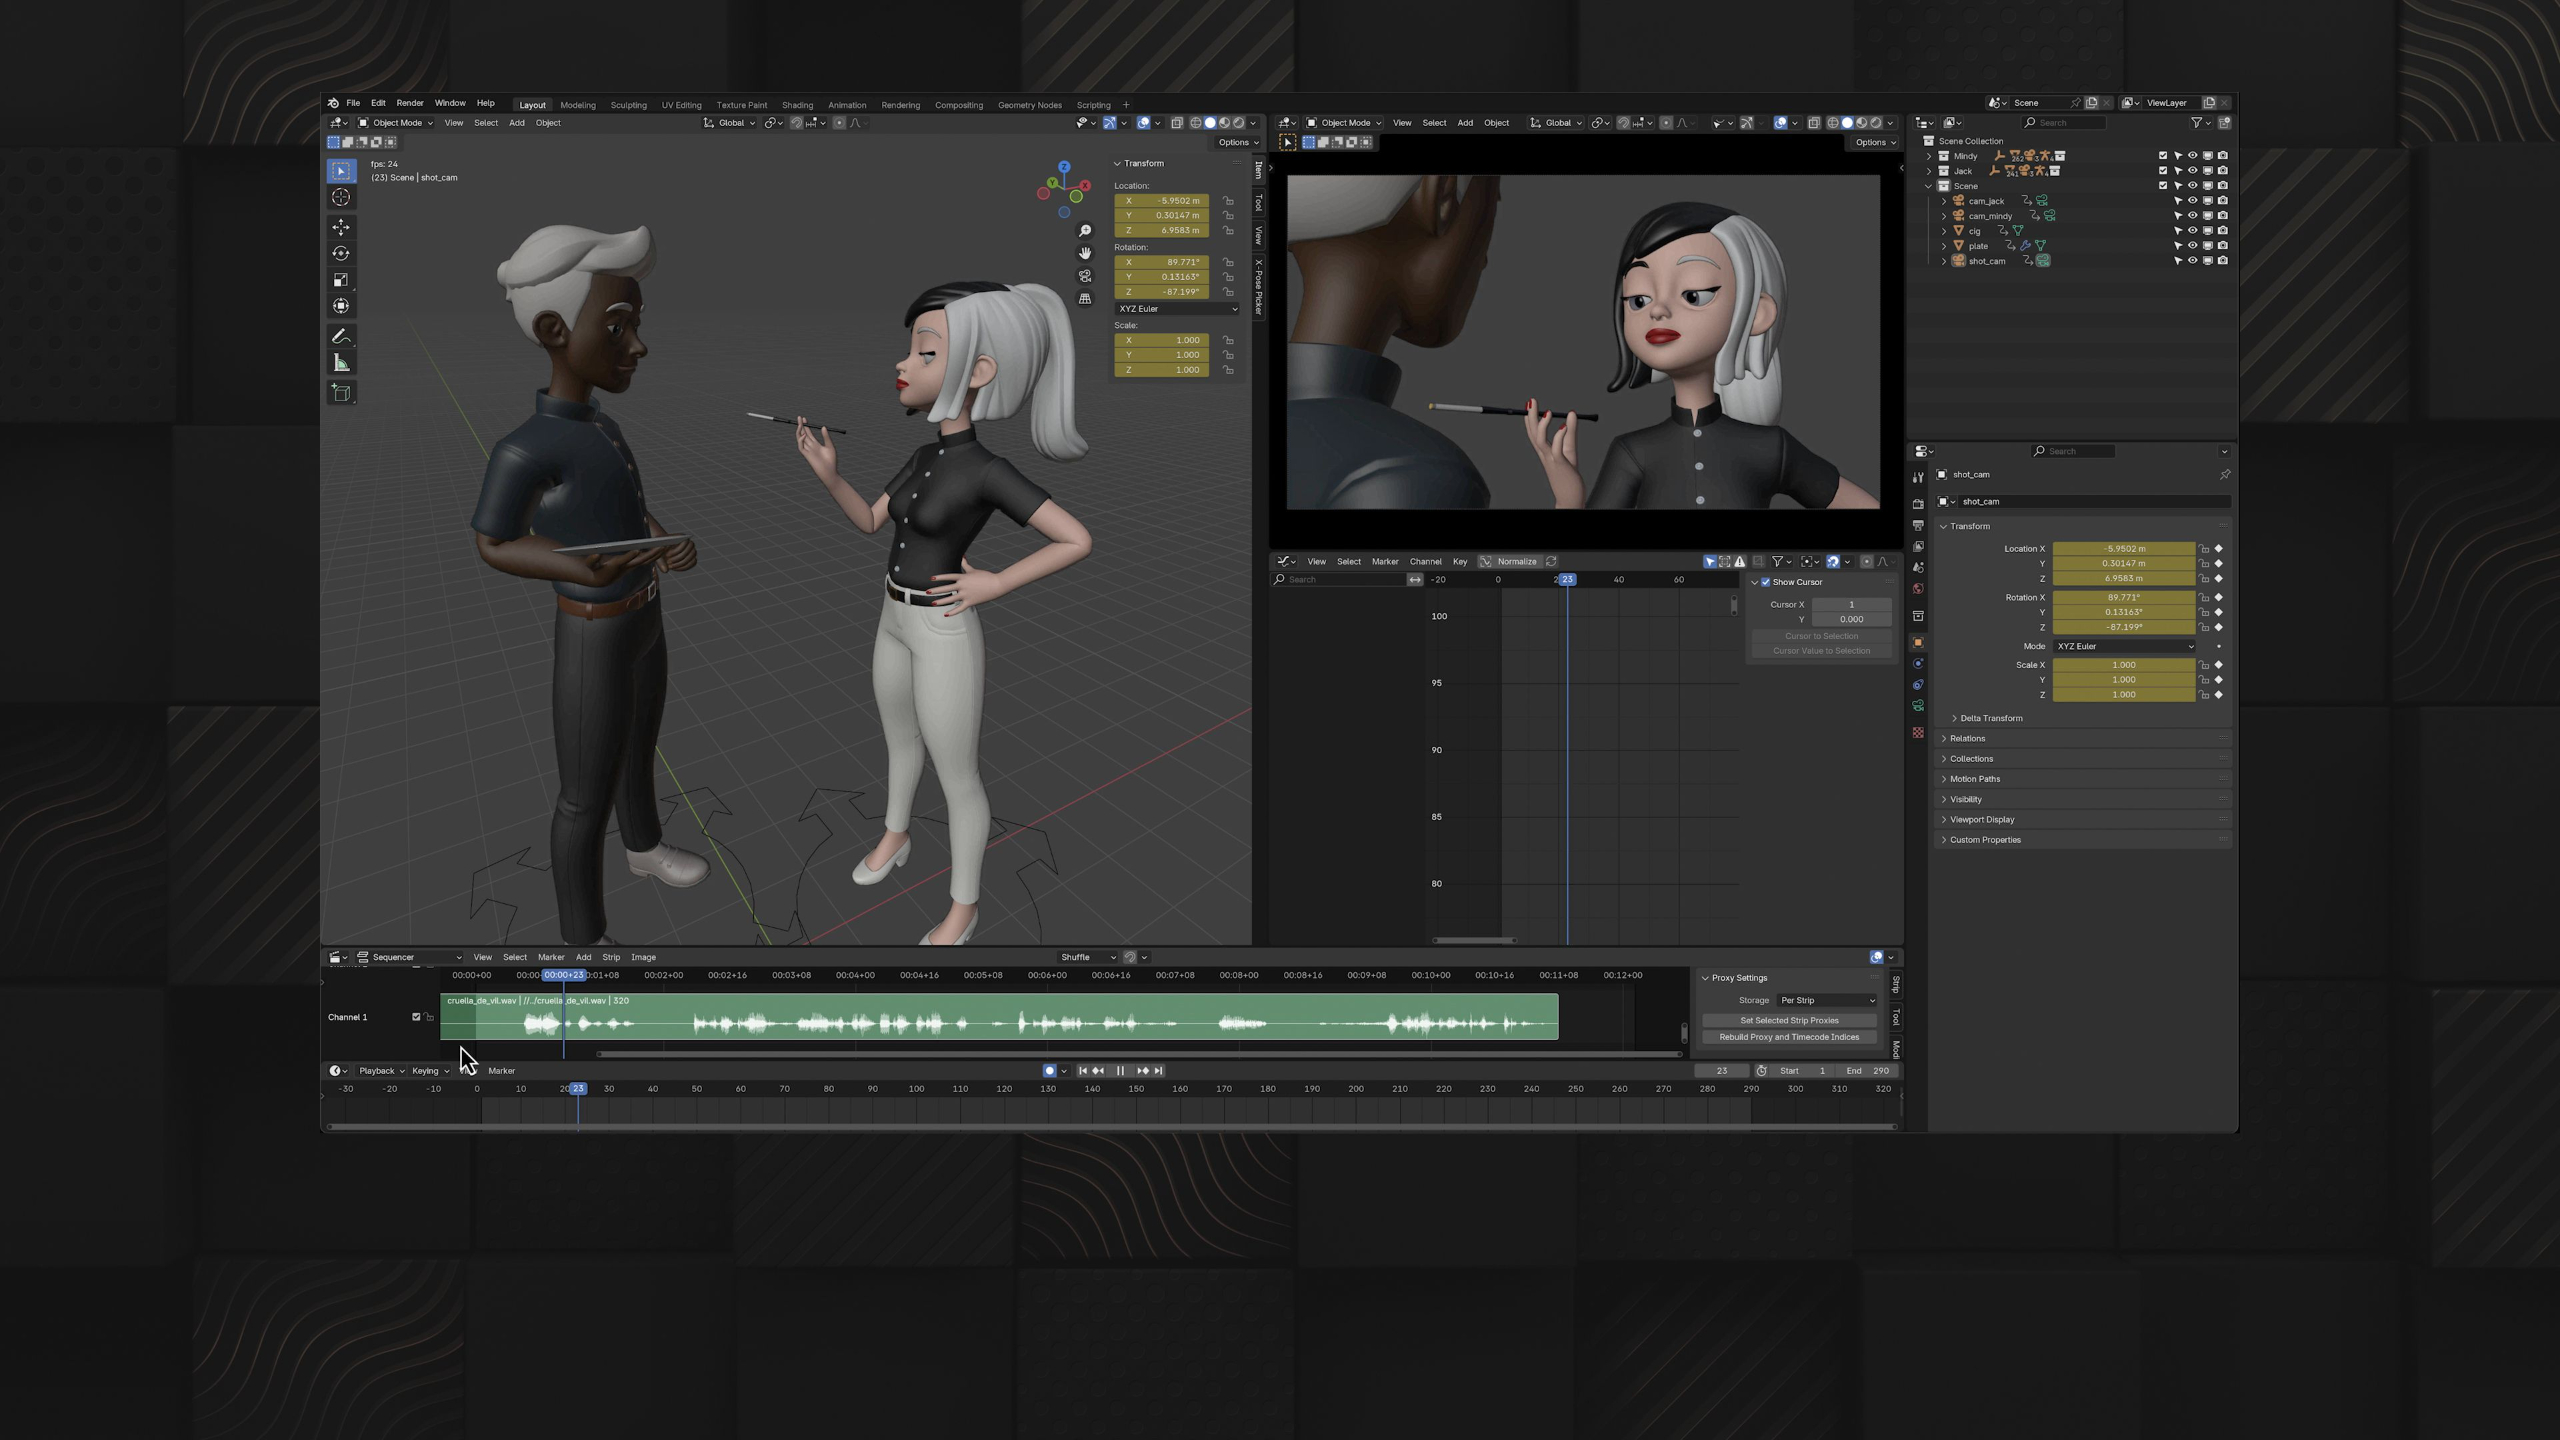
In this lesson, students bring together body mechanics, acting, subtext, facial animation, dialogue, and lip-sync to create a complete character acting scene. They’ll use an audio clip, reference footage, blocking, facial expressions, Graph Editor cleanup, and either the Jack or Mindy rig to build a polished acting performance for their portfolio.
Lesson 4: Pantomime
In this lesson, students learn how to create a dialogue-driven pantomime performance by using body language, gestures, and timing to communicate emotion without relying on mouth animation. They’ll choose or record an audio clip, film reference, import audio into Blender, and animate a performance that focuses on strong poses, expressive movement, and optional facial controls.
Portfolio Project: Multiple Characters
In this final portfolio project, students bring together everything they’ve learned in the Character Acting module by animating a two-character performance with dialogue, props, facial animation, and believable interaction. They’ll plan the scene, animate each character individually, refine timing and expressions, and create a polished acting piece that can serve as a strong portfolio showcase.
Lesson 1: Character Acting Overview
In this lesson, students are introduced to the Character Acting module, where they’ll move beyond body mechanics and start bringing characters to life through emotion, facial animation, dialogue, lip sync, and interaction. They’ll also get set up with the advanced Mindy and Jack rigs, which will be used throughout the module to create stronger acting-focused portfolio pieces.
Lesson 2: Acting & Subtext
In this lesson, students learn how acting and subtext help characters feel like they are thinking, feeling, and communicating beyond just their physical movement. They’ll explore motivation, observation, body language, gestures, posture, personality traits, and facial expression so they can create more believable and emotionally engaging character performances.
Lesson 3: Moving Holds
In this lesson, students learn how moving holds keep characters feeling alive during pauses, quiet moments, or poses that are held for several frames. They’ll explore simple techniques like blinking, breathing, eye darts, subtle facial movement, weight shifts, and small body details that add life without distracting from the scene.
Lesson 4: Pantomime
In this lesson, students learn how to create a dialogue-driven pantomime performance by using body language, gestures, and timing to communicate emotion without relying on mouth animation. They’ll choose or record an audio clip, film reference, import audio into Blender, and animate a performance that focuses on strong poses, expressive movement, and optional facial controls.
Lesson 5: Facial Animation
In this lesson, students learn how facial animation brings character performances to life by combining eyebrows, eyes, mouth shapes, eye darts, blinks, timing, and subtle expression changes. They’ll practice creating emotional facial poses with the Mindy rig, transitioning between expressions, and building their own pose presets for future acting scenes.
Lesson 6: Dialogue & Lip-Sync
In this lesson, students learn the fundamentals of dialogue and lip-sync by using phonemes, visemes, and mouth-shape timing to make a character appear to speak naturally. They’ll use the Mindy rig’s pose library, a short dialogue clip, and facial animation tools in Blender to create a 5–10 second lip-sync performance.
Lesson 7: Acting
In this lesson, students bring together body mechanics, acting, subtext, facial animation, dialogue, and lip-sync to create a complete character acting scene. They’ll use an audio clip, reference footage, blocking, facial expressions, Graph Editor cleanup, and either the Jack or Mindy rig to build a polished acting performance for their portfolio.
Portfolio Project: Multiple Characters
In this final portfolio project, students bring together everything they’ve learned in the Character Acting module by animating a two-character performance with dialogue, props, facial animation, and believable interaction. They’ll plan the scene, animate each character individually, refine timing and expressions, and create a polished acting piece that can serve as a strong portfolio showcase.
Module 7: Creature Animation (Level III)
Estimated completion time: 6-8 weeks
In this module you’ll explore advanced creature animation techniques for quadrupeds and flying creatures.
Throughout the lessons, you’ll study real-world reference material, learn to use creature rigs, and animate four-legged walk & run cycles before diving into wing mechanics and flight animation.
By the end, you’ll combine these skills into a polished creature animation project for your portfolio using the provided creature rigs.
Lesson 1: Creature Animation Overview
In this lesson, students are introduced to the Creature Animation module, where they’ll learn how to animate quadrupeds and winged creatures through research, reference, rig controls, walk cycles, run cycles, and flight mechanics. They’ll also download and customize the new creature rigs they’ll use to build a complex portfolio-ready creature animation.
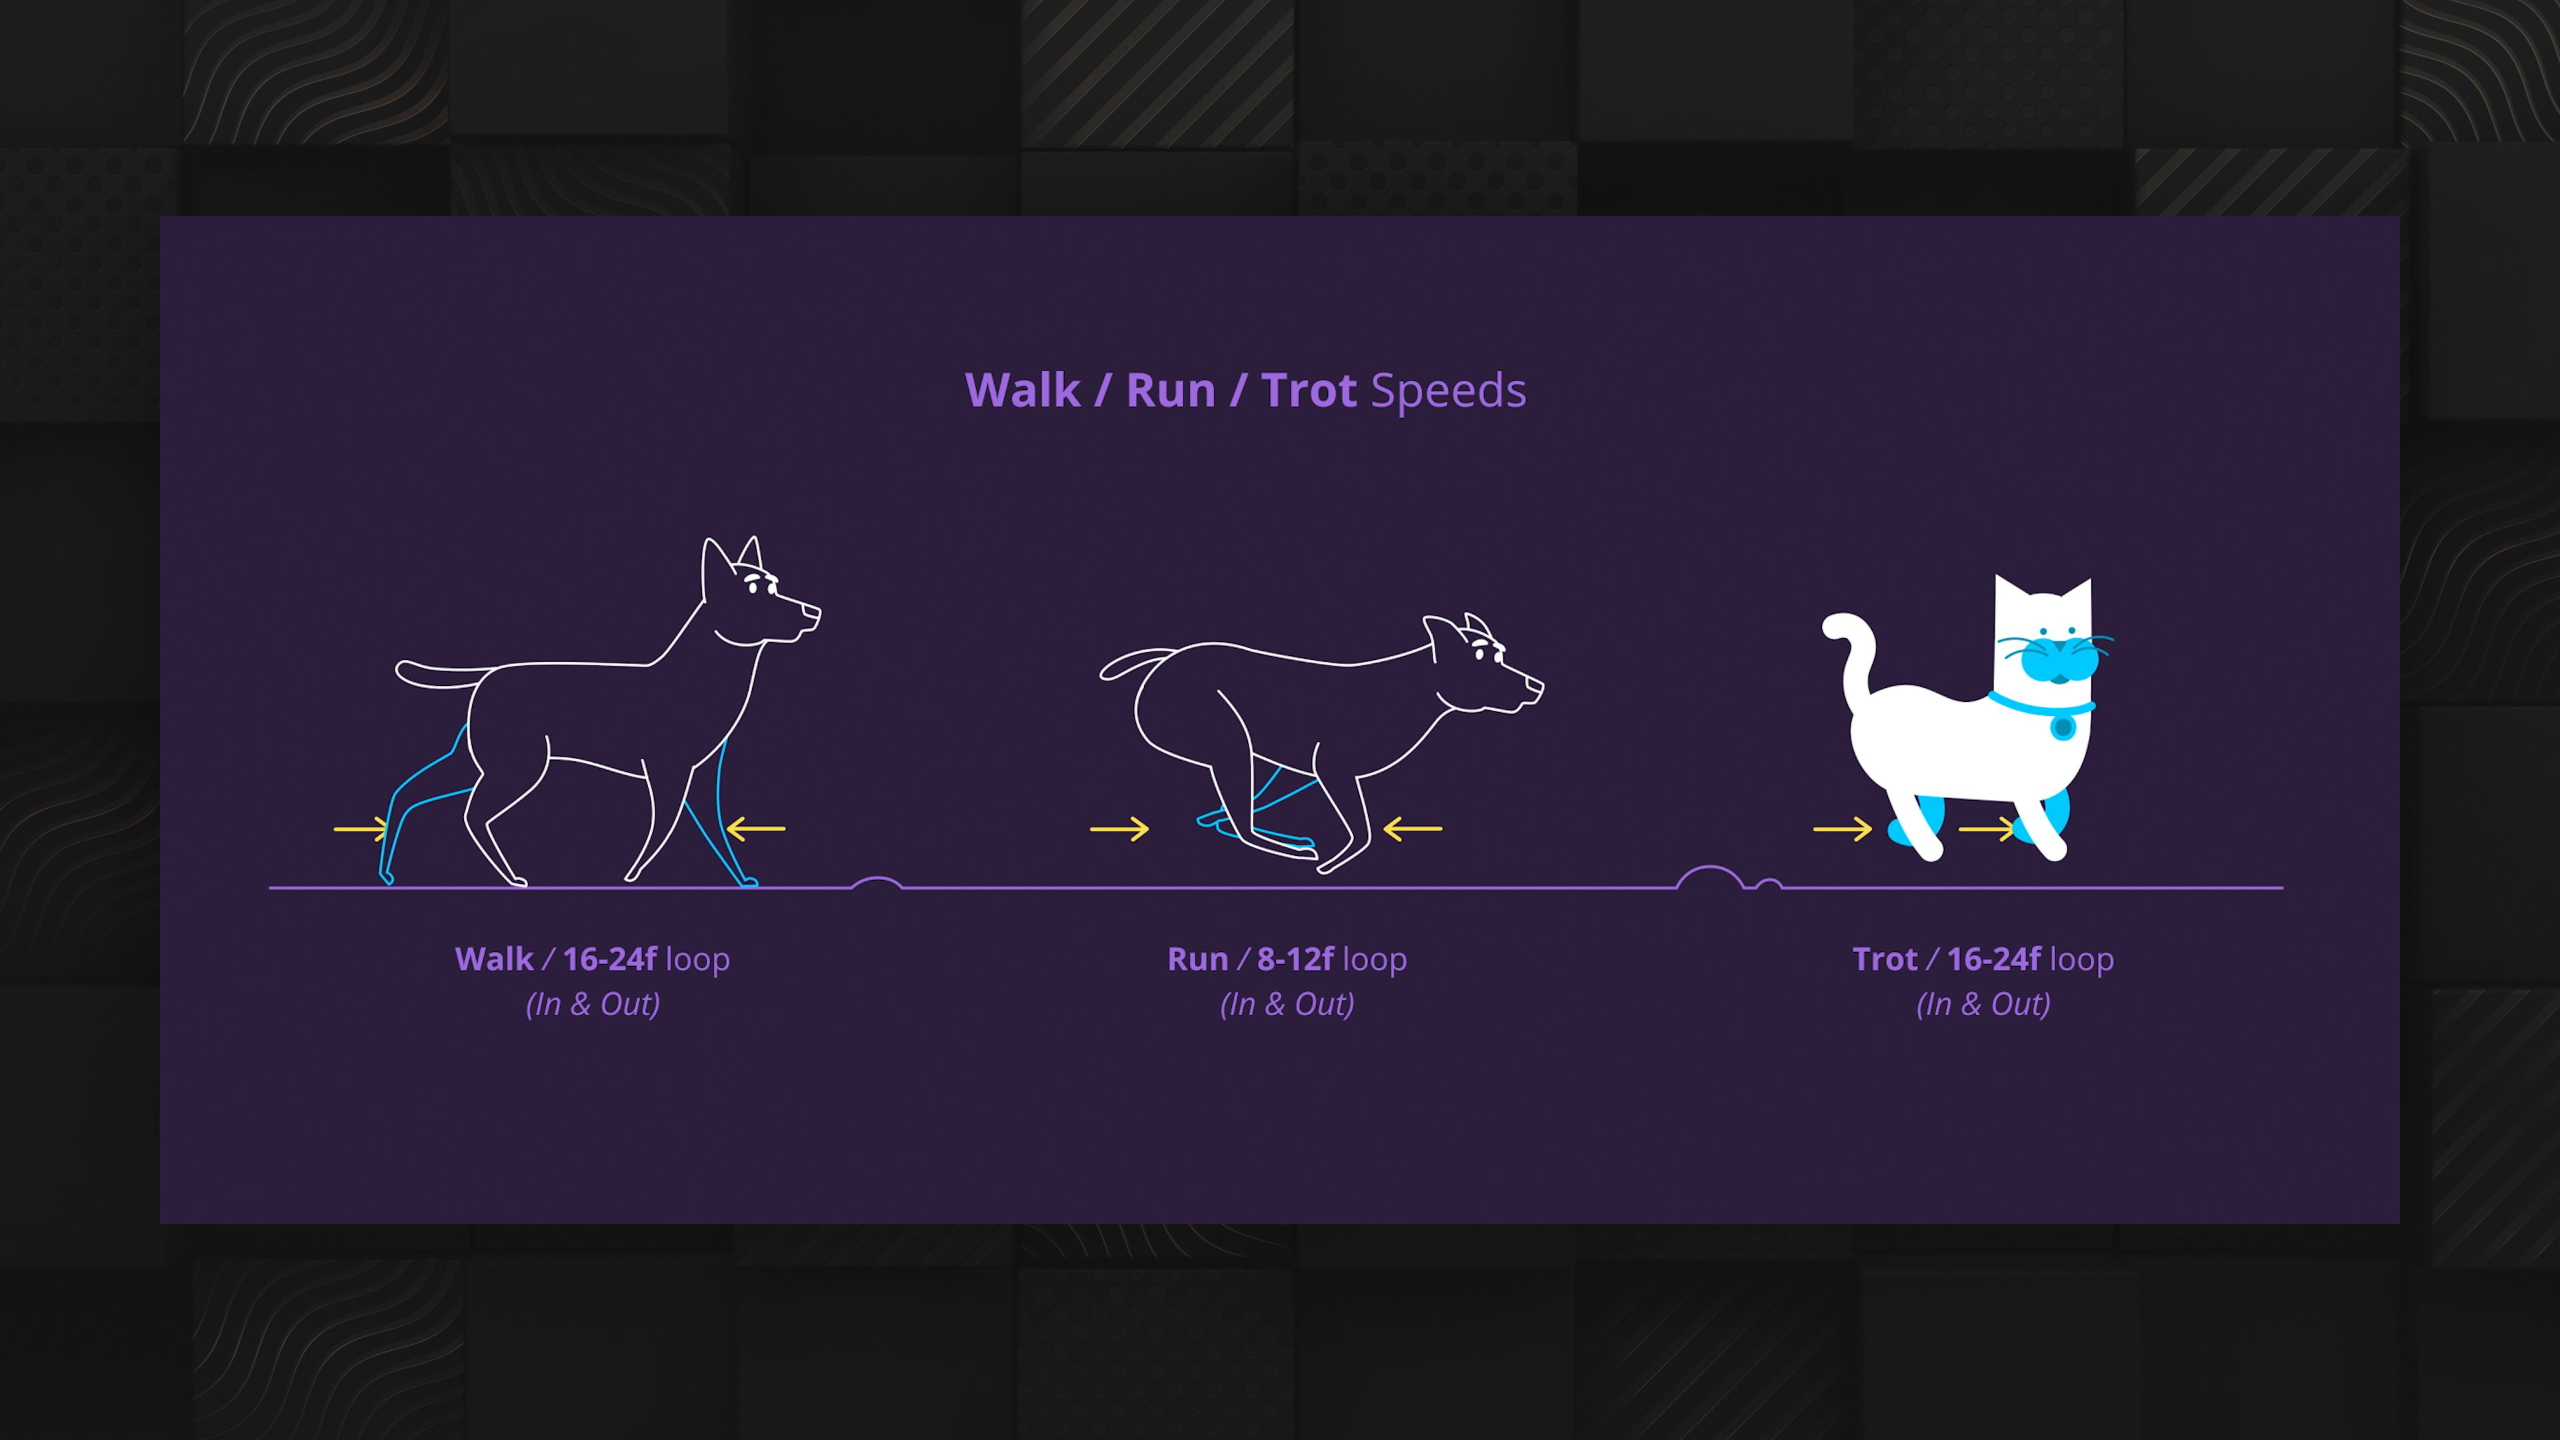
Lesson 5: Quadruped Run
In this lesson, students learn how to create a quadruped run cycle using the Milo rig by breaking fast four-legged motion into key poses, contact timing, midair movement, compression, and push-off. They’ll refine the loop with offsets, secondary details, Graph Editor cleanup, and forward translation so the creature feels like it is running with speed, weight, and believable momentum.
Lesson 2: Research & References
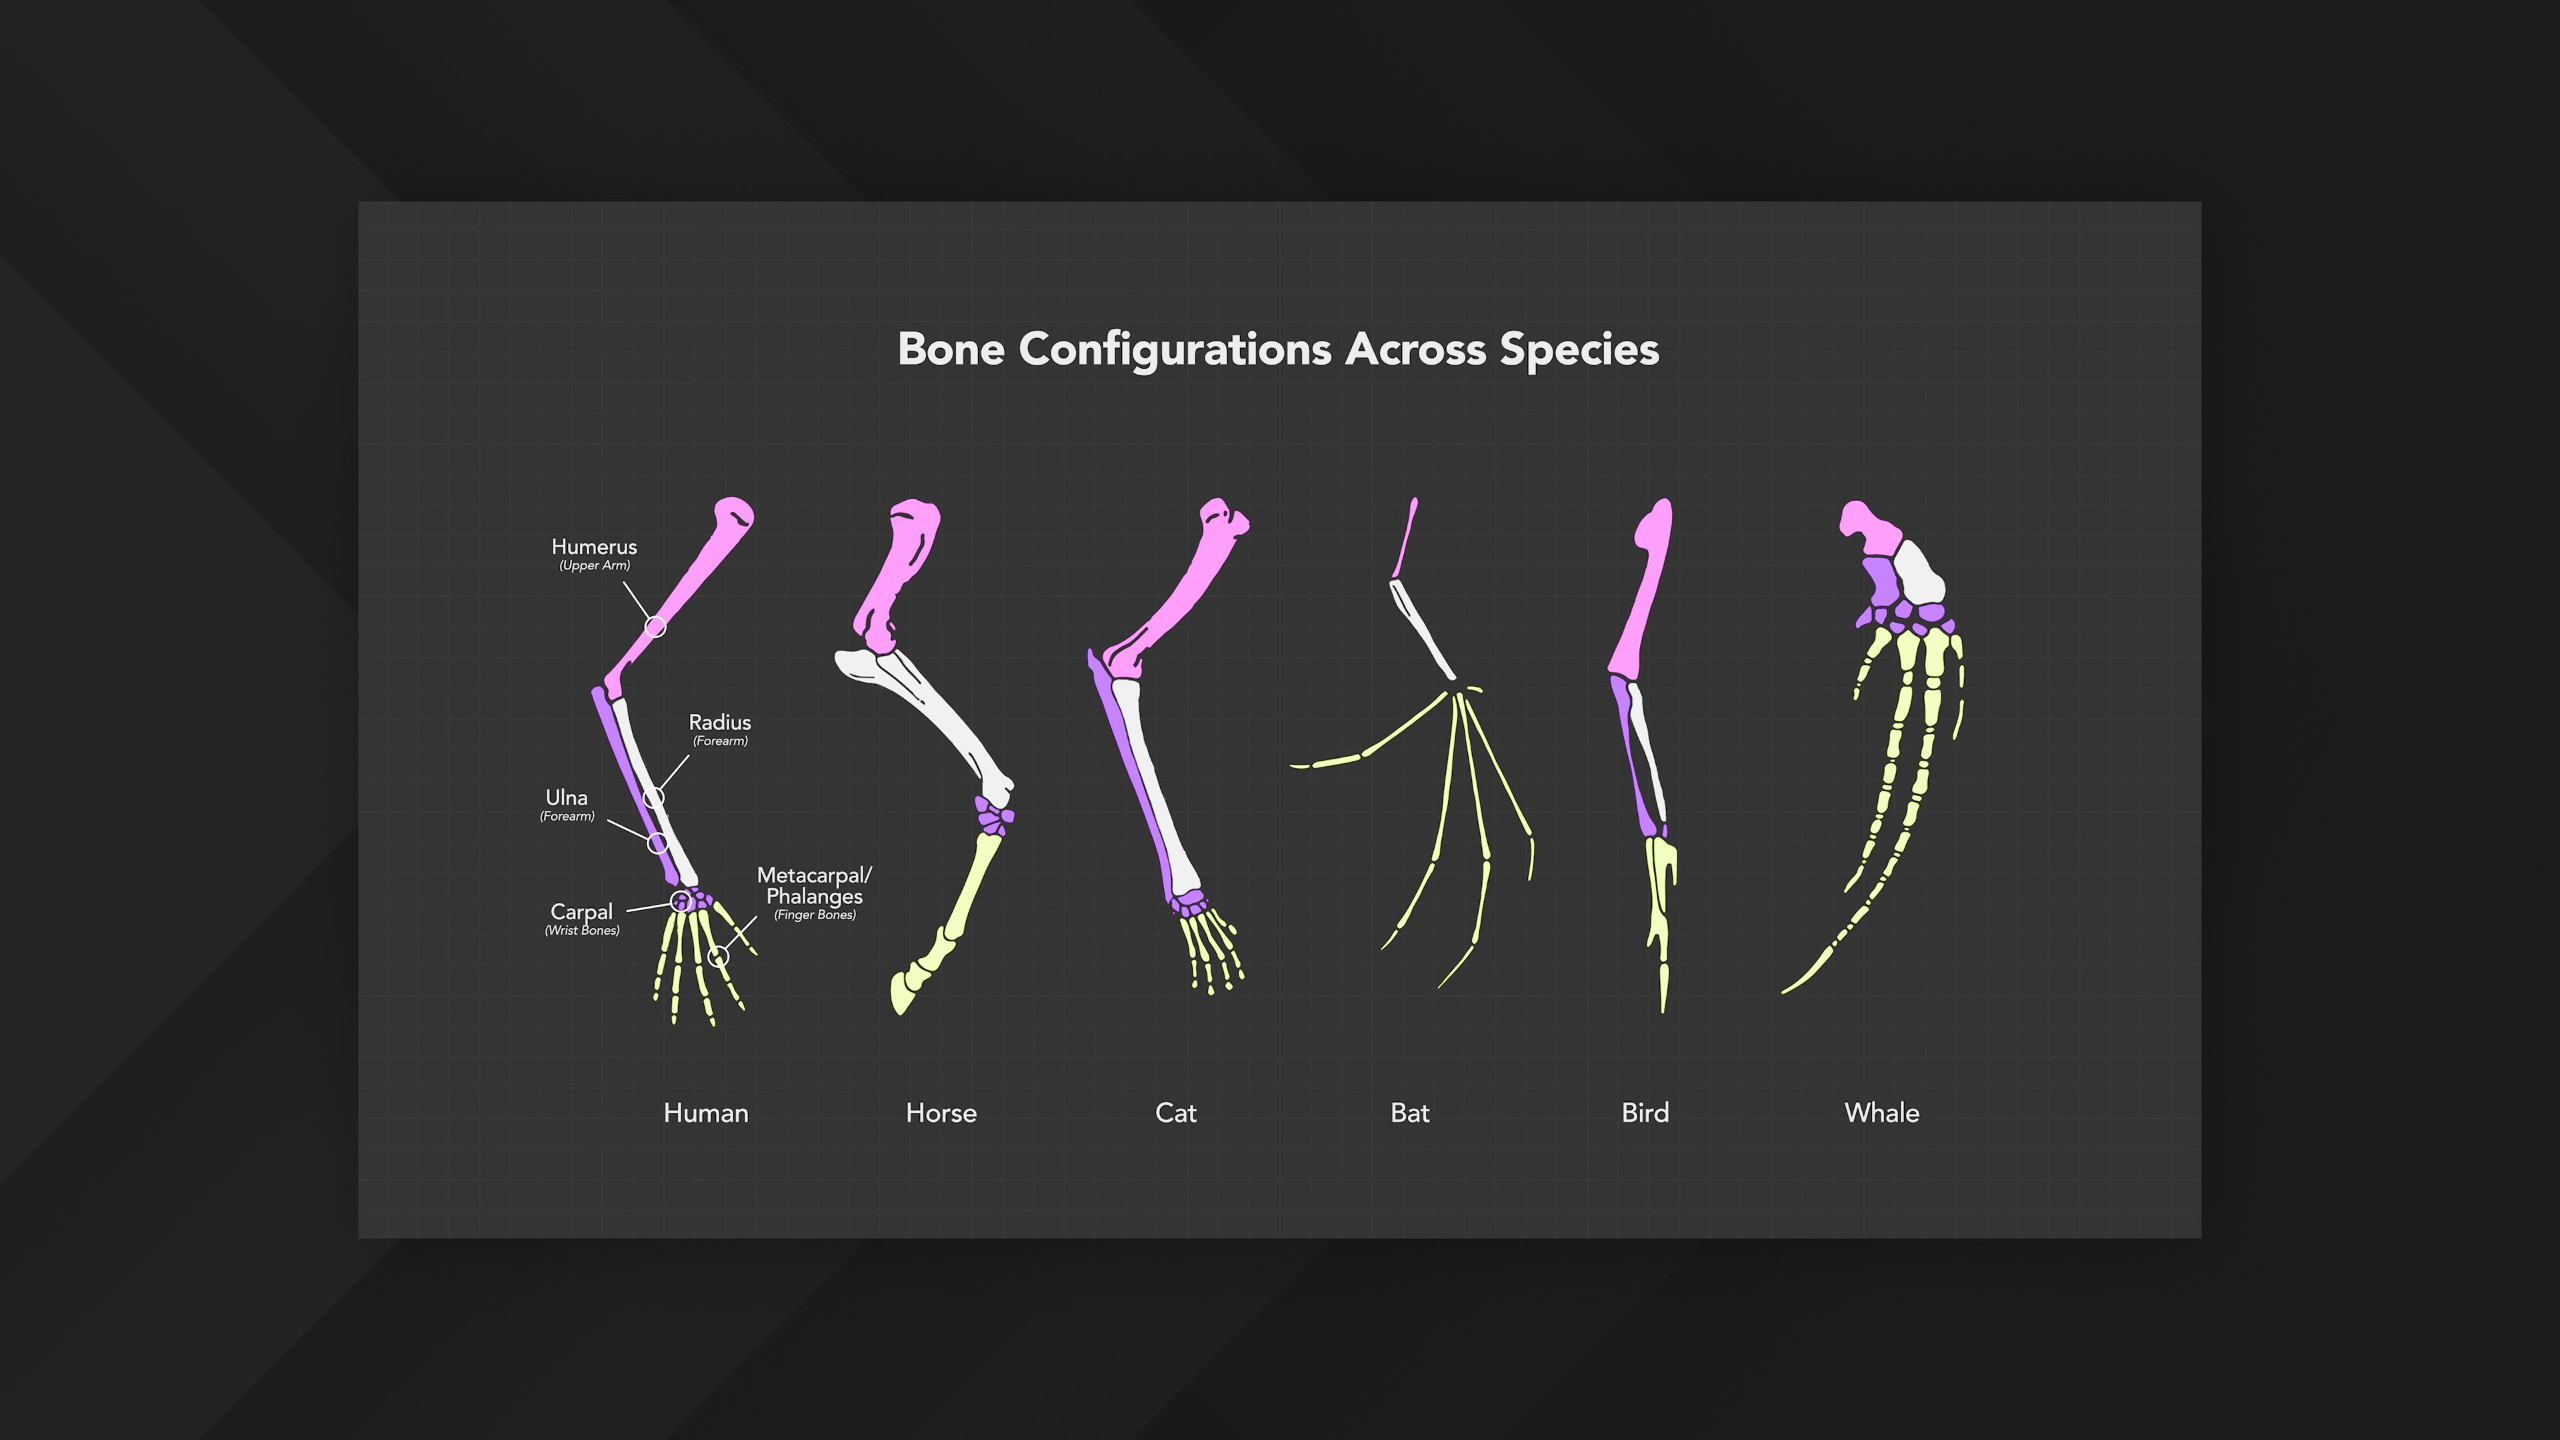
In this lesson, students learn how research and reference help bring creature animation to life by studying anatomy, behavior, instincts, intelligence, size, secondary motion, and movement patterns. They’ll begin shifting from human body mechanics to quadruped and creature performance, using observation to understand how different animals move, react, and express personality.
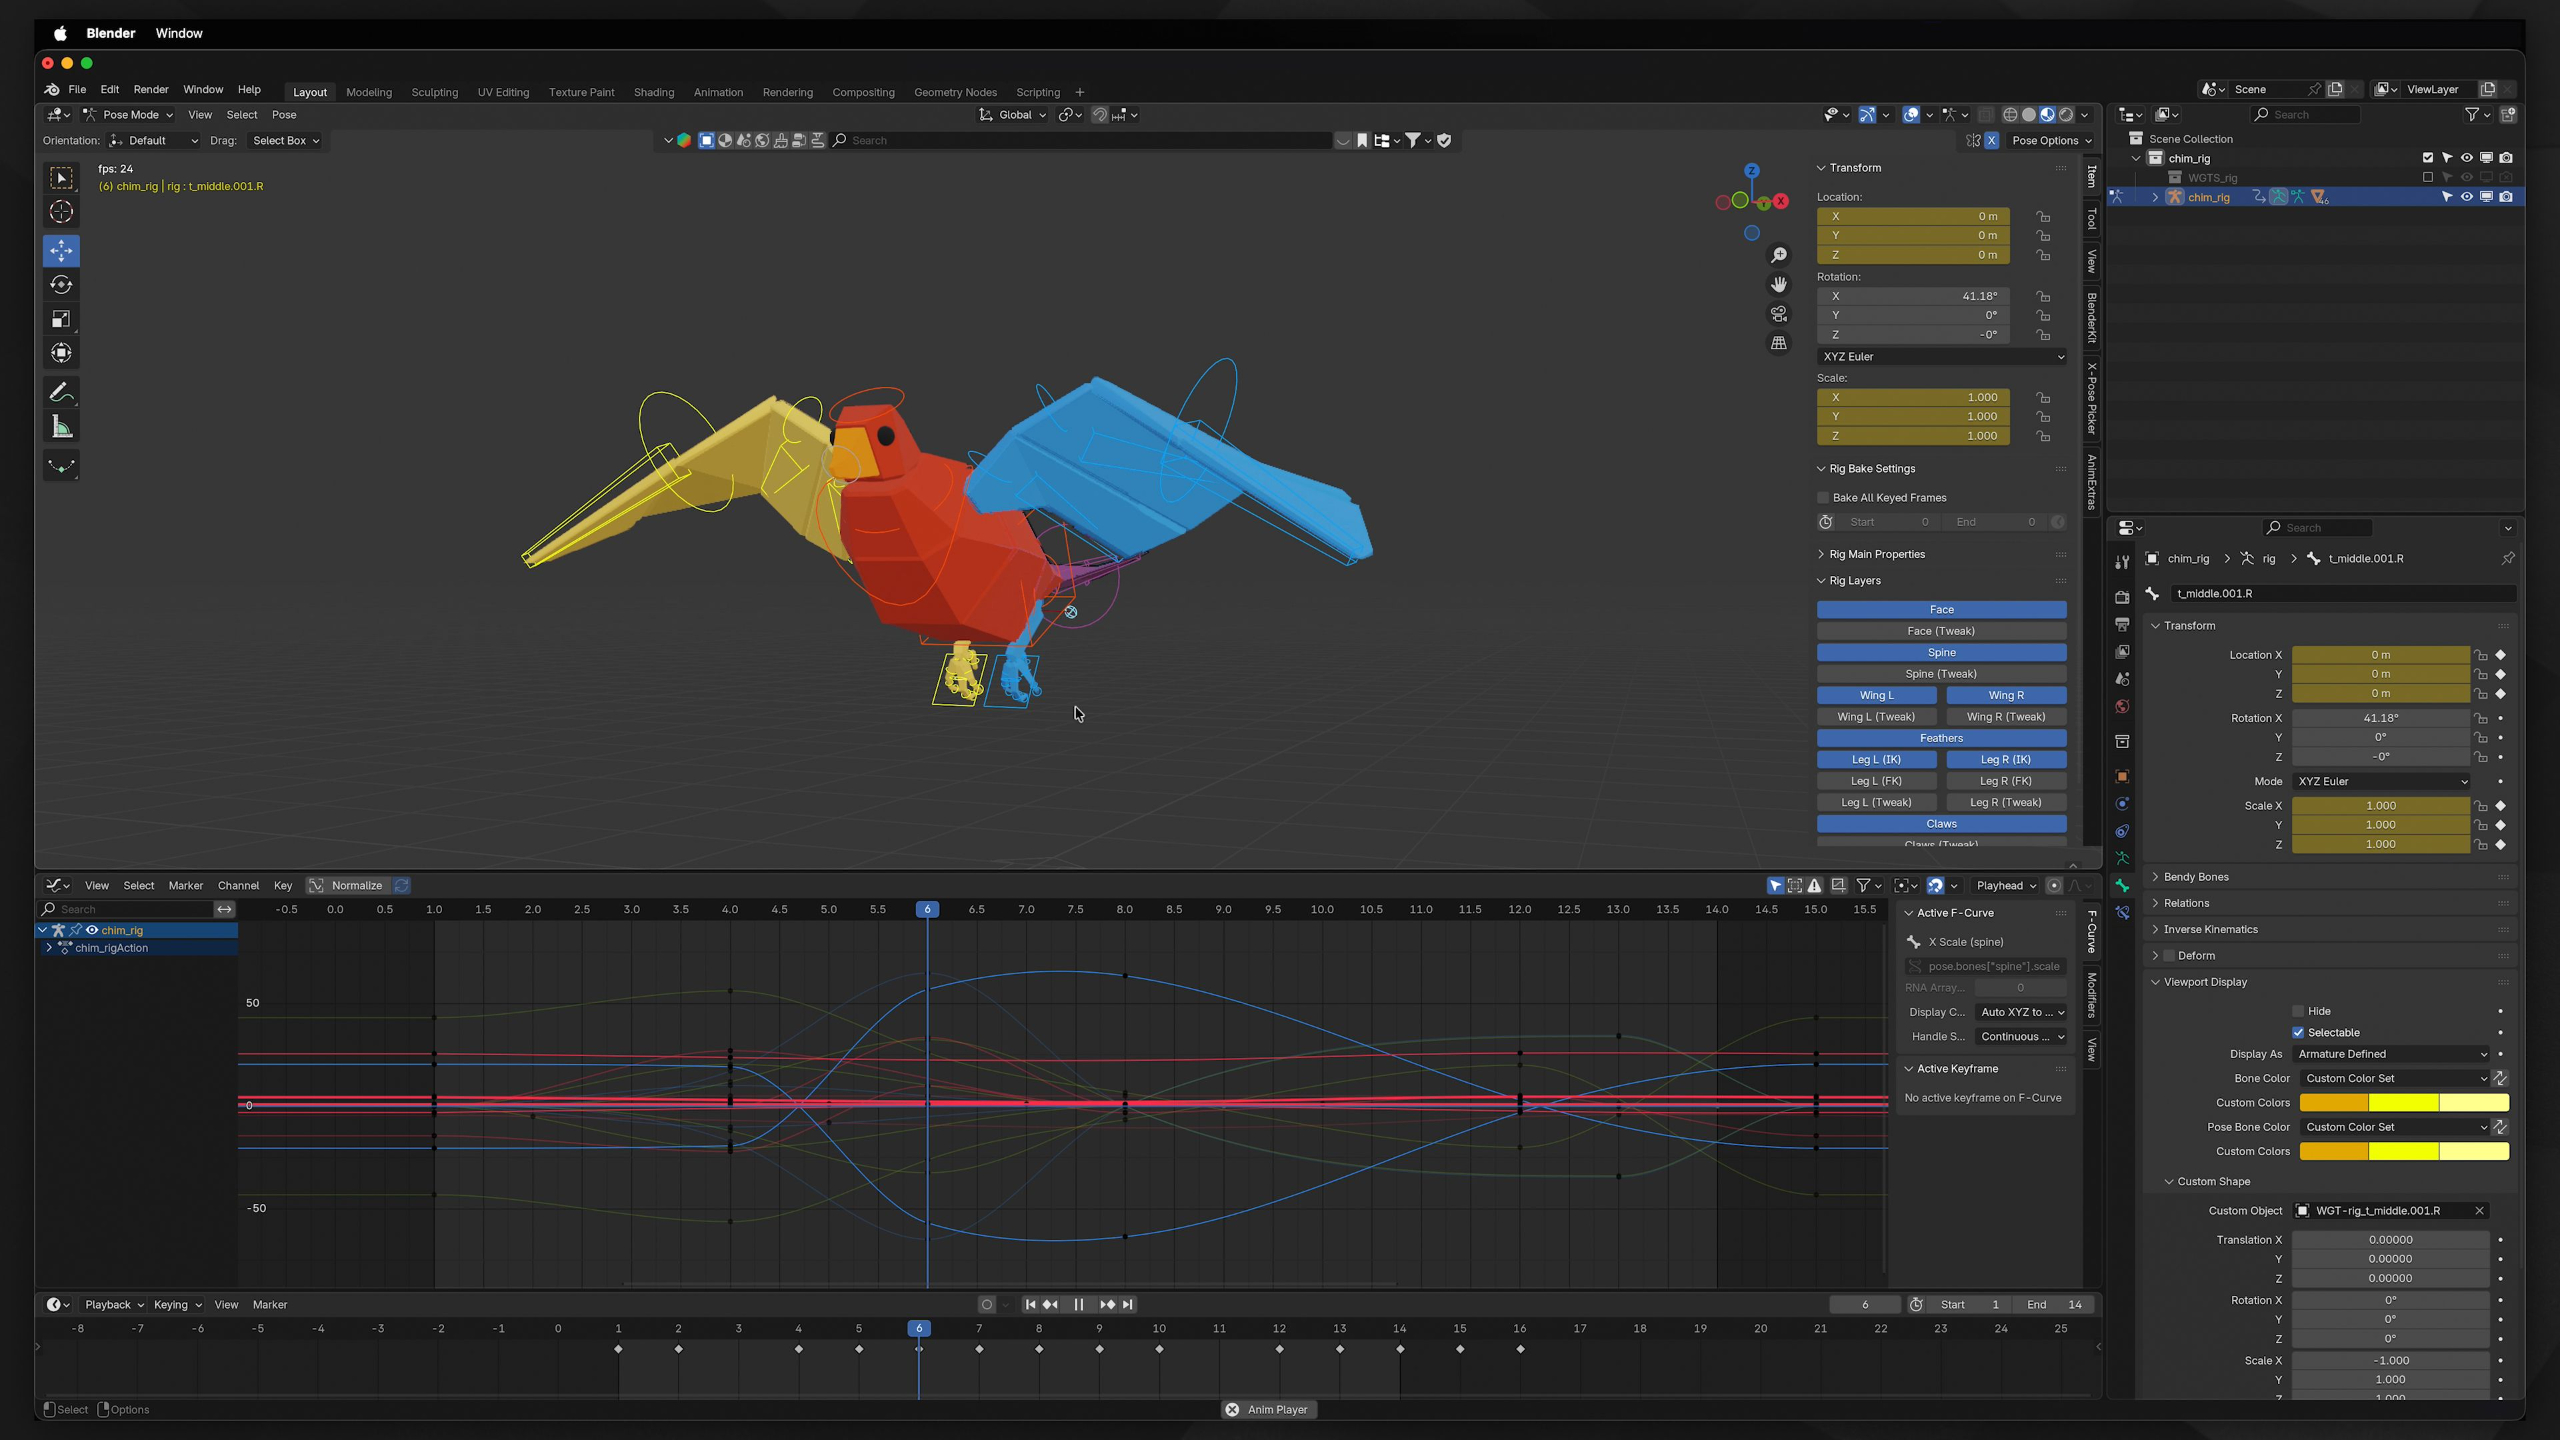
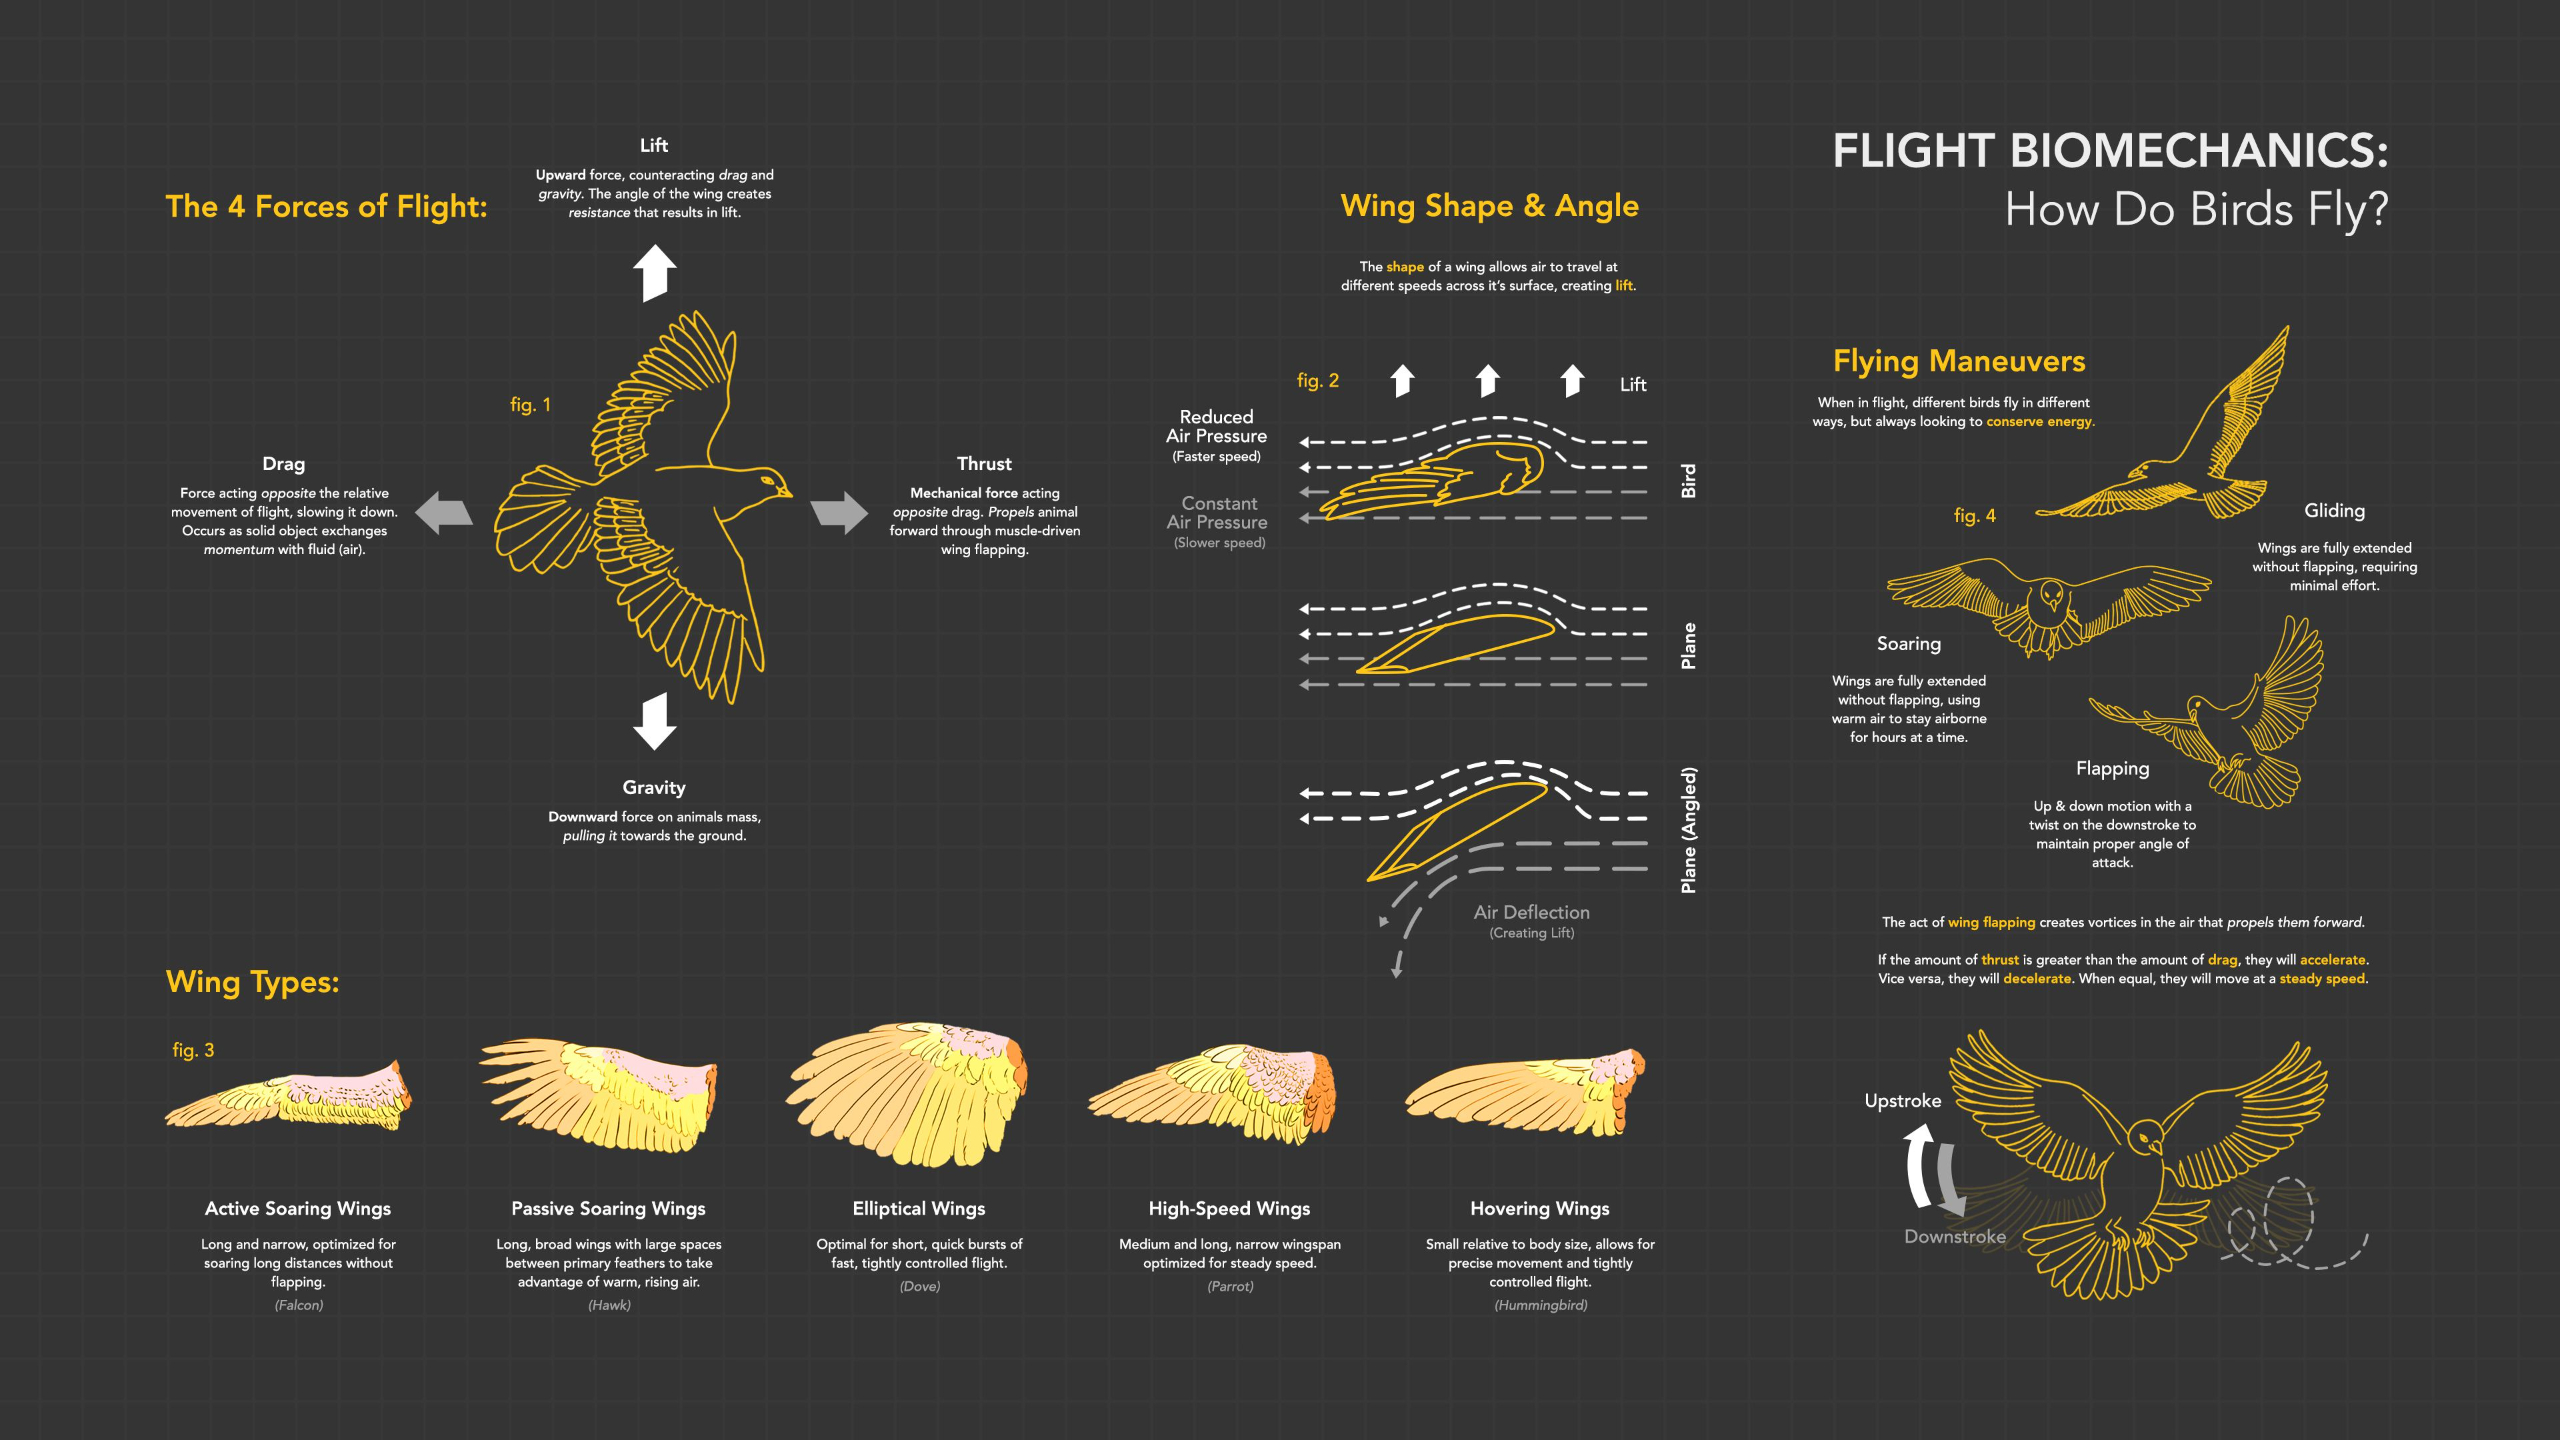
Lesson 6: Aviation
In this lesson, students study the fundamentals of flight so they can animate winged creatures with more believable movement, weight, and lift. They’ll explore aviation forces, wing shapes, flight cycles, wing motion, and the Chim rig before creating their own flying creature animation using blocking, timing, Graph Editor cleanup, body motion, and secondary details.
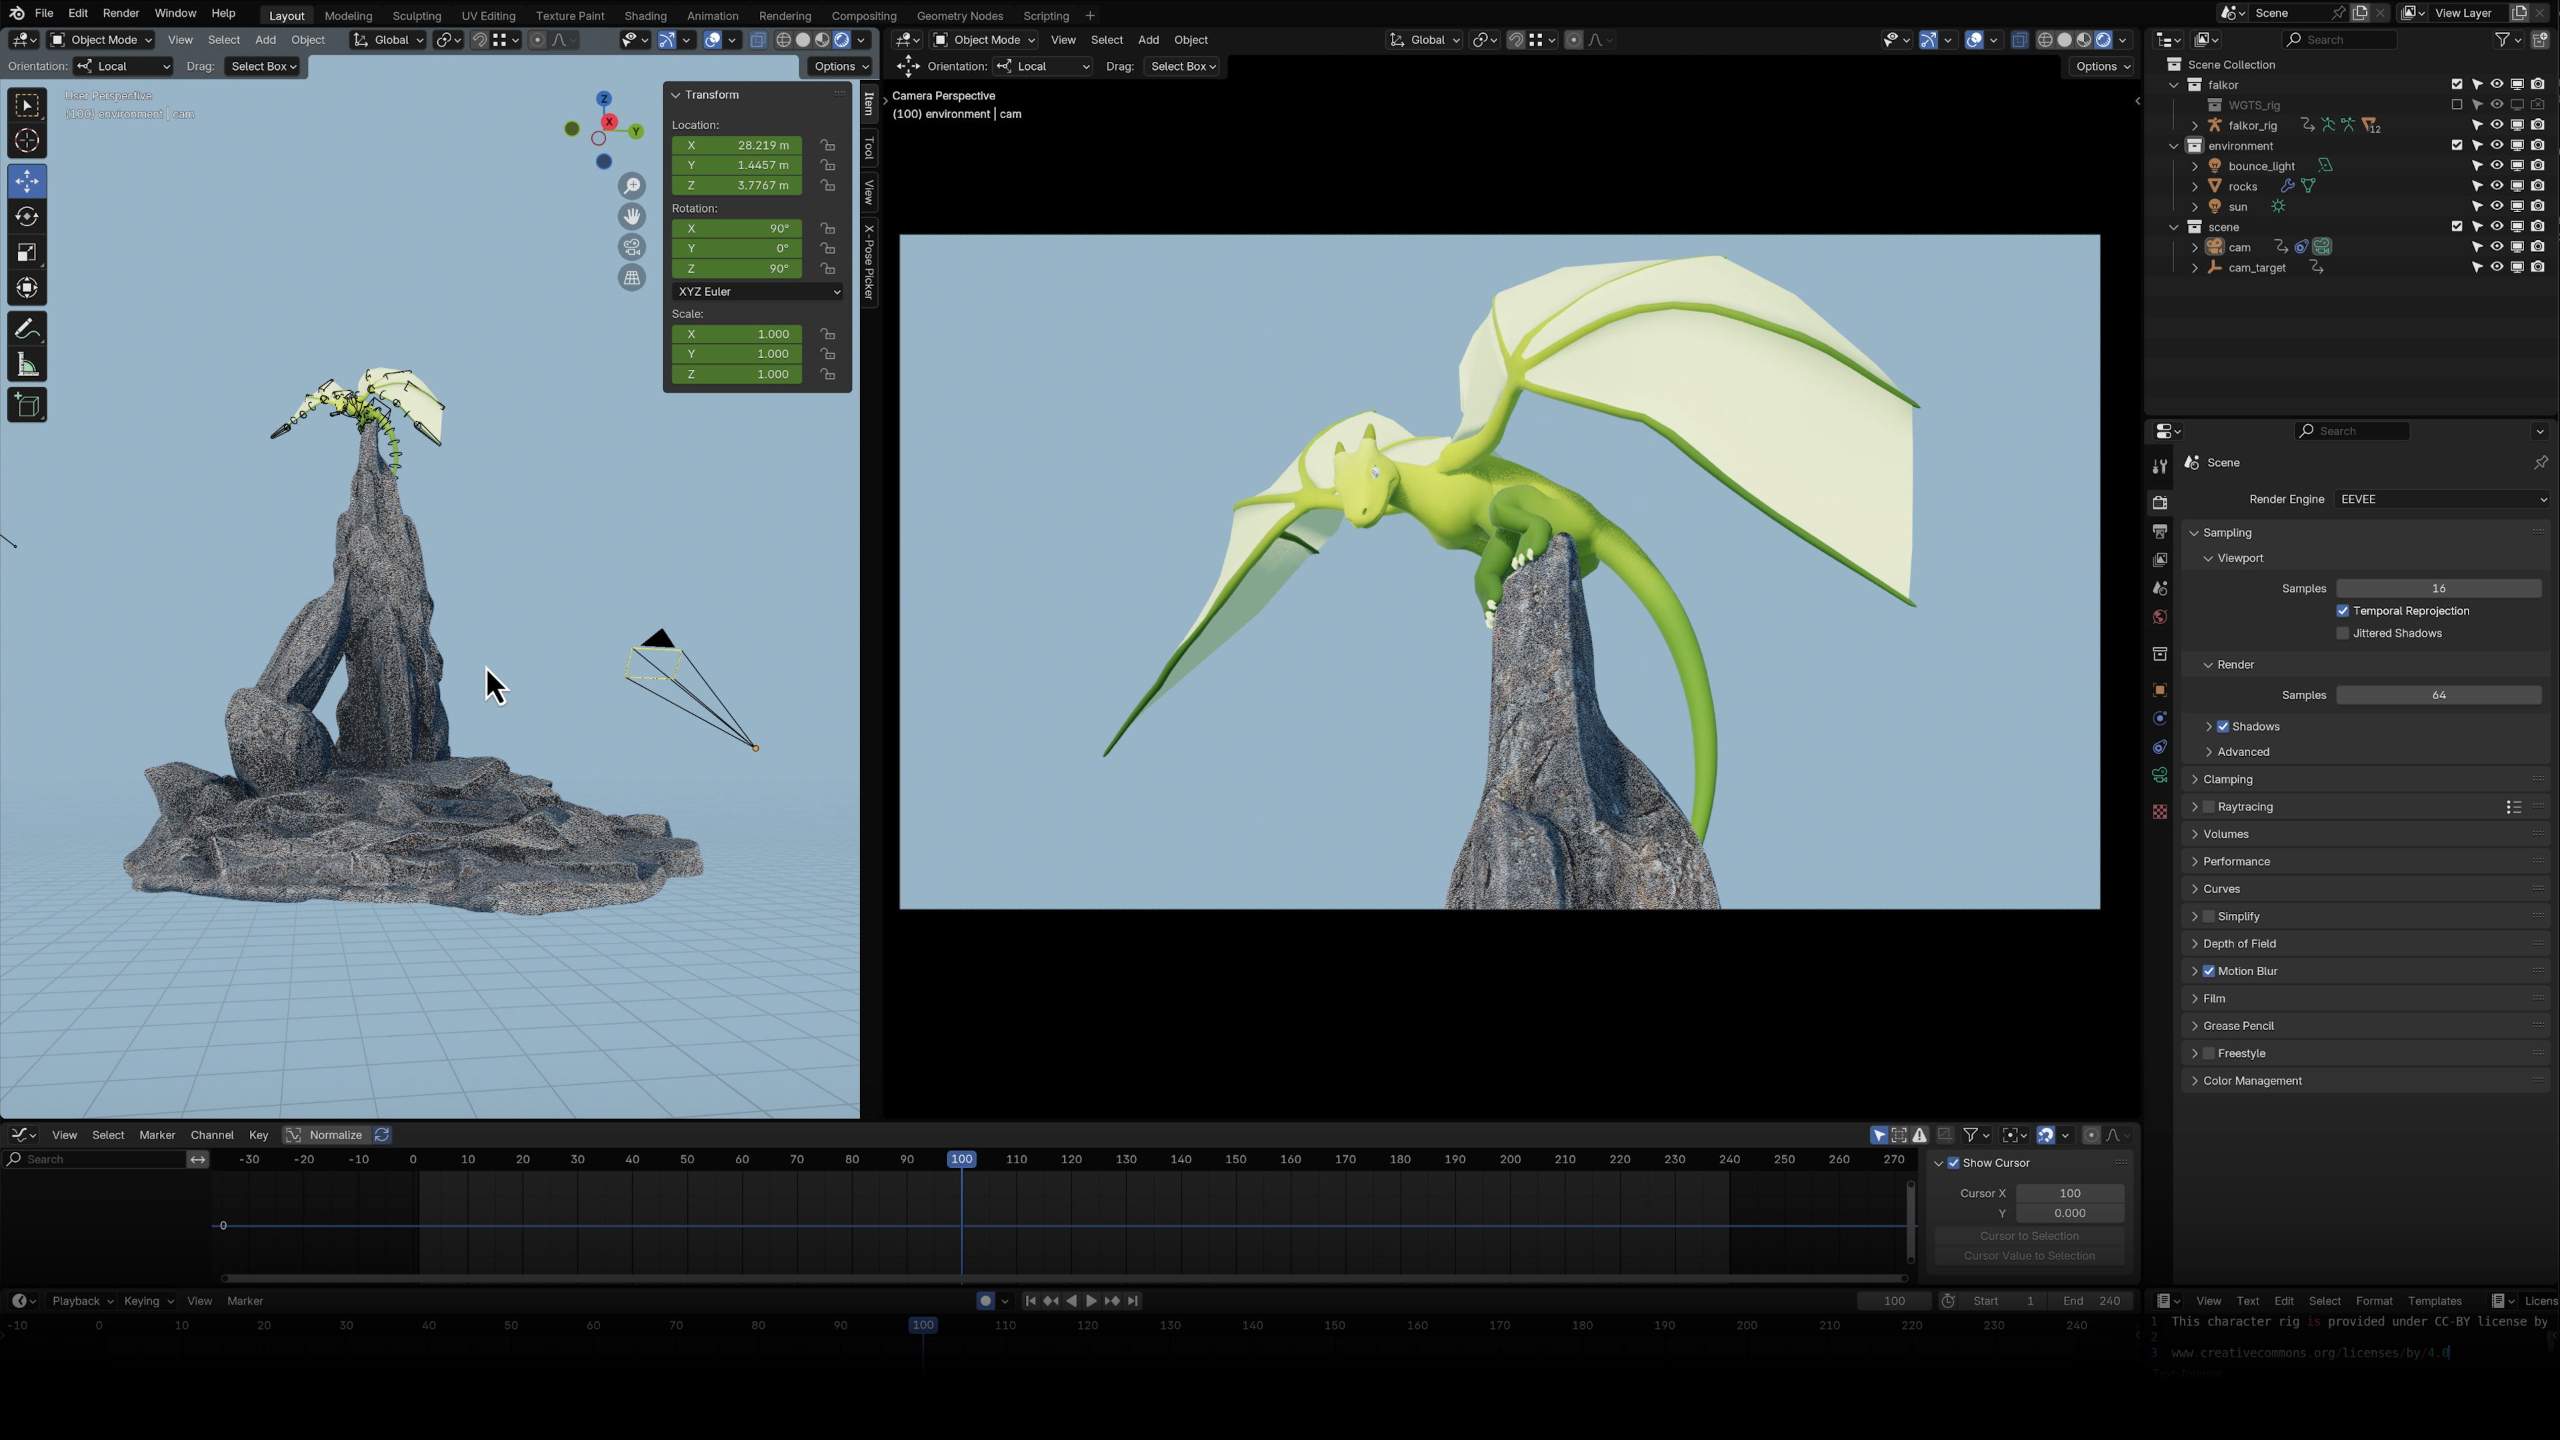
Lesson 3: Working w/ Quadrupeds
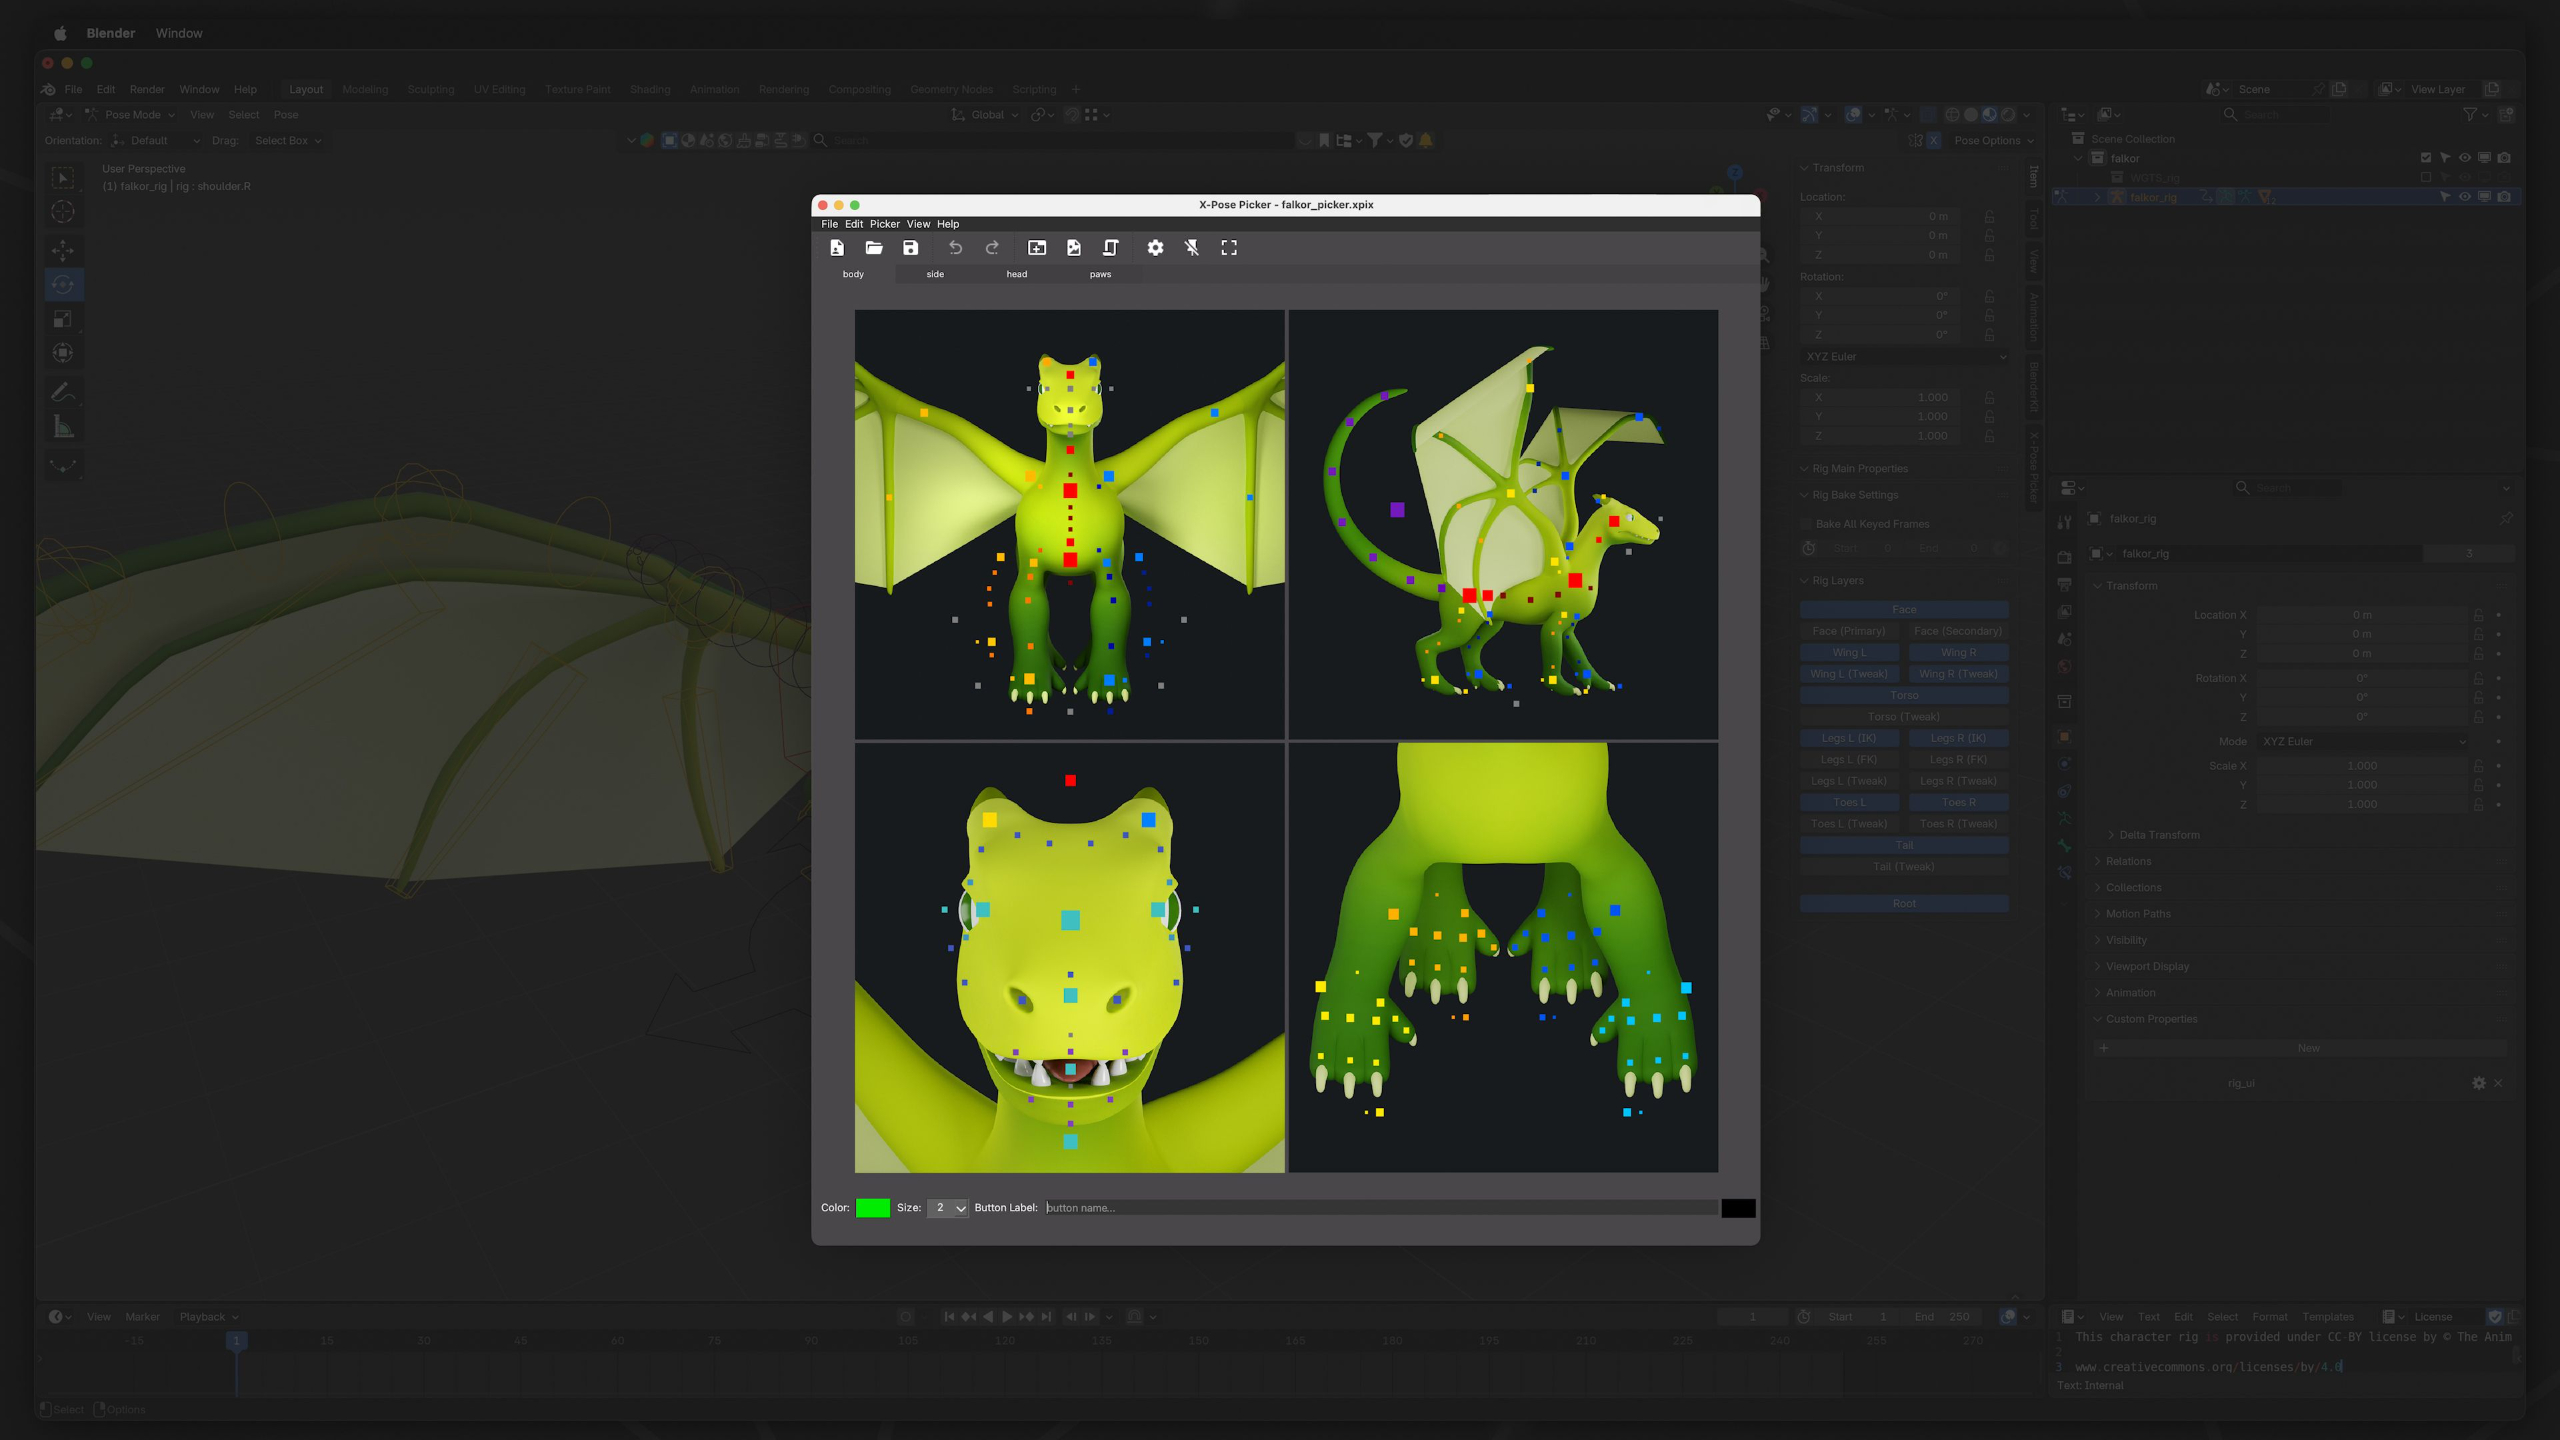
In this lesson, students get familiar with the Milo and Falkor quadruped rigs and learn how their controls differ from the humanoid rigs used earlier in the curriculum. They’ll explore posing, rig pickers, four-legged ground contact, and winged creature controls so they’re ready to begin animating quadruped movement in the next lesson.
Portfolio Project: Creature Feature
In this final portfolio project, students bring together everything they’ve learned in Creature Animation by creating an 8–12 second creature performance using either the Milo or Falkor rig. They’ll plan a scene with strong reference, animal behavior, walk/run or flight mechanics, polishing, and rendering to create a final portfolio piece that showcases emotion, drama, appeal, and advanced creature animation skills.
Lesson 4: Quadruped Walk
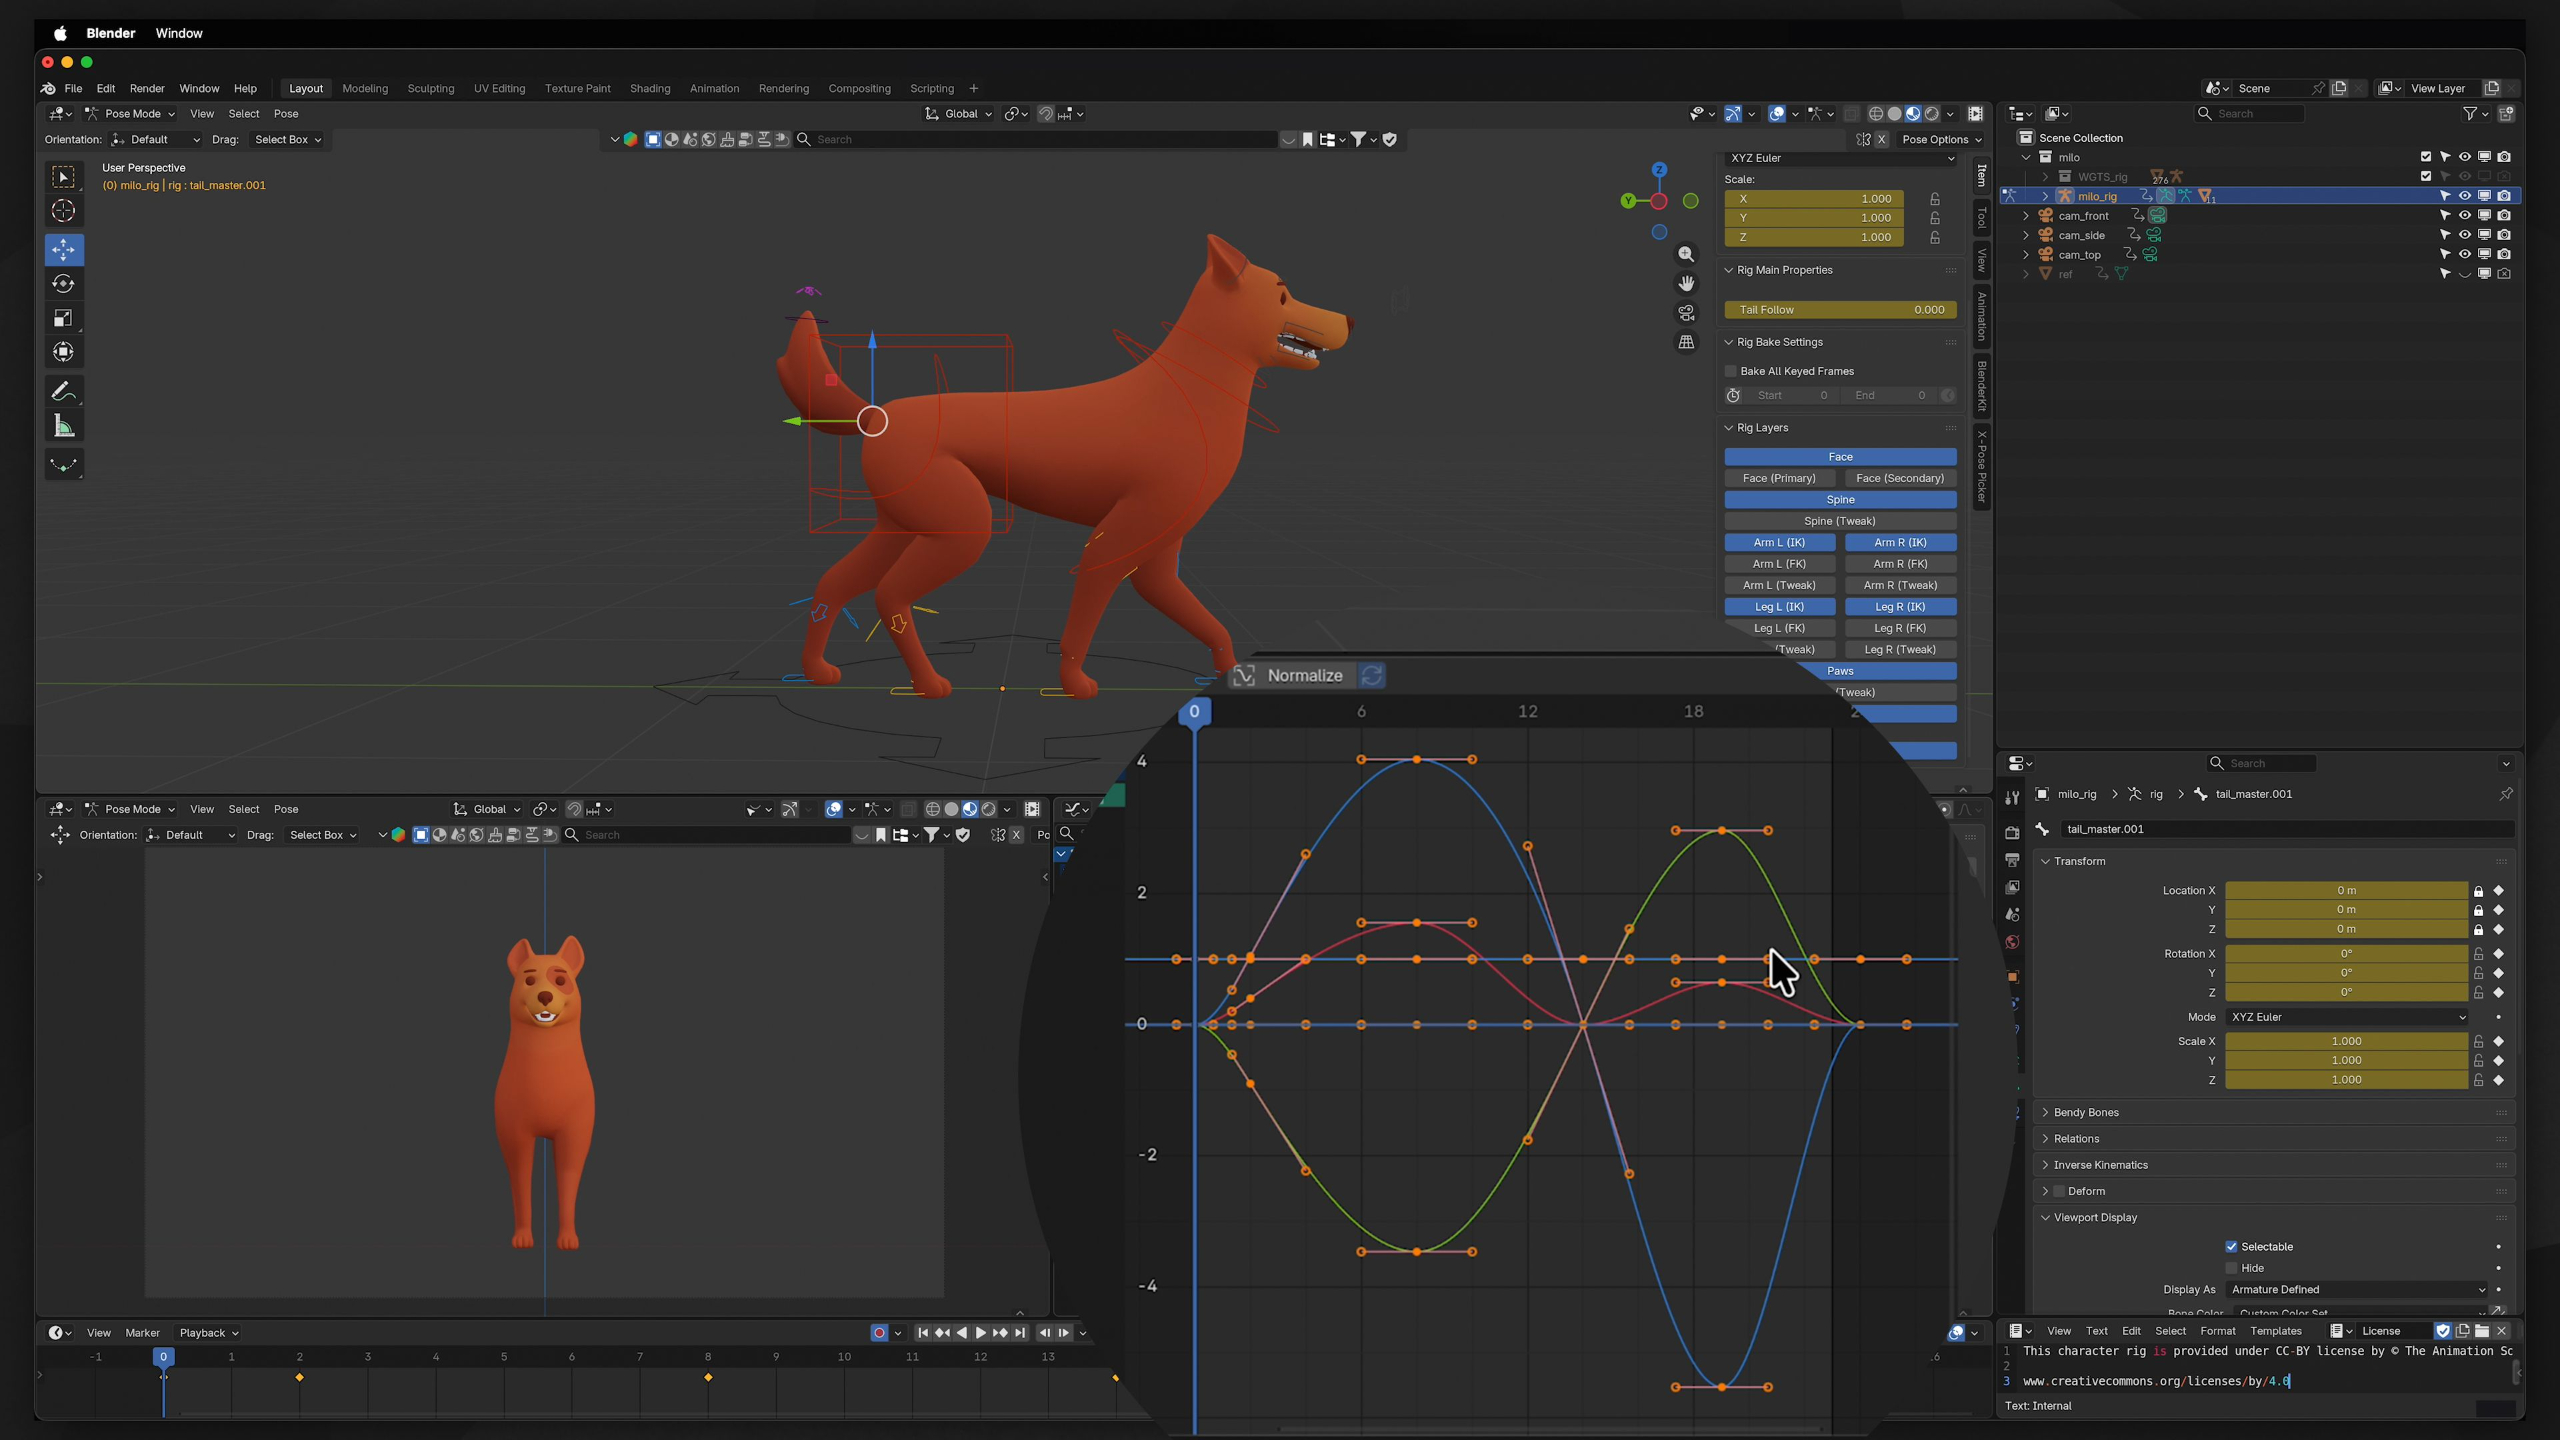
In this lesson, students learn how to create a quadruped walk cycle using the Milo rig by breaking animal movement into predictable key poses, timing patterns, offsets, and details. They’ll build a looping walk, refine it in the Graph Editor, add secondary motion like head, ear, jaw, and tail movement, and optionally use the NLA Editor to combine it with other actions.
Lesson 1: Creature Animation Overview
In this lesson, students are introduced to the Creature Animation module, where they’ll learn how to animate quadrupeds and winged creatures through research, reference, rig controls, walk cycles, run cycles, and flight mechanics. They’ll also download and customize the new creature rigs they’ll use to build a complex portfolio-ready creature animation.
Lesson 2: Research & References
In this lesson, students learn how research and reference help bring creature animation to life by studying anatomy, behavior, instincts, intelligence, size, secondary motion, and movement patterns. They’ll begin shifting from human body mechanics to quadruped and creature performance, using observation to understand how different animals move, react, and express personality.
Lesson 3: Working w/ Quadrupeds
In this lesson, students get familiar with the Milo and Falkor quadruped rigs and learn how their controls differ from the humanoid rigs used earlier in the curriculum. They’ll explore posing, rig pickers, four-legged ground contact, and winged creature controls so they’re ready to begin animating quadruped movement in the next lesson.
Lesson 4: Quadruped Walk
In this lesson, students learn how to create a quadruped walk cycle using the Milo rig by breaking animal movement into predictable key poses, timing patterns, offsets, and details. They’ll build a looping walk, refine it in the Graph Editor, add secondary motion like head, ear, jaw, and tail movement, and optionally use the NLA Editor to combine it with other actions.
Lesson 5: Quadruped Run
In this lesson, students learn how to create a quadruped run cycle using the Milo rig by breaking fast four-legged motion into key poses, contact timing, midair movement, compression, and push-off. They’ll refine the loop with offsets, secondary details, Graph Editor cleanup, and forward translation so the creature feels like it is running with speed, weight, and believable momentum.
Lesson 6: Aviation
In this lesson, students study the fundamentals of flight so they can animate winged creatures with more believable movement, weight, and lift. They’ll explore aviation forces, wing shapes, flight cycles, wing motion, and the Chim rig before creating their own flying creature animation using blocking, timing, Graph Editor cleanup, body motion, and secondary details.
Portfolio Project: Creature Feature
In this final portfolio project, students bring together everything they’ve learned in Creature Animation by creating an 8–12 second creature performance using either the Milo or Falkor rig. They’ll plan a scene with strong reference, animal behavior, walk/run or flight mechanics, polishing, and rendering to create a final portfolio piece that showcases emotion, drama, appeal, and advanced creature animation skills.
*Includes lifetime access to lessons, future releases + community features
Buy Curriculum - $795